Liquid Simplicity; Brewing a SMaSH (Single Malt/Single Hop) with Home Grown Hops and Figs
Brewing is a form of cooking, and once you get the hang of the basic procedure, just like in cooking it is really fun to experiment with different ingredients and varieties of those ingredients. Similar to developing a refined palate for tasting wine, increasing your perception of how different ingredients influence the flavor and scent of beer can really increase your enjoyment of drinking it (as if you needed any help in that area).
In this post I will explain the SMaSH concept, as well as the details of my own creation using my homegrown hops and figs. This is an advanced description of a brew recipe, and if you are a beginner and want a basic overview of the brewing process, check out this great post by @coldsteem titled Home Brewing 101 - Brewing an Irish Red Ale. @coldsteem's is still in payment period, and is definitely better than mine, but I posted something similar 9 days ago titled 0-8.5; a Practical Guide to Brewing Beer for Beginners.
Also, if you like to post about brewing or beer in general, feel free to add your own links to the comments. Let's build a homebrew community folks!
As explained by the American Homebrewers Association "SMaSH (single malt and single hop) brewing is a way to cut down on various brewing ingredients and appreciate what each aspect of a recipe brings to the table. There really is no better way to get to know your ingredients than using one at a time." In addition to getting to know the ingredients, I also think there is something to be said about preparing food with very short ingredient lists, like one of my favorites, cashew butter made with nothing but roasted cashews and ghee, or a salad dressing of olive oil, garlic and lemon juice. Likewise, brewing with a minimal number of ingredients is a celebration of simplicity. It is also more difficult to hide off flavors in simpler brews, so they are also a test of your focus on the details.
SMaShes are hard to find in brew pubs, as most retail breweries avoid investing too much in such experiments. So, if you didn't already have enough reasons to brew at home, or get cracking on your next homebrew, experimenting with the SMaSH is an excellent one. It is also a fun way to build some community around your brewing, as SMaSHes make a great addition to a beer tasting for friends and family.
I chose to brew a SMaSH for a slightly different reason. I have been growing Cascade and Columbus hops in my backyard for a few years now, and although I have used them in small quantities in recipes along with store bought hops, I wanted to brew a beer using only my homegrown hops. I have six sets of hop tubers, which is enough to grow, as I now know, well over 5 pounds of flowers!
So at this point I have to admit that I ended up deviating a bit from the standard SMaSH to what I will call SMaTH -- a single malt/two hop. As I wrote above, I grow Cascade and Columbus hops, and although it would be possible to separate them, I recruited my 8-year-old son to help with the harvest, and that concept broke down straight away. But whatever! Its my damn brew and my damn hops and I can do whatever I want! The joy of homebrew! The good thing about Cascade and Columbus are they can both be used for both bittering and aroma, so either make a good choice for a relatively balanced SMaSH and work fine together.
If you are interested in growing your own hops, I recommended checking out Adventures in Homebrewing. I have received great product from them on a couple of occasions. You can order the hops now, and then they will send them to you when it's time to plant them.
It takes a year or so to get a good crop from new hop rhizomes. You might get enough for a brew the first summer, but probably not. However, by the second summer you might be overrun with them, as they are basically a giant, fast-growing weed. By fast, I mean up to a foot a day! Hops want to grow straight up, and can reach heights of 20 feet if provided a high enough trellis. I grow mine on a 48' section of fence to which I have added 8'x10' sections of trellis panels. They really want more space to grow on, but that's all I am willing to provide at this point. One big word of caution -- DO NOT GROW HOPS IN YOUR YARD IF YOU HAVE DOGS, as a they are poisonous to them and can be deadly.
Figuring out when to harvest hops is a little complicated, and when I was preparing for my first brew I was definitely afraid of completely ruining the batch. There is an exact ideal time to harvest. Basically you want the flowers to be fully mature, and slightly browning, to assure the maximum amount of pollen. The critical issue with hops in any recipe is the acid level. Most homebrew kits provide hop pellets because the acid level is very predictable, and can be adjusted according to the recipe. If you introduce too much or too little of the hop acid it can have a disastrous effect. When harvesting your own hops, it is impossible, without special equipment, to know the exact acid level of your hops at the time of harvest, as it can be higher or lower depending on various growing conditions and when they are picked. This is a risk I was willing to take in the name of serious urban homesteading! I also have a fair amount of German blood, so I tell myself all this toiling around in my yard and basement is a way of connecting to my ancestry.
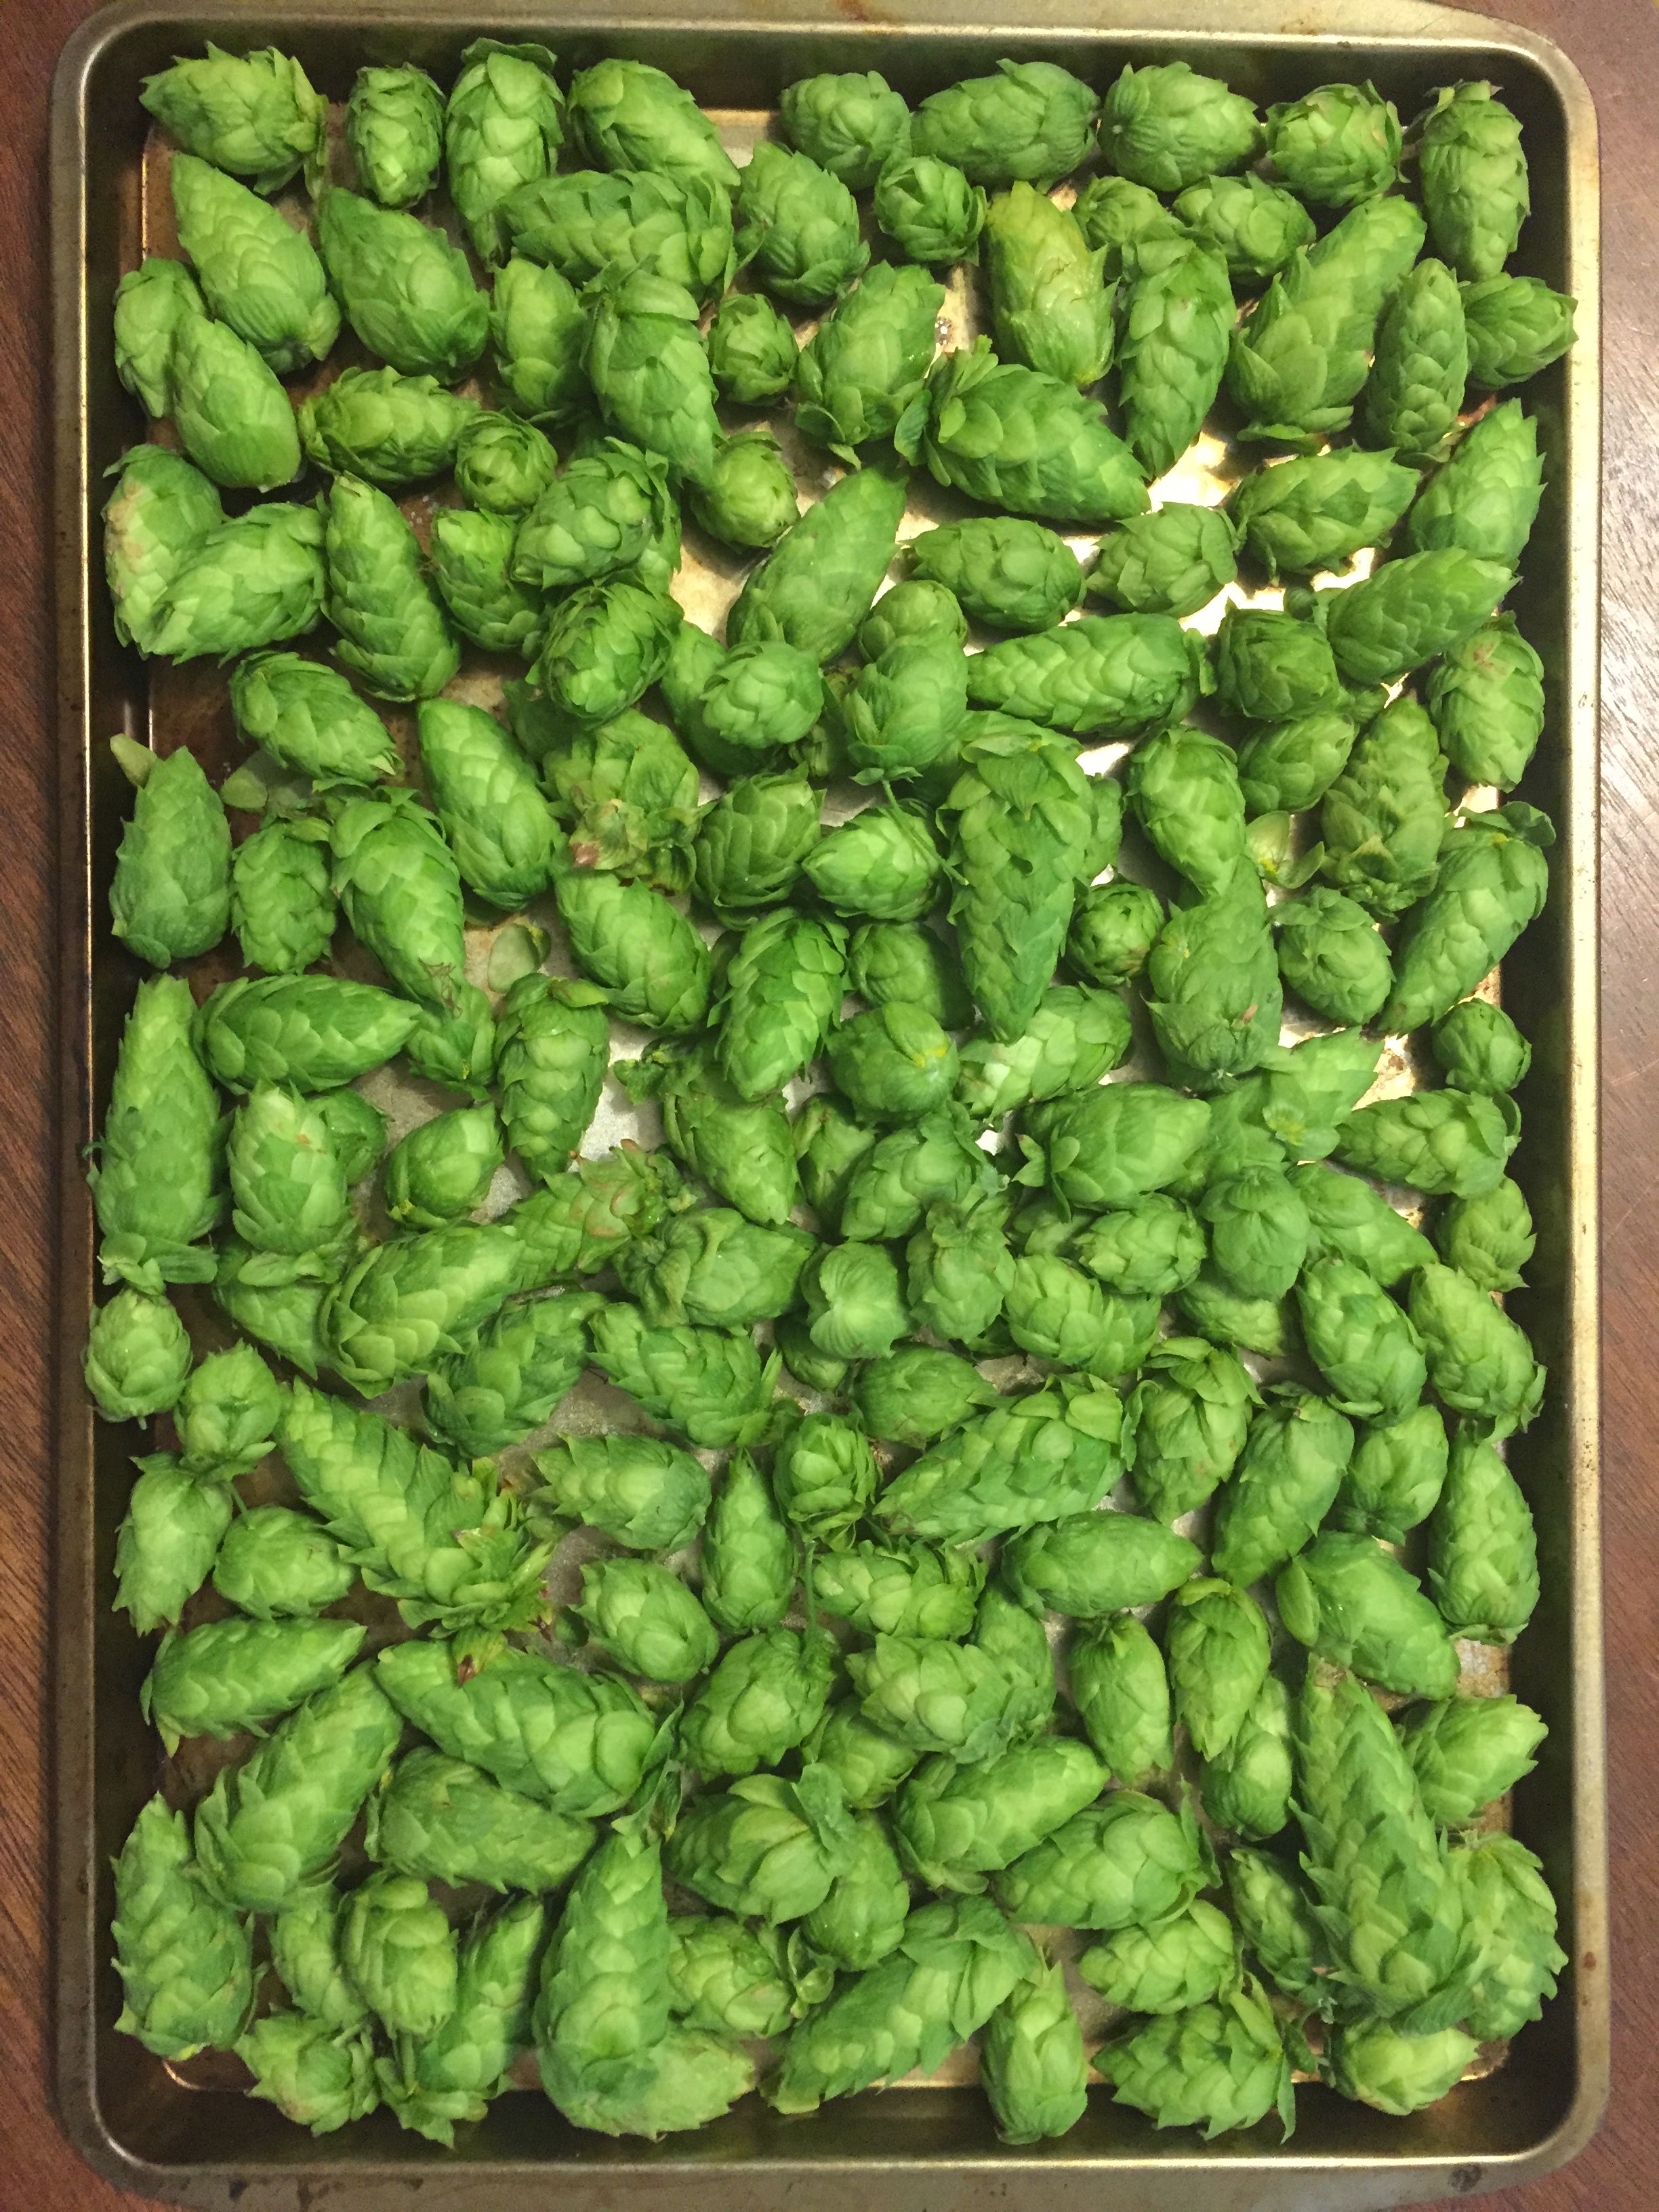
So, if you are going to try this, and you are left to just using your best estimate of the ideal harvest time, the best bet is to wait until the mature cones begin to brown just a little on the edges of the leaves, and then begin doing tests. If you pick a hop cone and press it between your fingers it should flex right back to its original shape due to its relative dryness. You might also hear a little bit of a crackling sound. If the cone stays depressed, it is still too moist to harvest. Then smell the cone. If it has a strong vegetable scent it is also not yet ready. Don't be too worried about this. It isn't like you are going to wait a day too long and destroy the crop, but if you keep testing every few days you will get the idea. You are waiting for a strong, fragrant scent, lots of sticky yellow pollen, and a springy dryness. Here is a photo of hops that I picked a couple of years ago too early, followed by my harvest this past fall. Note the browning edges in the second photo.
When you think its time to harvest your hops, consider wearing gloves, especially if you are sensitive to plant acids. Fresh hops can definitely cause a rash or mild irritation.
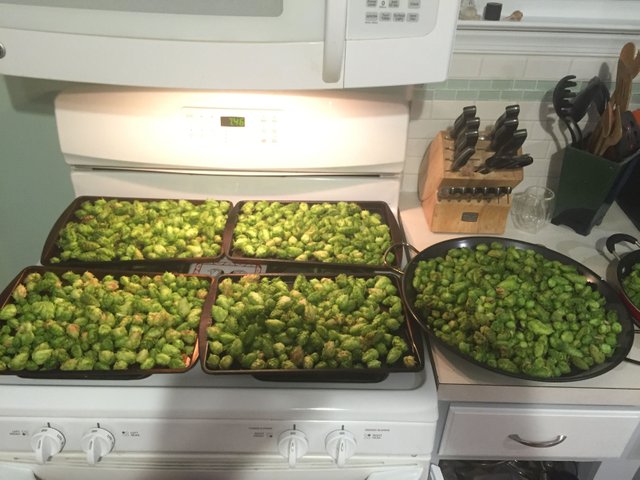
Once the hops are harvested, they can be used immediately in a brew boil if you want a distinct fresh hop flavor, or they can be dried. There are different methods of drying, and my favorite is to just spread them out on cookie sheets and let them sit for a a couple of days in a sunny window with plenty of airflow. I have also heard of people using food dehydrators (too much technology!) or the oven (too fast).
For my SMASH I decided to brew the same day I harvested the hops. Nothing like fresh, right?
Here is the partial grain recipe I decided to use:
8 pounds ultralight LME (liquid malt extract)
1 pound 15L Crystal malt, milled and steeped for 30 minutes
7 ounces of hop blend @ 60 minutes
3.5 ounces @ 30 minutes
3.5 ounces @ 15 minutes
Whirlock tablet @ 5 minutes
3.5 ounces @ flameout
Cali Yeast
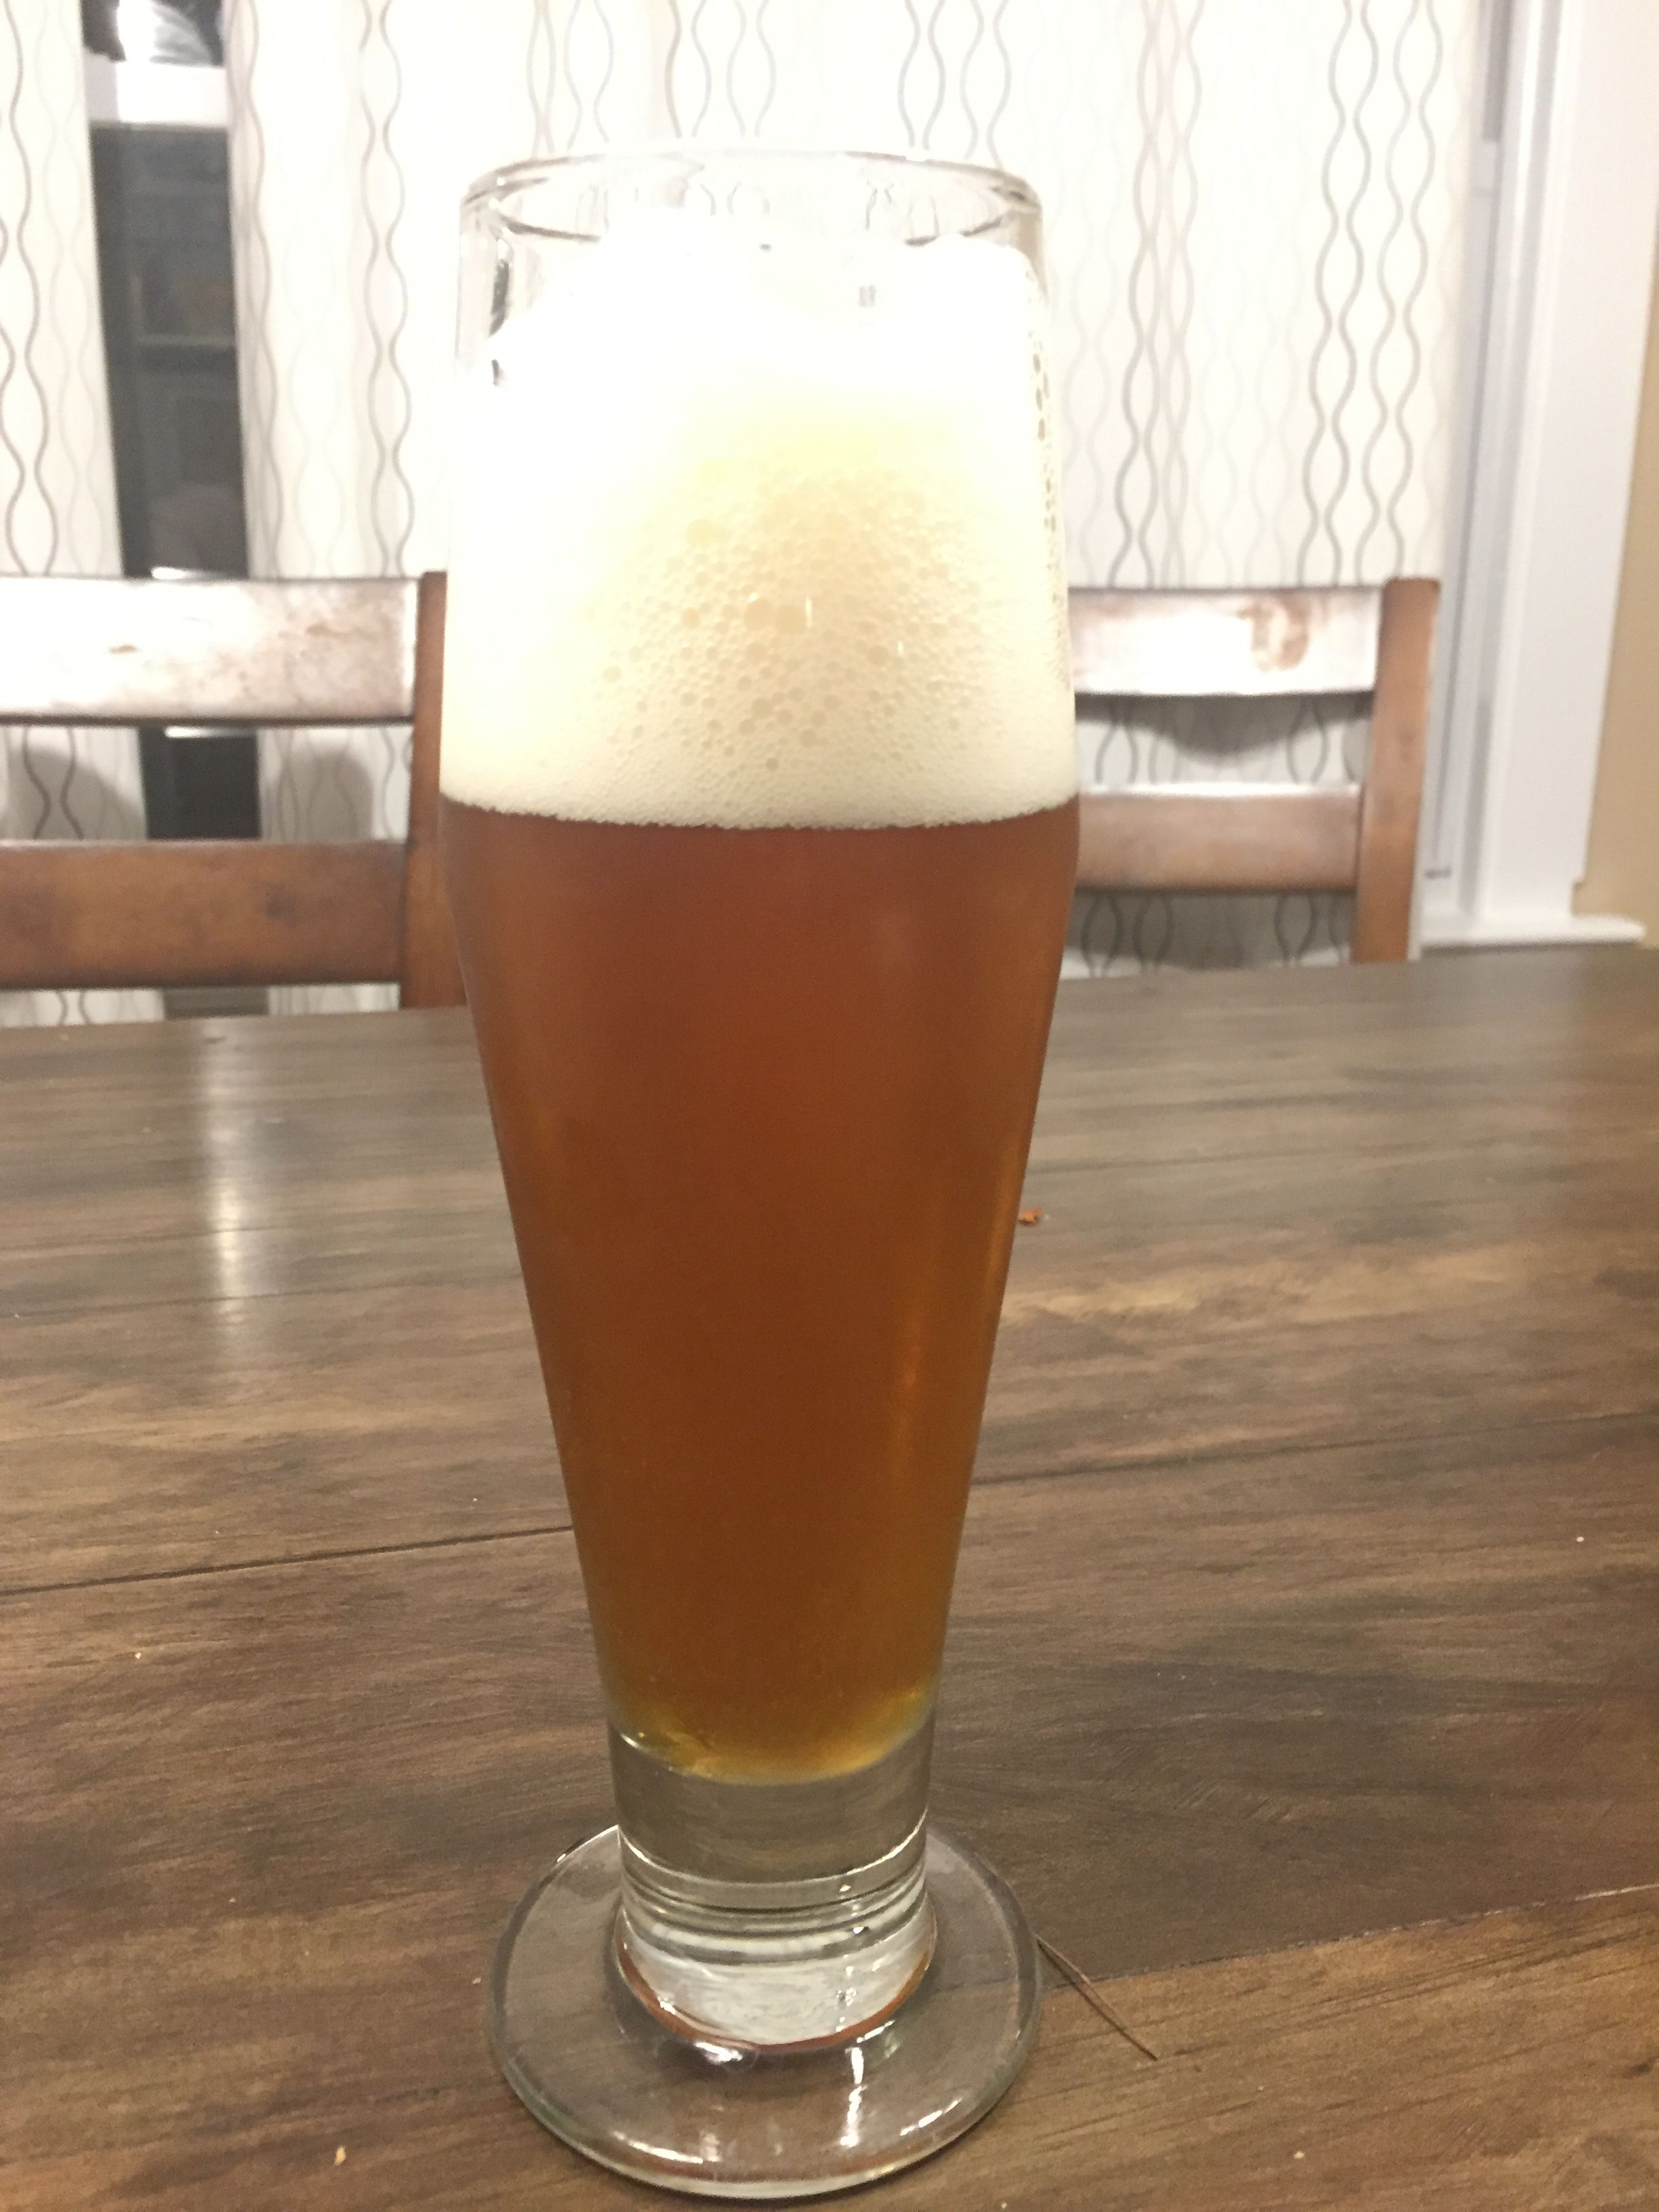
I brewed this on a warm fall day, and I could only chill the wort to 75 degrees, which I fretted over immensely, but the yeast got to work quickly and everything seemed great. Original gravity was 1.046, and final gravity was 1.014 giving an ABV of 4.2. This is a lower alcohol beer than I usually brew, but that was right in range of the recipe. All good! I bottled most of the batch and called it Home Grown Ale.
And then for a little more fun, I transferred a goolon of the brew to a small jar and added another 1/2 ounce of cascade hops and 10 ounces of frozen fresh figs. We always end up with way more figs than we can eat, and I have begun to freeze most of them. With a little research on adding fresh fruit to beer, it turns out that frozen is preferred, as it it helps break down the fruit, helping to impact more flavor. I popped a whole frozen one in my mouth and sure enough, it was bursting with flavor (and incredibly refreshing as a warm weather treat! Future post alert).
The really cool effect of adding the figs is that it re-energized the yeast and bumped the final gravity to 1.010, giving the gallon of fig and dry hopped brew an ABV of 4.73 (over .5 increase). On the flip side, I could only barely taste the fig, and only when I tried really hard to convince myself it was there. In a couple of taste tests, my wife and in-laws had no idea which one contained the figs :(. So, next fall you know I am going to throw a pound of those juicy little sacks of sugar in there. But this is a big discovery for an amateur brewer like myself -- I don't know how many home brewers feel this way, but I often think that my yeast is not really finished. I think this is why a lot of people chat online about the importance of getting oxygen into the wort before pitching the yeast, using all sorts of techniques, like aerators that bubble away during the entire fermentation. For some reason that just goes against my purist attitude, but I have been very tempted to go that technologically advanced route. After all, I do use a fancy temperature controller and heat wraps, so who am I kidding? But now I have a very sneaky technique -- high sugar fruit added when the yeast has conked out. Feed the yeast enough to get the last dying breaths out of 'em, and end up with a more finished brew (less chance of off flavors from unspent yeast) with a higher ABV, and no change to the flavor. I guess I could try the same thing by just adding some corn sugar, but that just seems lame.
In conclusion, this began as a total experiment, and I had very low expectations. In fact, this was my first real experiment in brewing, at least where I threw safety out the window and risked blowing the fourty bucks I invested in ingredients. A more experienced friend warned me that "It probably won't work because you won't know the acid content of the fresh hops." Well, perhaps I got lucky, but my wife agreed, it is one of the best beers I have brewed to date. It's a simple, clean, session beer with a balanced hop/malt profile that leans slightly toward a hoppy American Pale Ale.
I hope you enjoyed this post. If you post about beer or brewing please feel free to add a link to the comments. I am also happy to answer any questions at all, especially if you are thinking about trying to brew at home.
Wow, it looks really good from where i'm sitting at. :)
We were considering home-brewing ourselves but never got around to it yet. So you grow your own hops and just buy the malt? And is it organic?
Dang it, how far can we drive to get organic beer?
I'm going to read the links you posted here. Thanks so much for the beer-making journey here. One of these days...one of these days...
Let me know if you have any questions. I'd be happy to help. Since the hops are just one ingredient, I still have to buy the malt, steeping grains, and yeast. Here's a company that sells organic malts: http://www.brewingwithbriess.com/Products/Organics.htm
So how does malt beer taste in comparison to a Heineken? I liked the taste of Heineken light in a keg (not the bottle). It's not too strong but tasty in a frozen mug.
And your SMaSH beer, what's the taste like?
All beer is made from malt, hops and grains. There are many types of all three, and mixing them up is what basically creates all the different beers out there, along with some variations on fermenting. Heineken is a pale lager, but brewed to be a very balanced hop to malt flavor, and using a very light malt and a small amount of hops. A maltier beer tastes, well, more malty :). British beers stand out as malty, so something like Bass perhaps. My smash is also a light malt, but heavier on the hops, so it has a hoppy bitter flavor. The hops I grow are fairly standard in taste, but some varieties taste piney, citrusy, dirty, etc. If you wanted to try to brew I would just get something like an American pale ale kit. Lagers are really hard to brew as you need temperature control equipment. Hope that helps.
Wow, thanks so much. So I'm going to have to practice on an easier recipe then work my way up to the pale lager type recipe.
That's very helpful!