Home Brewing 101 - Brewing an Irish Red Ale
Home brewing can be a fun and rewarding hobby. I have been home brewing for several years now. It is a relaxing way to spend a #BeerSaturday, with the rewards of your efforts just three to four weeks away. At first blush, home brewing might seem an intimidating undertaking. Trust me, if I can do it, anyone can. There are a couple of keys to making great home brew. First, sanitize, sanitize, sanitize. Second, don't sweat the rest. As long as your beer doesn't get infected, it will probably be fine. If you miss a step, steep too hot, boil too long, or put ingredients in at the wrong time, the beer probably will never know. Nor will your friends.
I thought I might do a short instructional post with a video and plenty of photos to take some of the mystery out of the process of making beer. Understanding, this is a four week process. Today I did the heavy lifting...brewing the wort. After a week of fermentation I will transfer the wort to a carboy for secondary fermentation. This will help clarify the beer by reducing the amount of sediment. It often serves to activate the yeast to add a spark back to the fermentation process, as well. In two weeks the beer will be ready for bottling, the second most time intensive part of the brewing. Finally, in about four weeks, the bottle-aged beer will be ready to chill and serve. I plan to provide an update post at each stage of the beer-making process. So stay tuned for the updates.
The first thing I do on beer-making day is lay out my equipment. I boil in the garage, so I use a cardboard box in the event I ever have a boil over. So far, that hasn't happened. I use a cheap folding table that I purchased from Costco (I use two for bottling) to set out my ingredients in an organized manner. Below is a short video of my brew day set up:
Protip #1: Make sure you make notes as you go along. If you change anything, you may be glad you have your notes later. Particularly if you make changes and like the result.
Part of preparation is making sure you have everything needed for your wort. (Wort is what the liquid is called until it ferments). Below are my preparations for an Irish Red Ale in photo checklist form.
Ingredients overview.
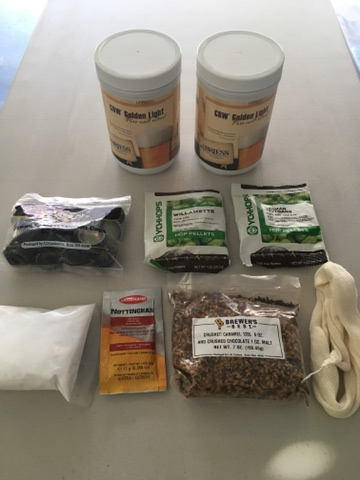
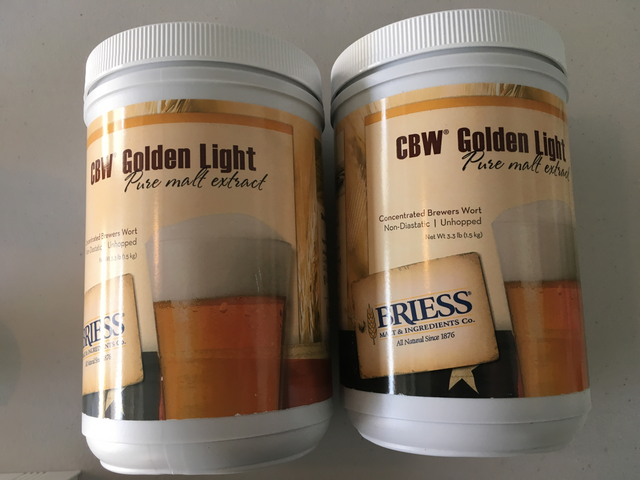
Liquid Malt Extract (Golden Light)
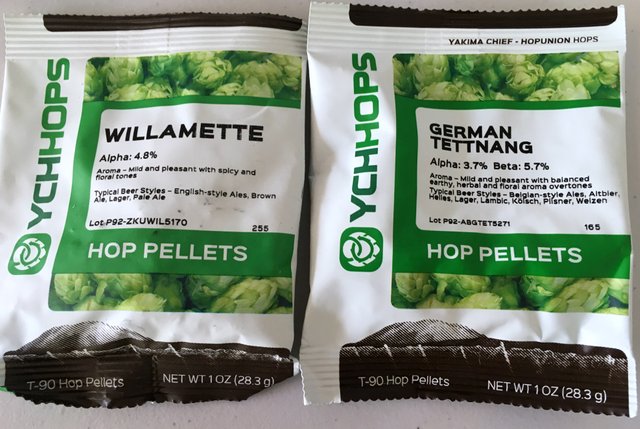
One Oz. German Tettnang and Willamette Hops
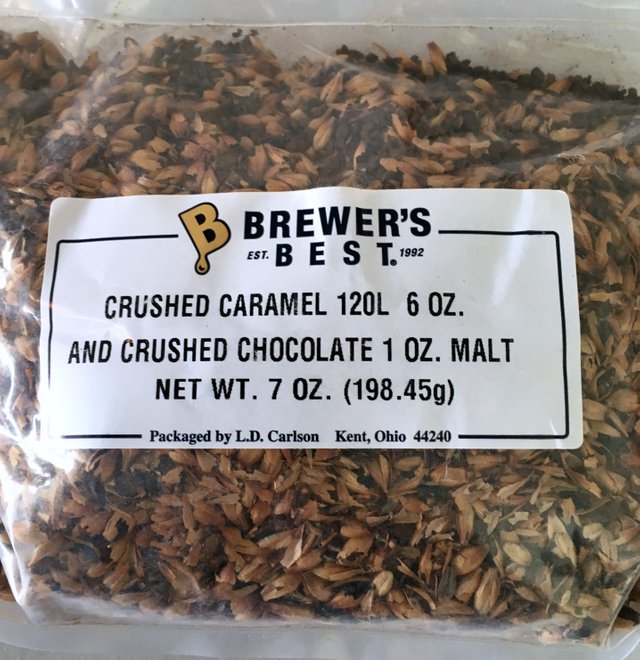
Mixed Grains
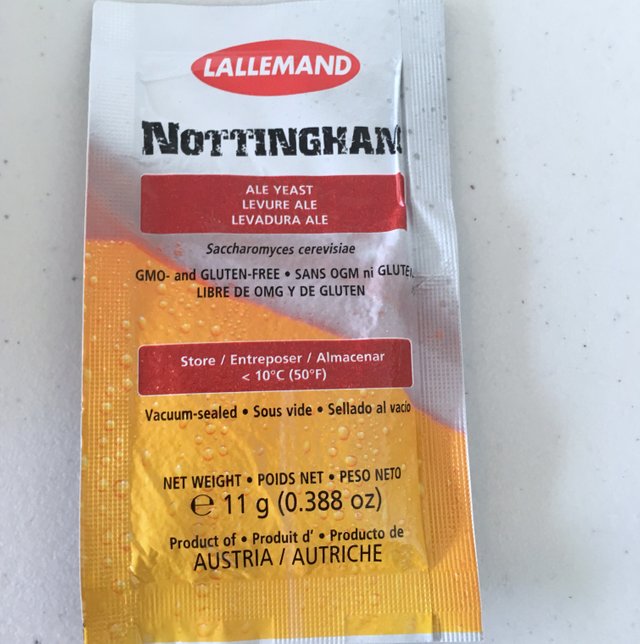
Ale Yeast
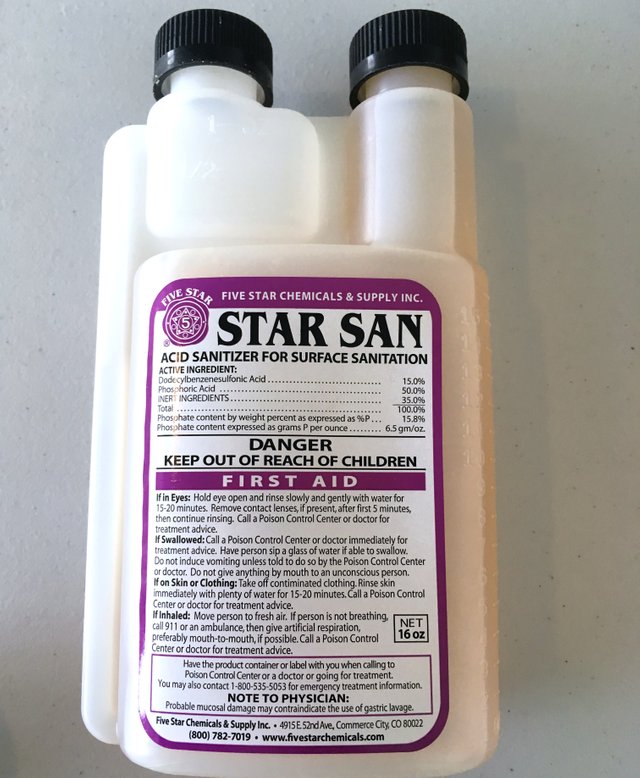
Starsan Sanitizer
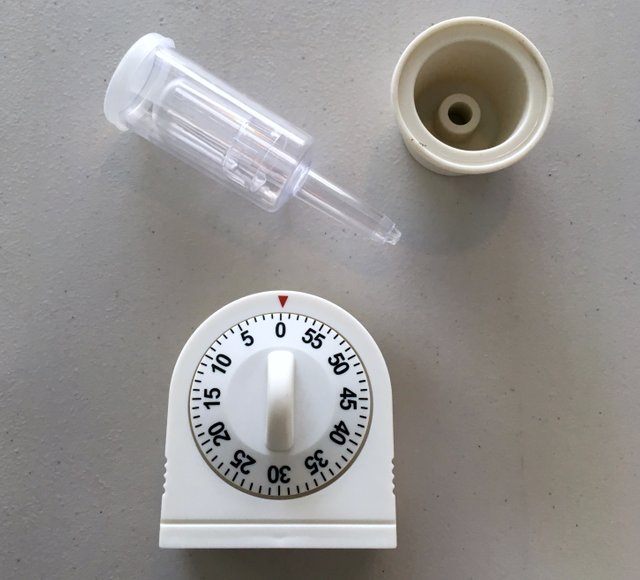
Timer and Airlock
Sanitizer Container
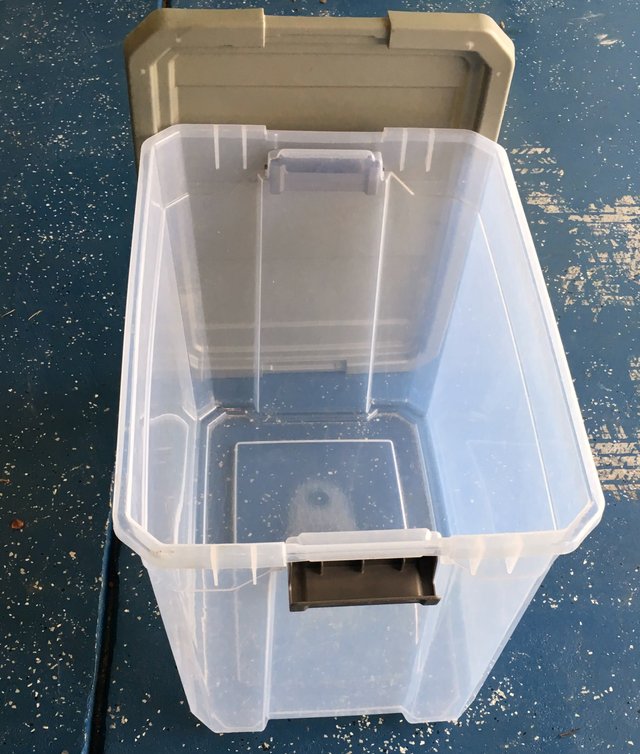
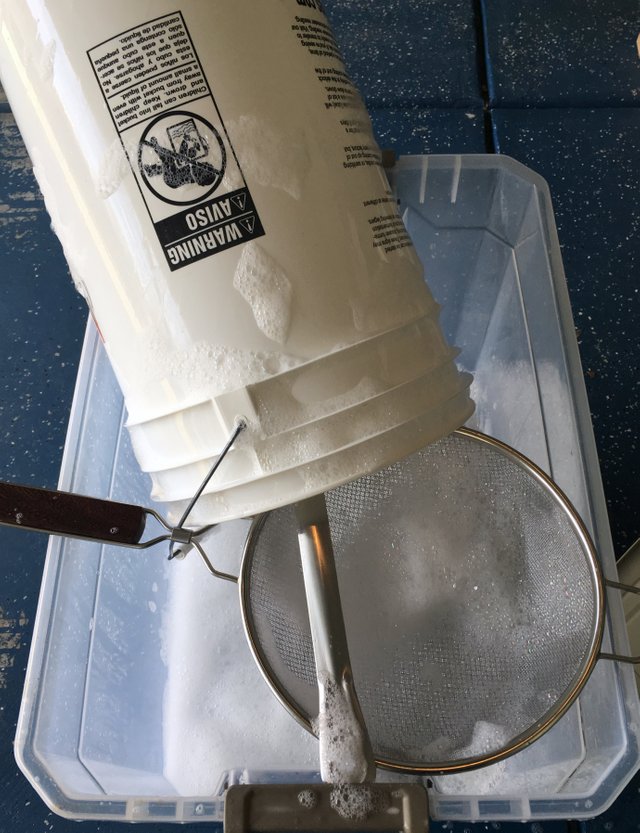
The most important part of beer making is sanitizing. Beer is very forgiving. The only ingredients needed to make alcohol are yeast, sugar and water. The type of sugars, water and yeast used will determine how the beer turns out. But all of it is for naught if the beer becomes infected with a wild strain of yeast. I use Star San, which is mixed one ounce to five gallons of water. I mix the sanitized water in the large storage container and reuse it for the two weeks it takes to make the beer. As long as you don't foul it and keep it covered, it will be fine for sanitizing the secondary fermentation tools and the bottles on bottling day. For me, this is the most important step in beer making. Everything that touches my beer (or wort) gets sanitized. I generally leave the sanitizer on my equipment for at least five minutes before I begin. I also keep a bottle of sanitizer around for good measure.
The beer making process is ready to begin. The first stage is to steep your grains. For my boil, I use a standard turkey fryer. I have an extra propane tank just in case one runs out. You can never be too careful. The grains need to be steeped between 150 and 165 for twenty minutes. You can steep longer to get more sugar out of the grains. I use a standard cooking thermometer to ensure that my temperature remains within range. Generally, if I bring the temperature to 165, I can turn off the fire and the temperature will stay in range for the remaining twenty minutes. Most recipes for a five-gallon batch will begin with a 2.5 gallon steep (minimum). You can use bottled water, filtered water or tap water. Good water makes good beer. As long as your water doesn't have excessive minerals, you should be fine with any of these options.
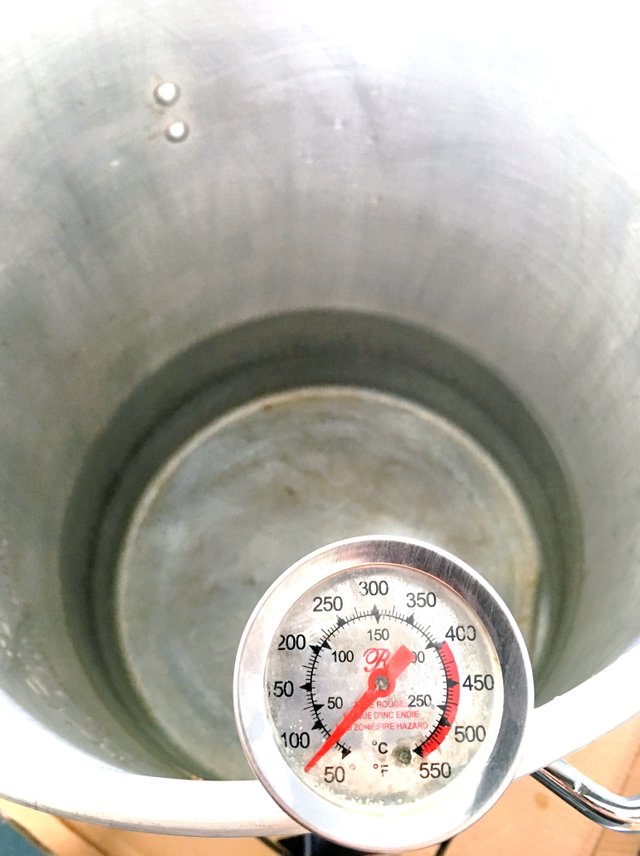
When your temperature is in range, you are ready to add your grains. You can add grain directly to the boil, but it is a hassle to get it out. I use a muslin pouch for my grains. They are standard in kits, which is what I purchased for this introductory post.
Protip #2: if you are inside (even in the garage), it is a good idea to step outside to place the grain into the muslin bag. There is quite a bit of grain dust in the packaging. It is likely to get all over the floor if you don't prepare it outside.
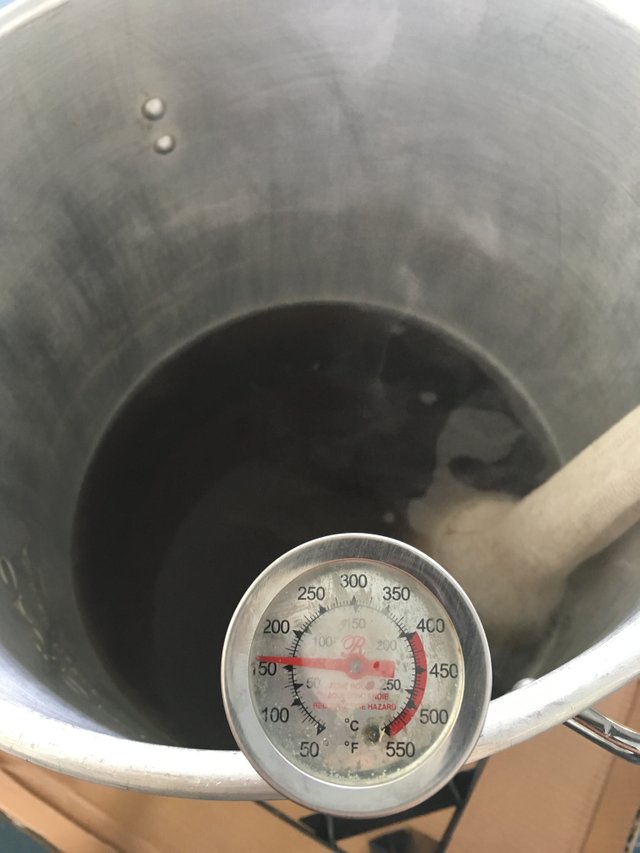
As the grains finish steeping (you can see I am still slightly above 150), you can see that the wort has now taken on quite a bit of color from the mixture of caramel and chocolate grains.
Protip #3: You don't have to use a strainer. But steeped grains are sticky. You do not want the muslin bag dripping anywhere. I usually strain mine for a minute before moving it to a container for later disposal.
Protip #4: If you look in the upper right corner of this photo, you will see a bag. It is actually a double bag. I place everything in the bag once it is used. The liquid malt extract, dry malt extract (when used) and grains are all super sticky. It makes cleaning up later a lot easier if you keep it clean as you go.
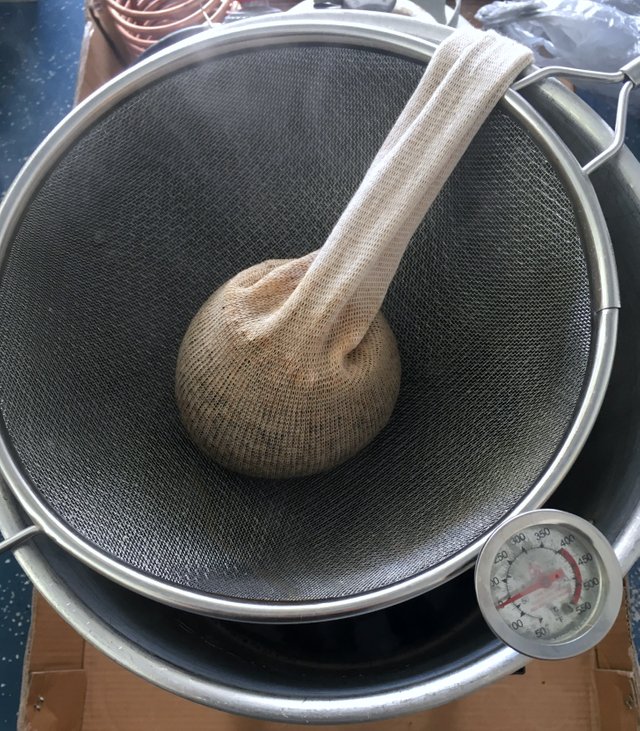
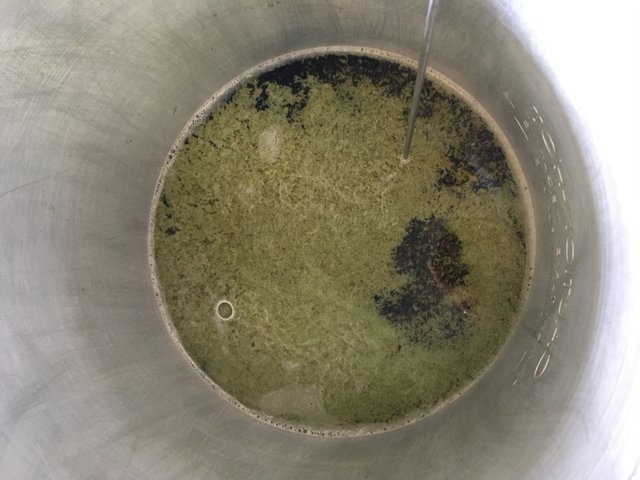
After removing the grains from steeping, bring the temperature of the wort to boiling. When it reaches boiling, for this recipe, we begin by adding the German Tettnang Hops. Most recipes do not call for hops to be added at the start of the boil. This is also the time to add the Liquid Malt Extract. You will see in the photos below the green film from casting the hops pellets as they dissolve. The next photo shows how the wort looks when the LME is added.
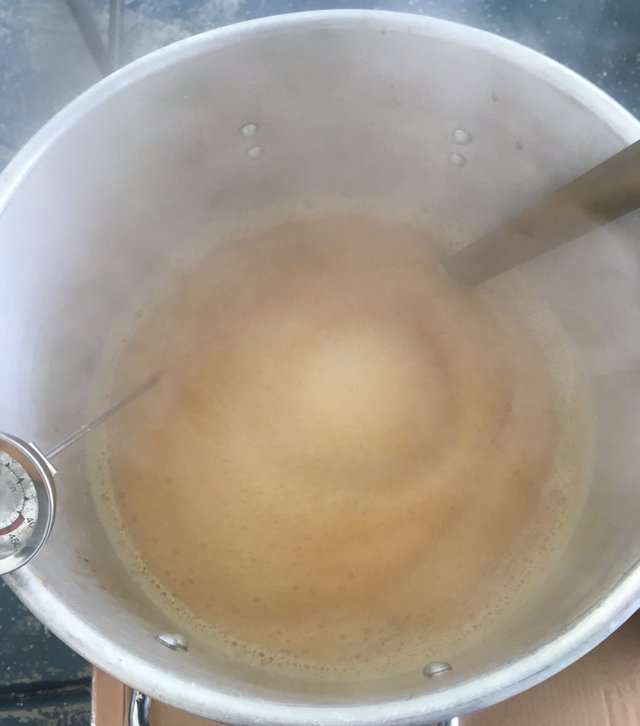
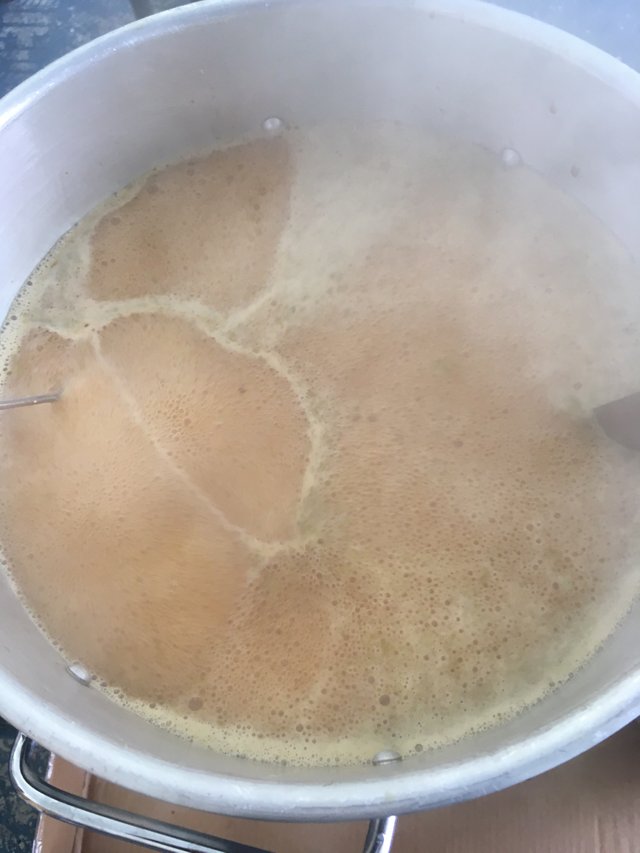
Protip #5: A watched pot never boils. An unwatched pot boils over. The addition of the LME will cause the 2.5 gallons of water to expand and foam up rapidly. For ten or fifteen minutes you must keep a close eye on the wort so it does not boil over. I took a photo to demonstrate how quickly the wort can expand toward the top of the pot.
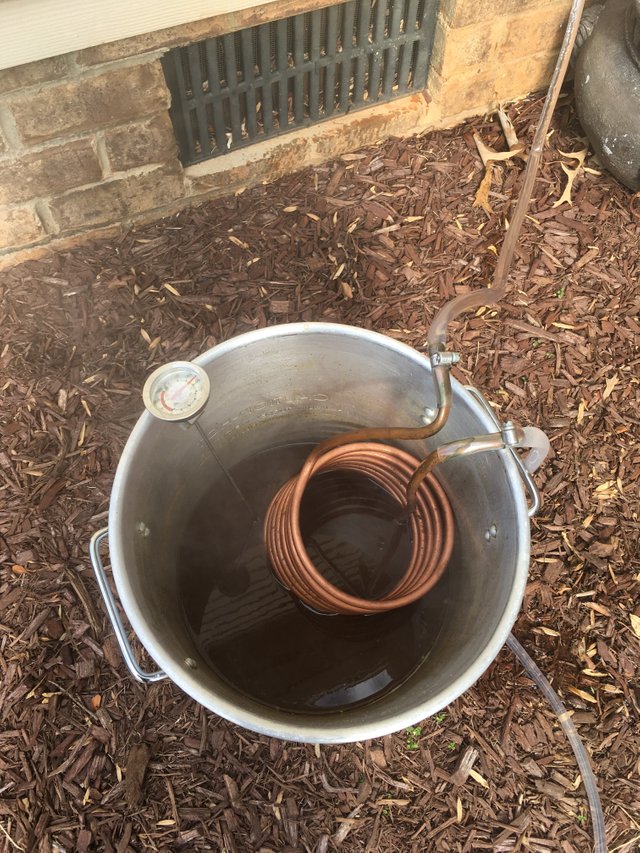
I use a wort chiller to cool my wort. In addition to sanitizing it, I place it in the boiling pot at fifty minutes (ten minutes before the one hour boil is complete). This further sanitizes it. At fifty-five minutes, the Willamette Hops are added. This late hopping will fragrance the beer a bit.
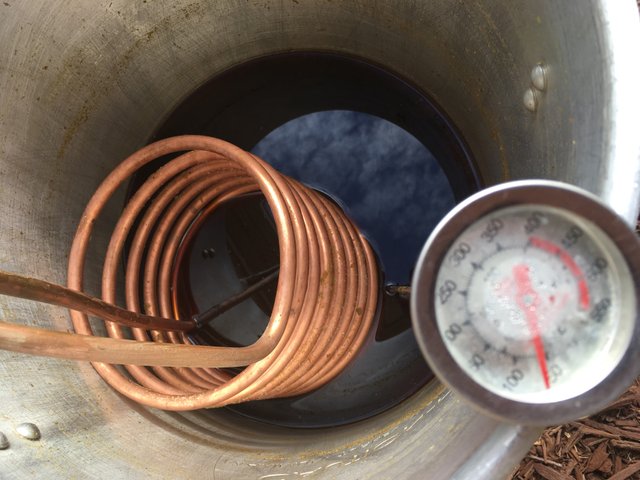
Once my timer signals that my hour is up, I turn off the flame and (using oven mitts) remove the pot outside where I can hook up my wort chiller to my outside faucet. The cold water running through the copper coils will quickly reduce the temperature of the wort (target range should be around 70 degrees Fahrenheit). The wort chiller also seems to settle the solids to the bottom of the pot better.
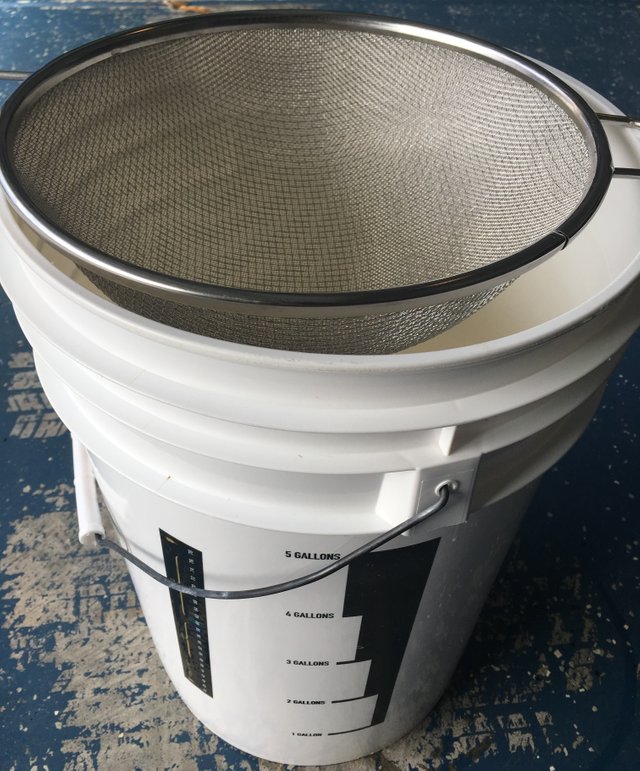
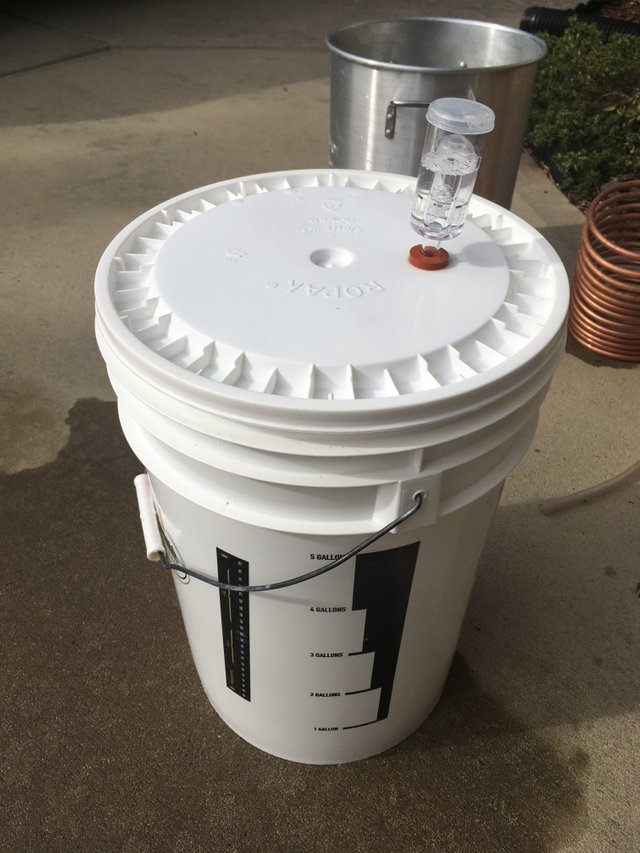
I have already sanitized my fermentation bucket. When the temperature of the wort approaches 70, I can move it to the bucket. My bucket has two important gauges on it. First, I have gallon markings on the outside so that I can top my water up to five gallons once I move the wort. Second, I have a temperature gauge on the side. You do not want to cast the yeast to hot or too cold. The ale yeast for this recipe does best at above 50 degrees.
It is not necessary to use a strainer when you move your wort to the fermentation bucket. Most of the solids will settle with the spent yeast during fermentation. However, I prefer to strain mine to minimize the amount of solids. Here is my fermentation bucket with the gallon and temperature gauge visible.
Protip #6: Once you have strained your hops, do not discard them in the yard. If you have dogs, particularly dogs that like to get into things, be warned that hops is toxic to dogs. It can cause malignant hyperthermia. Bag them up and place them in a waste container. You probably don't want any other critters getting sick from the spent hops even if you don't have dogs.
Time to cast the yeast. Once the yeast is cast, you can stir it well to ensure it gets incorporated into the wort.
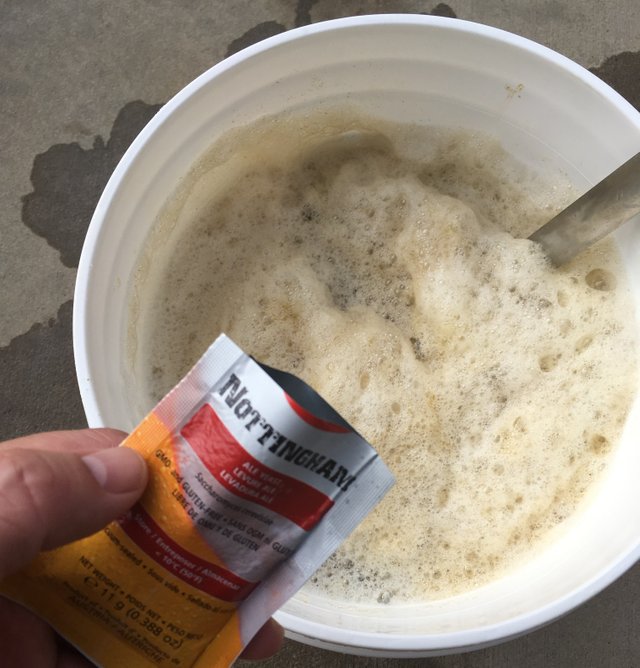
Protip #7: You can precast your yeast if you want to ensure it is active. You can do this by boiling a small amount of sugar water for five minutes and allowing it to cool to 70 degrees. In another container, add the yeast to warm water and let it sit for about fifteen minutes to see if it is active. You can add the sugar water to give it a boost before casting.
I don't precast my yeast. I have never had an issue casting directly into the wort. You will know if your yeast is not working. If your airlock is not bubbling within 24 hours (assuming your lid is on tight), then you may need to recast the yeast. This has not happened to me and seems rare as long as you are using freshly purchased yeast.
Making beer entails a bit of math to go along with the cooking lesson. After your yeast is cast, it is time to obtain an Original Gravity reading (OG) with a hydrometer. Below is a photo of a hydrometer (make sure to sanitize it before placing it in the wort).
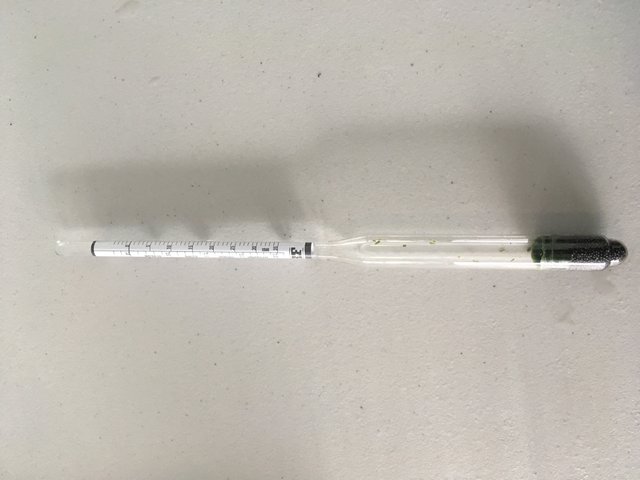
After placing my hydrometer in the wort (and allowing the foam to settle a bit), I obtained an Original Gravity reading of 1.048. To calculate the ABV, I will take another reading before bottling. That reading is the Final Gravity. The ABV percentage is calculated by subtracting the FG from the OG and multiplying by 131.25. In this case, the final gravity should be within a range of 1.011 and 1.015. That will place the ABV between 5 and 5.5 percent. The mild hopping in this beer will result in an IBU rating of 19 - 23. An Irish Red Ale tends to lean toward malty with just a mild bitterness.
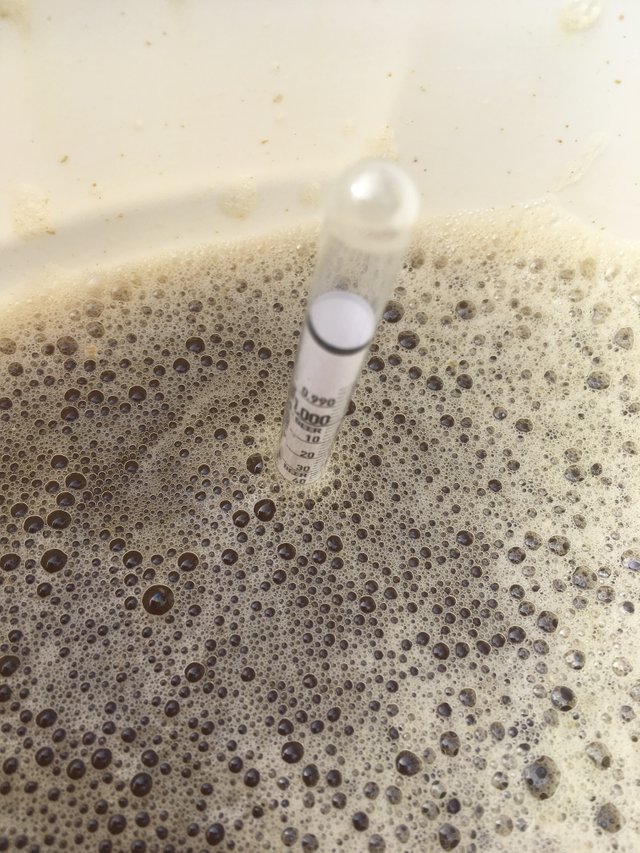
That sums up the brewing part of the beer making process. Make sure to fasten the lid on tightly and place the airlock into the lid. As you can see by this photo, my starting temperature was a bit cool when I added the cold water to top off the wort to five gallons. Ales like to ferment a bit cool. While they are generally okay into the low 70s, anything above 50 for this yeast should be fine. Once the yeast starts working, the temperature will climb a bit.
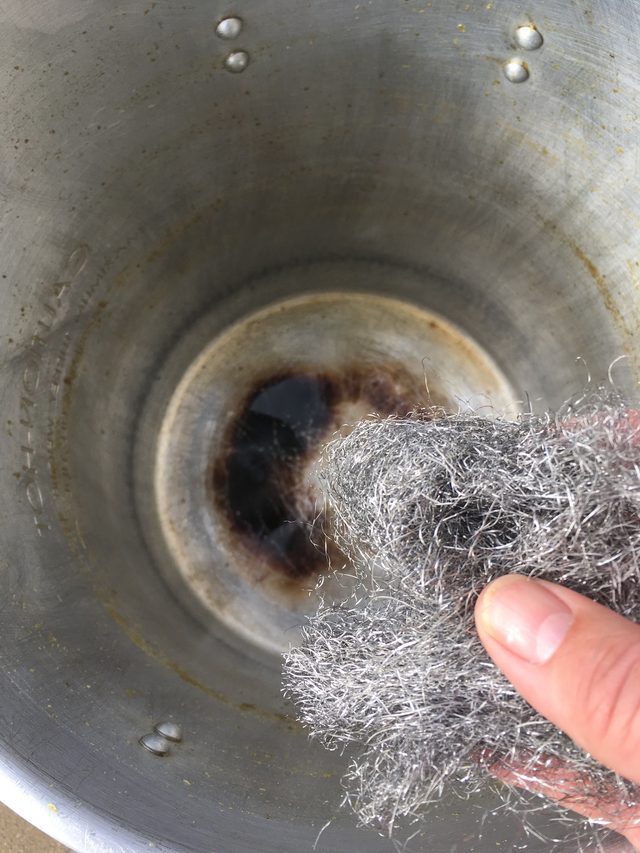
That's a wrap for brewing. Cleanup was quick and easy, as I cleaned during the boil. I merely had to throw my bag of trash away, fold up the table, put stuff back where it goes and...oh yeah, clean the brew pot. That's requires steel wool and a bit of elbow grease. Steel wool works wonders on the burnt malts a the bottom of the pot. No matter how much you stir, you are going to get some burn. It cleans up pretty easy. Ten minutes and I was done with the entire cleanup.
The most important part of the fermentation is in the first day or so. You want to place your wort somewhere where it won't be too hot or too cold. You want to keep it in a range between 50 and 75 degrees for optimal fermentation. Too hot and it will ferment too fast. This can create odd, metallic esters in the beer.
Protip #8: Find a dark room to ferment the beer. Preferably the basement or a room where you can shut off heating vents in the winter. If the temperature exceeds 75 degrees, try placing the bucket in a larger container filled with ice to slow the fermentation down.
You should see signs of fermentation in the airlock within the first day. The gas being released through the airlock will create bubbles. While opening the beer is not likely to be enough for it to become infected, I don't open it until I am ready to move the beer to secondary fermentation. Which is usually less than one week. That process will be detailed in another post, so stay tuned!
I hope you enjoyed reading about my Saturday beer-making process.
Damn @coldsteem! This post is as informative as it is enjoyable. I seriously think I could even make a run at it, and I am internationally known for completely botching up any step-by-step process like this!
The pictures and "protips" in particular were extremely helpful as I read through it. Great work my friend! Looking forward to the next post about this promising batch o' brew!!
I might just be able to get a bottle to you. I forgot to mention I have my own untappd page of my beers.
I will accept it with open arms and salivating glands!! The Irish Red Ale flavor sounds beyond delicious.
Hey coldsteem man, i think your awesome!
I am not gonna be surprised if one day i learn that you built a beer factory. Lol
Have a great weekend!
You have received an upvote from STAX. Thanks for being a member of the #steemsilvergold community and opting in (if you wish to be removed please follow the link). Please continue to support each other in this great community. To learn more about the #steemsilvergold community and STAX, check this out.
Great post with a solid overview of the process. I posting something similar a couple weeks ago, but I like your's better. The pics are helpful. I actually found your post because I was searching for the best tags for homebrewing. I am sitting down now to write about a SMASH I brewed with my own homegrown hops. I am thinking I will use #beer as the primary tag like you did.