Homebrewing Irish Red Ale - Part III
This is the third in a series of Homebrewing posts about the process of making homebrew. The idea of making your own beer may seem daunting. But it really isn't that hard with the right equipment and time investment. It is a process that happens in stages. The first to have already been documented for you:
Brew Day - This post explains the process of gathering equipment, sanitizing and boiling the wort.
Secondary Fermentation - This post explains the process of moving the beer to secondary fermentation. This is not a mandatory step in making beer, but will result in a clear end product.
Today's primer will be on bottling. Like step one, this is a more labor intensive step. Of course, if you opt to keg your beer, the process will be much simpler. I bottle-age my beer for carbonation. This requires an additional one to two weeks before you can drink it and a bit more effort to fill all the bottles. Kegging is simpler and you can enjoy the beer more quickly. However, with bottles, you can share with friends and they can enjoy it at their own leisure.
Bottling
As with every other step in the process, the first step for bottling day is to gather all of your equipment and sanitize. Sanitize, sanitize, sanitize. For bottling, I have two folding tables that I purchased from Costco. I set one on the highest setting and the other on the lowest. This allows gravity to do most of the work for me. Below, I have started to lay out my equipment. The sanitizing solution is in a bucket at the end of the table. The box contains brand new bottles. I use a mixture of new and recycled. Because I give away quite a bit of beer to friends, I don't always get my bottles back.
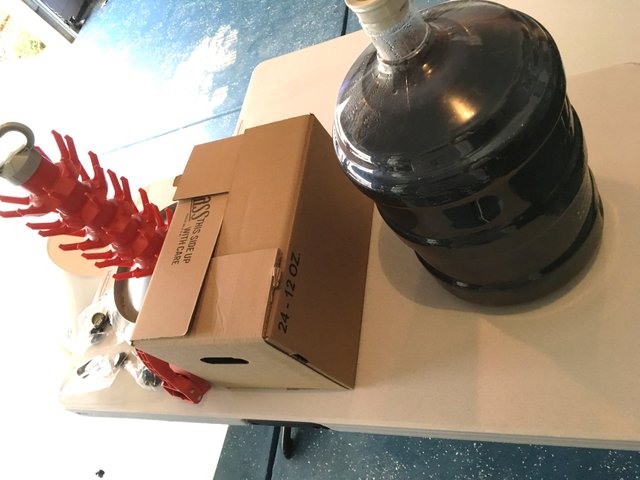
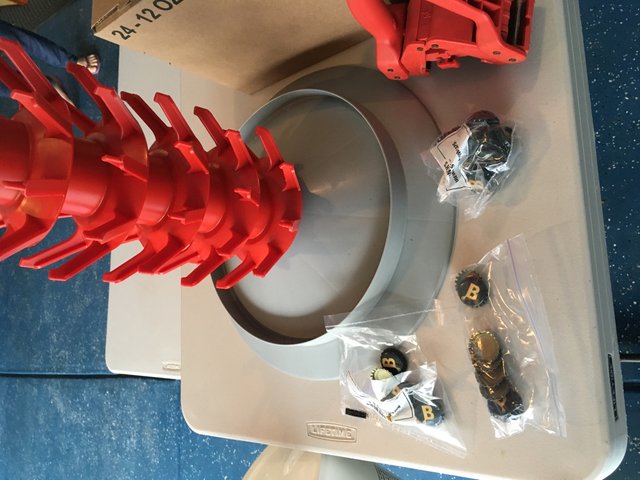
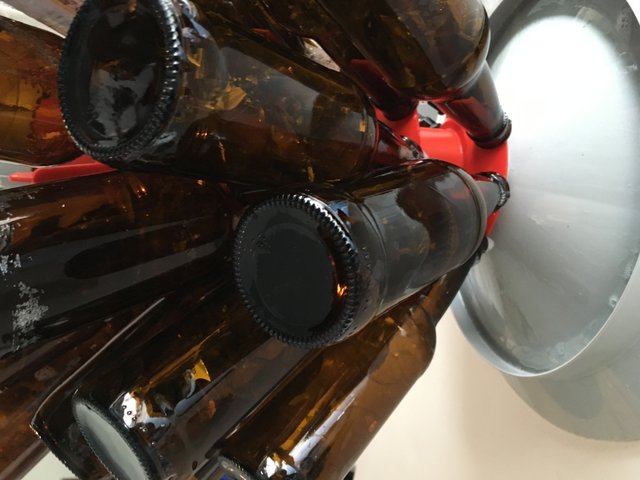
This nifty device is called a bottle tree. You want to avoid contamination, but you also don't want a bunch of sanitizing liquid in the bottom of your bottle before you fill it with beer. The sanitized bottles are placed upside down on this tree and allowed to drain and dry while I proceed to the other steps required in preparation for bottling.
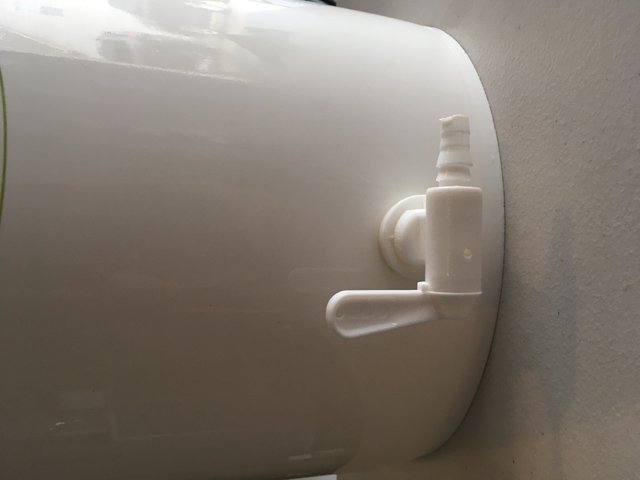
Protip: Make sure the bottling spigot is turned to the off position. If not, you are going to make a mess. It is an easy mistake to make, so double check.
Once you have ensured that your spigot is off, you can begin siphoning the beer from the carboy into the bottling bucket. Gravity is your friend. You can see how the secondary fermentation made this beer crystal clear. I like a nice clear beer. After priming the siphon, it takes several minutes for the five gallon batch to drop from the carboy into the bottling bucket. Be patient. Listen to some music. Takes some photos with your free hand. Start mentally writing your blog post about beer. You will get there eventually...
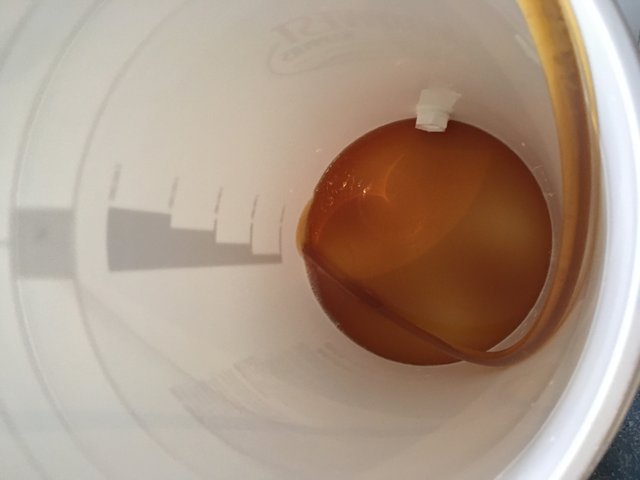
This is the sediment left at the bottom of my carboy. As you can see, there are quite a few solids, although nothing near what we had following the first fermentation. Still, these are all solids that won't be in the beer.
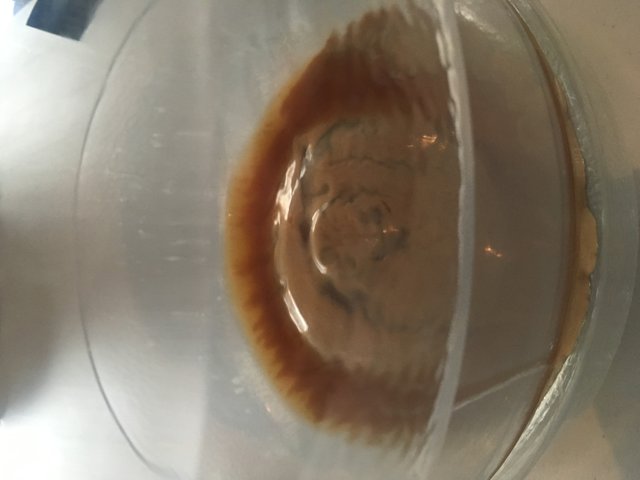
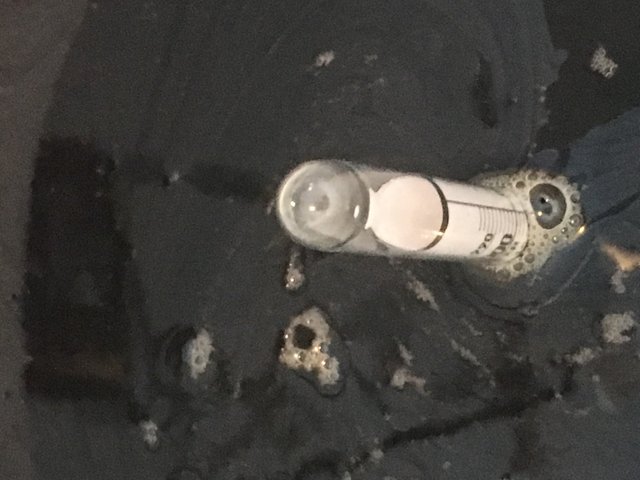
Once the beer has completely drained into the bottling bucket, I take a final gravity reading. This reading is used to calculate the ABV. The final gravity ended right at 1.010 which gave me an ABV of 5 percent. Because I am bottle aging, the priming sugar may elevate that slightly, but not enough to worry about.
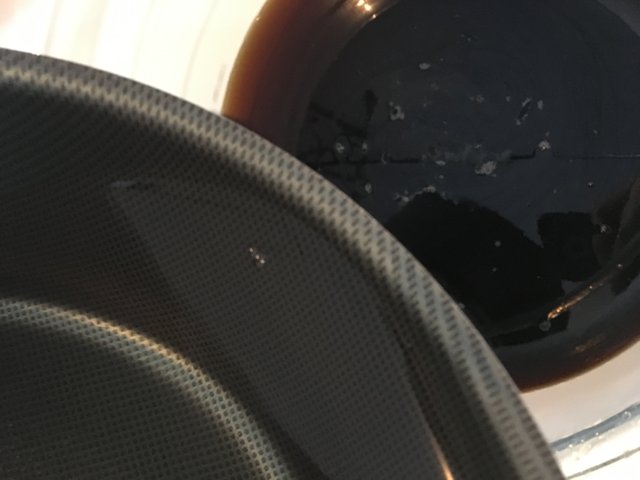
The final step before bottling is to add the priming sugar. Most five gallon beer recipes will call for three to five ounces of priming sugar, depending on the type of beer. Heavier beers usually require a little bit more. This recipe calls for four ounces. Now, you have just sanitized everything that touches your beer. Sugar is not exception. It must also be sanitized. The four ounces of priming sugar is placed in a pan with two cups of water and boiled for five minutes before going into the beer. The sterilized sugar should be stirred in well for an even mixture and to start the yeast on their way again. The yeast will begin fermenting the beer while it is in the bottles, carbonating it in the process. Within one to two weeks, the bottle will be ready to drink.
During this process, the beer bottles have been drying on the rack. They should be good and ready for bottling now.
Using the hose from the siphon, I connect to the bottling bucket spigot. The other end of the hose gets an attachment that has a spring release on the bottom. This starts the flow of beer into the bottles by adding slight pressure to the bottom of the bottle. Below, you can see the spring loaded tip that controls the flow of beer.
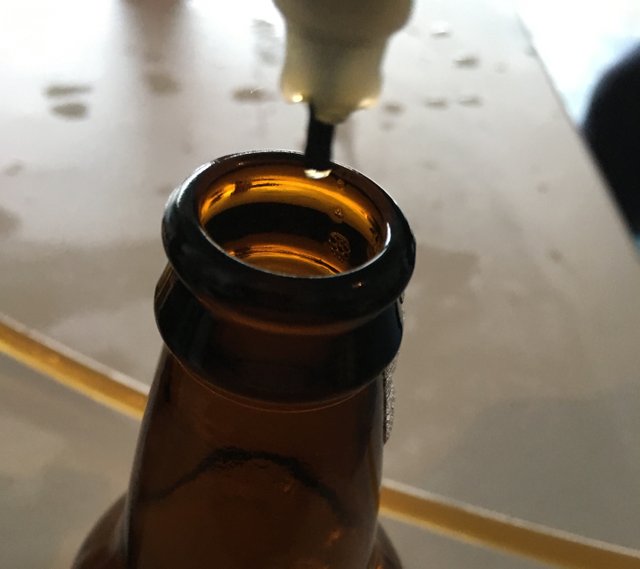
Depressing the tip on the bottom of the bottle will fill the bottle. As it approaches the neck, I fill near the top. The displacement of the wand in the bottle will leave just enough beer to start filling the neck. As you remove the wand, the beer stops flowing to prevent making a mess as you move from full bottle to empty.
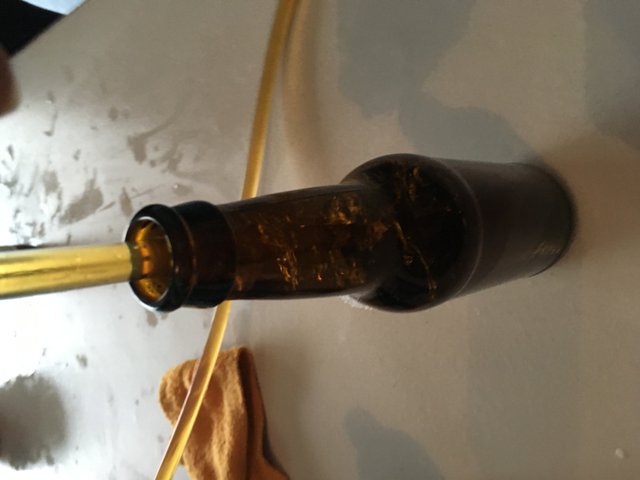
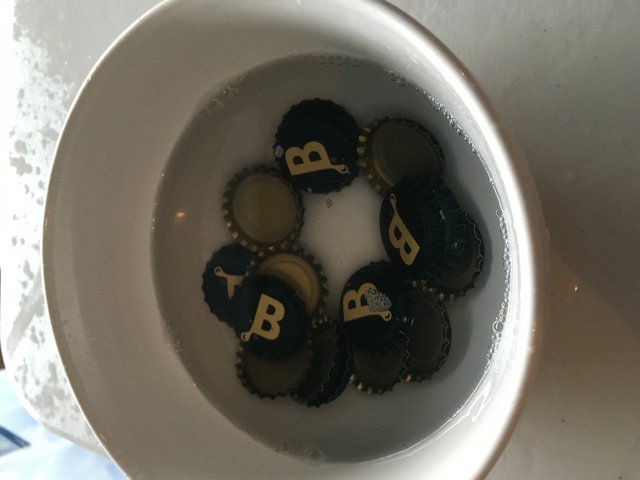
Even the bottle caps are soaked in sanitizer before capping the bottles. The table that I use to bottle on has also been cleaned with sanitizer. I may take the whole cleaning thing to the extreme. But I have never had an infected batch of beer. Keeping things ultra clean works for me. And it doesn't require much effort.
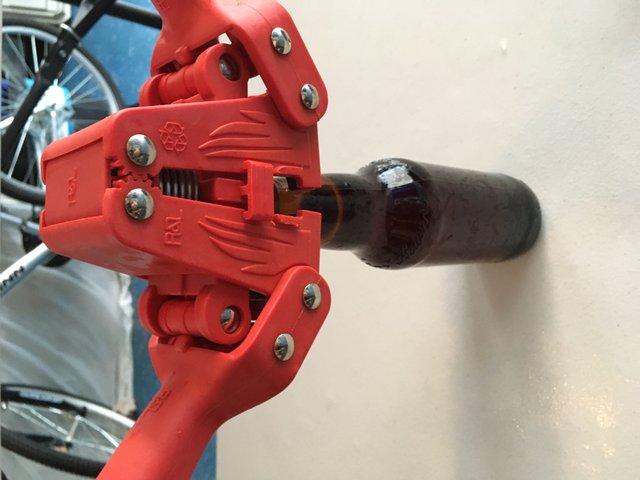
I use a mechanical bottling device. It has a magnet that holds the cap secure while you crimp it into place by depressing the handles with even pressure on both sides. Technically, you are not supposed to use twist off bottles (recycled) for this type of bottling. However, I have and do use twist offs if that is what I have on hand. I have not had an issue with that.
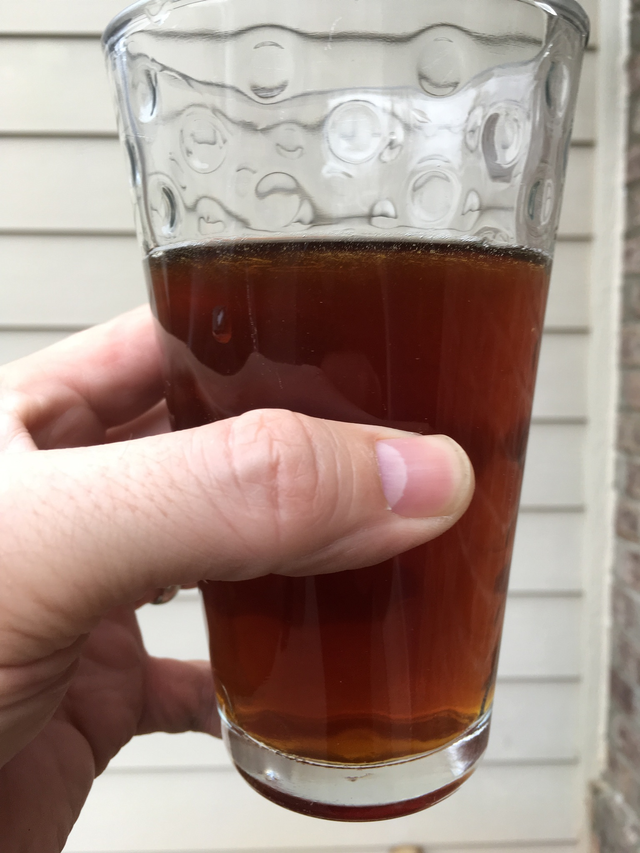
Protip: Make sure that you save enough to sample. This wasn't quite enough to fill a bottle. And I couldn't let it go to waste. While not yet carbonated, beer is still beer. It may be an acquired taste, but I'll take it. Notice that nice red hue!
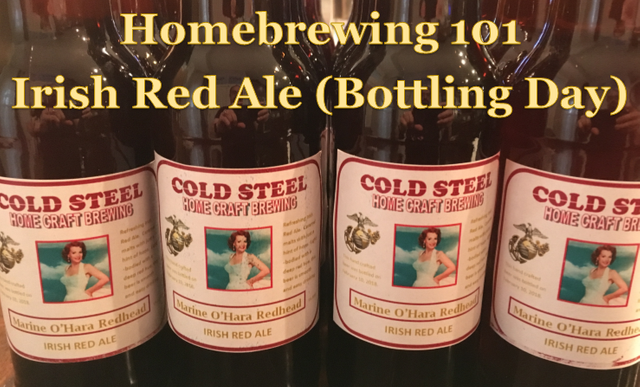
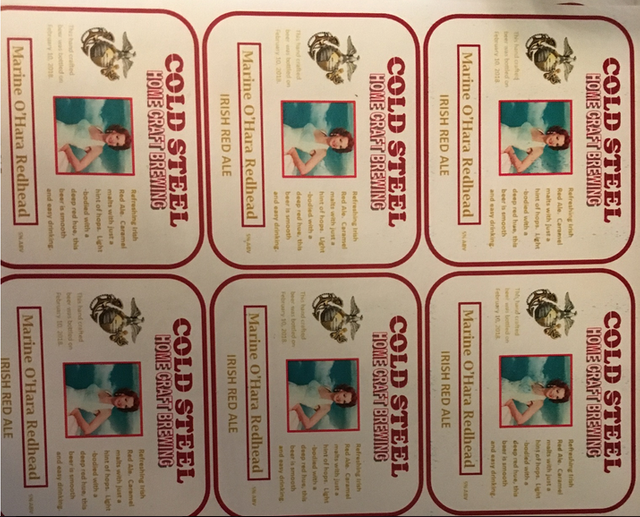
The last step in bottling is to apply labels. This is not a mandatory step. I can assure you that the beer tastes the same without the labels. However, if you are going to go through all the trouble of making your own beer, why not design some cool labels? Some of the beer I have given away to friends have ended up in the hands of people I don't know. Some of them have even ended up rated on Untappd! I use Avery Sticker paper to print my labels and then cut them and peel/stick them to the bottles.
Now it is just a waiting game. In a week or two, I will submit a final post with an unbiased review of this beer (that I can already tell is exceptional). I will do a pour and talk about the nose, lacing, taste and all those other mouth-watering descriptions. I hope you enjoyed today's installment.
And there it is!!! Love it @coldsteem!! Man that looks delicious and all the more awesome with that label. Great work my friend!!
Thanks. I have a bottle set aside for you. If @steadfasthealth gives you permission. ;)
Thank you for such an in-depth explanation and for using so many images. This really helped me see and understand how much goes into home-brewing.
Stay tuned for the pour in the coming days/week...
Man do I wish I had the space for a home brew set-up, damn NYC apartments.
They have gallon size kits you can buy that are pretty much self contained. Easy to do in a kitchen in that size batch. That may be worth giving a try.
Yeah I've looked at those, I might give it a try at some point. Also seems like a lot of work for what I can drink in a night. =P
Good point.
I love the label and the name of the beer. I am mostly interested in final results (beer tasting), so I can't wait for the final post.
Stay tuned !
oh man this is great timing- we're brewing our first batches of mead in our closet right now and have been talking about what we need to do and get for bottling. I love that rack, though I think we were going to go for more wine-sized bottles.
...still thinking of what our labels will look like, too! :D
I think wine bottles work as well. Toward the base at least.
Looks like alot of effort for homemade brewing to me. maybe i am just lazy. thank you for sharing this detailed steps of brewing. I certainly agree with the part "sanitise, sanitise and sanitise". 😁
It seems like a lot. But if you were to break down the steps for baking a cake, it would seem a lot more complicated than it is. When you have made a few batches of beer, it requires little thought after a while.
Excellent advice - you are making me think it's time to brew again.
Very interesting, great job.
Thanks.
Congratulations! This post has been chosen as one of the daily Whistle Stops for The STEEM Engine!
You can see your post's place along the track here: The Daily Whistle Stops, Issue # 48 (2/17/18)
The STEEM Engine is an initiative dedicated to promoting meaningful engagement across Steemit. Find out more about us and join us today!
if you compare your beer to the ones that you buy , is there a big difference
Yes. Home brew is superior. It is really like buying a cake at the grocery store or baking one at home.