How I made Alabama Worley statue step by step process...

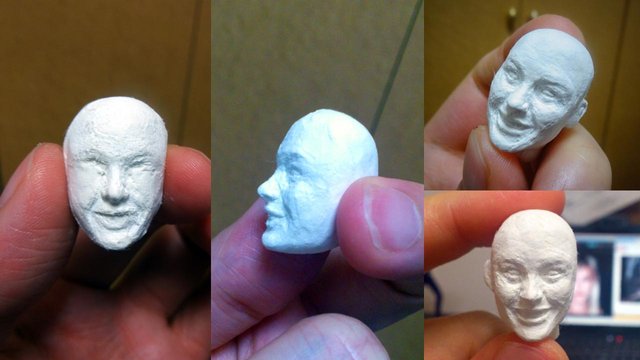
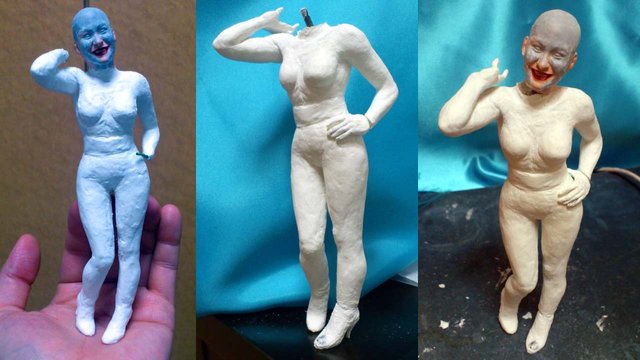
I used Padico's LaDoll series Premier stone clay to sculpt Alabama. If I ever become a Padico spokesperson for Premier stone clay, it would be a great honor. Great clay!
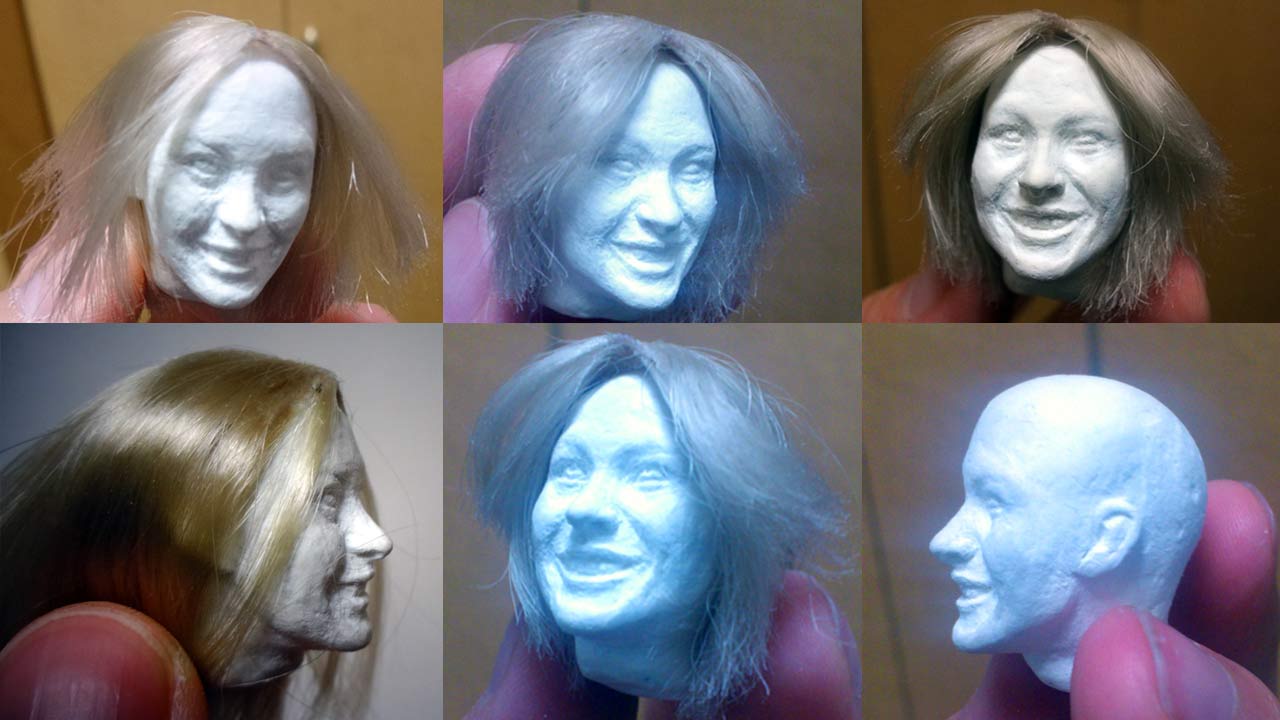
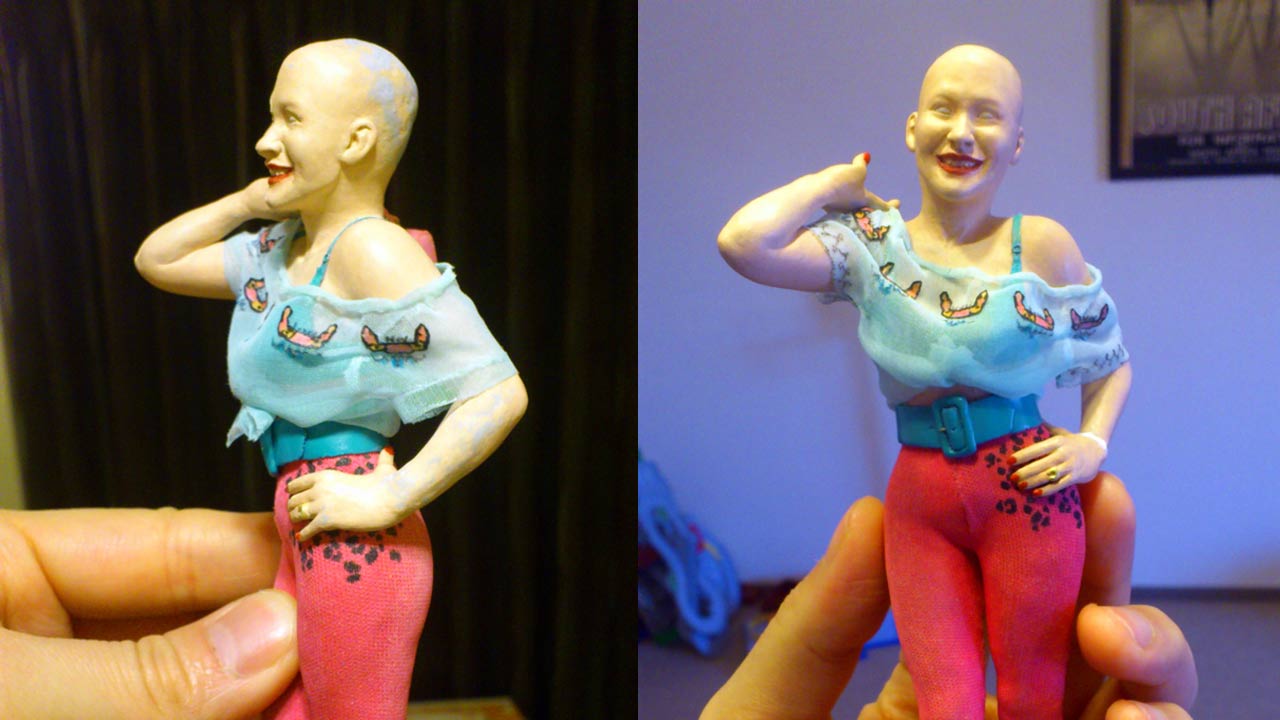
Still experimenting with the hair making process. I didn't start using modeling clay for stand-in hair until the Wheels On Meals (Jackie Chan and Benny Urquidez) statues. Ongoing refining of her face.
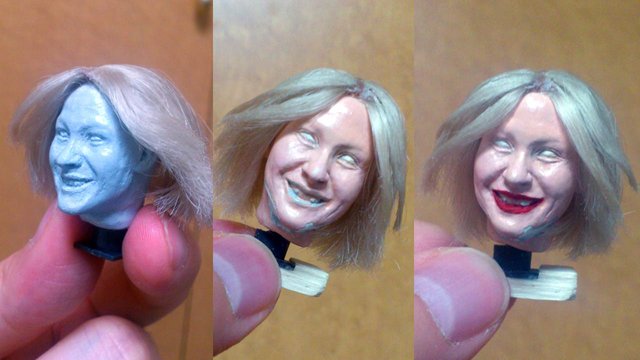
Primed her face with Mr. Hobby's Mr. SURFACER 1000. Again, the fine features were slightly altered because of the primer thickness. I moved on to paint her skin anyway.
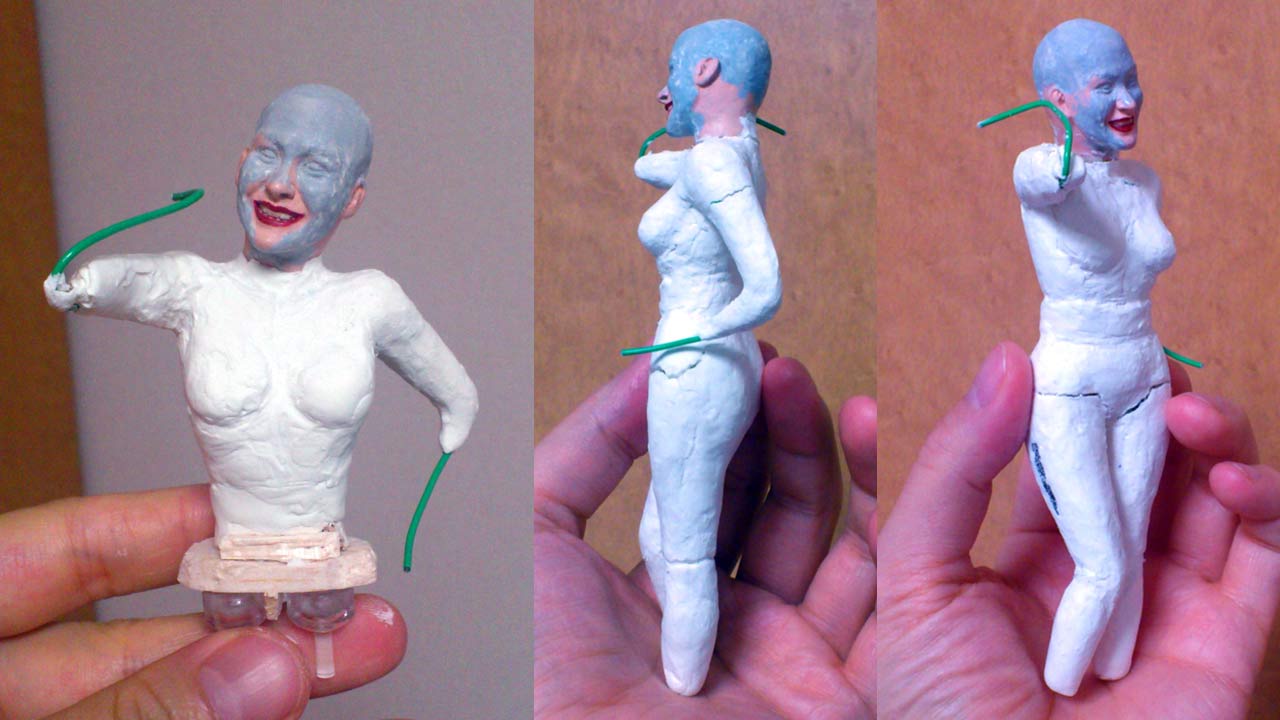
After major revisions on her face, I pressed on to construct the aluminum wire armature. I was toying with the idea to make Alabama fully articulated, even a ball-jointed doll.
Those ideas quickly faded when the pose was finally locked down. To me, it no longer becomes a work of art when hands are constantly touching and holding the piece.
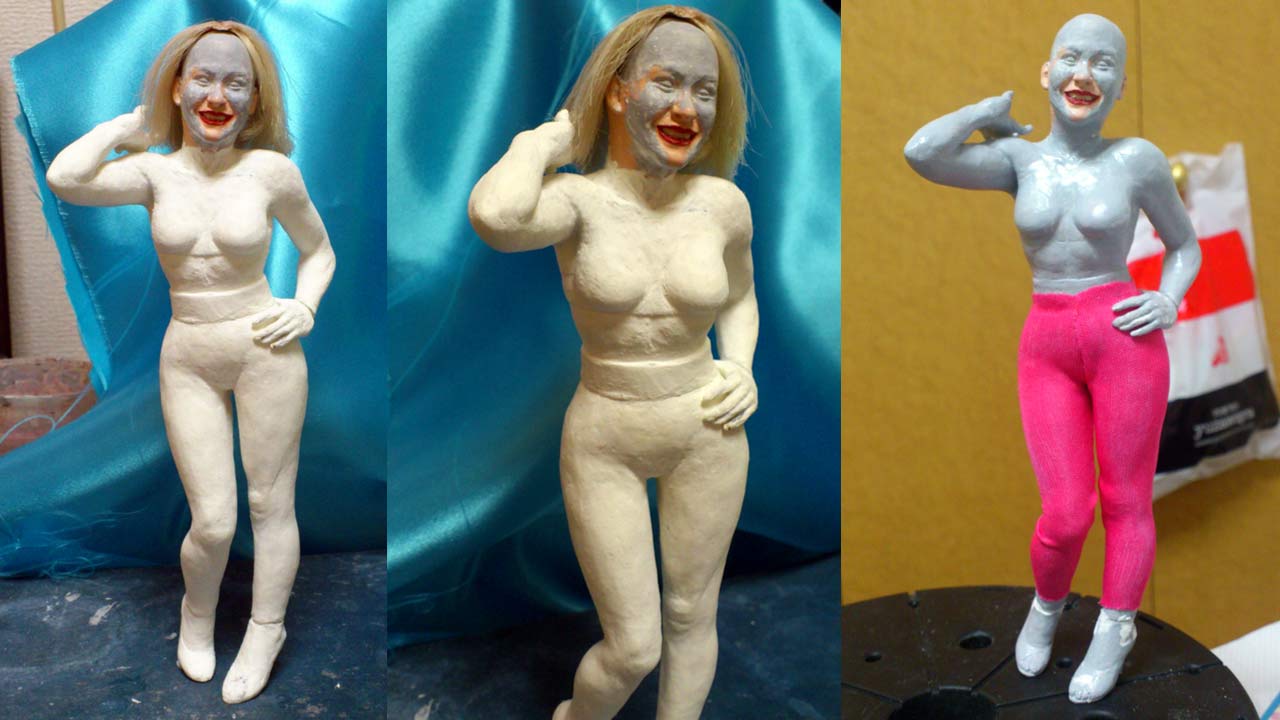
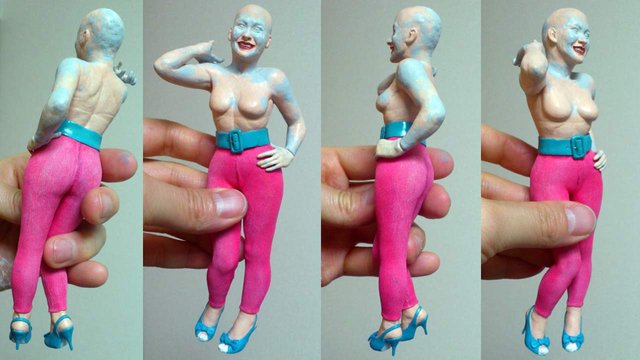
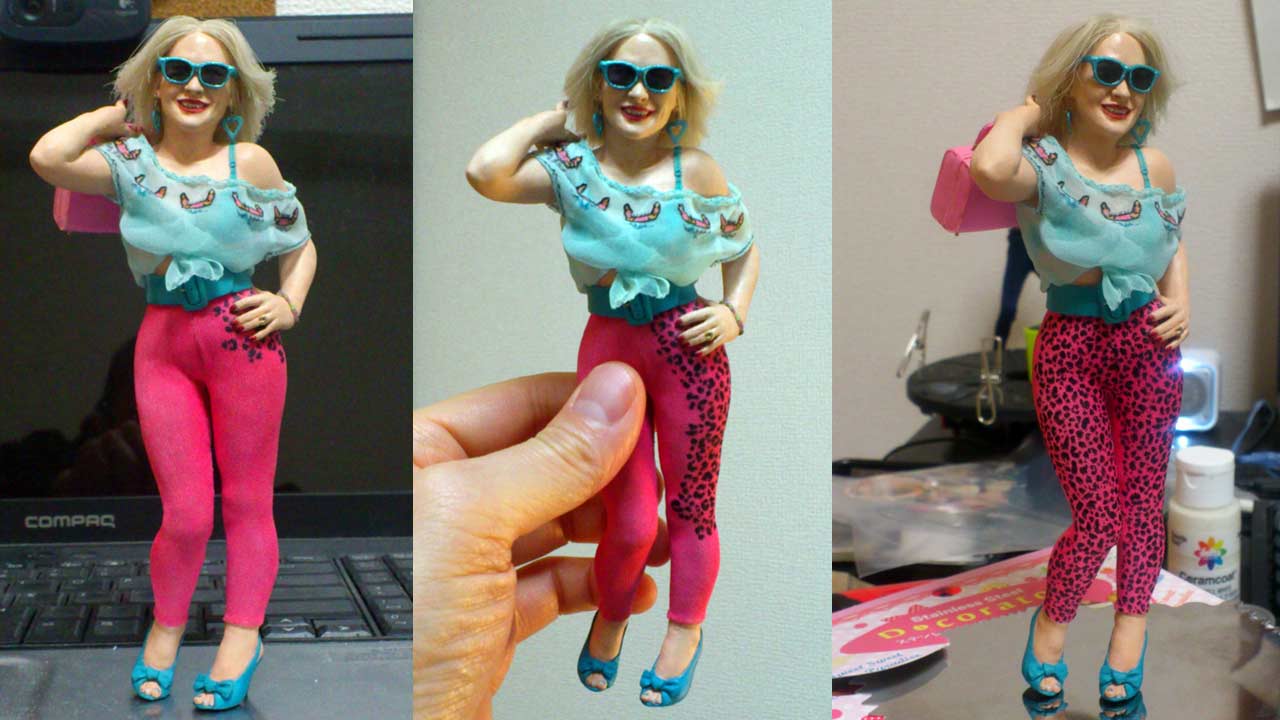
Refining and smoothing continued. The best way for a smooth ceramic finish is using a damp sponge or towel to wipe the desired area. Primed her body and gave her hot tights.
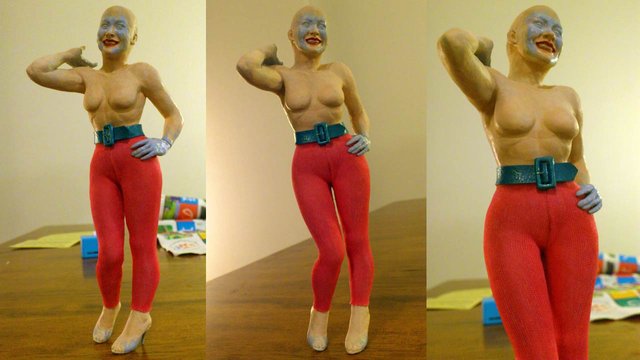
Base coat of skin went on. More revision work followed. Finished her leather belt only to realize the width was too short... DAMN! Pleased with the progress on her face though.
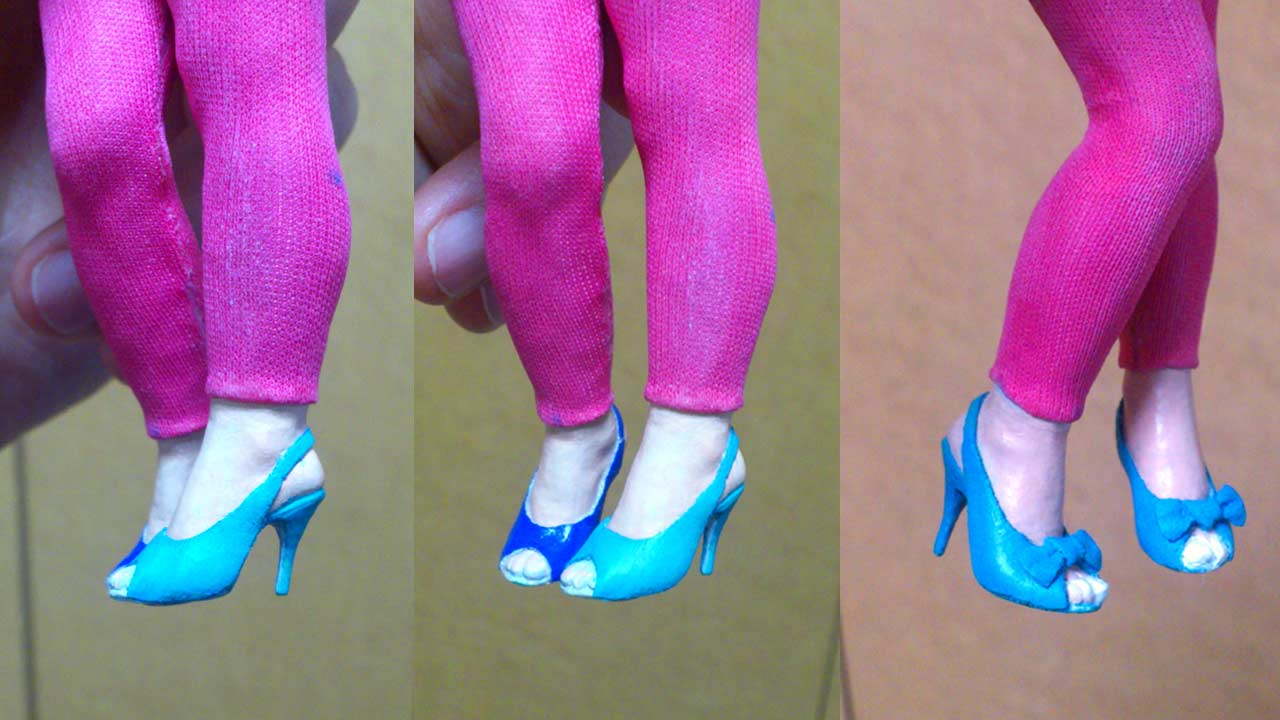
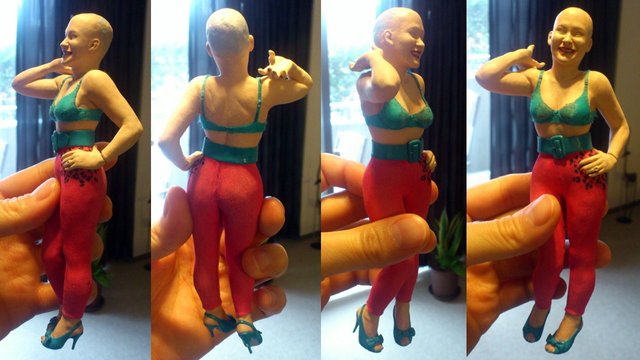
Used fine vinyl to construct her heels. The kind that are worn to weddings apparently. Took me a great deal of time sleuthing scenes in the movie a frame at a time to discover the design.
Matched the color of the new belt and peep toe wedding shoes with blue nail polish! Who would have thought haha. Nothing escapes my lurking eyes when I go material scavenging... but I didn't appreciate the 'glance up' the cashier gave me lol.
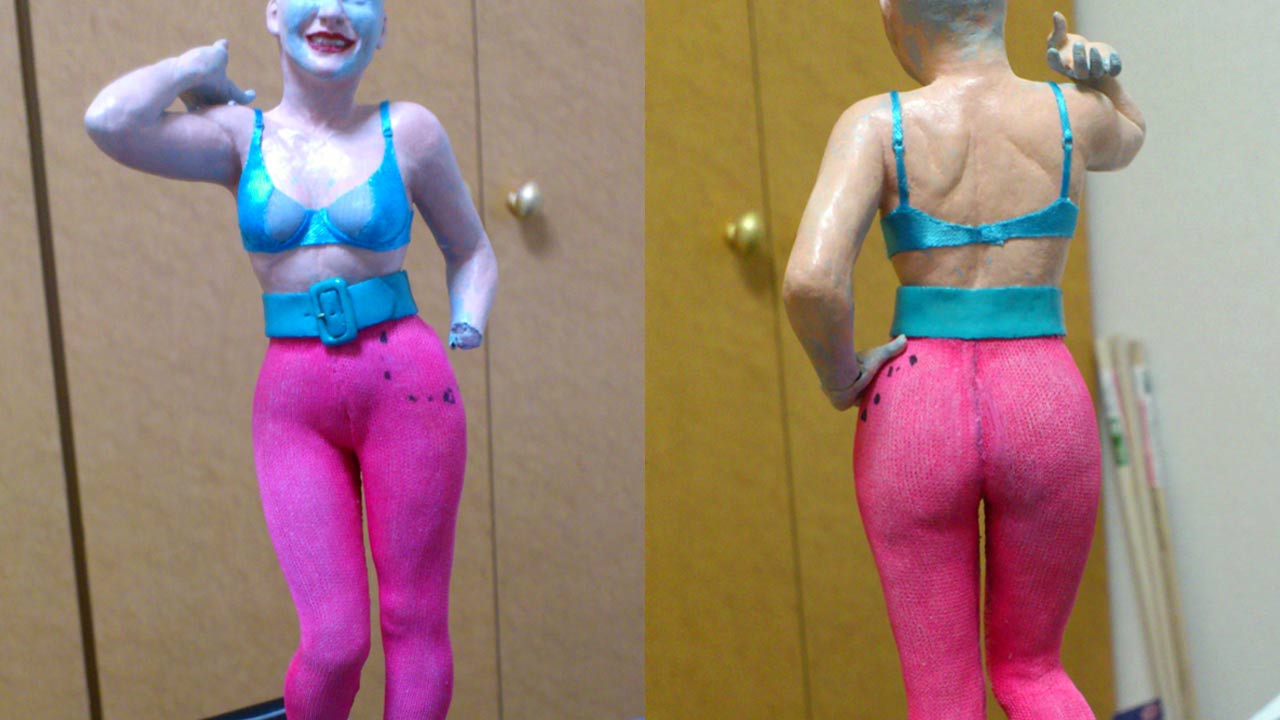
The indentation and outline around her chest of the bra was made to accentuate her lovely baby fat. Looking through many bra patterns on how they're pieced together was very educational. I couldn't find lace small and fine enough for the cleavage area, but I have tricks!
Paint when all else fails--you lose, lace! Detailing on the bra would be hidden once the see-through blouse goes on anyway... so now you know: I never take shortcuts! Hero ring added.
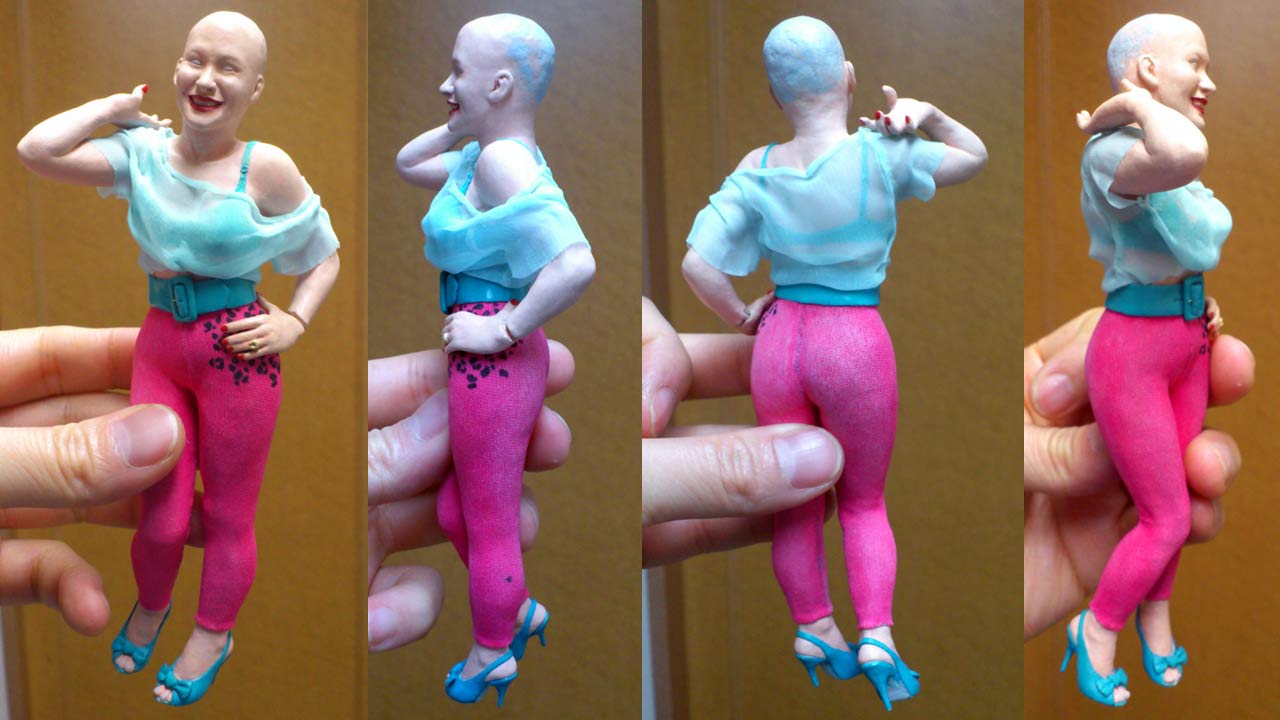
The blouse was the single most challenging item to make on this statue, maybe of all my works till now. There weren't any fabric fine enough to begin with... see her nails?

The solution came after two weeks of trial & error... sandpaper! Sand the 'fine but not fine enough' fabric to the desired thickness. Added the zany cater-pillar decals... yep, they really suit her.
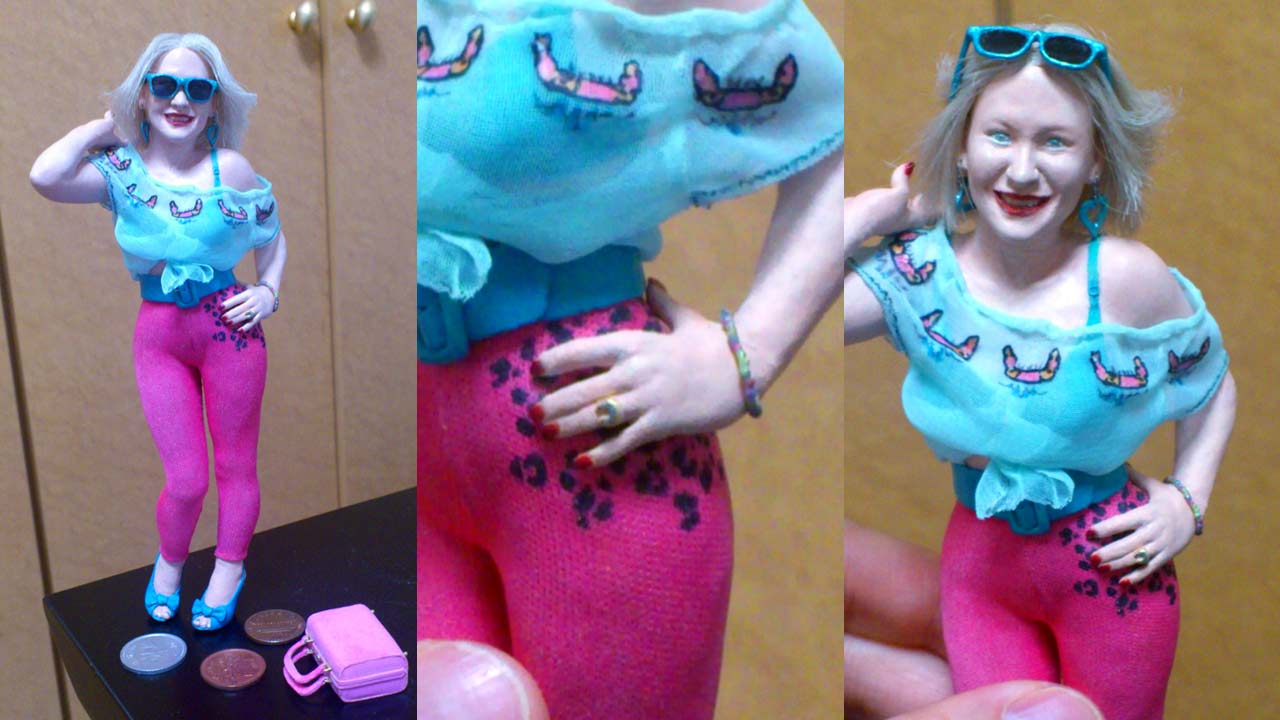
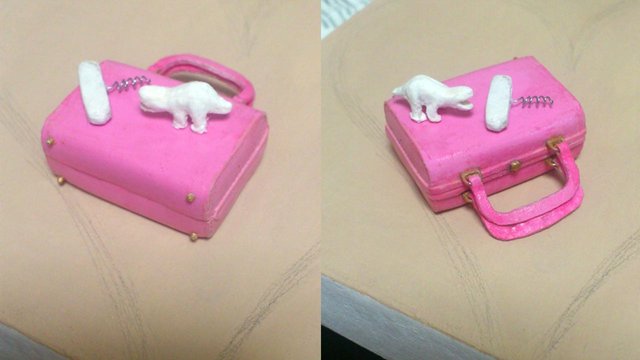
Besides the pink purse, Alabama still has a bunch of accessories that needs to be made. The purse was a good break from all the clothing work though. Dreaded the leopard pattern work...
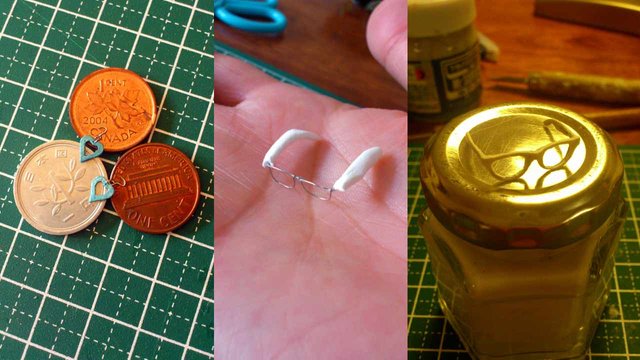
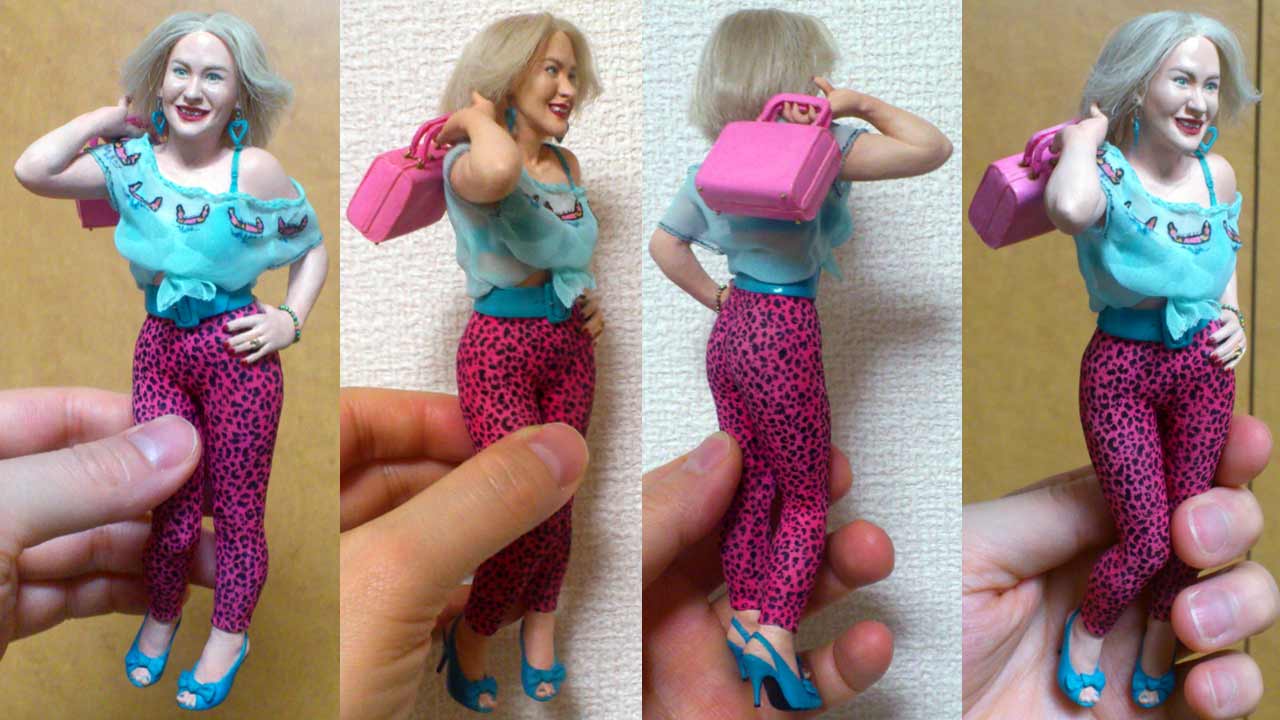
Her heart earrings were made from wire and stone clay. My fingers took a brutal beating making the sunglasses as well... and you'll see later, the second pair turned out to be a keeper.
With her hairpiece in place, the statue began to come alive. The sunglasses would have to be remade once it was put on. Bracelet, check. Seamless wrists, check. Now, the face.
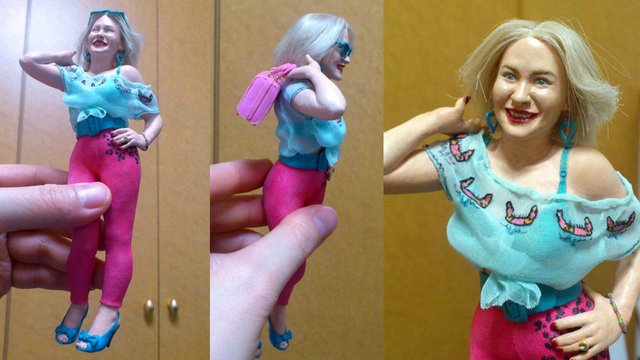
Since I planned to keep the sunglasses on at all time, I wasn't too nitpicky with her face. When I make her other half, Clarence, I do intend to touch up on it though.
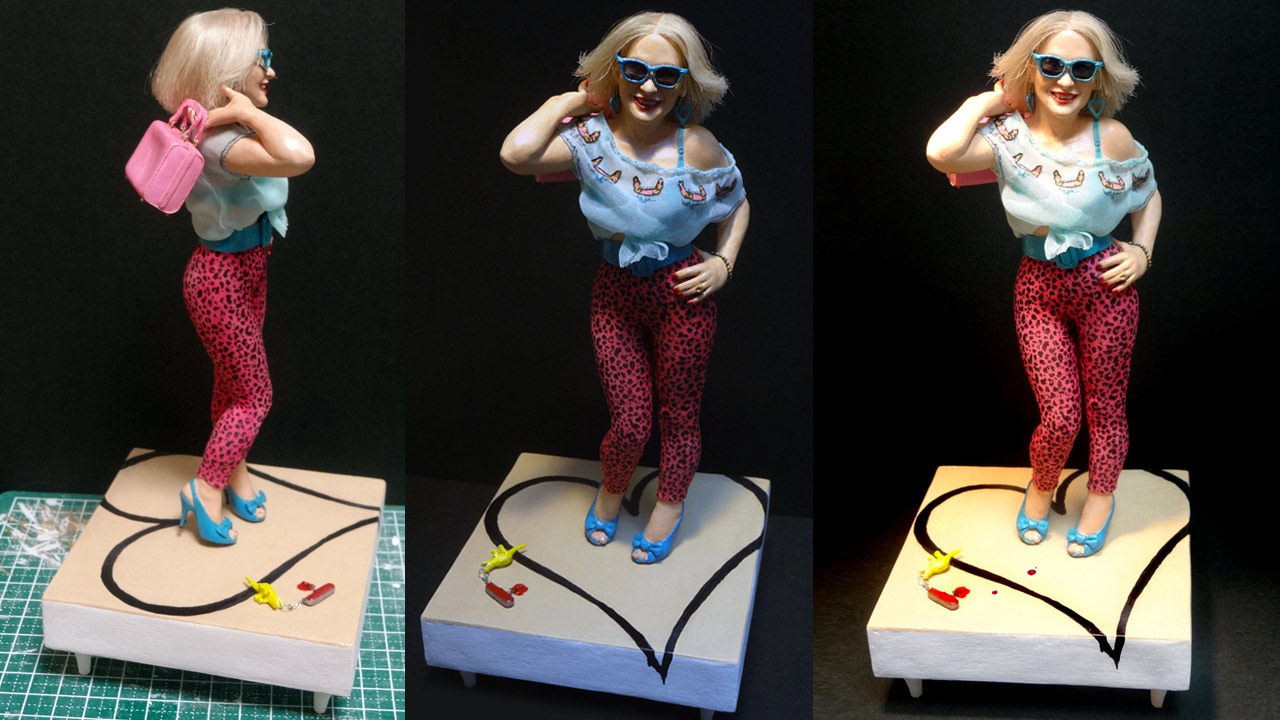
New Ray-Bans really made the difference once they went on. Now, for the dreaded tights. The front portion took at least a couple of hours with breaks in between.
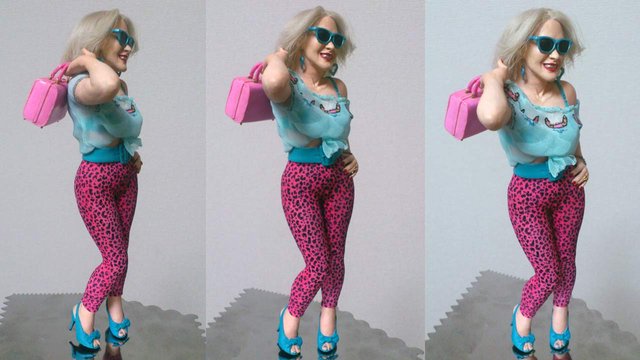
Looks like a peach right? Tastes like one too her father-in-law said lol. The metal plate was planned for the base with magnets embedded into her shoes.
- I would put Alabama away for five months before starting on the base.
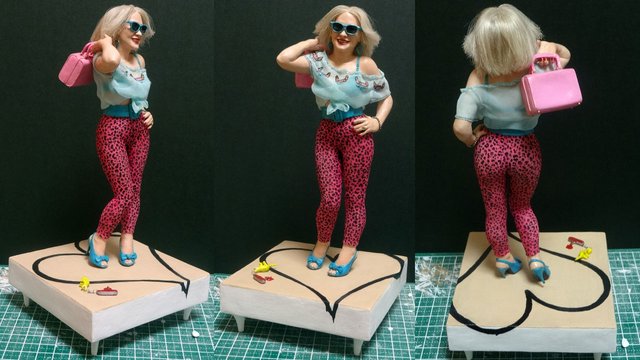
I didn't have any ideas at the time what to do for a base. All I knew was it had to be themed around either the cupid tattoo or 'You're So Cool' napkin. I just let that swirl and fester in my head while I got started on KING CONAN.
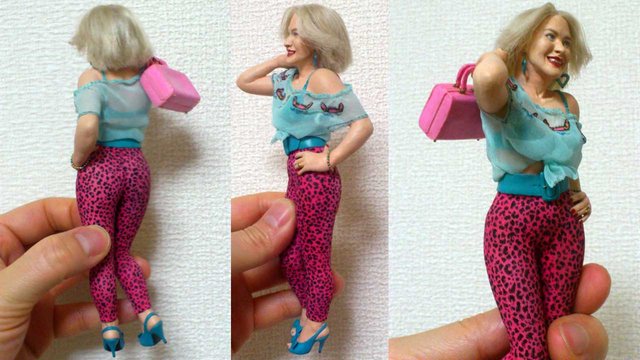
The purse is actually two separate parts. I had planned to make it openable with more accessories: her wallet, Marlboro lights pack, and lots of sweet & low packets. Didn't happen though.
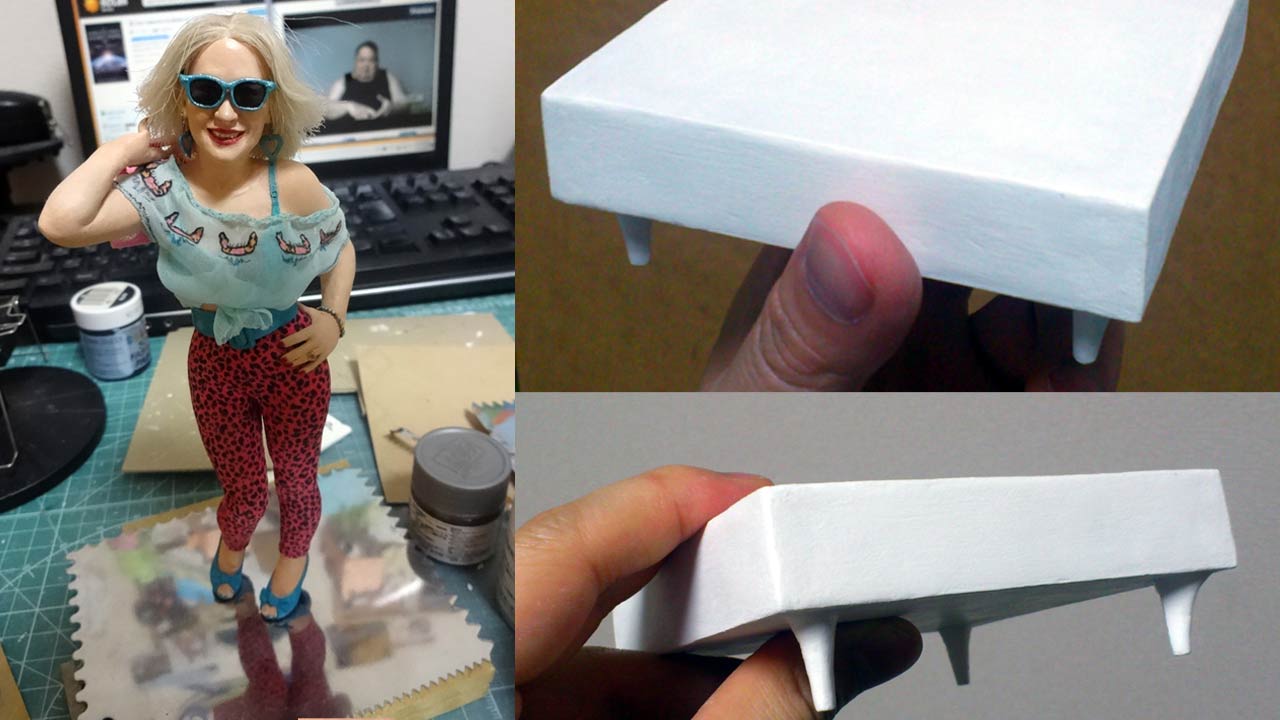
Once KING CONAN was completed and a week to clear my head of crushing enemies and hearing lamentations of their women, I went back to the base, designing the tiny legs as heels.
It was either the Smith & Wesson she used to blow away Dimes who shot Clarence, or the Swiss army knife corkscrew used to bring down Virgil.

The top coat of the base was painted in the tan Beverly Ambassador Hotel napkin color where the words, 'You're So Cool!' was inscribed by Alabama.
Thank you all for watching... if anyone is wondering where Clarence is? he is definitely in the plans... This piece isn't complete without him.
Upvote & resteem please, more eye candy coming :P
Hi. I am a volunteer bot for @resteembot that upvoted you.
Your post was chosen at random, as part of the advertisment campaign for @resteembot.
@resteembot is meant to help minnows get noticed by re-steeming their posts
Even better: If your reputation is lower than 28 re-steeming only costs 0.001 SBD!
If you want to learn more - read the introduction post of @resteembot.
If you want help spread the word - read the advertisment reqruiting post.