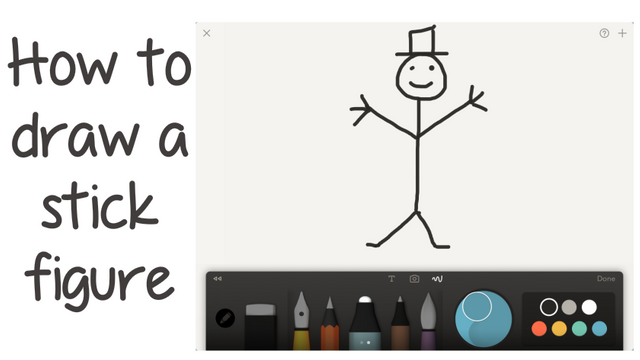
How to draw a Stick Figure - Complete full body tutorial ;)
We've seen excellent hand, eye and mouth tutorials here on steemit and I did a search and no one has done a stick figure tutorial yet. Hmmm, this is my chance to use my skills to give back to the community.
I hope you enjoy it as much as I did in creating it.
My stick figure tutorial
The following is my tutorial in how to draw your basic stick figure with a few enhancements.
I hope you enjoy it and pass it on to your children.
Step 1: Pick the right tool and canvas
Back in the early days the tool was a rock and the canvas was a rock wall. But today we have modern tools like pencils, pens, computers, smartphones and tablets.
In this tutorial I will use an iPad and a program called Paper by FiftyThree
You can also do this with paper and pen but remember that it isn't as easy to erase any mistakes.
First start with a blank canvas and pick the right brush. I decided on the marker pen because I wanted it to be bold so people could see him better. For my canvas I just selected white to bring out my drawing.
Since this is a basic stick figure I will just use the color black but you can also use many different colors to enhance your drawing.

Step 2: Decide where to start
This is the hardest parts as in which part of the body to draw first. Some like drawing the head first but here I will draw the body.
Start from the top and draw a straight line down as shown below.
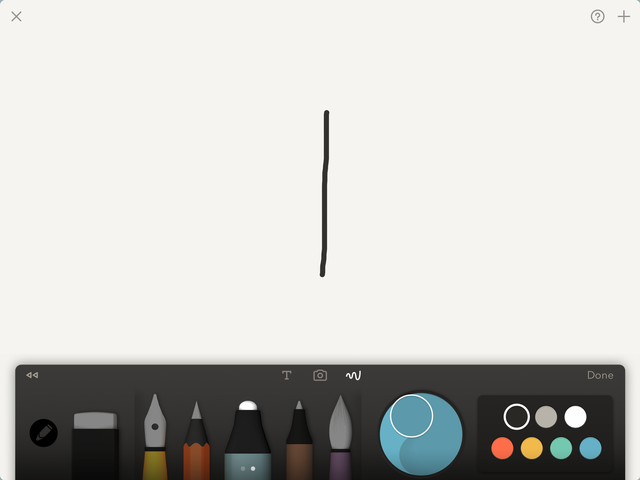
As you can see my line is pretty straight and you can almost tell it is a body at this point.
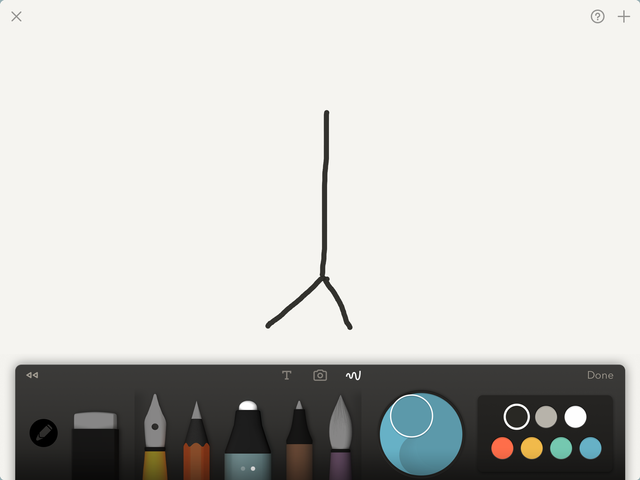
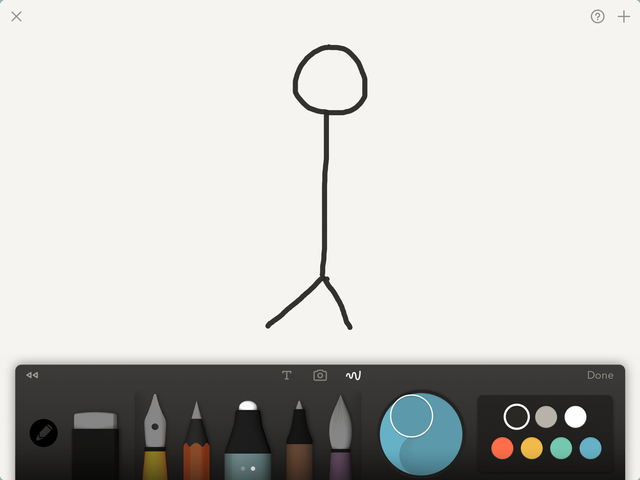
Step 3: Drawing the legs
Legs and arms can be challenging as in do you make them both in one stroke or two? For the legs here I decided to draw each one separately.
First comes the left leg starting at the body and moving at a 45 degree angle down to the left.
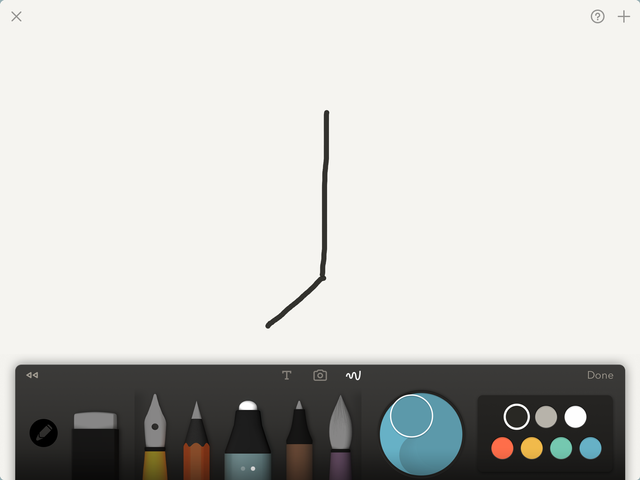
Then the right leg. Again starting at the body and drawing at the 45 degree angle to the right.
Hmmm, could that be a boy stick figure? Ok, let's just go with it. :)
Step 4: Drawing the head
Drawing the head can be challenging for most because your starting point and ending point need to come together.
Here I started at the top and made a nice circle touching the top of the body and going back around.
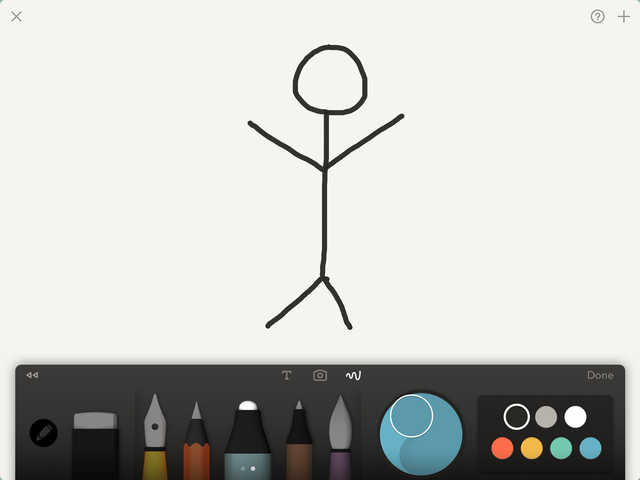
Step 5: Drawing the arms
Here I take a totally different approach and decide to draw both arms with one stroke. Starting at the left wrist I go down again at a 45 degree angle and touch the body then but up 45 degrees.
So far so good and most people can stop here. But let's add the eyes and mouth.
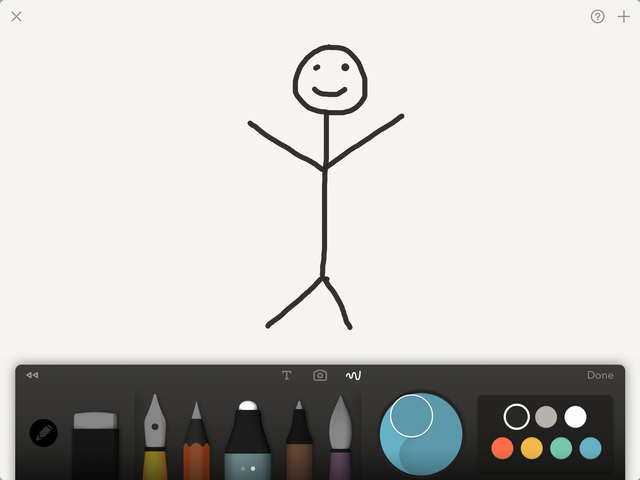
Step 6: Drawing the eyes and mouth
This is where you can decide what expression to give your stick figure. Is he or she going to be happy, sad, concerned, shocked or any number of human expressions?
Here I decided to make him happy.
The eyes come first so really carefully put a dot where an eye should go as shown below and then move over and press for the other one. (You might have to undo and try again many times to get it right)
Then move on to the mouth. Since this is a happy mouth I start just under the left eye and made an arch downward and up below the right eye.
Step 7: Drawing the feet
Most stick figures do not have feet but I wanted to show you the different options.
At this point you could pick another color to make it look like he is wearing shoes but in this basic tutorial he will be barefoot so I used the same color as his body.
For the left foot start at the ankle and draw a straight line out to the left. Now do the same for the right but be sure you go to the right. Otherwise it might look like he is walking.

Step 8: Drawing the hands
Ok, this might be just over the top and might start making him look like a snowman but I always enjoy drawing hands.
This was actually the hardest part of the drawing and had to be erased a few times to get it right.

Step 9: Drawing clothes
Putting clothes on your stick figure can give your figure a profession. I made mine look wealthy by putting a top hat on him.
The hat was 3 strokes but could have been completed in 2. First the straight line right over his head for the brim then the sides of the hat like a square.
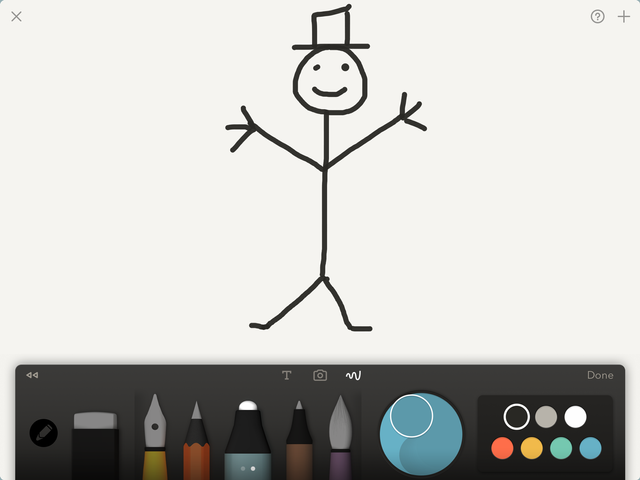
Well done!
I hope you enjoyed this tutorial and were able to learn some new techniques. ;)
If you followed along I would love to see your finished works of art. Please include them as a comment below.
I so admire those that have real drawing skills and the other tutorials on steemit are amazing!
Be sure to check out some of my other stories:
- Tropical Paradise - Boracay Philippines - If you need to get away this is it!
- Steemwho.com is now live! This is your who's who guide
- Promoting Steemit while onboard a cruise. Be sure to watch me dock
- Moving to paradise. From creating QuickPay for Quicken to living on a sailboat in the Caribbean - Part 1
- Moving to paradise. From creating QuickPay for Quicken to living on a sailboat in the Caribbean - Part 2 - Sint Maarten to Virgin Gorda and almost crashing on the rocks
- Our Aqua Safari at Bora Bora - What a wonderful time
- My introduction
Funny article. Good info. Thanks! BTW I'm following you because of your Quicken hack. That was good stuff. Read his story here: https://steemit.com/life/@mikehere/moving-to-paradise-from-creating-quickpay-for-quicken-to-living-on-a-sailboat-in-the-caribbean-part-1
good tutor

Nice article! -upvotet