How to Make a Glass Spoon Pipe, with Pictures and GIVEAWAY

Glassblowing is thought of by most as a near magical occupation, with much mysticism in regards to the processes involved in making things out of glass. I know this was true for me for most of my life and was a big part of why glassblowing caught my attention as much as it does. In reality, it's a thought rich procedurally driven art form, often needing things to happen in a certain manner and order for the effect to function, either aesthetically or functionally. Here I'll share step by step with pictures how to make a simple spoon pipe, with cool drawn on designs and my new signature lily. At the end of the article, I give details for the giveaway, of the pipe you see made in the pictures.

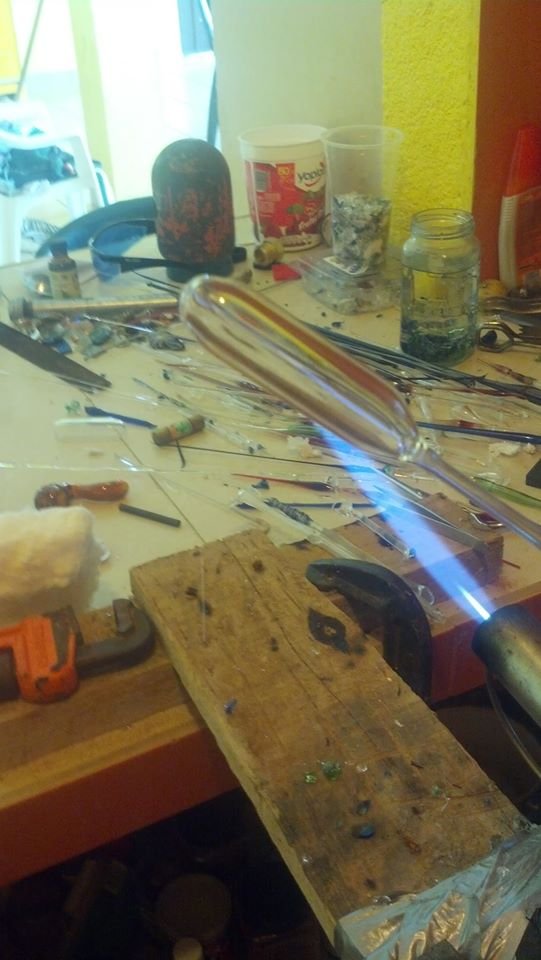
You start with a glass tube and a blowtube, both with similar sized flared holes. This glass tube started about 4 foot long and is about 25mm in diameter with 4mm wall thickness. You generally start by cutting the tube in half to make it easier to handle before pulling any blanks(prep for a pipe) or points(prep for a pipe with specially pulled out blowtube handle).
(heating tube blowtube)
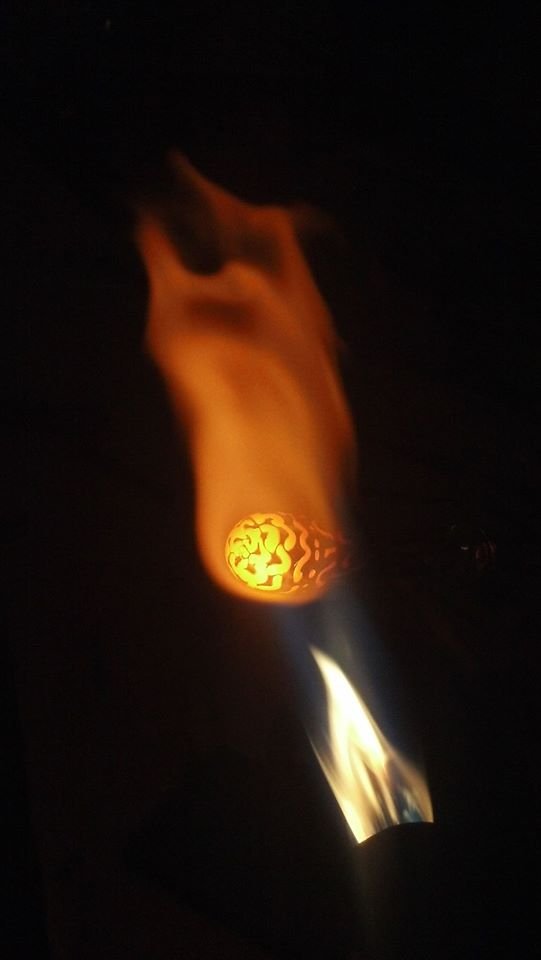
Heat both pieces at the flared end to prepare them to be joined together. Keep both pieces spinning slowly so they heat evenly. When they appear molten, take them out of the flame and stick them together, trying to keep them on center as best you can. If this weld is off center, you end up with a slightly wonky piece that can be a bit difficult to deal with.
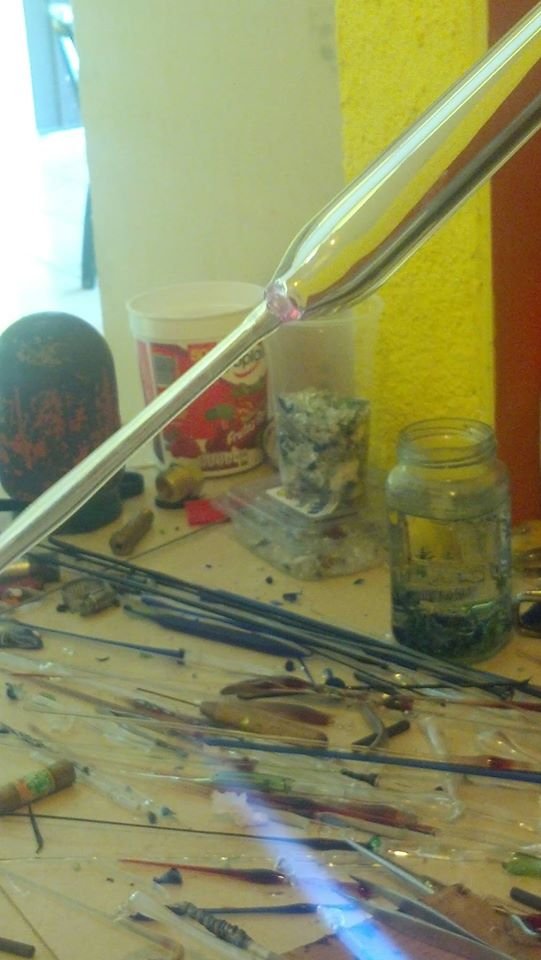
While still molten, push and pull on the joint to smooth out any creases while realigning the crystals of silica to make the two pieces one. This push pull motion is important when joining any two pieces of glass. Without this, the pieces are not fully joined and likely to crack as they cool. You know this happens when you hear a tink, feel something in the glass but cannot directly see the crack. If this happens, attach a handle, heat the joint and push and pull those crystals into alignment, while being careful not to close the hole.
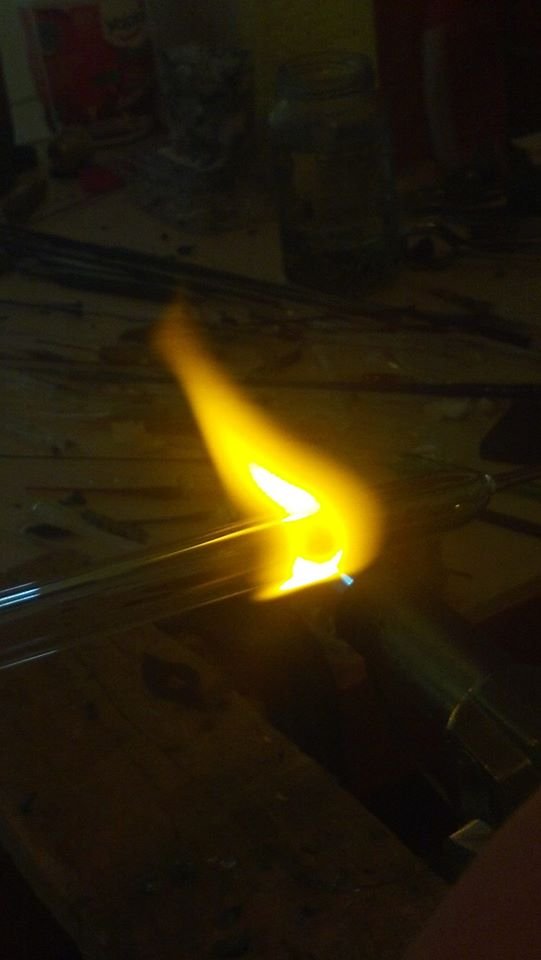
The next step is to decide the size of your blank, for me I chose about 3 inches and begin to flame cut it at that length. This involves putting it in an oxygen rich flame until the glass reddens, then becomes molten.
Once it's molten, while keeping it in the flame, pull the pieces apart. The walls will slump as they are in the picture above. Keep that in the flame and twist and pull slowly. Eventually the flame will push through the glass, cutting it neatly.
After that you're left with your blank and the rest of the tube. Put that tube in the kiln so it doesn't crack in the open air.
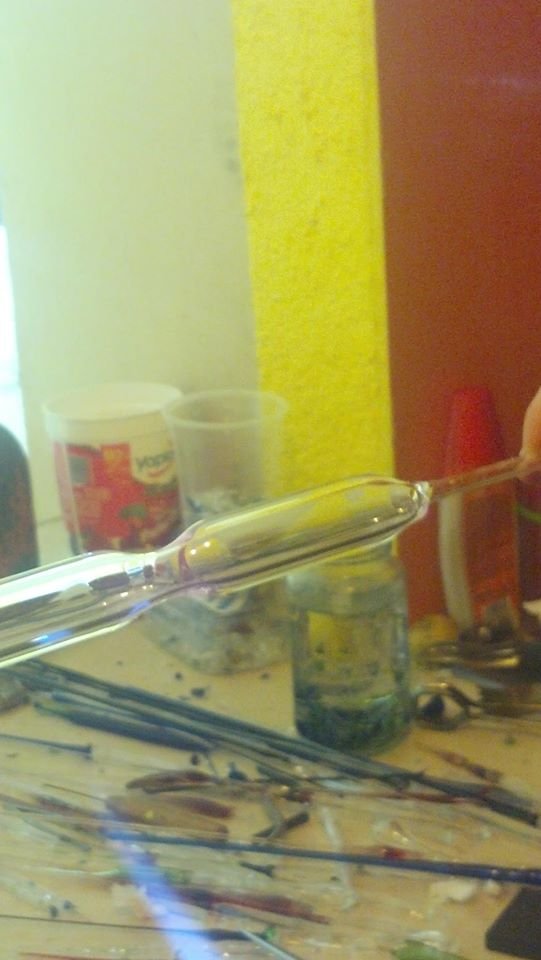
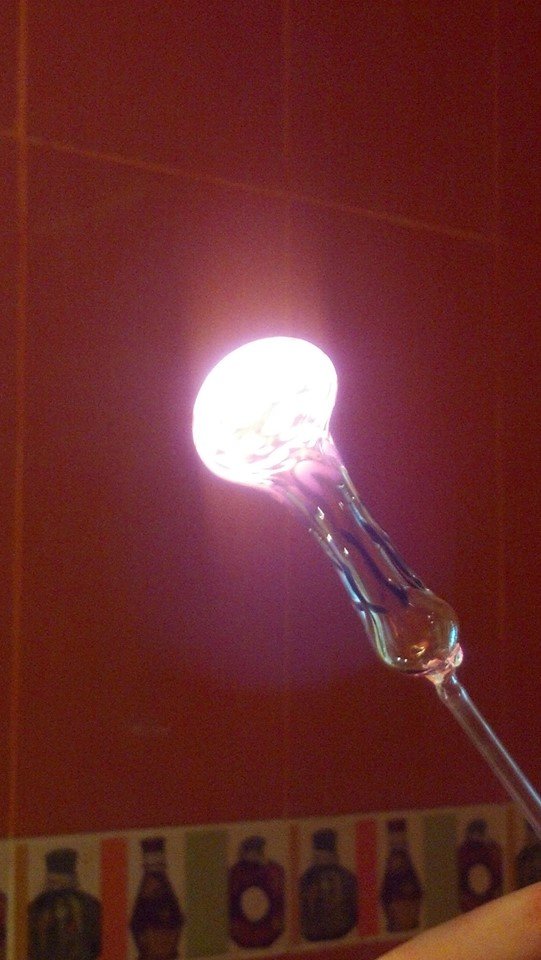
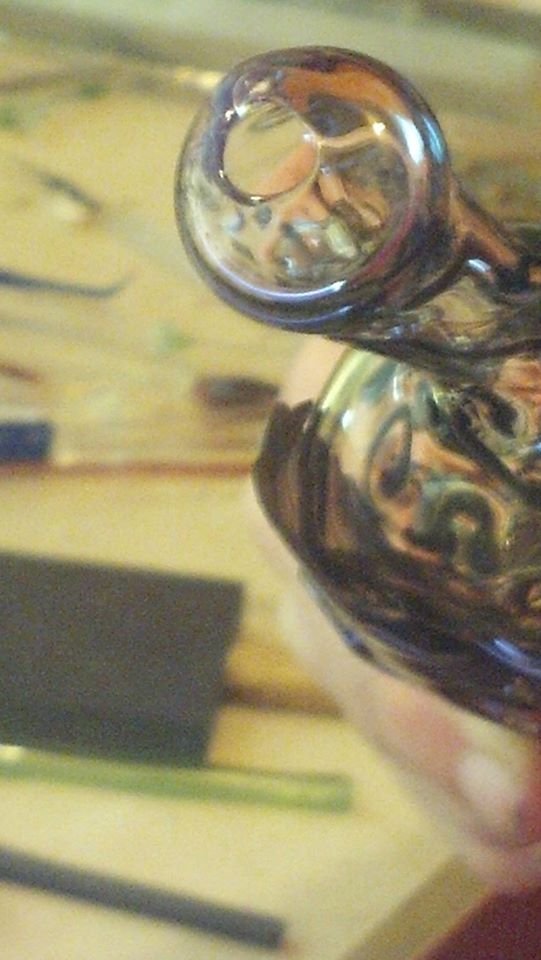
Next we round the bottom, by putting the pointy end in the flame and melting it down to a nipple. Remove that using a slightly heated rod of clear and flame cut in the flame. Heat the end head on to make it molten, then take it out of the flame and puff slightly into the blowtube. Your top should round out just as mine did.
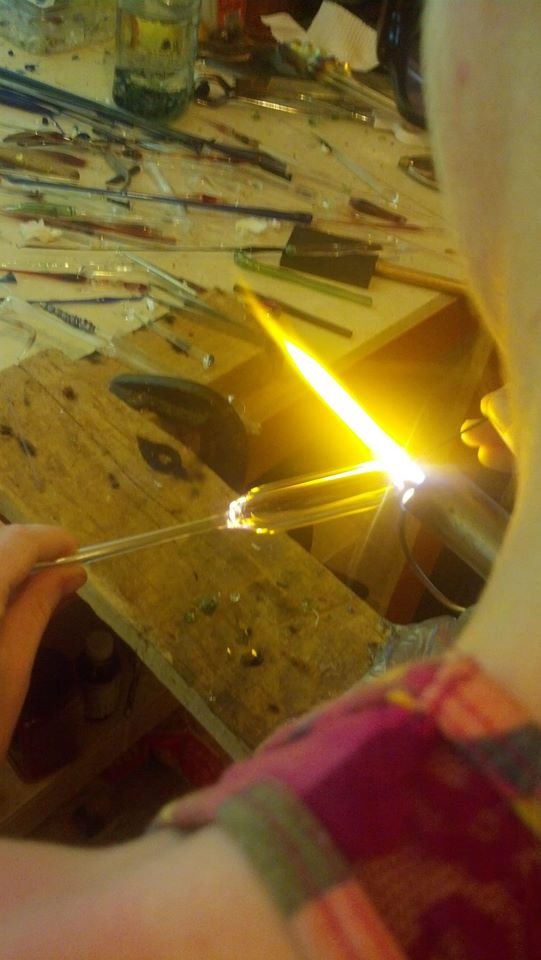
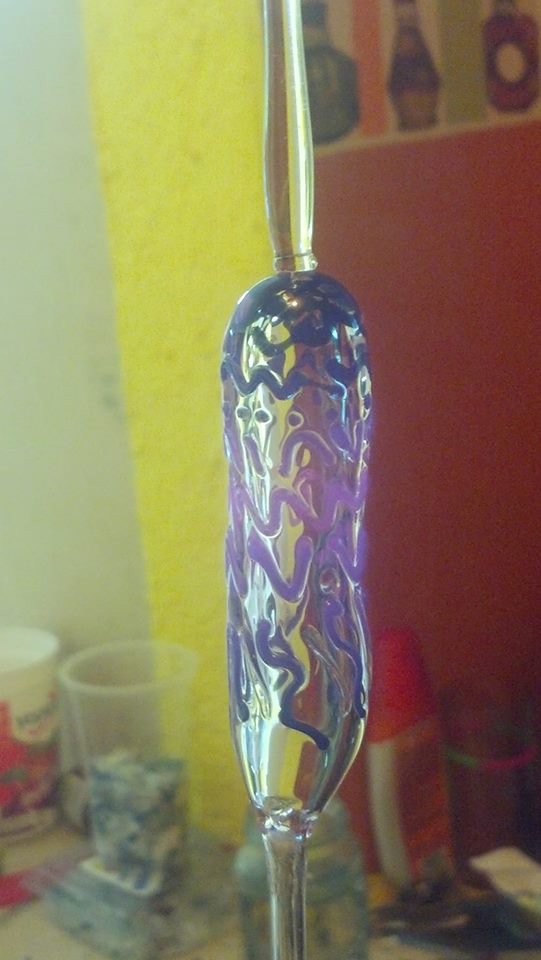
It's time to decorate. I've been experimenting with stringers lately, which are just really thin strands of glass used to draw patterns or write words. Making them is fun, you attach a handle to a colored rod, heat a section of color molten and remove it from the flame. After a few seconds you pull consistenly, speeding up to make it thinner, slowing down to make it thicker. You end up with a long string of glass an arms length, perfect for drawing lines. I used black and red stringers to make this pipe, just drawing both organic and geometric shapes all over the tube.
You need to use a tiny flame to do this. Keep the pipe out the the flame for the most part, or the tube will start to deform. You mostly heat the stringer and right where the stringer is to be applied, which is why such a tiny flame is required. Just keep continuing until the whole piece is covered.
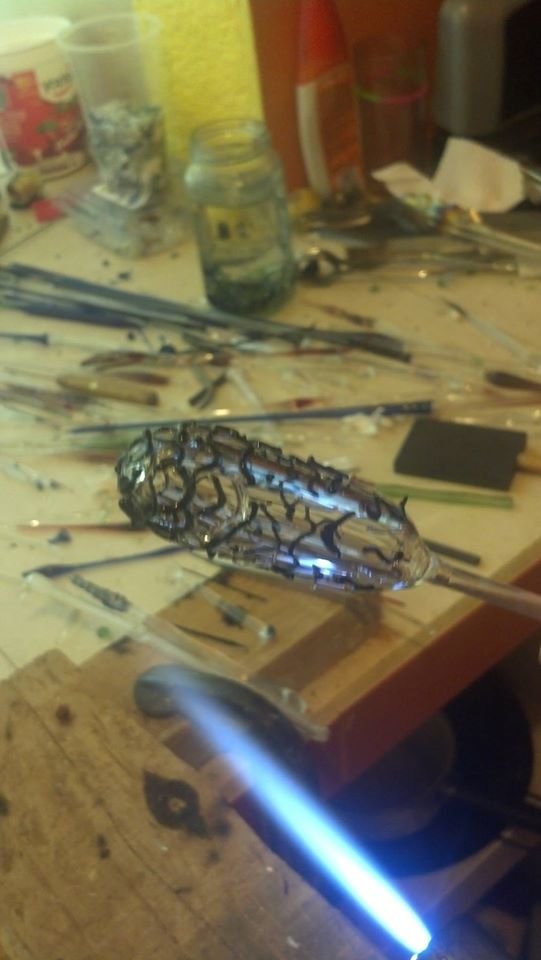
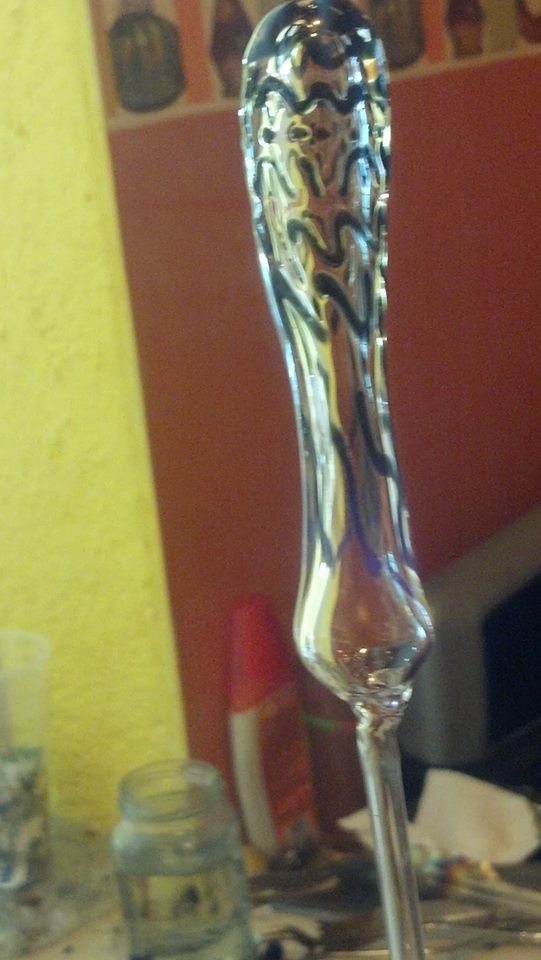
When you finish, you'll have something like this. Just a clear tube with 3d black lined shapes drawn all over it. It's time to heat things up and melt those in. The desired end result is a smooth or nearly smooth tube, with the drawings on the surface.
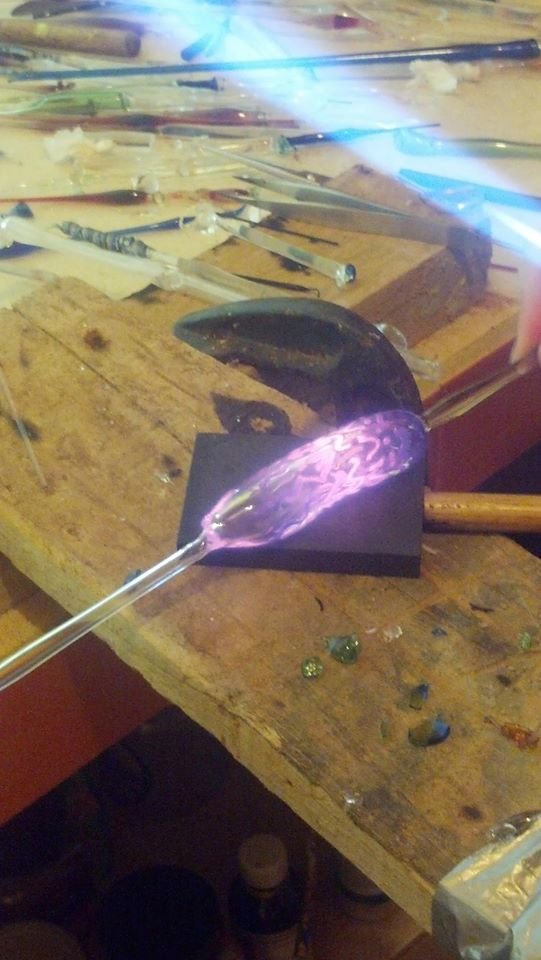
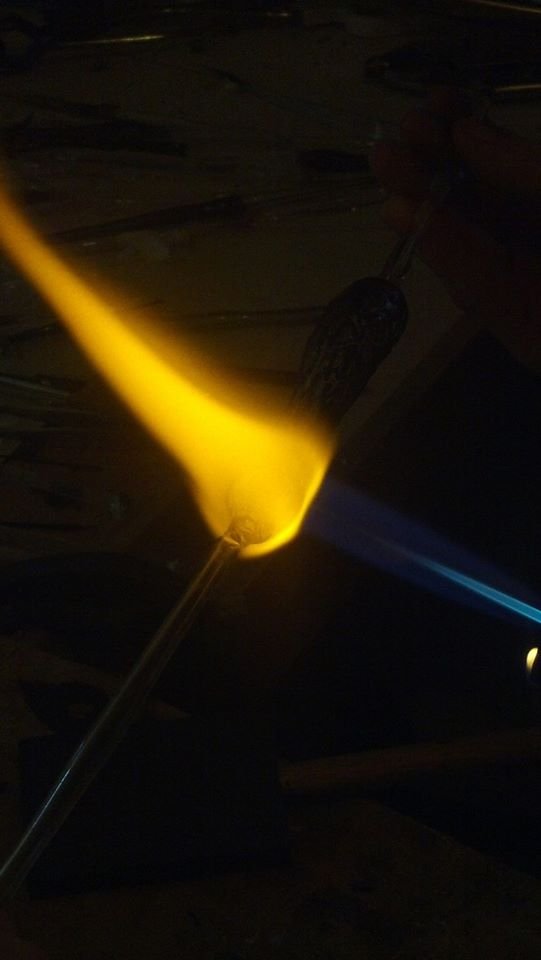
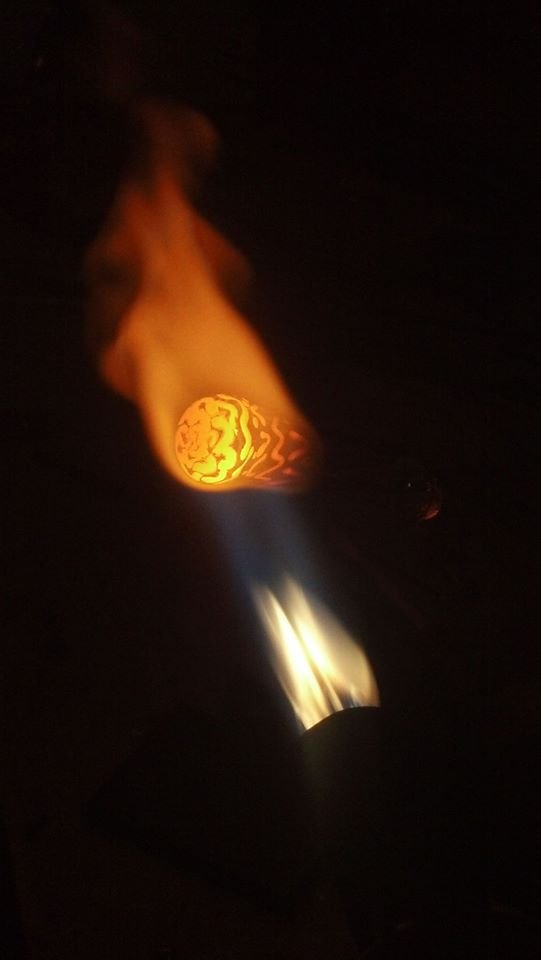
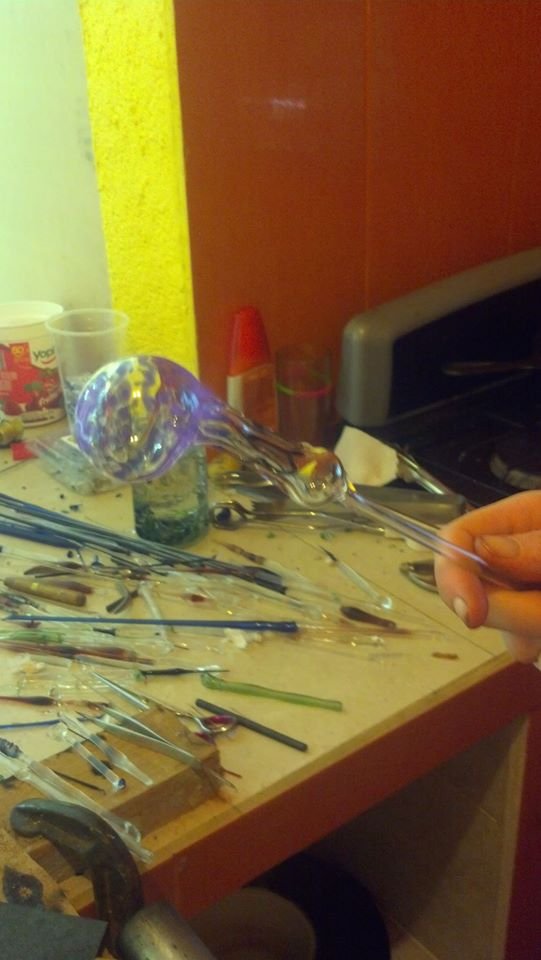
Use a decent sized slightly oxygen rich flame and heat it section by section, starting with the end. Once the end is smooth in texture, attach a handle which is just a clear glass rod. The handle is there to provide stability as you heat the rest of the tube. Heat the pipe section by section, using the graphite pad to help push the color in. The process shown above is called marvering, when you roll your textured and molten glass on a graphite pad to smooth the surface.
Eventually you get it to this point, where the colored lines are flush or almost flush with the rest of the tube. Time to move on to shaping the pipe, starting with the neck of all places.
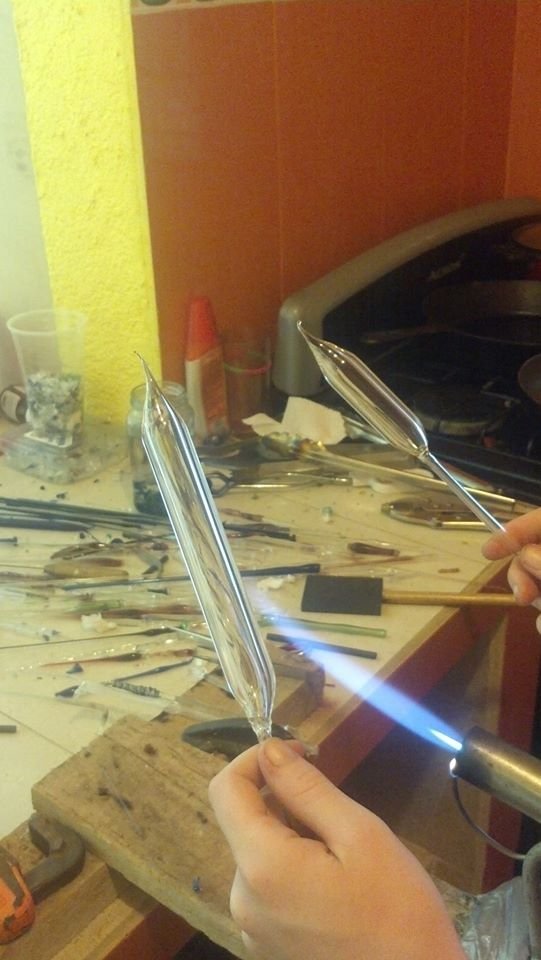
At a little over halfway down the length of your pipe from the end not connected to the blowtube, start heating a band of glass, turning the glass in your fingers to heat it evenly. Once evenly heated, take it out of the flame and pull slightly to elongate the shaft. With some gentle outward pressure on both handles, wait until this solidifies before moving on.
Heat the section in between the stretched section and the blowtube to form the mouth piece. Keep that glass turning to heat it evenly. Once it's molten, blow slightly and push the on the two handles to make a sort of squat bubble.
Remove the top handle and turn up the torch. You want a decent size reducing flame, that is propane rich to help gather the glass.
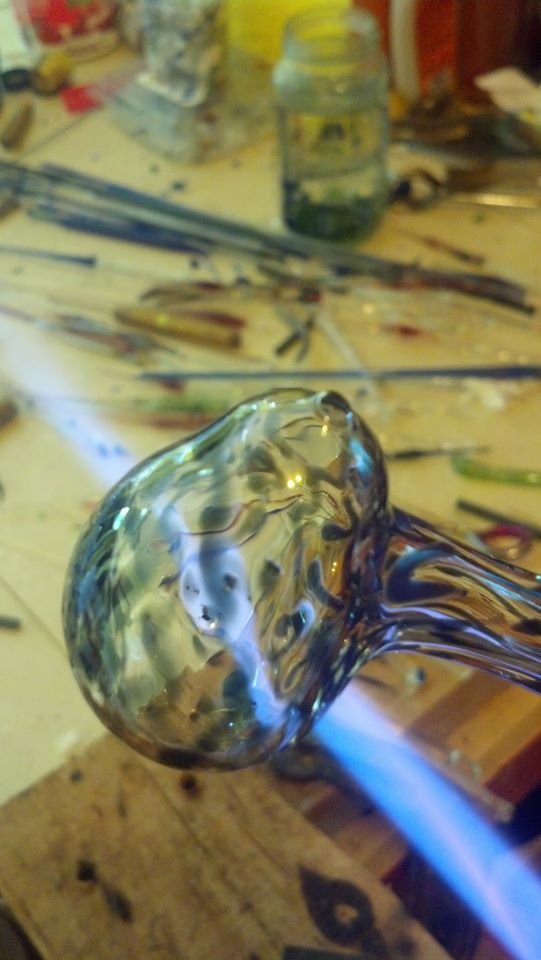
Heat the bowl till molten and slumping, keeping it spinning to heat evenly. If you don't spin, your bowl will collapse and be ruined. Once it has a little slump to it like the one above, remove it from the flame and blow into it while keeping it spinning.
What I did wrong here was I put the gather above the blowtube in the up position. While I enlarged the bubble, I made it squat. Sometimes, this is desired, however it wasn't here, so I needed to reheat to shrink and redistribute the glass. I share this because things happen when glassblowing, the mark of a good glass blower is to be able to handle things when they happen.

I reheated the bowl end, spinning it to heat it evenly. I blew it out at a more horizontal position, spinning at first but stopping to allow the bowl to slump down slightly. This slump helps create a ledge that catches ashes, keeping them from ending up in your mouth if it's done right.
Choose where you are going to put the bowl, generally depending on the slump. Heat the spot where the bowl will be pushed until it's molten and sags in slightly. Remove it from the flame and blow out slightly, watching the bubble rise.
Once the bubble is a good size, pop a hole in the middle by placing it in the flame at one spot, and blowing through the blowtube. This forces air through the molten glass, producing a hole. You can make it bigger by putting it directly in the flame, which will force it open. If it's too big, melt around the hole in circles to collapse the bubble and reduce the size of the hole.
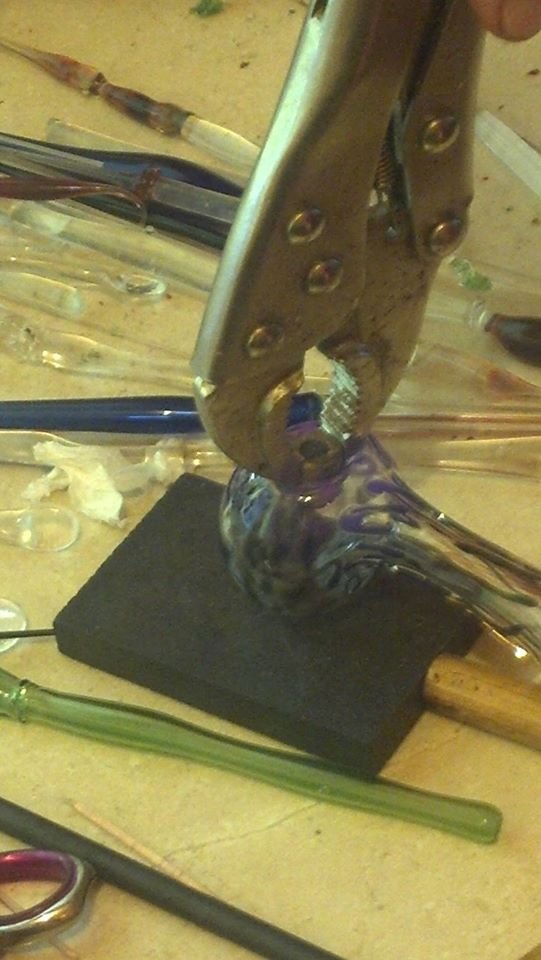
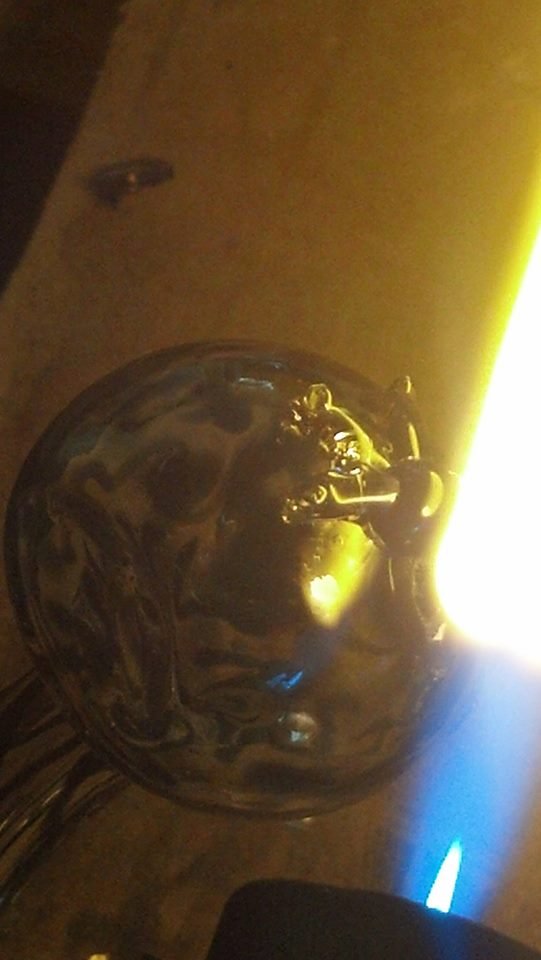
Heat around the hole once you have it appropriately sized and push the bowl push down into the pipe. Our's is emprovised, as we live in Mexico with little access to glassblowing tools and money currently. It's a brass piece of metal with a graphite rod stuffed in it, held by vice grips.
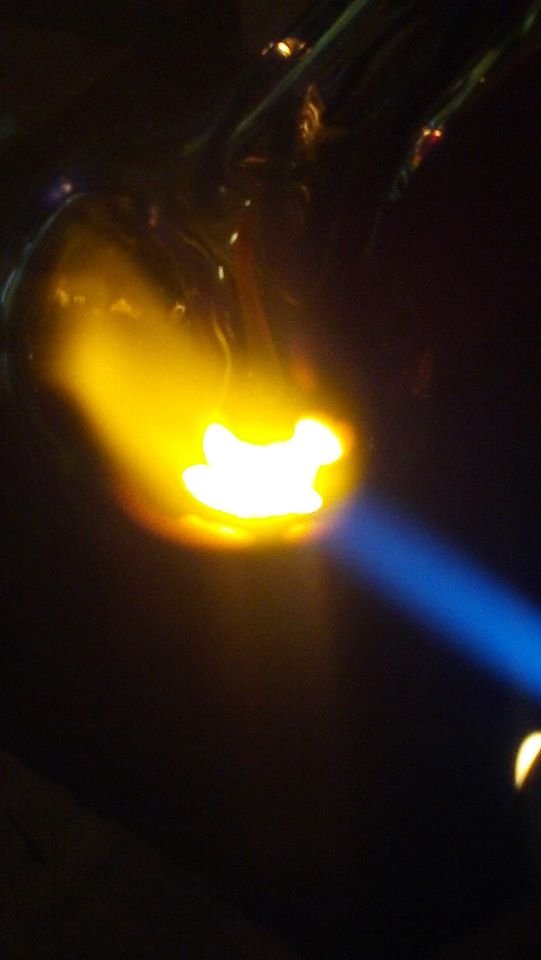
After the bowl is formed, it's time to pop the carb. The carb is the hole on the side of the pipe covered by a thumb to let air in whenever the smoker desires. To do this, just use a tiny flame and heat where you want it in one spot until it's molten. Keeping that spot in the flame, blow through forcefully until the hole pops. Some lung power is required, as there's already a hole in the piece.

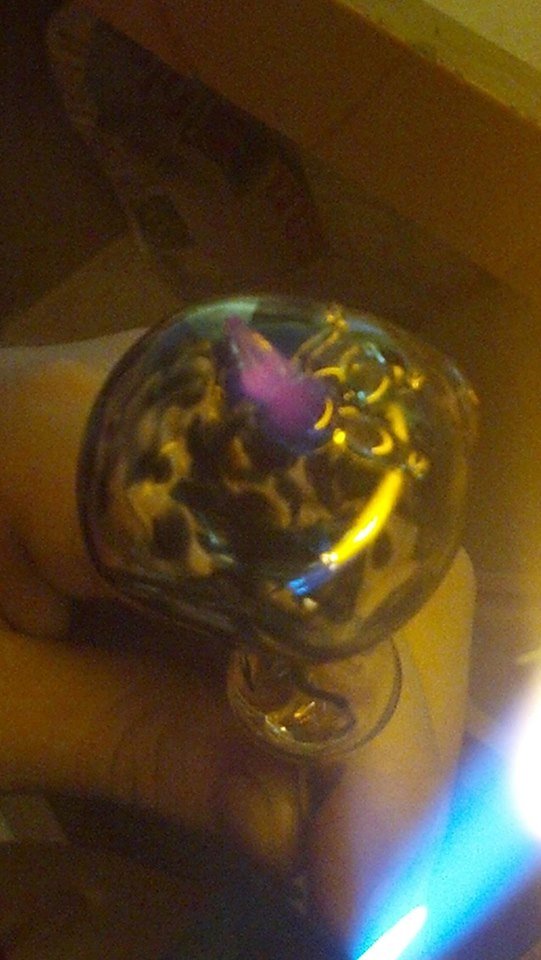
Flatten the bottom by heating the bottom and laying it on a graphite pad with the mouthpiece touching the surface. This flat bottom makes it so the pipe can be set on a table without it rolling around, possibly to the floor to break.

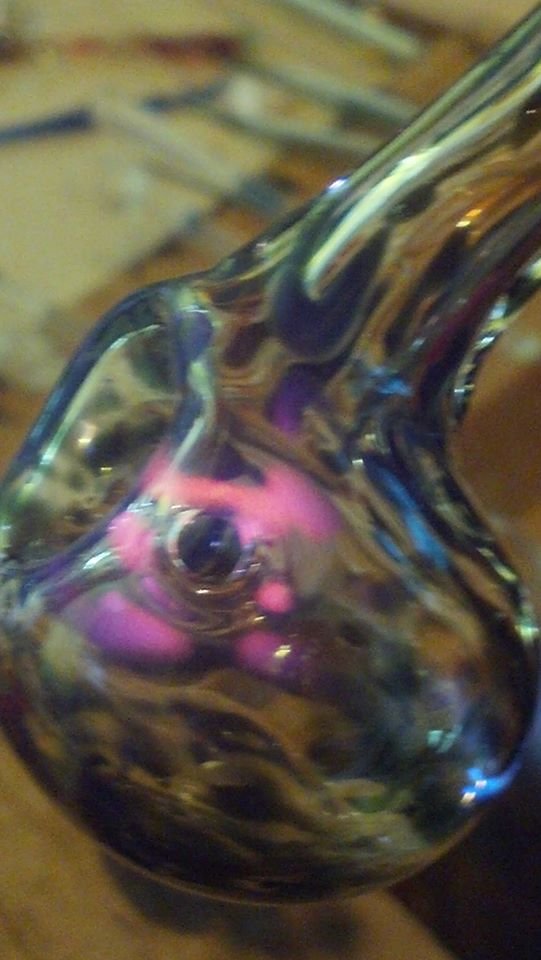
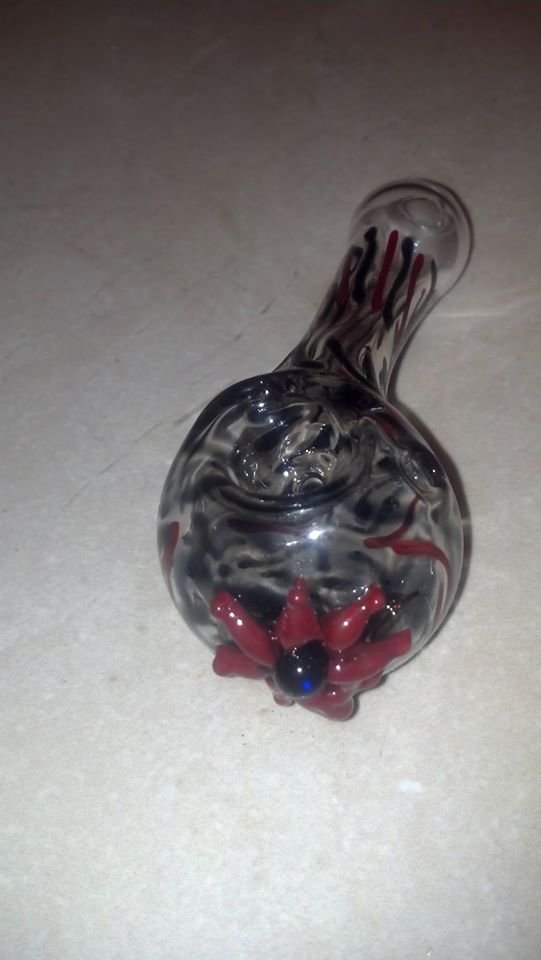
To start making one of my lilies, I put a dot, in this case blue, on the bowl. I just heat a gob of blue glass, attach it to the pipe and flame cut the rest of the rod from the dot. Use a tiny oxygen rich flame to shape the dot into a more perfect bubble.
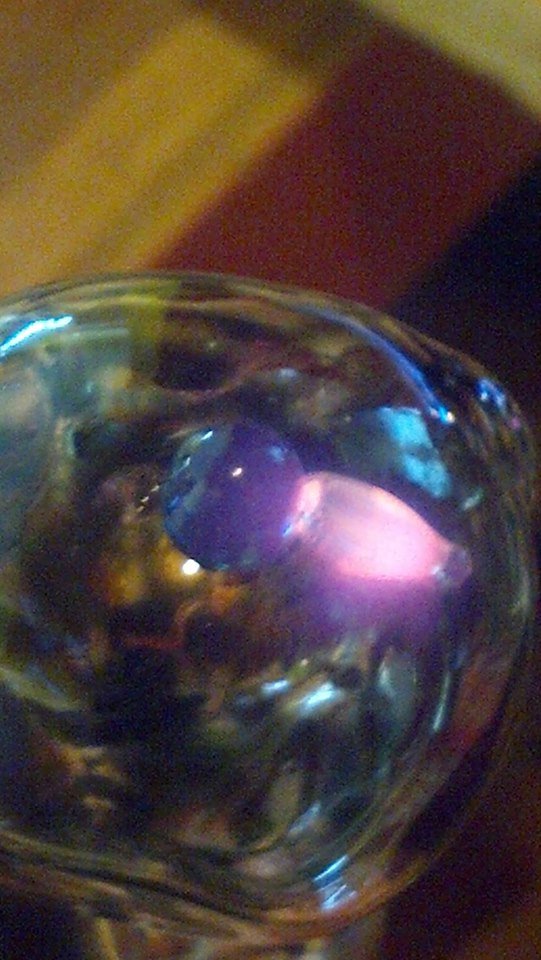
Using a somewhat thin rod of color, heat the end till a little gather forms, then touch that to the pipe at the edge of the bubble. In the flame, pull the rod away then up to cut it, which will leave a petal like the one pictured above. Continue around the dot until the flower is completed, then melt in the petals to smooth them a little.
Next we remove the blowtube, just by heating at the end of the pipe and flame cutting. We hold the pipe using tongs or a handle attached with a cold seal. A cold seal is a seal that allows you to hold a pipe, but is not permanent and can be popped off without leaving any marks on the piece. Use a rod to remove the excess glass to create a smooth neat closed end. Clean the glass off the rod by sticking it in water and tapping it off.
Picking a hole is one of the more difficult tasks for a new glassblower to accomplish. I ended up munching away half of my first pipe before I gave up and brute forced the hole with a metal tool. I found a few little shortcuts that work sometimes, but sometimes you still have to pick the hole. Hard as it is, it's something everyone has to learn. It sounds simple enough. You use a tiny flame to heat a pinpoint spot. Using a clean clear rod, you pull away little bits of glass to make the wall thickness thinner and thinner until there's a hole there. This is one of those things that once you get, it's never a problem again. At this point, I laugh at my former inability to pick holes.

The final step is to put the piece in the kiln and keep it cooking for awhile, preferably about 12 hours. This is to evenly heat the piece to a hot temperature to work out any cracks or micro cracks in the piece. This realigns the crystals to make the piece much stronger, something essential in a pipe. The kiln process also happens to bring out the red, which makes opening the kiln a fun experience. Once it's had a good soak in the kiln and has cooled slowly, it's ready to smoke out of.
We are giving this pipe away, so if you'd like to participate, upvote the article and comment telling us you'd like to participate. The article must get a $35 minimum for the giveaway to occur. You must be 18 years or older to participate.
Wow I had no clue how much work went into these.
Would you like to enter the contest?
Great job & presentation @lily-da-vine! :)
Would you like to enter the contest?
Nice intricate work. Very detailed explanation. You are talented. Put me in your pipe giveaway if you would please. Thanks.
Entered :)
This post has been linked to from another place on Steem.
Learn more about linkback bot v0.3
Upvote if you want the bot to continue posting linkbacks for your posts. Flag if otherwise. Built by @ontofractal
Coooool! I have never seen this done!
Would you like to enter the contest?
I wanna participate! Thanks for the great tutorial and the chance to win that beauty!
Entered
Awesome post. Following.
Would you like to enter the contest?
Yes that would be great!
Nice work!
Would you like to enter the contest?
I'm glad you mad it clear that this was a a spoon-pipe as at first I thought it was something else and glass might not be safe.
I would paint you something and you could make a little piece for me. We can then have a part of each other in our lives for as long as the Universe seems fit; the sharing of the consciousness of our Universal Soul. To share expressions of ourselves with another is what the Universe is about. I love your artwork and your skill. Brilliant work. Beautiful.