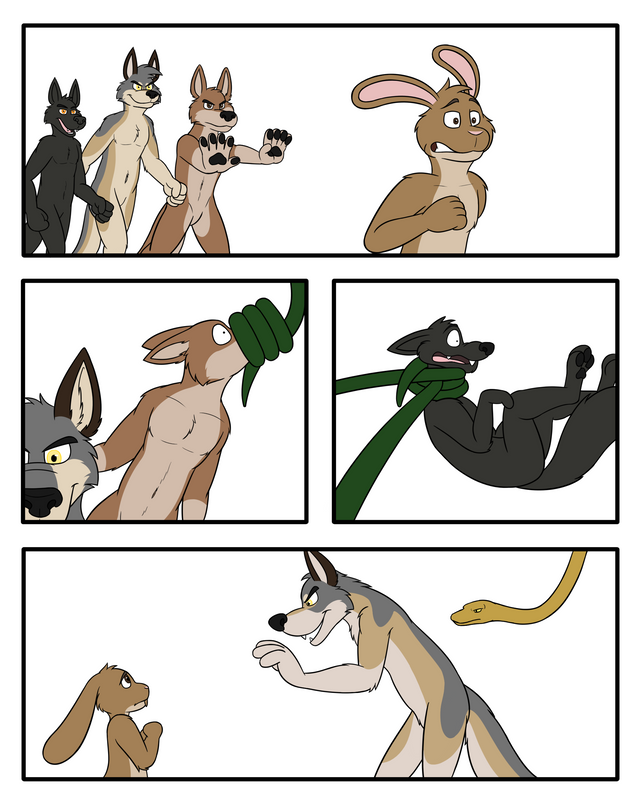
Surprising Helpers
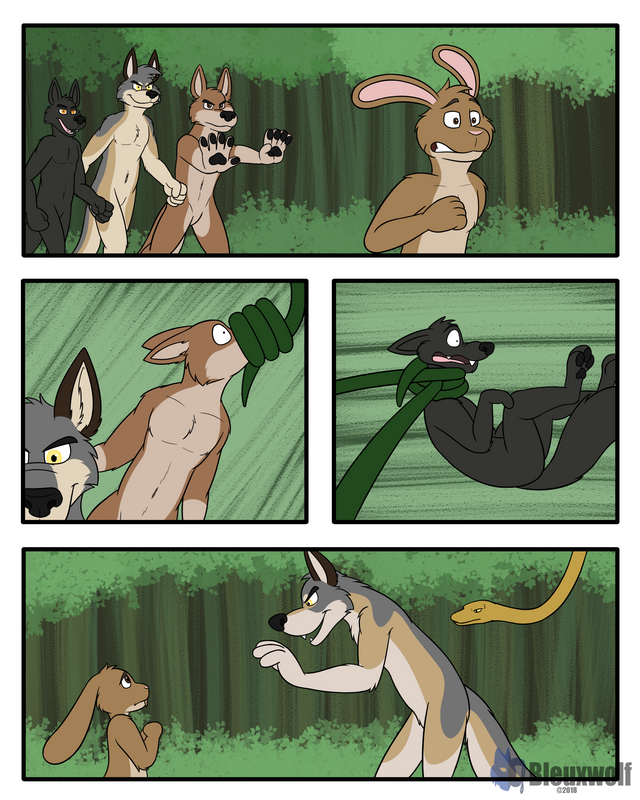

"I guess help can come from the most unlikeliest places."
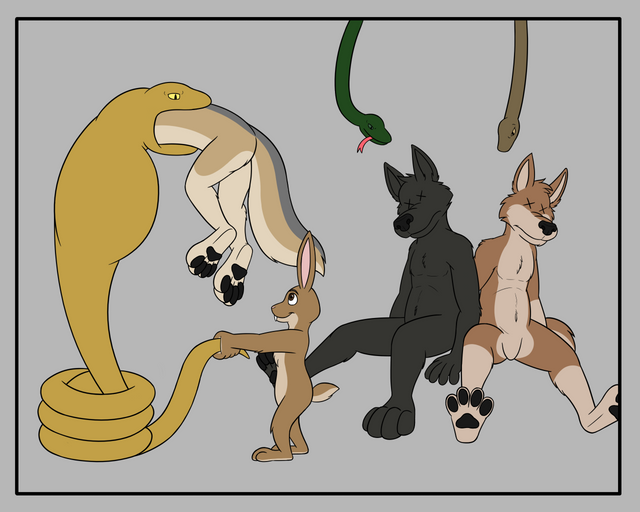
So this is a semi-realistic style comic commission with a detail background for Black Leash Dog on FurAffinity. It was definitely quite a work to draw this 2 pager up. As always, I'll show you my process on how I drew up this drawing.
Drawing Details
| ART CATEGORY | DETAIL |
|---|---|
| Art Medium | Digital: Krita |
| Art Tool | Wacom Cintiq 13 HD |
| Art Style | Semi-Realistic |
| Level of Detail | Flat Color |
| Background Detail | Detail |
| Size | Full Page, 2 Pages |
| Dimensions | Portrait: 2560 x 2048 |
| Date Completed | 2018-12-16 |
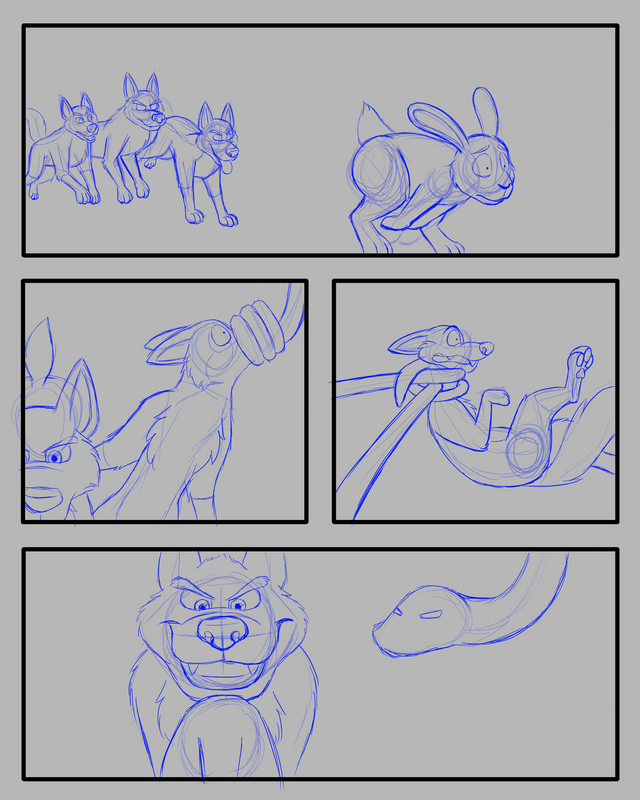
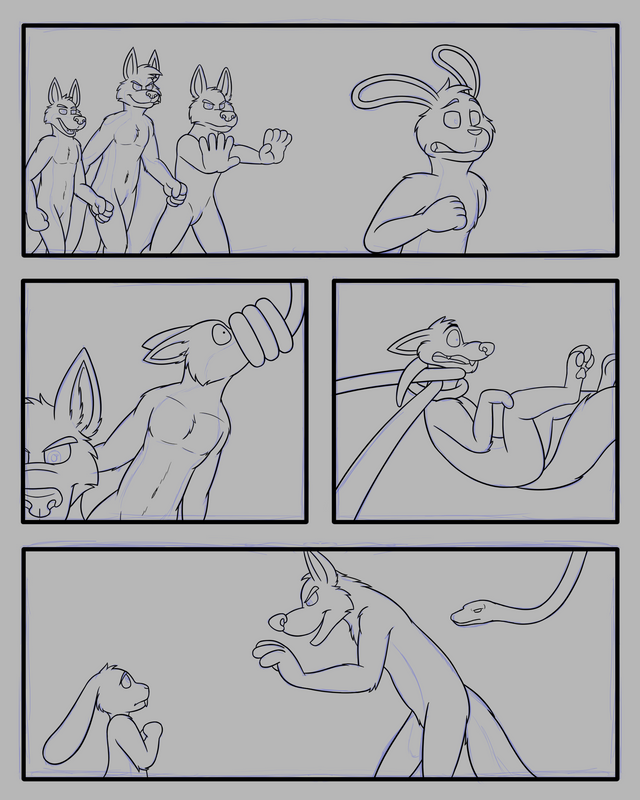
Page 1
My Layer Layout
- Border
- Foreground
- Lineart layer
- Folder for "Colors" (Folder will be masked to Base Color.)
- Bunny & Snake layer
- Wolf 1 layer
- Wolf 2 layer
- Wolf 3 layer
- Base Color layer
- Background
- Detail Color layer (Mask)
- Background Base Color layer
- Sketches
- Extra Sketch layer
- Fine Sketch layer
- Rough Sketch layer
- Canvas Background layer (neutral color like grey)
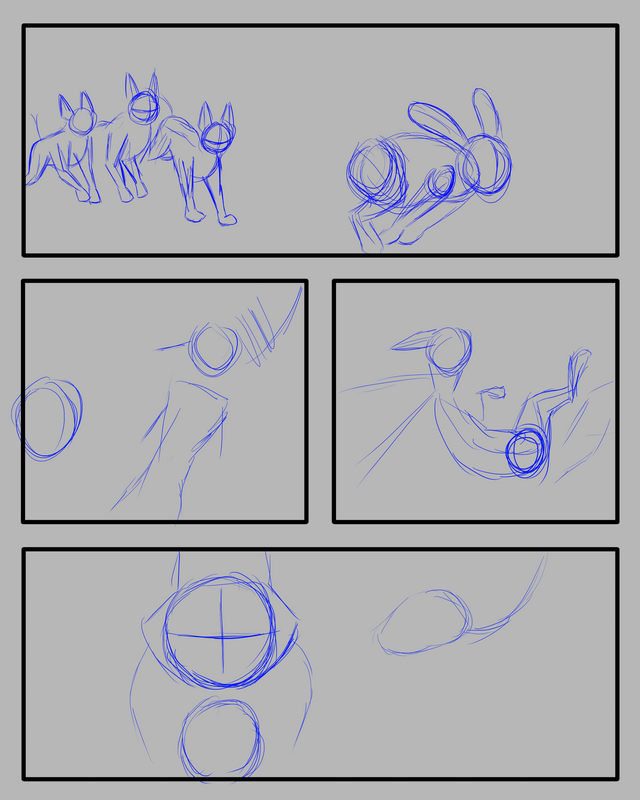
Canvas Prep/Border/Rough Sketch
First, I start with a neutral grey color canvas background. I sketch out the panels (in an extra sketch layer) to get a general idea of how the panel layout will be or in this case, the panel sizes and placement were already determined by the client so I just sketch these in to plan my placements.
Then I just lineart the panels in the border layer.
Then in the rough sketch layer, I sketch in the roughs of the characters.
Fine Sketch
After the roughs, in the fine sketch layer I draw in the finer sketches.
Lineart
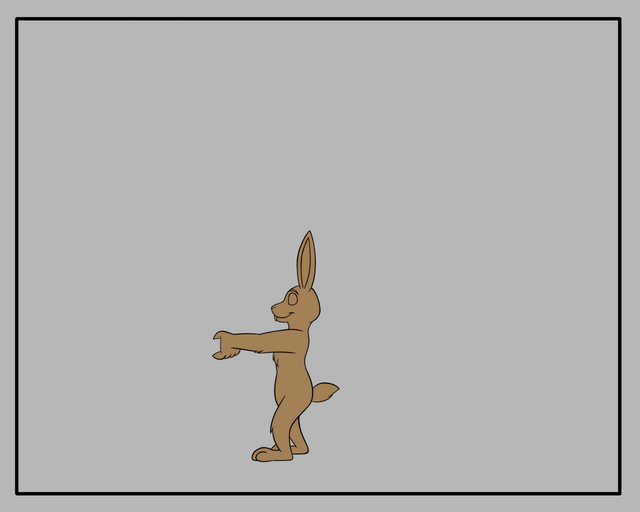
After client approval, I draw in the linearts in the lineart layer.
Base Color
Turn off the sketch folder to do this process (temporarily turn this back on when you need to utilize seeing where to draw in your detail colors). Then, using the contingous "wizard" tool, select all areas outside of the characters' lineart perimeters, invert the selection, then fill in the area with a neutral color. You do it this way to prevent any undesirable gaps in your base color if you were to just select areas inside the lineart perimeters. Plus this color process is much easier and quicker to get done.
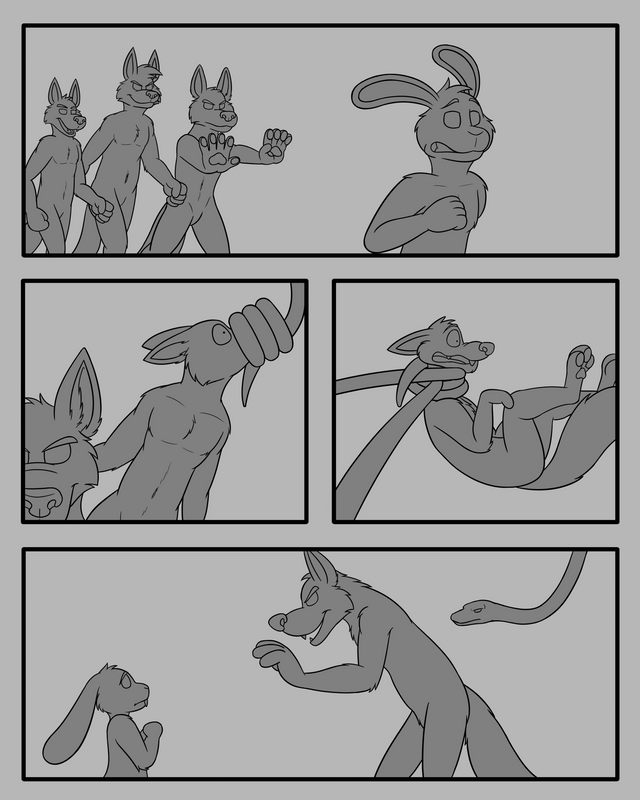
Primary Colors
In each of the characters' own color folders, which of course is masked down to the base color, add the character's primary colors.

Detail Colors
Add in the characters' detail colors over their primary colors utilizing as many layers as needed.
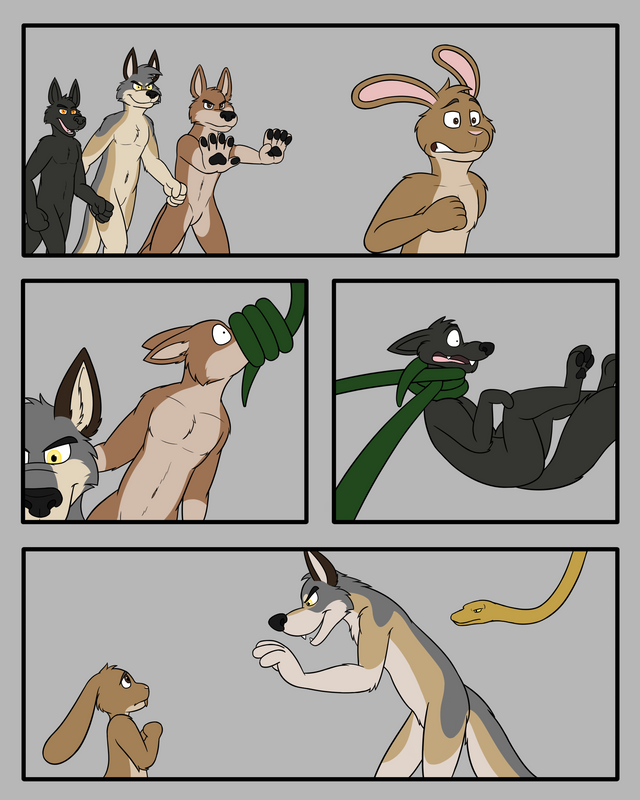
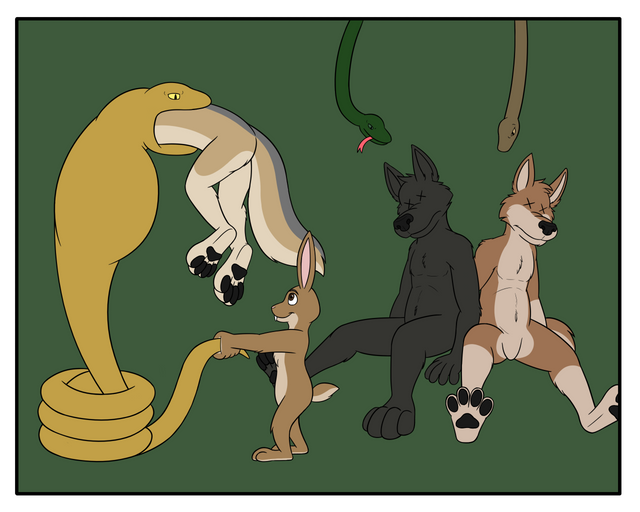
Background
Here, we begin prepping for the comic's background. First, I whiten the canvas background.
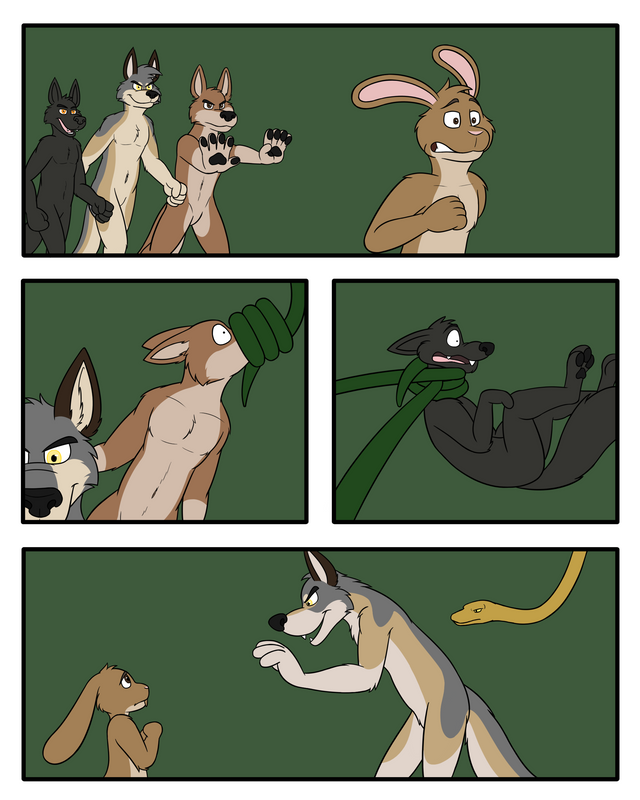
Then in the background base color layer in the background folder, add in a base color for the background. In this case it'll be green since the scenes are greenery.
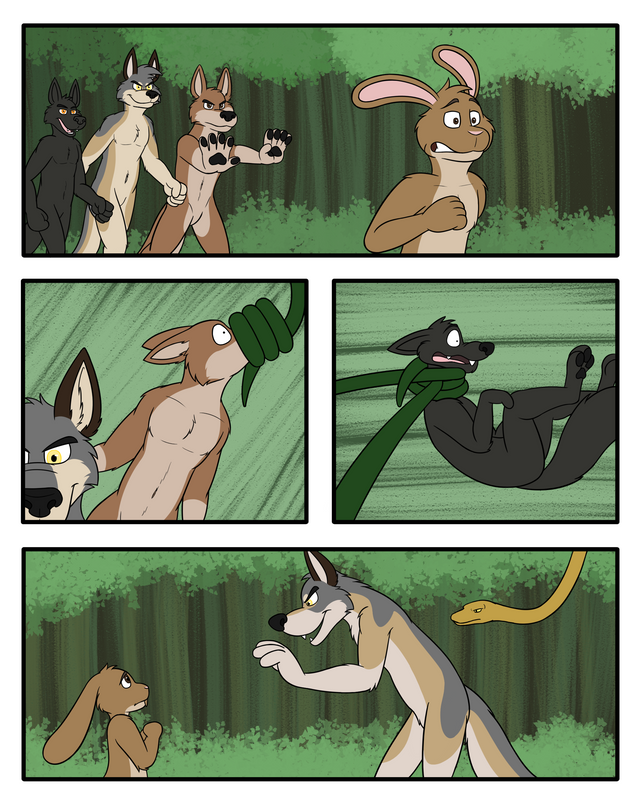
Them, add in the other details for the background in the background's detail color layer.
And then we gone on to page 2!
Page 2
My Layer Layout
- Border
- Foreground
- Folder for "Bunny"
- Lineart
- Detail Color
- Base/Primary Color
- Lineart layer
- Folder for "Colors" (Folder will be masked to Base Color.)
- Snakes layer
- Wolf 1 layer
- Wolf 2 layer
- Wolf 3 layer
- Base Color layer
- Folder for "Bunny"
- Background
- Detail Color layer (Mask)
- Background Base Color layer
- Sketches
- Extra Sketch layer
- Fine Sketch layer
- Rough Sketch layer
- Canvas Background layer (neutral color like grey)
Canvas Prep/Border/Rough Sketch/Fine Sketch/Lineart #1 (Phew)
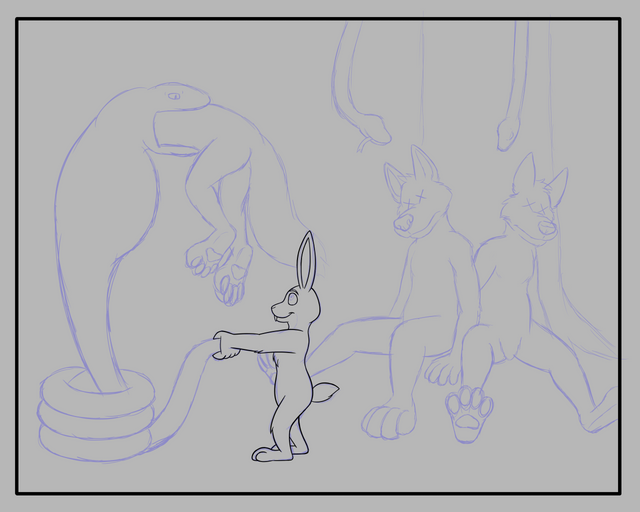
This will be a separate file from the other page. I dont have the rough sketch image for this but just like with the 1st page, I take care of the border for this page which is just one big single panel. Then I just sketch in the roughs in the rough sketch layer and then afterwards fine sketch in the fine sketch layer. After that process and client approval, we get to here where I can have separate folder the bunny (my preference for ease personally) and in the folder's lineart layer, I lineart over the sketch of the bunny.
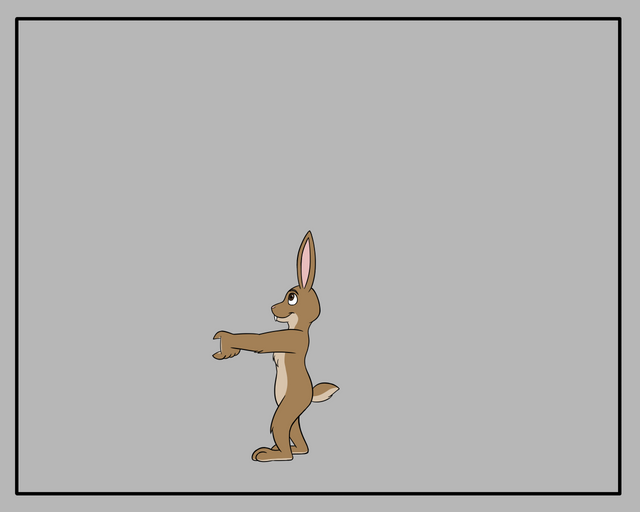
Base Color/Primary Color
Temporarily turn off the sketch folder to do this. With the wizard tool like before, select areas outside the bunny's lineart perimteres, invert selection, and fill in the area with the character's primary color in the primary color layer.
Detail Colors
Then add in the other detail colors in other color layers.
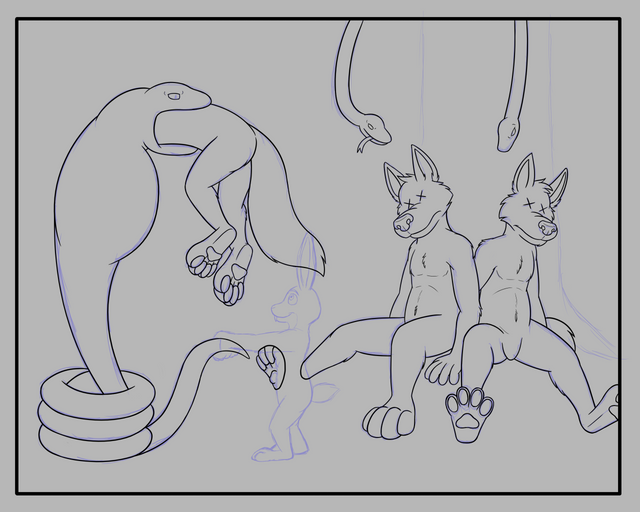
Lineart #2
Temporarily turn back on the sketch folder. Now I lineart the other characters. (I can cheat on the 2nd wolf's foot and you'll see why soon. Keep it our secret. ;) )
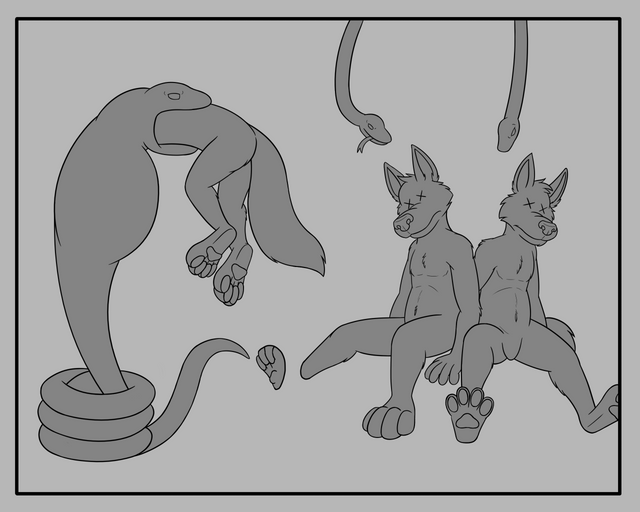
Base Color
Turn back off the sketch folder (again, temporarily turn this back on when you need to utilize seeing where to draw in your detail colors). Do the same selection and fill proccess as the bunny but for their color layers respectively.
Primary Colors & Detail Colors
And do the same as you did for the bunny for the details!
Background Color & Details
Now like page 1, whiten the canvas background and in the background base color layer folder, add a green base color for the type of scenery.
And then add the other details in its own layer over it.
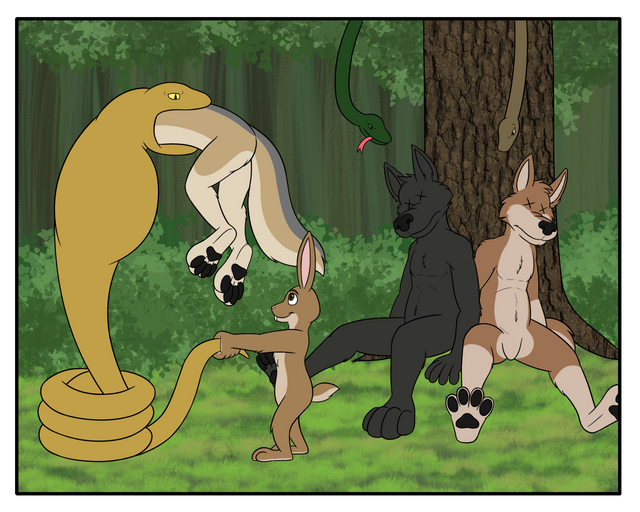
And after that, check over the drawings for erros and missing details or details that need to be added in and then we're all done here!
I would've shown an animation here but I've concluded that due to me being busy a lot with trying to provide content and posting, it'll be too time consuming to keep up with setting it up and rendering it (especially this since it takes a while to render an animation especially on my computer lol). So I hope you enjoy the comic and the tutorial!
Artwork by @bleuxwolf

Awesome cartoon! Cute and funny, well done! Great artwork, too!
Thank you @trincowski!
Thanks for using eSteem!
Your post has been voted as a part of eSteem encouragement program. Keep up the good work! Install Android, iOS Mobile app or Windows, Mac, Linux Surfer app, if you haven't already!
Learn more: https://esteem.app
Join our discord: https://discord.gg/8eHupPq
Thank you @esteemapp!
Hi @bleuxwolf!
Your post was upvoted by @steem-ua, new Steem dApp, using UserAuthority for algorithmic post curation!
Your UA account score is currently 1.650 which ranks you at #33169 across all Steem accounts.
Your rank has improved 63 places in the last three days (old rank 33232).
In our last Algorithmic Curation Round, consisting of 215 contributions, your post is ranked at #187.
Evaluation of your UA score:
Feel free to join our @steem-ua Discord server
Awesome! Was not expecting that.
I don’t think anyone would. ;)
Posted using Partiko iOS
This post was shared in the Curation Collective Discord community for curators, and upvoted and resteemed by the @c-squared community account after manual review.
@c-squared runs a community witness. Please consider using one of your witness votes on us here
Thank you for the support as always!
Posted using Partiko iOS
really exciting drawing @bleuxwolf ... the unexpected help from snakes, LOL. like the way you create the wolf character too. thanks for sharing the process os making and have a wonderful new year..
Thank you @cicisaja! Glad you enjoy the comic and tutorial. :) And thank you, I hope you have a wonderful new year too!
Posted using Partiko iOS
This was fascinating to read! There was a dear friend who did furry art and i always wondered what his process was, but that was before the computer could be used to draw with. I have since thought he might have turned to the computer, if he were still alive today.
Thank you so much for showing us the process you took. I just love how you have done this. I hope to see more in the future.
Ren
Cool. Well I’m happy to hear that you enjoy the comic. :) And no problem, I enjoy sharing my process with y’all. I will be doing more in the near future. In the meantime, feel free to check out my other works as well as I show my process in them as well.
Posted using Partiko iOS
Most definitely. I havent been on as much this week due to the holidays, but it will happen.
Hahahah, what surprising helpers, indeed ! Those bullies got their just desserts, from the looks of it :D Wonderful pages, @bleuxwolf ! You are so good with these comicking :D
Thank you! And let’s just say now those snakes got their desserts as well. ;)
Posted using Partiko iOS