The Superman: Drawing and Painting process (Step by Step)
Hi everyone!! today I am going to share the process of Superman that I've recently posted. It took me so long to complete this art as I was busy doing other stuff. It made this for a contest and theme was superheros so, I picked Superman coz I like Superman character.
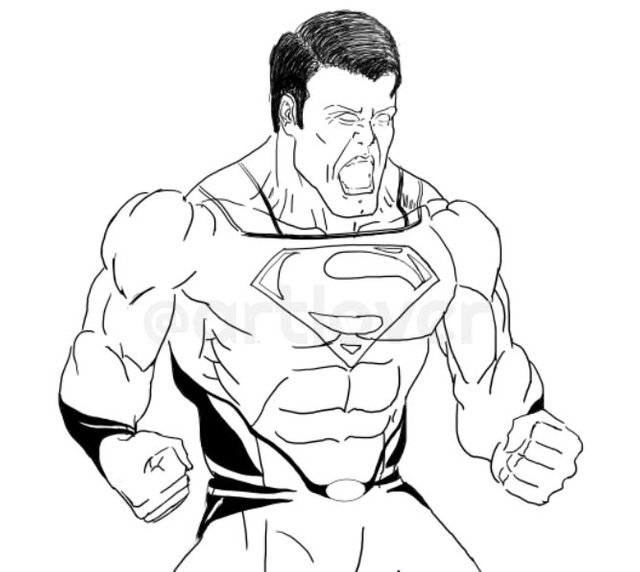
Thumbnail

Since it was a comic drawing contest , I was looking for a sharp comic style effect and rendering and I am quite happy with the results.
I wanted to create a background, something like damaged architecture and poles and maybe a car but I was out of time and it was 3:30 AM so I had to submit it without the background. Here is the final image and the steps I used to achieve this result. :D Enjoy!!

Step 1
So, First of all I took a 2B pencil and started sketching a humanoid character I had in my mind. My plan was to sketch it first and use it as a reference or guide inside of Photoshop.
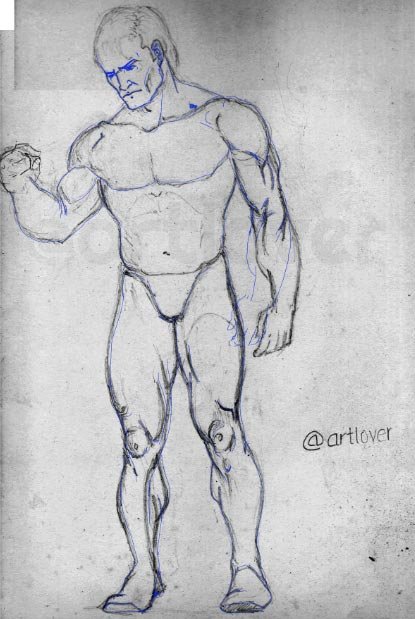
I finished the basic sketch and scanned it for further use but soon I realized that the character is looking so boring. I wanted to create Superman holding the mask of Batman, just taking the advantage of the rivalry between these two superheros in Batman vs Superman. So the first step, and I failed :D.
Note: The seam you see is on the image is because I am using two scans of the same image as the head was slight cut off in one scan
Step 2
Then I decided to create it completely in Photoshop. I started thinking of something that wouldn't look boring as more than half of my drawings look boring.
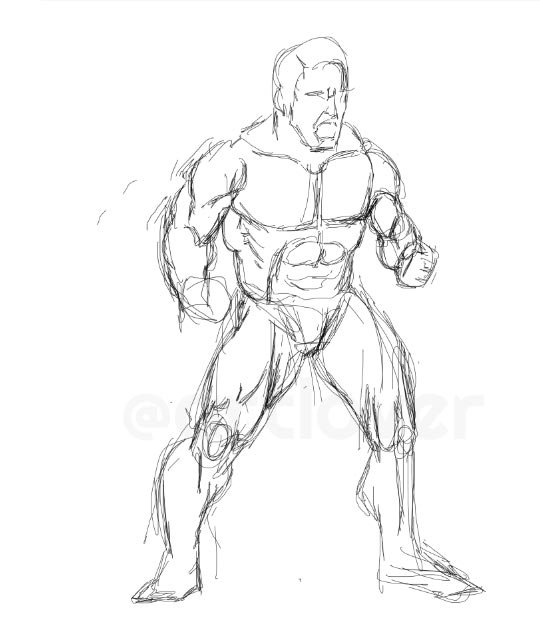
After few moments, I thought of Superman in rage using its heat on someone and started doodling. Here is what I got after few minutes.
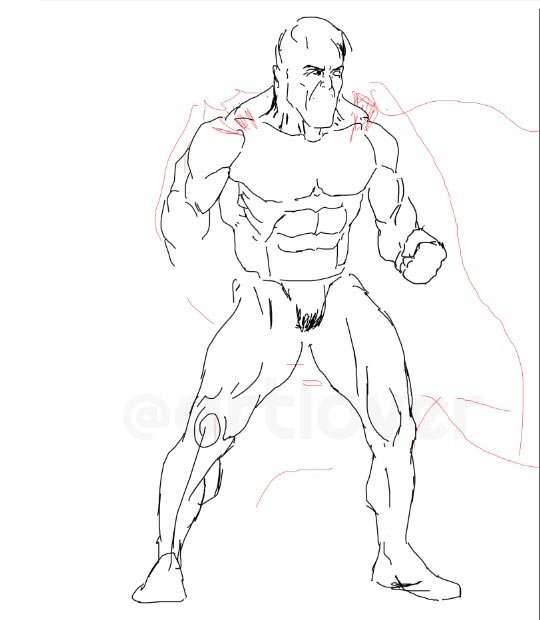
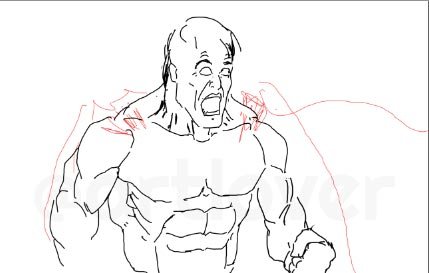
Step 3
Using the basic scribble as guide I created a cleaner version of the character and corrected its proportions.
Step 4
I tried to experiment with the expressions but I ended up having Superman living his nightmare kind of expression so I decided to keep the old one.
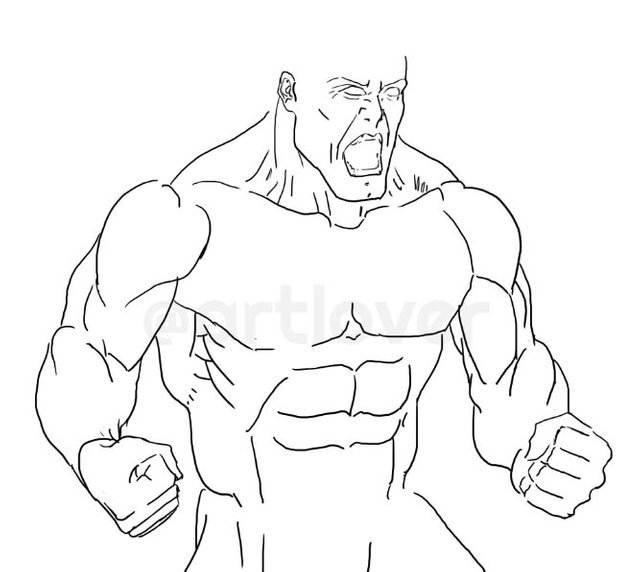
Step 5
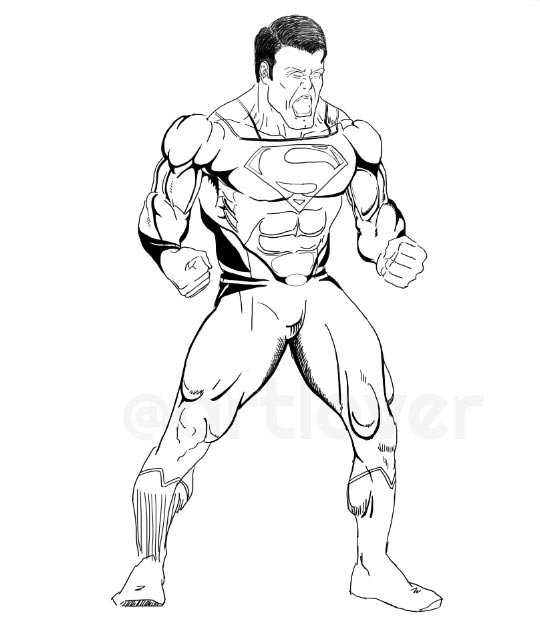
After that I added the hands and add details to the expressions and draw a cleaner version of the lineart.

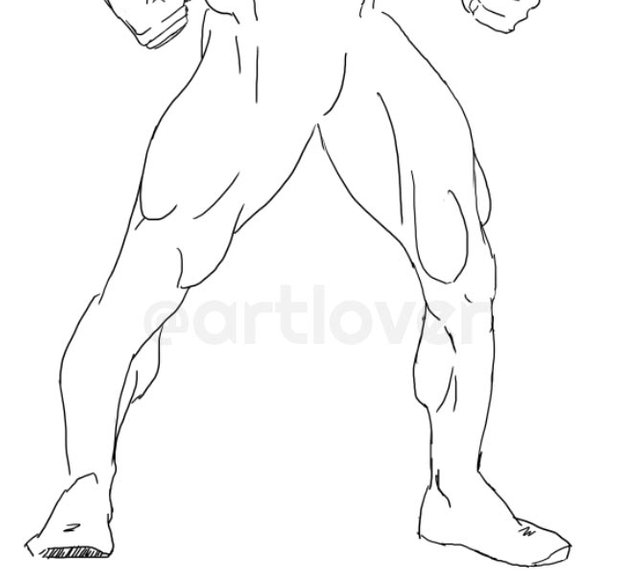
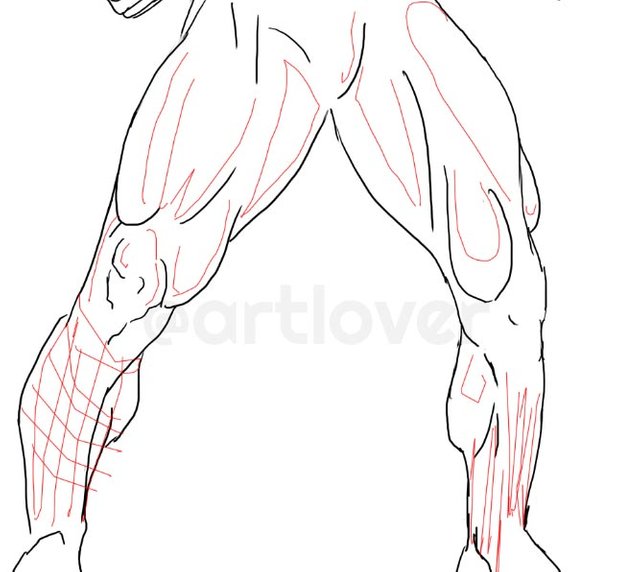
Close ups
Here are the closeups of the torso and the legs.

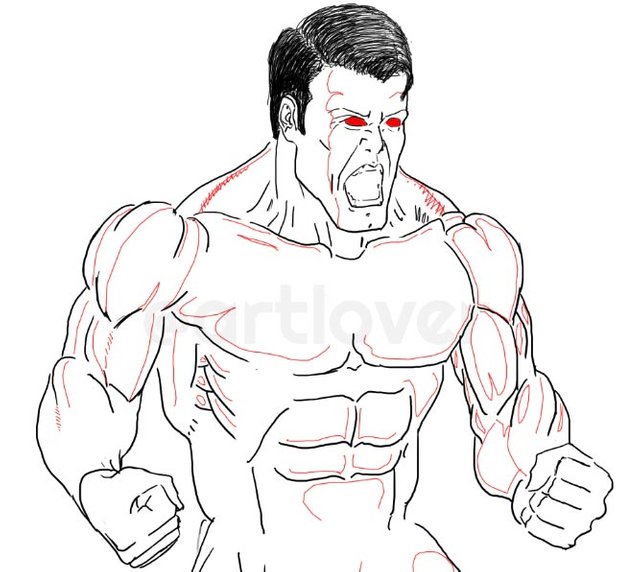
Step 6
Then, I drew some lines to visualize the lighting and also add more details to the character like knees and changed the shape of the shoulder.
Step 7
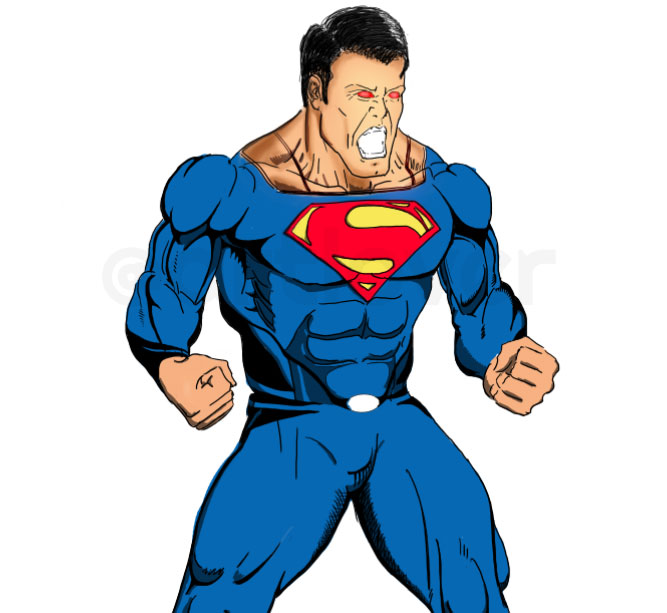
After that I started to draw the costume of the Superman. The costume didn't take much of my time.
Step 8
Then I started adding the comic style shading like sharp shadows on muscles and cross hatching.
Step 9
After getting done with shading stuff, I added a color pass.
Close up


Step 10
Then I added a shadow pass which was not too strong.
Step 11
After that, I added a dark background to the drawing and added the rays and some light around the eyes. I also added the illumination on the face. The rays are just a single round brush stroke which was duplicated and blurred.
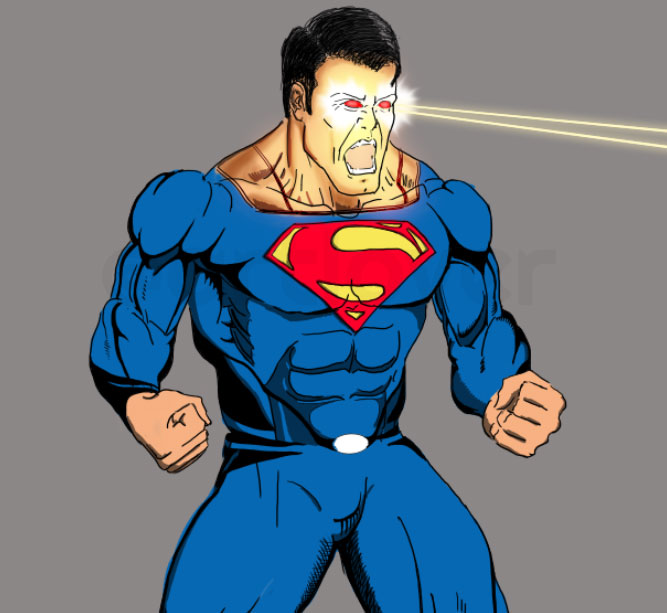
The lights around the eyes can be done by smudging the pixels. There is more than one way to do it but this one is the easiest.
Step 12
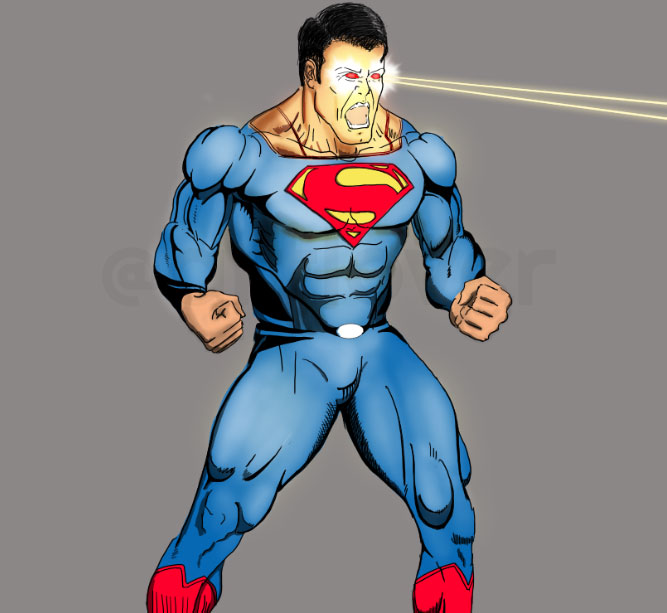
Then I added a slight reflection to the costume.
Step 13
Next was the cape, It wasn't so hard and I was doing hurry coz I really wanted to sleep :D. So for the cape I drew a rough line art to see how it would look like. I tried the other way but it wasn't looking that cool so I went with this.
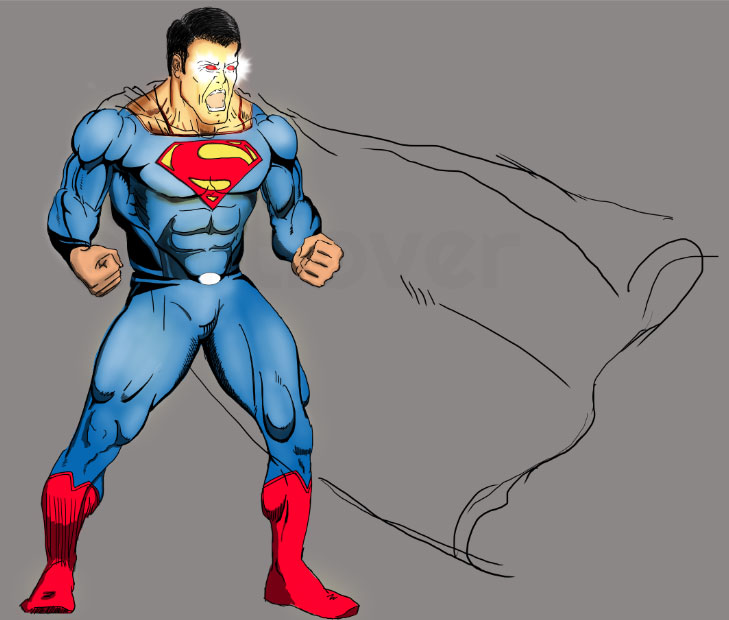
Note: I hide the rays in this image just to put the focus on the cape. ;)
Step 14
After that I fine tuned the line art and added the colors to the cape.
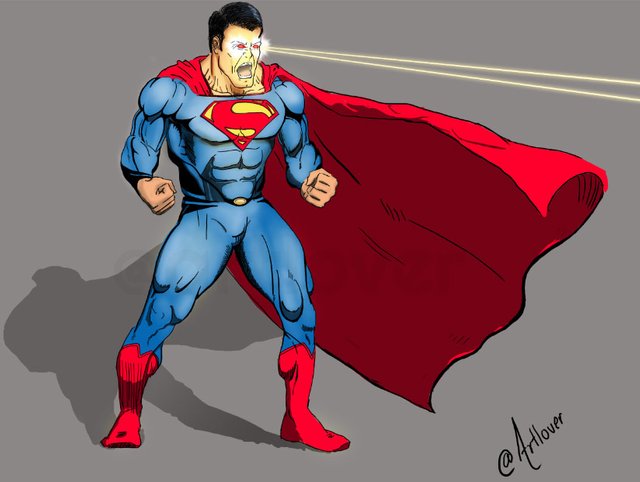
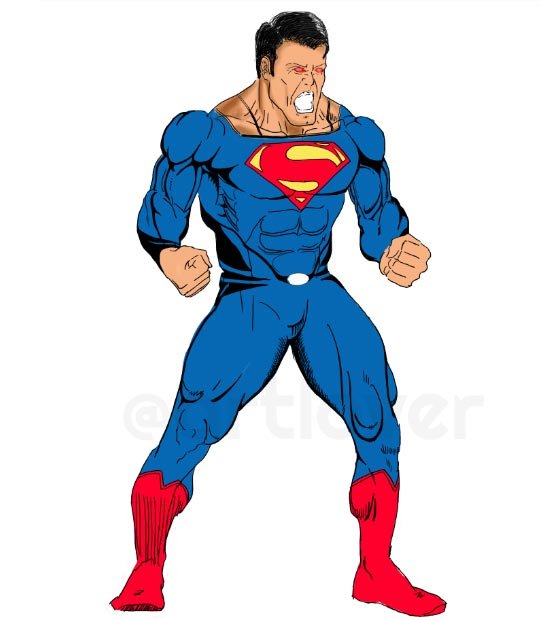
Step 15
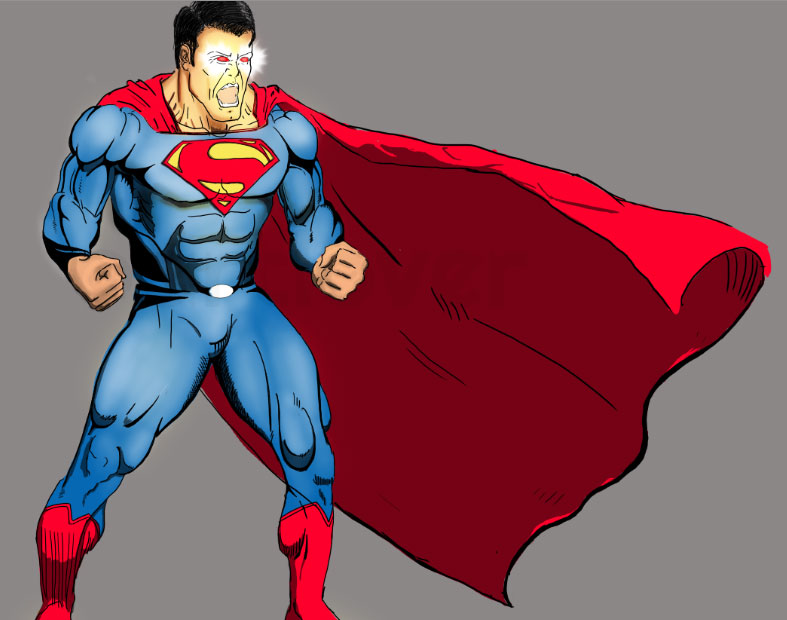
This is the final result and It is slightly different from the last one. I removed the red reflection as bright was looking good and I forgot to paint the belt part in the last one so I painted it in this one.

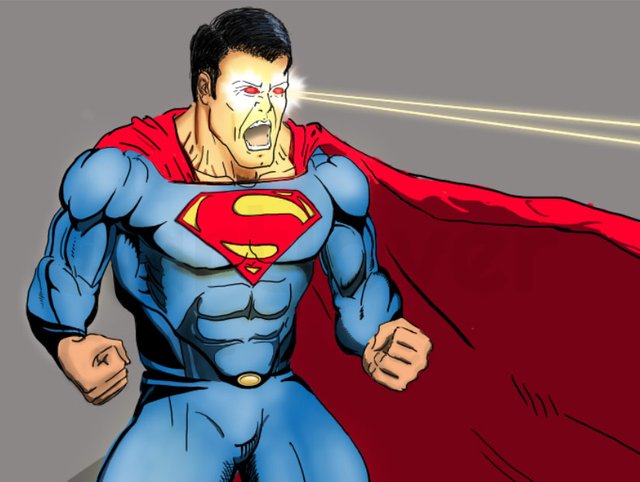
Here is the Close up.
And, Its time for me to go to sleep :D Thank you :D :D and Have a nice day :)))))
Wow amazing sketch. We usually just see the finished idea but have no clue the often gruesome process it took to get it there. Really great stuff!
thanks man :)) Totally agree, it was so challenging. Even my first step was a fail that made it even more difficult but finally done it :)))
My pleasure! Keep it up
This is amazing! great job, you are truly talented :)
Thanks for your nice comment @jznsamuel :D I am so glad that you enjoy my work. Thank you man :)))
So this is how you did that masterpiece. ^^ Awesome indeed. :) I'm glad you shared the step by step process of it, I really like it, especially the outcome <3
Thank you littler ;)))
You are very welcome. :)
This post was resteemed by @resteembot!
Good Luck!
Curious? Check out:
The @resteembot users are a small but growing community.
Check out the other resteemed posts in resteembot's feed.
Some of them are truly great.