Photography 101 - #4 - The Basics (Metering and Camera Modes)
Photography 101 - #4 - The Basics (Metering and Camera Modes)
Hi again Steemian Photographers worldwide, welcome back to my Photography 101 series! For those of you that haven’t read the first three instalments you’ll find them here:
Photography 101 -Aperture, Shutter Speed, ISO
.jpg)
Metering Modes
I’m going to continue each of these posts with the assumption that you’ve got pretty familiar with the earlier ones. As such for this article I’m going to assume that everyone has a pretty good handle on how ISO, Aperture and Shutter Speed affect your image and what we mean by ‘Exposure’. The chances are that by now you’ve started experimenting and digging around in your cameras menu. I imagine most of you will have seen or read about metering modes.
Metering works on a scale, usually with 0 in the center with +1, +2 and +3 to the right and -1, -2 and -3 to the right. Some cameras will have different scales, older SLR camera’s often just have the symbols; - 0 + to denote Under Exposed, Correctly Exposed and Over Exposed accordingly. In the first example, typical of most modern DSLRs +1 translates to One Stop Over Exposed, -3 is Three Stops Under Exposed and so on. The little increments between stops are most commonly 1/3rd of a stop.
HOW to change your Metering Mode will vary depending on manufacturer, it’s usually pretty accessible but I’d advise checking your user guide or a quick online search if you’re unsure!
.jpg)
Understanding the Meter
So the Under/Over exposure reading is all well and good, especially provided you understand what that means. One thing to point out here, as I have in earlier posts, is that the idea of Under and Over exposure is relative. If you’re shooting for a silhouette the chances are you WANT to see Under or Over exposure. What you’ll want to see depends on your Metering Mode which is the key to understanding what that Meter is really telling you!
Metering Modes – 1 – Evaluative Metering
This is also sometimes called Matrix Metering, I’m not sure if that’s just a regional thing but here in the UK it’s pretty much always called Evaluative. To me Evaluative Metering makes the most sense as it’s essentially letting your camera Evaluate the scene and decide what the correct exposure SHOULD be. Remember that the camera will always determine the correct exposure as Mid-Tones, the clue is in the name here – MID – Middle! It’s never going to assume you want anything other than a ‘correctly’ exposed image, so bright or dark scenes will always come out different to how you see them.
Evaluative Metering is actually a little more clever than I’m giving it credit for, part of the cameras ‘evaluation’ includes your focus point. If you imagine that instead of the camera looking at the image as a whole, it breaks it up into sections and finds the middle ground between these sections. The section that contains your focus point will be prioritised above the others that make up the scene and so if you’re focussed on a particularly dark or light area the camera will adjust the meter to compensate a little for this.
Of course all of this is delivered in the form of our meter reading, depending on your camera mode the settings may not change at all. The meter will just read out whether your current settings will under, over or correctly expose your image.

Metering Modes – 2 – Center Weighted Average
The clue is totally in the name with this one. Essentially this works in a similar way to Evaluative metering, but in a slightly more precise manner. Instead of your camera looking at the scene as a whole, it takes the edges of the image out of the equation and just looks at the center section of the image. When I say the center section I don’t just mean the very middle of your image, instead the camera evaluates a circular section across the middle of the frame and works out the average from that.
.jpg)
Metering Modes – 3 – Spot Metering
Spot Metering is the most ‘focussed’ of the three metering modes. Spot just looks at the focus point and nothing else. Essentially with this one no matter how dark or bright the rest of the scene, the meter will display the level according to only the small section that the focus point covers. NOT everything that is in focus, just that one section of the image.
That’s Metering!
So you see the metering modes themselves are really fairly simple to grasp. Each have their own drawbacks and advantages and I encourage everyone to try them out and see what works best for your style of shooting. Personally, I stick to my rule about eliminating any ‘auto’ settings from my workflow (Actually that’s a lie, I use Auto white balance because I always shoot RAW so can change it after!). Why do metering modes class as Auto? They don’t really, but to me they take away that control and give it back to the camera. When we widen the area that the light meter evaluates we introduce totally new tones to the equation. Every shot should have light and dark but not all shots have a perfect tone curve and for me, MOST of the exciting ones don’t!
.jpg)
Using Metering Modes
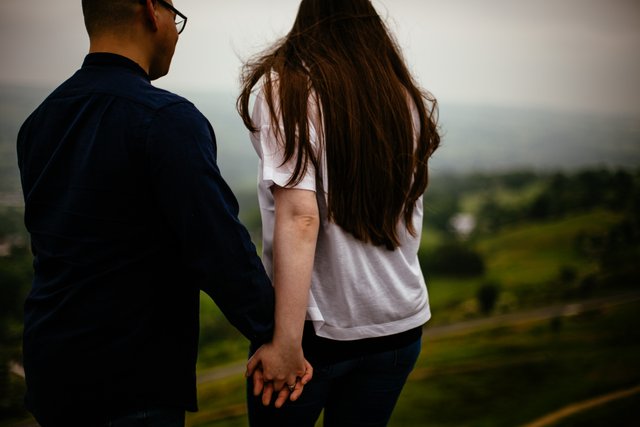
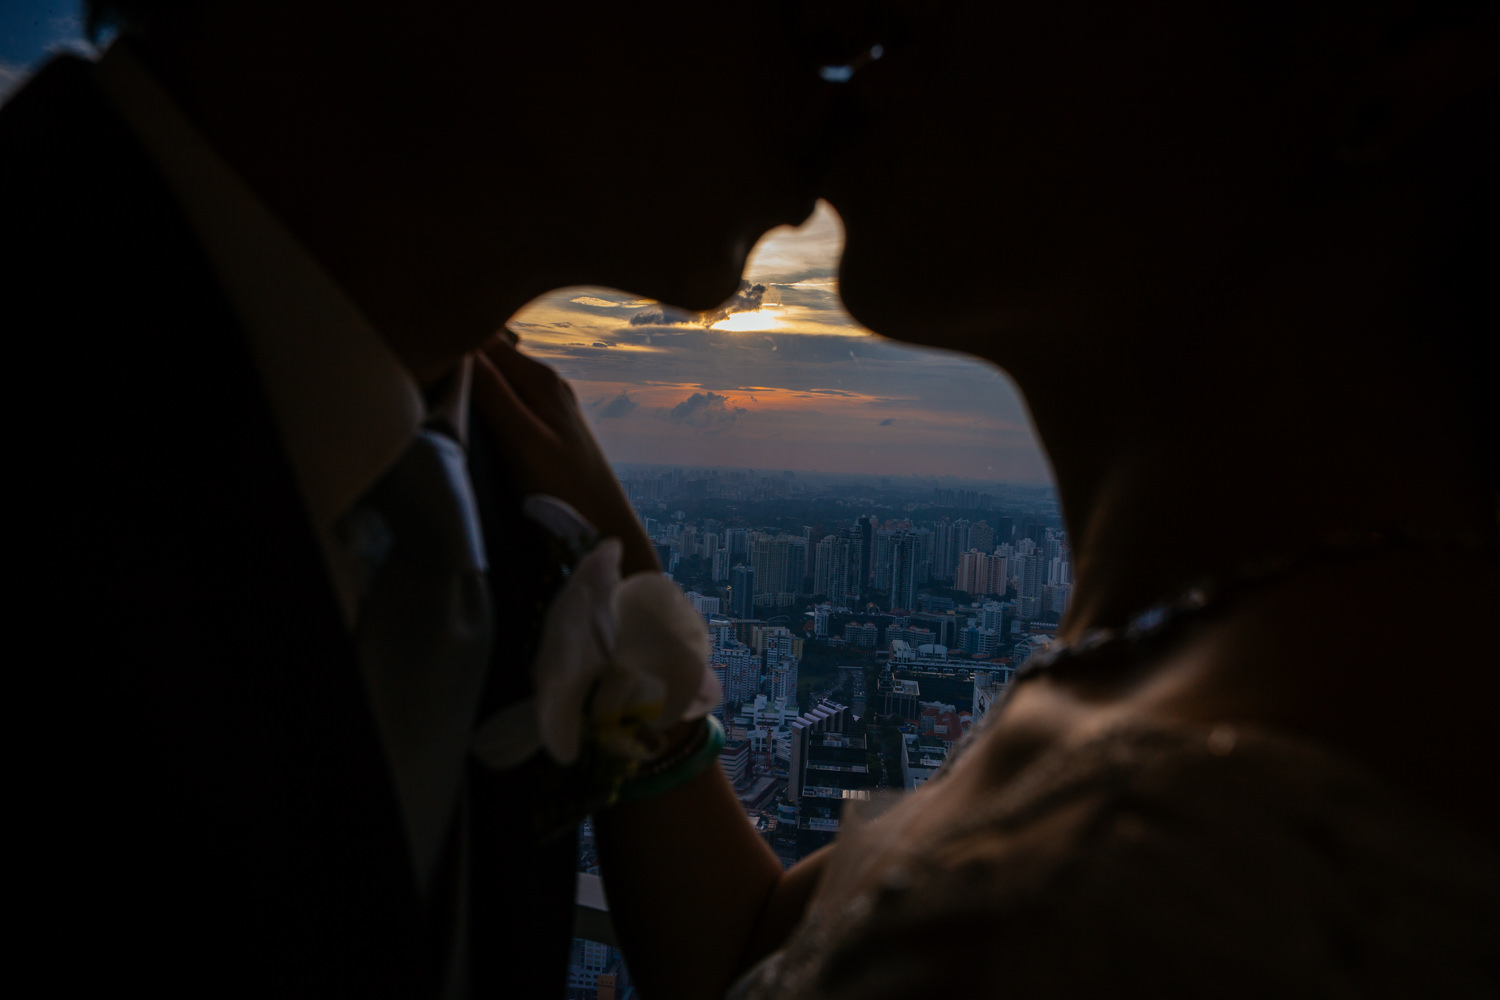
Personally I like to use Spot ALL of the time, when I line up a shot I think about how I want the shot to look and pick which part of the image I want to be my Mid Tones. I’ll focus on that spot and meter accordingly. For example when I’m working I’ll pretty much always be shooting people, the light around them and behind them changes all the time but I’ll mostly want their faces and skin to be the mid-tones and so that’s where I’ll take my meter reading. When you see those amazing beams of light shining through a window? Focus on those and take your meter reading there to really emphasize shadows. Obviously if you want to go the other way you could meter for the shadows and have the beams appear as highlights.
If you’re shooting wide then something like Center Weighted or Evaluative will work great and often be easier to gauge than spot metering. Again, this is really a case of the ideal setting depending on your own shooting style as much as the situation you’re in. I think for me it’s almost a control freak issue! I like to control EVERYTHING in a shot (especially paradoxical given that I mainly like to shoot photojournalism!!)
.jpg)
Camera Modes
We have talked about these briefly before, but I just want to revisit the camera modes section again in one post rather than split between the three earlier posts. One thing I would like to mention is that there really is no right or wrong here. As I mentioned earlier most of my own passion for Manual mode comes from my own control freak issues! There are plenty of incredible photographers who use Av/Tv exclusively and produce incredible work!
.jpg)
Av
Av, you remember this one right? Otherwise known as Aperture Priority, Av is another camera term that does what it says on the tin. It prioritises aperture above all else. You are in control of the aperture, the camera will control the Shutter Speed and ISO as it sees fit. Now that we understand Metering Modes it should be a little easier to see HOW the camera works out those settings.
Bearing in mind that we already know that Aperture is all about Depth of Field the logical extension is to assume that Aperture Priority is all about depth. If you’re shooting something where depth of field is critical then this is the go-to mode. People often talk about ‘front to back’ focus. It’s a commonly used expression mainly used in magazines and publishing. It refers to the image being completely in focus, well, the subject at least! Think about those celebrity images, Hello Magazine type shots, these are pretty much always in focus Front to Back. Cranking the Aperture up to f/5.6+ is often the quickest way to ensure Front to Back focus in a fast moving environment.
.jpg)
Tv
Tv or Shutter Priority, is fairly easy to work out given the explanation of Av right? We set our desired shutter speed and let the camera do the heavy lifting.
Think of anything that needs a fast shutter speed, Sports photography is the prime example. In motor racing for instance the subjects are moving so fast that photographers demand a high shutter speed. Before I understood photography properly I used to wonder why ‘Flagship’ cameras had the feature sets they did and were mainly used by sports photographers. Just look at the photographer bay at a sporting event and you’ll see a whole host of Grey lenses (yep, suck it Nikon! 😉), and a few black ones, attached to Nikon D4s and Canon 1DxIIs. What do those cameras have in common? Extremely high frames per second and exceptional high ISO performance.
Even though most sporting events are in the daytime, or at least well let, photographers need to work at such high shutter speeds ISO becomes a real issue, this is where setting upper limits for Auto ISO really comes in handy!
Full Manual
With all of that said about Av and Tv, I’d like to fight Manual Mode’s corner [more than] a little.
Full Manual Mode, usually denoted by a simple ‘M’, places all of the controls in your hands. You decide the ISO, Shutter Speed and Aperture (although it is easy to select Auto ISO, but this kind of defeats the purpose of shifting to manual!
Manual is the setting that terrifies most beginners. I think it’s the idea that they have to know EVERYTHING to use it. Trust me, you don’t! In fact the best way to learn EVERYTHING is by controlling EVERYTHING. That way each decision you make and setting you change directly affects the image you produce. It teaches you how those setting/end result interactions work on a subconscious level. That is to say, even when you aren’t TRYING to remember what you’re doing it starts to embed in your mind all the same.
I always felt like Manual was the mark of a real photographer. I’ve since learned that it certainly isn’t, but that thirst for knowledge helped me to absorb everything I could about the settings. I wanted to know HOW to create the images as I saw them, I figured the whole ‘getting a great shot’ part would come with time and be limited to a certain extent by my natural ability or inability.
Time and natural talent are two things we have little control over, so the only thing we can control is our own knowledge!
Get Out and Shoot!
Ok, to recep, we know what Aperture, Shutter Speed and ISO do; how they affect the exposure and look of our image and what situations those might be utilised for. We understand exposure and how to read a light Meter, we also know what the light meter settings do and how to chose the most appropriate one. Oh, and we know what the main three settings on the camera do, their drawbacks and advantages, and how they might each be used.
4 Parts in and I’d say that’s everything you need to get out there and make some epic photographs. Honestly, it’s enough to build a career on without ever worrying about the whole host of menus and ‘bonus features’ your camera is so jam packed full of.
Back when I first started editing films on a PC I was amazed by how much there was to learn. It wasn’t long before I realised I could make the film without ever using 95% of the settings and options available to me. The same is true with photography (and just about every single professional endeavour in the world!), there’s so much to learn and the industry changes with every day that passes. The truth is most of it is just ‘extras’. Don’t worry too much about the rest (at least until I do another post – there’s still plenty to cover), have fun and take photos!
Some more articles you might enjoy:
How ANYONE Can Make Money From Photography (From Home!)
Long Exposure Photography 101 - #1, #2, #3, #4
So You Want To Be A Professional Photographer? #1, #2
How To Make Money From Photography
Photography Industry 2017 Year In Review
How To Use Flash Like A Pro
Guide To The Best DSLR/Mirrorless Camera's To Buy (Jan 2018)
5 Exercises To Improve Your Photography
What Does It Mean To Be 'Great'?
How To Get The Best Shot

Great post!!!
Another great post!!!
Thank you! I always put a lot of work into these so the comments really are massively appreciated!
You get a free one of these for this... awesome stuff.
Wahoo! Thanks dude, and obvs thanks to the supreme beings that is, the curator!
This post has received a 35.35% upvote from thanks to: @skiesandsports.
For more information, click here!!!!
Send minimum 0.100 SBD to bid for votes.
Do you know, you can also earn daily passive income simply by delegating your Steem Power to @minnowhelper by clicking following links: 10SP, 100SP, 500SP, 1000SP or Another amount
Very informative article for novice amateur photographers. Keep writing quality content! Thanks you
Thank you, that’s really reassuring to hear! Hopefully these will help at least a few budding togs!
Hey there.
Love your post! Thanks for sharing
I´m a newcommer in photography. I still practice.
You help me a lot.
I´m looking forward to see more post. And I will read the previous ones.
Thanks! It’s so great to hear people like yourself enjoying the post, hopefully it helps you on your way to some awesome shots!
Great advices and tips! Thanks for this and I love the pictures you used in the post! :)
Thanks, you're welcome! Glad you enjoyed it!
You got a 2.94% upvote from @postpromoter courtesy of @skiesandsports! Want to promote your posts too? Check out the Steem Bot Tracker website for more info. If you would like to support development of @postpromoter and the bot tracker please vote for @yabapmatt for witness!
great information .. educational writing.
thanks to your summer
he will learn something. I really appreciate that. a big contribution to the photographer.
Thank you @artizm for the continued support :) really glad you enjoyed reading this one!
This post has received a 10.94 % upvote from @booster thanks to: @skiesandsports.