Photography : What about .... NOISE
Everyone with a digital camera knows it, and sometimes it is accidentally in your photo. Sometimes it is deliberately in your photo and sometimes you do not want it but you can not avoid that it is in your photo. I'm talking about NOISE.
The technical image quality of your photo depends on many factors, and one of those factors is noise. But to prevent that noise, or to use it as a creative atmosphere enhancing element in your image, it is always useful if you know exactly what it is, and where it actually comes from.
SIGNAL-TO-NOISE
Ideally, if a photograph is a perfect print of a subject where the smallest details would be recorded and noise was completely absent. The picture then only contains SIGNAL.
Think of light when you think of a stream of data (photons) that is received by your camera's sensor. The signal is what the sensor tries to receive as well as possible and here the sensor calculates how much light it transmits to the pixels (RGB). Due to a certain amount of light that enters these RGB pixels, complicated images create an image with all kinds of details, colors and contrasts. You can compare it with a radio that tries to catch as much signal as possible from the music.
Only when sending a signal, you are also automatically dealing with noise. You've probably heard of the signal / noise ratios. That is with a radio, so if the signal what your radio is trying to catch is disturbed, you hear a disturbing sound between the music, that is called noise. The noise in digital photography also consists of a disturbance of the signal, only then we speak about variations in color and brightness. These variations make it more difficult to recognize the signal upon receipt. If you take a picture in extremely low light, the noise will completely or partially camouflage the subject that you actually wanted to photograph. So you can compare this with that radio, which is not properly adjusted, and therefore only produces noise.
However, it is not the amount of noise that determines the quality of the image. It is the relationship between signal (image) and noise. So in the case of a lot of noise you can choose to reduce noise, but you can also choose to add a signal. In both cases the quality will be perceived as better. In the case of the hypothetical perfect photograph, the signal-to-noise ratio would be maximum. There would be so much signal that there was minimal to no noise present.
And despite the fact that the technique always progresses with great steps, especially in the field of ISO performance, only theoretically the perfect noiseless photo exists, which therefore consists of 100% signal.
I will now go deeper into the various forms of noise, and also the steps in which the noise already arises in our image.
It already starts with the Photon noise.
Light consists of a collection of light particles, also called photons. The pixels on your sensor can be seen as receptacles for these photons. And even if you try to capture a perfectly even light beam (which is almost impossible), then even the photons do not fall evenly on the sensor surface. Photons move like a rain shower. So very uneven, and not the same amount will fall. This photon noise will always be present in your photo because it is a physical phenomenon, whether you use a Nikon, Pentax, Sony, Canon or Iphone camera. As always with all the noise is the case, you see this first in the dark parts of your photo, and is also known ... the bigger the sensor is the more light it can capture, and the less photon noise will be present in your photo .
Important to remember is that you can reduce this noise by allowing MORE light on your sensor, without overexposing the picture.
There is another reason why you get noise in a photo. Your sensor produces more noise due to heat. And for example, your sensor can become warm for hours in the sun, but also during a long exposure exposure your sensor can become warm and produce more noise!
Another reason you get noise in your photo is by amplifying the signal. Simply put, every pixel on your sensor counts the photons that fall on that pixel during an exposure. Those photons that fall on the pixel release electrons again, and those electrons cause a small voltage on the pixel, which consequently receives a light value and can give a color value. Sometimes that tension is too small / too low, and the tension needs to be strengthened. We do this by increasing the ISO. This amplification does not give the same amplification at each pixel, which also causes noise. With a CMOS sensor, nowadays the most used sensor, each pixel has its own amplifier which results in extra variations in your image that you see as noise. A CCD sensor is less affected because an amplifier for all pixels is used here.
During the exposure you capture a scene on the sensor. As explained above, there are now several times when noise is added. First of all, you will have to deal with photon noise of the light to be captured. Important to remember is that the signal-to-noise ratio you record here no longer improves during the next steps of the process.
First of all, 2 settings are important for the amount of photon noise: shutter speed and aperture. The ISO setting will only affect later. Only shutter speed and aperture determine how much light will fall on the sensor. Here, the more light, the better the signal-to-noise ratio. With more light you also get some more noise, but the amount of noise increases less than the amount of signal.
The ISO setting is displayed after exposure. The measured brightnesses are sometimes too weak and will be strengthened, depending on the chosen ISO value. The signal would then be amplified and the noise exactly the same. However, if too little light was caught during the exposure, the ISO value will have to be higher. This means that the captured image actually consists of dark areas, where more noise is caused by photon noise. The image is now based on less signal than with a lower ISO value. The signal-to-noise ratio of the image after amplification has thus become lower. The image looks worse than when more light was caught during exposure.
To make things even worse, the amplification itself provides extra noise. Other parts of the sensor and electronics also introduce some extra noise. It differs per camera how much of this noise is added.
So know your camera ... to determine what YOU still think is acceptable. And with this piece of technology you may also have a better understanding of when you can expect much or less noise.
Random Noise is therefore the sensor-dependent noise, ie the photon noise and the noise that occurs when you raise the ISO.
And the Fixed Pattern Noise is the noise created by the Long Exposure Photography by heating up the sensor.
Then there is a difference in the Luminance noise and Color noise in the digital noise. In the analogue era you also had noise, people spoke of grain. And even then it was the higher your ASA came, the more grain there was on your film roll. If you used a film roll of 1600 ASA, it was good to use shorter shutter speeds, but you had a lot more grain in your photo impression than if you used a roll of 200 ASA. But back to the Luminantieruis, also called the 'pepper & salt' noise, this noise has a difference in brightness with respect to the rest of your image. This shows white and black dots and this noise is like the grain of the analogue film!
The color noise is more annoying, this noise is also called chroma noise, and it has a real color difference in relation to the rest of your image.
Now that we've read the technical details about noise, move on to another part of the noise. How to prevent noise or not?
As a photographer you often do everything to prevent the noise. You do not photograph at high ISO values, we want a newer camera because it can handle those high ISO values better, we use expensive lenses so that we don't need to sett up a high ISO value, less quickly we use a ' bracketting technique ', also known as HDR, to capture as much detail as possible in this way.
This technique HDR I will explain further next time because it is a fascinating technique in my eyes to get as much dynamic range as possible in your photo. But you can also use this technique to reduce the noise because you work with brackets you automatically have more detail in the dark parts, just where the noise normally occurs. A large sensor also helps to prevent the noise.
Another trick that I myself apply when I have to photograph dogs in dark lighting conditions at high ISO is that I consciously OVER-expose 1 or 2 stops. As a result, I automatically have a better light signal on my sensor and in the editing afterwards I can restore this so that my noise will remain much less visible, and usually even disappears.
Again, you can best photograph in RAW. In the post-processing you have the best possibility with RAW to light up dark areas in your photo without an extreme noise increase. And you also have the opportunity to play with noise reduction and detail preservation.
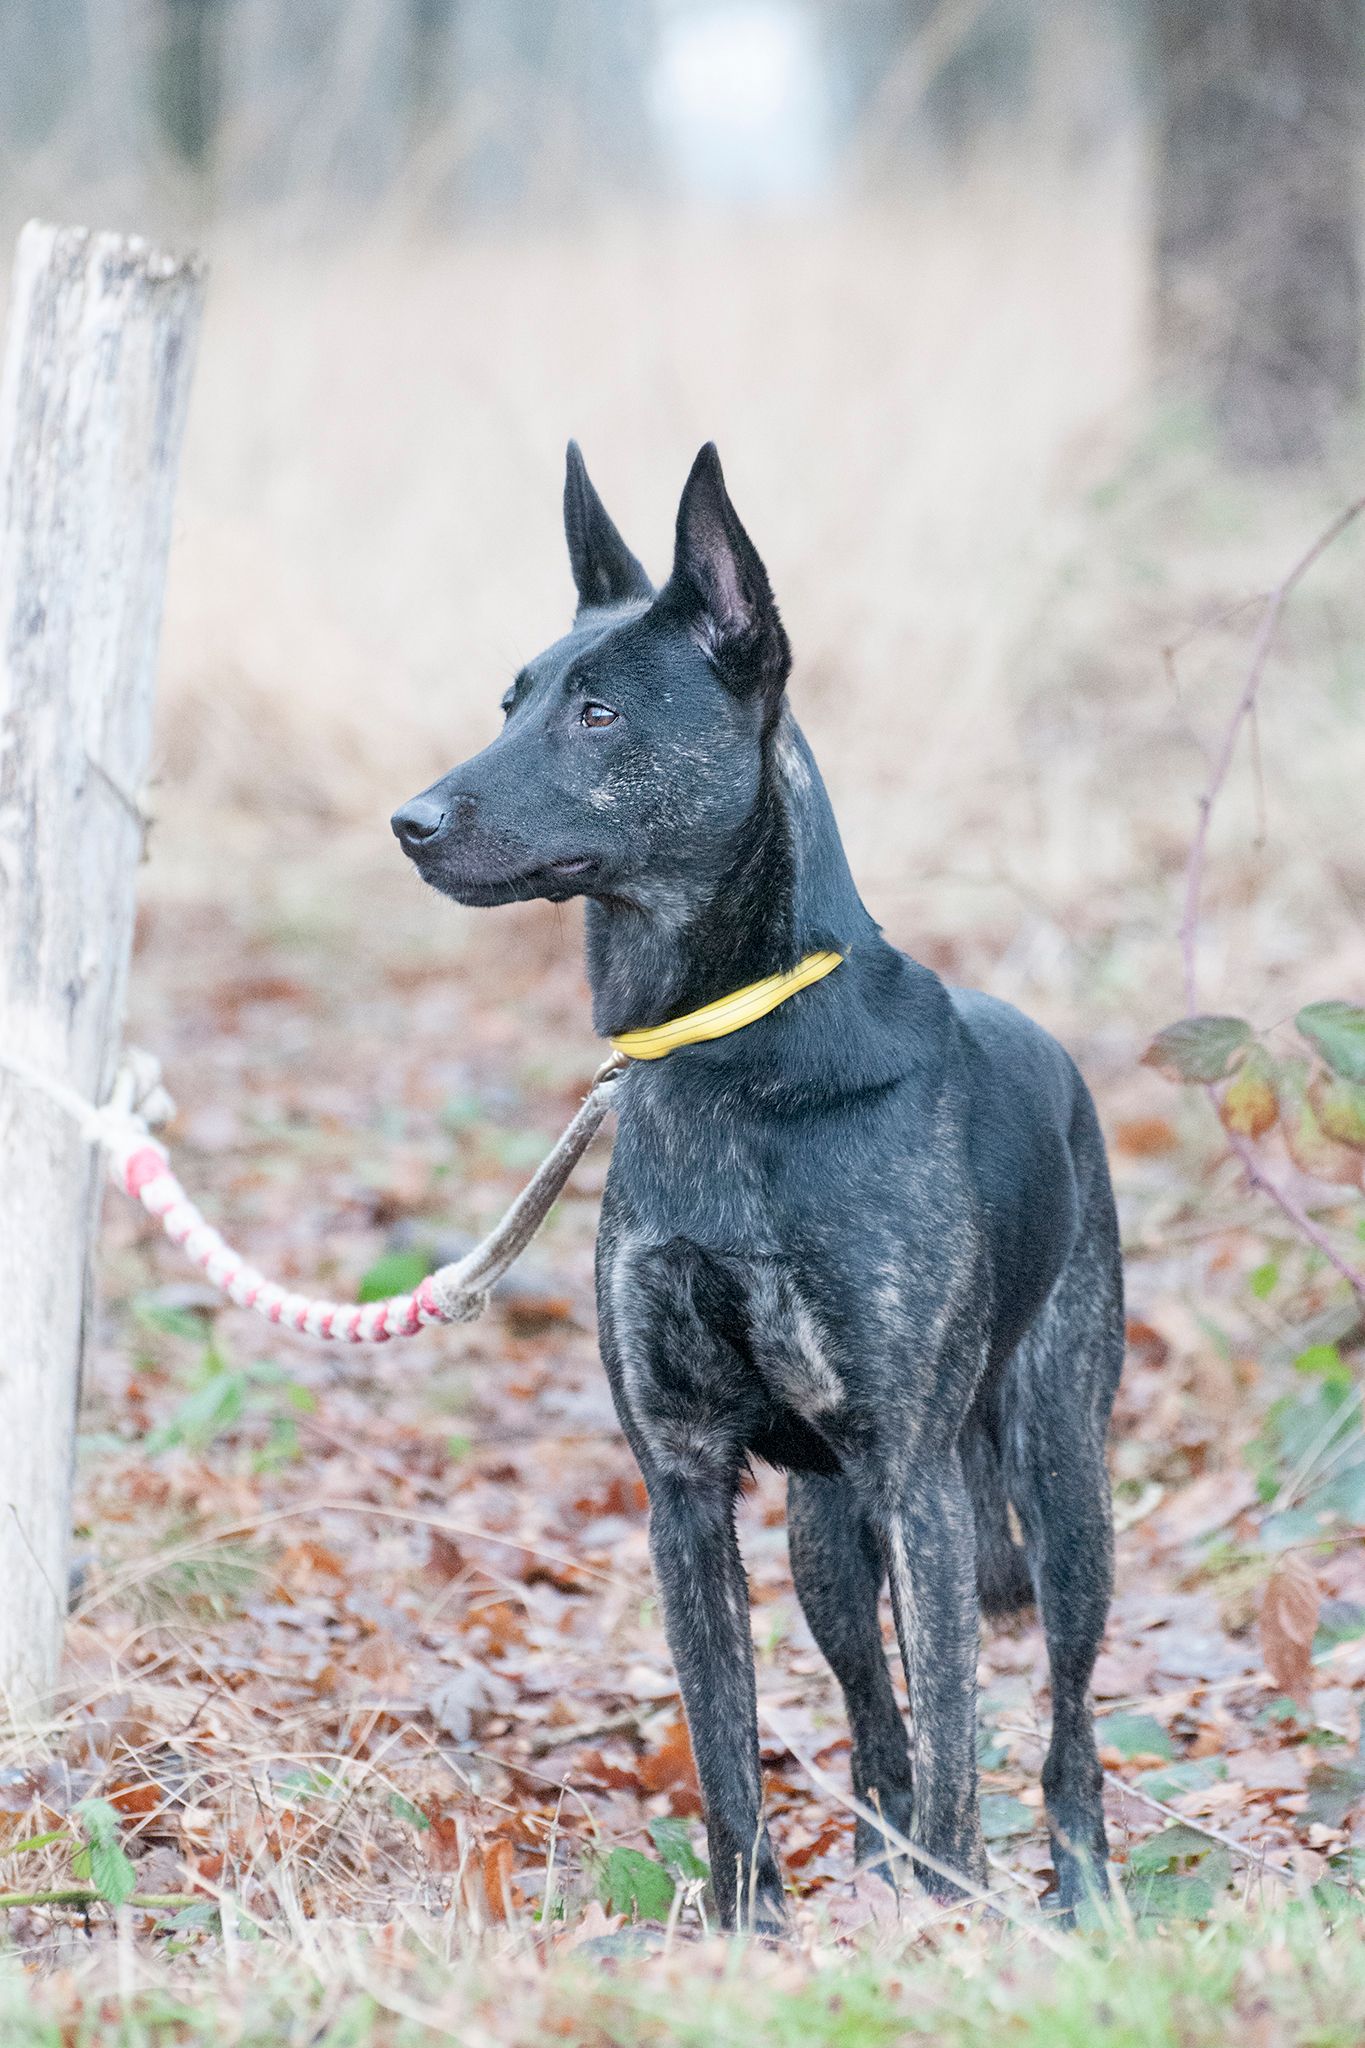
Here a RAW photo without any edits converted into JPEG. This photo is made by me with my Nikon D300s at 2500 iso and yes you see noise!
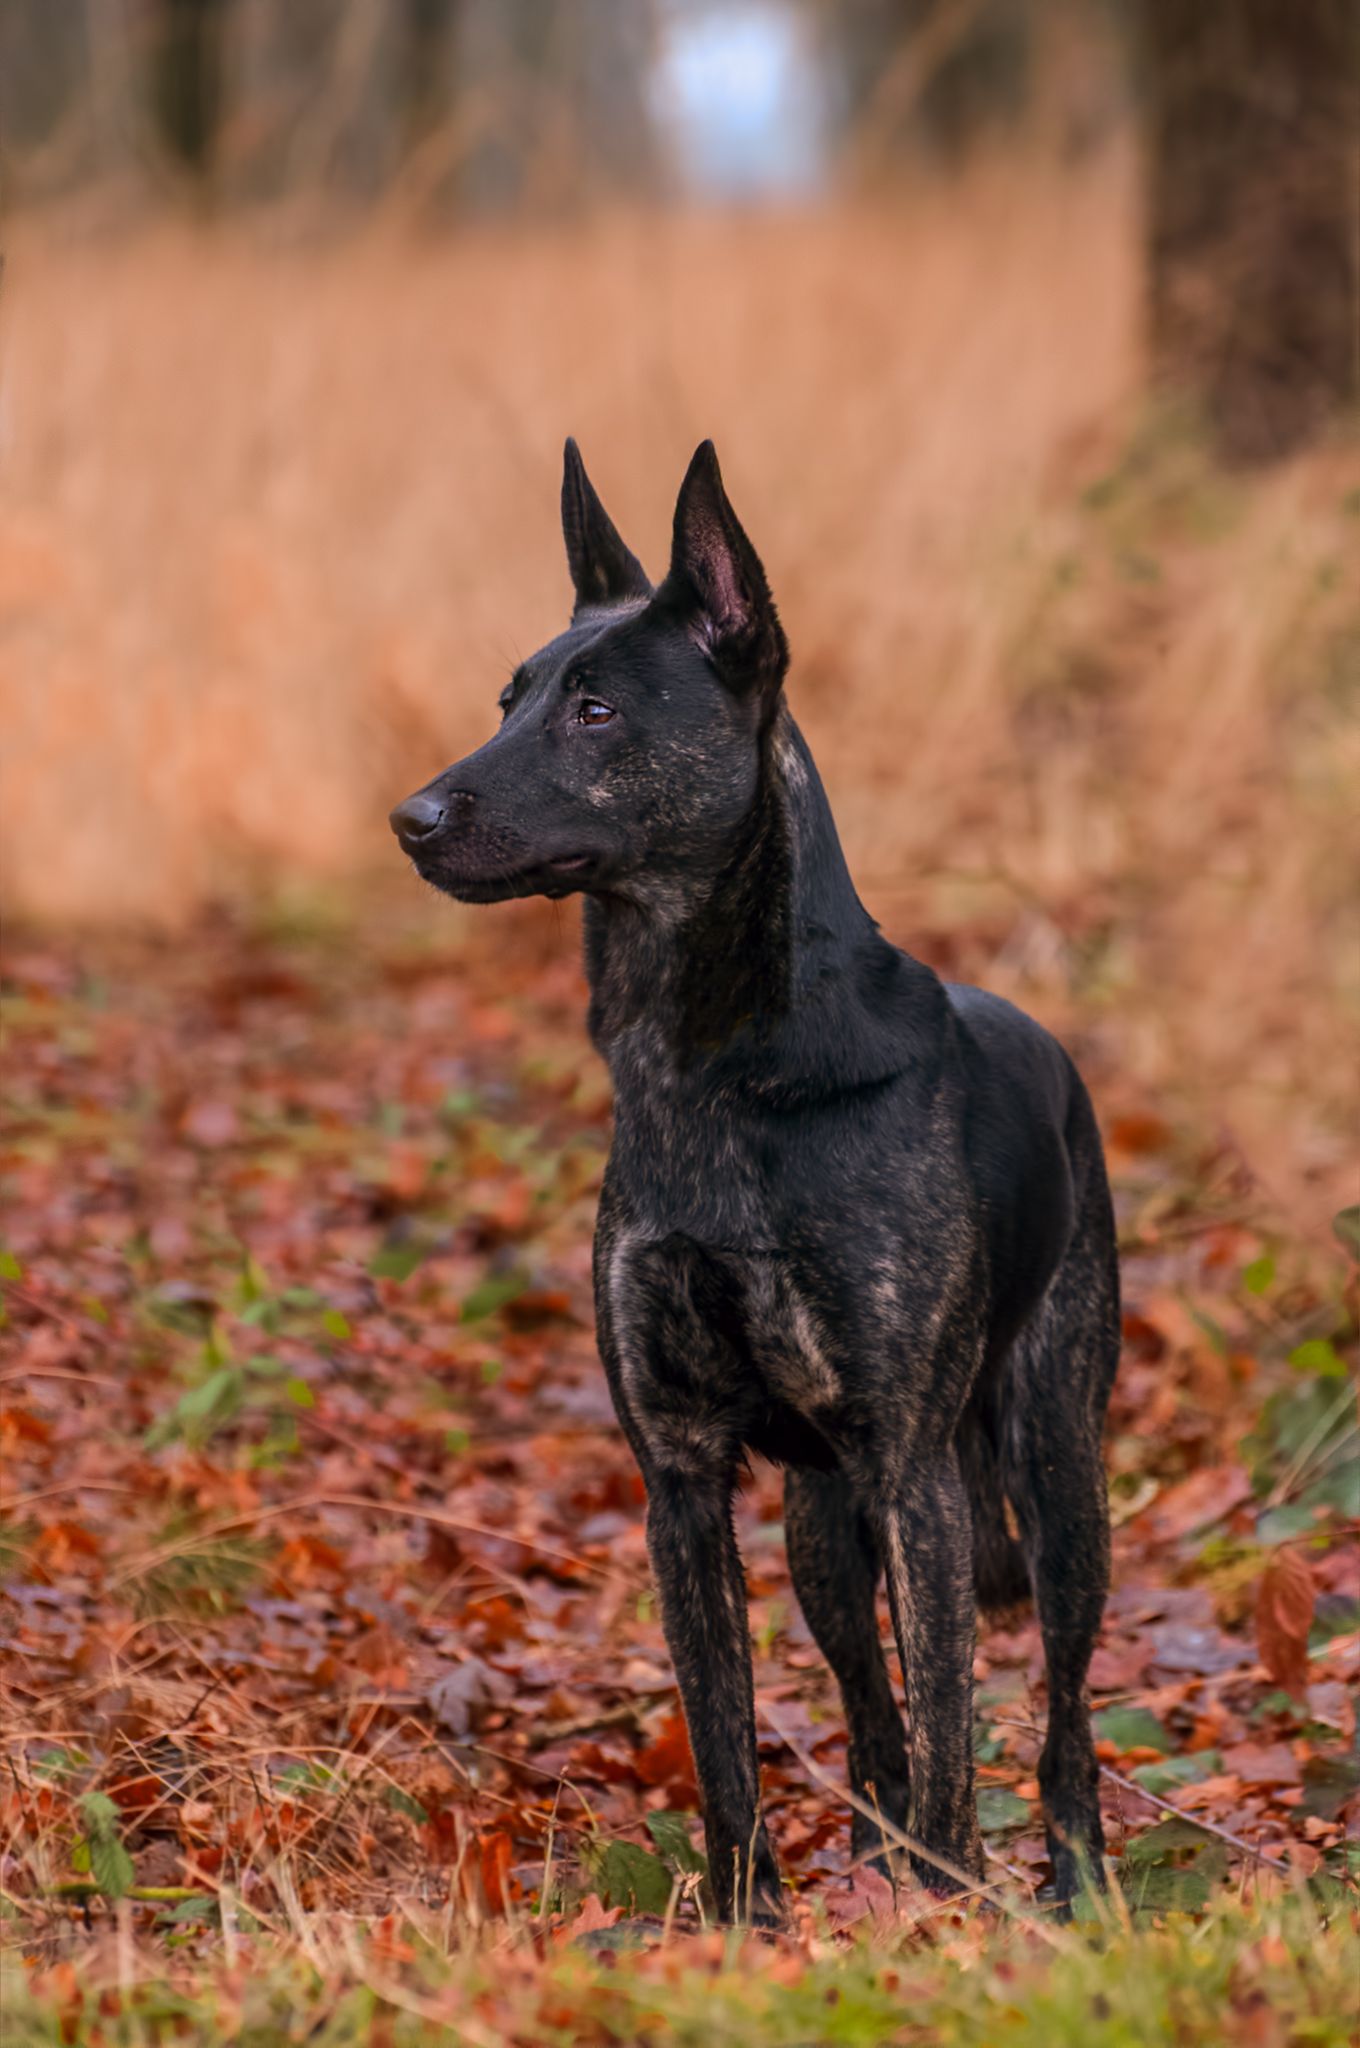
And this is the final result of that same photo.
Noise reduction in most cameras still has considerable limitations. Then usually a lot of your detail disappears. And that is just not what you want. So that is another reason for me to photograph in RAW, and to keep all control in my own hands. I do not let the camera decide anything for me. I never use noise reduction.
Now we have already spoken about what noise is, how it arises and what we can possibly do to prevent it, or to correct it in the post-processing operations.
But now we are going to look at it differently. And this also took me a while before I could see it that way. Do you always have to do everything to prevent that noise, or correct in your post-processing? Is noise always so bad?
The answer is perhaps surprising, but NO! You do not always have to do everything to prevent noise, or to correct noise.
I will give you a few reasons below why you do not have to be afraid of that noise at all.
| 1.) | Many photos that you make, you make as a memory for yourself! You record a moment that you want to keep the memory of. You do not print the photo big, he does not come in an album, he is not for a paying customer etc. It is a memory, just a moment of and for yourself! And if you look at it like this, do not you prefer that picture with that memory than that you would not take the picture because you knew there would be noise in the picture? |
| 2.) | Another important reason is ... noise is seen much better on a screen than you see it in a print! A photo that you think on your screen, "this is no longer noisy", is probably very bad if you have it printed in a small format at a good printing center. |
| 3.) | Have your photo printed with great noise on a canvas! Because of the coarse structure of canvas you hardly see any noise, and because of a larger size you do not stand on your nose. And the farther you go from a photo, the less your noise will see! |
And yes, of course it is a fact that a camera that you bought in 2005 could handle the ISO values much less well than the camera you are buying now in 2018. The technique certainly does not stand still. The cameras are getting better. We are getting closer to the ideal picture where your image can consist of 100% signal. But until then, I say ...
Enjoy your photography and use all the possibilities that your camera offers, including the high ISO.
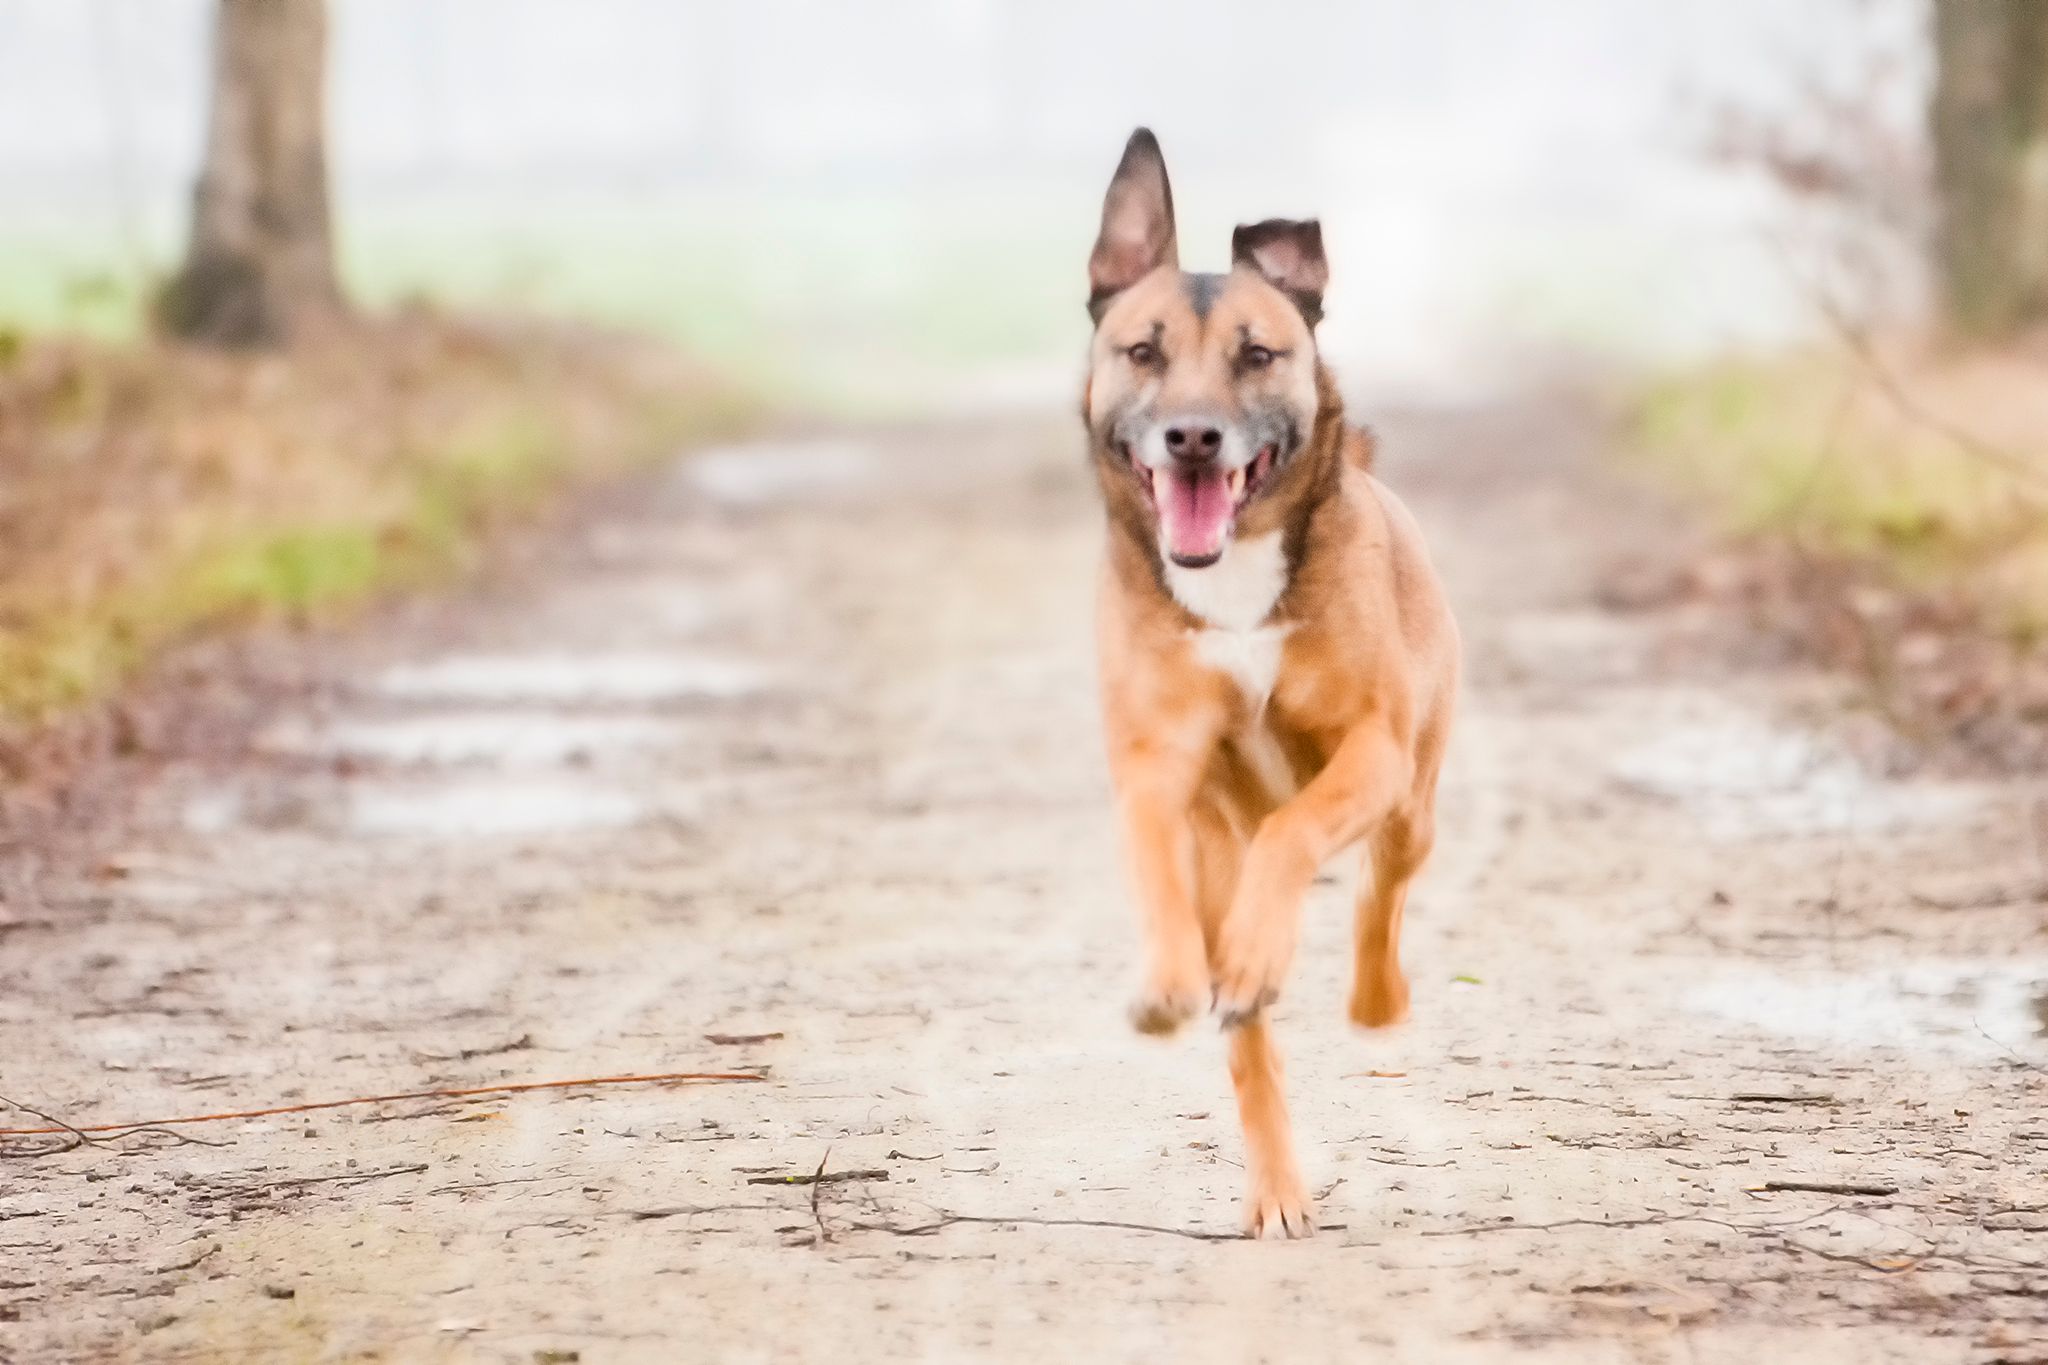
Now say for yourself, this picture may certainly contain noise, but it would have been a shame if I had not made it because I had to put my iso on 3200?
Echt ongelooflijk om te lezen hoe veel er nog bij komt kijken. Ik vind foto's maken vooral gewoon leuk, maar dit soort tips en superduidelijke uitleg zorgen er toch echt wel voor dat ik op een meer kritische manier tegen mijn eigen foto's ga aankijken.
En misschien wordt het binnenkort toch eens tijd om een echte camera aan te schaffen.
Al ga je alleen maar meer kritisch kijken naar je eigen foto's dan heb ik al bereikt wat ik wilde bereiken met dit artikel. Daarom is het juist goed om dit soort info eens duidelijk op te schrijven en te delen. Dankjewel voor je reactie @marcovanhassel.
The difference between those two pictures literally proves how photography is such an art, and us douchebags with our mobile phones cameras dont stand a chance versus real photographers.
Very clear article @hetty-rowan, lots of decent info there
Thanks for your comment and compliment, but I don't agree with that. Everybody who has a good eye for photography can make a better photo with a smartphone camera, then a person who just clicks around and has no eye for composition or anything what has to do with photography. Yes equipment helps a lot, but remember it is always the person behind the camera that makes the photo.
Very true! That is definitely the end case, the mastermind behind the shot is the boss. Composition is essential on everything, but thats what Im saying: especially if you look at those two shots...the difference between them is exactly on what is all possible once you know what you are doing
nice photo
Well thank you, nice compliment for such a long post ...
Congratulations! This post has been upvoted from the communal account, @minnowsupport, by hetty-rowan from the Minnow Support Project. It's a witness project run by aggroed, ausbitbank, teamsteem, theprophet0, someguy123, neoxian, followbtcnews, and netuoso. The goal is to help Steemit grow by supporting Minnows. Please find us at the Peace, Abundance, and Liberty Network (PALnet) Discord Channel. It's a completely public and open space to all members of the Steemit community who voluntarily choose to be there.
If you would like to delegate to the Minnow Support Project you can do so by clicking on the following links: 50SP, 100SP, 250SP, 500SP, 1000SP, 5000SP.
Be sure to leave at least 50SP undelegated on your account.
Congratulations you have been upvoted because you, or a friend left a post in the NewbieResteem Post promotion Box. Discord Chat channel post Promotion Box.
Very nice explanation of noise and how it effects pictures, and some solid hints on better photography.
Clicking on the images will take you to "Newbie Resteem Initiative info" - Our Discord Channel - abh12345's - IFC page
We invite you to use our tag (#newbieresteemday) to connect with more of our members. To learn more visit: Come Join Us!!! (Newbie Resteem Initiative)
I bashadow invite you to also click on the IFC Castle and learn about @apolymask and his game, be sure to tell them I sent you. As abh12345 has made lots of votes possible, apolymask thru his IFC game has made lots of fun possible.
Lots of votes made possible due to the kindness of abh12345 and his Steemit Curation Leagues
Howdy partner, I'm @photocurator, a curation bot; I keep an eye on the photo feeds, I vote random photos of my followers and at the end of the day I publish a post with links to the best photos. Follow @photocurator to get your photos curated in the future!
Congratulations! Your post has been selected as a daily Steemit truffle! It is listed on rank 5 of all contributions awarded today. You can find the TOP DAILY TRUFFLE PICKS HERE.
I upvoted your contribution because to my mind your post is at least 30 SBD worth and should receive 99 votes. It's now up to the lovely Steemit community to make this come true.
I am
TrufflePig, an Artificial Intelligence Bot that helps minnows and content curators using Machine Learning. If you are curious how I select content, you can find an explanation here!Have a nice day and sincerely yours,

TrufflePigWouuu i like this sublime photos