🖥 🔧 My First Steemit Post: Mac Repair Guide: How to Upgrade 2009-2011 27" iMac Hard Drive/SSD
Have you ever had your hard drive go out on your iMac 😭? I know it's probably the last thing you want to happen to your system. My Name is Alan Valentine and this is my first post on Steemit. I wanted to take a moment to 👋🏽introduce myself and give you a little background about me. Im 32 years old and a father of two living in So Cal. I'm a computer technician 💻🔧and website developer. I've been working with computers for 14 years and I'm owner of Valentine Repair. I have experience with MAC and PC. I also repair iPads, iPhones, tablets and more . Check out this 📺 video as I replace the hard drive on a 2011 27" iMac. 🖥
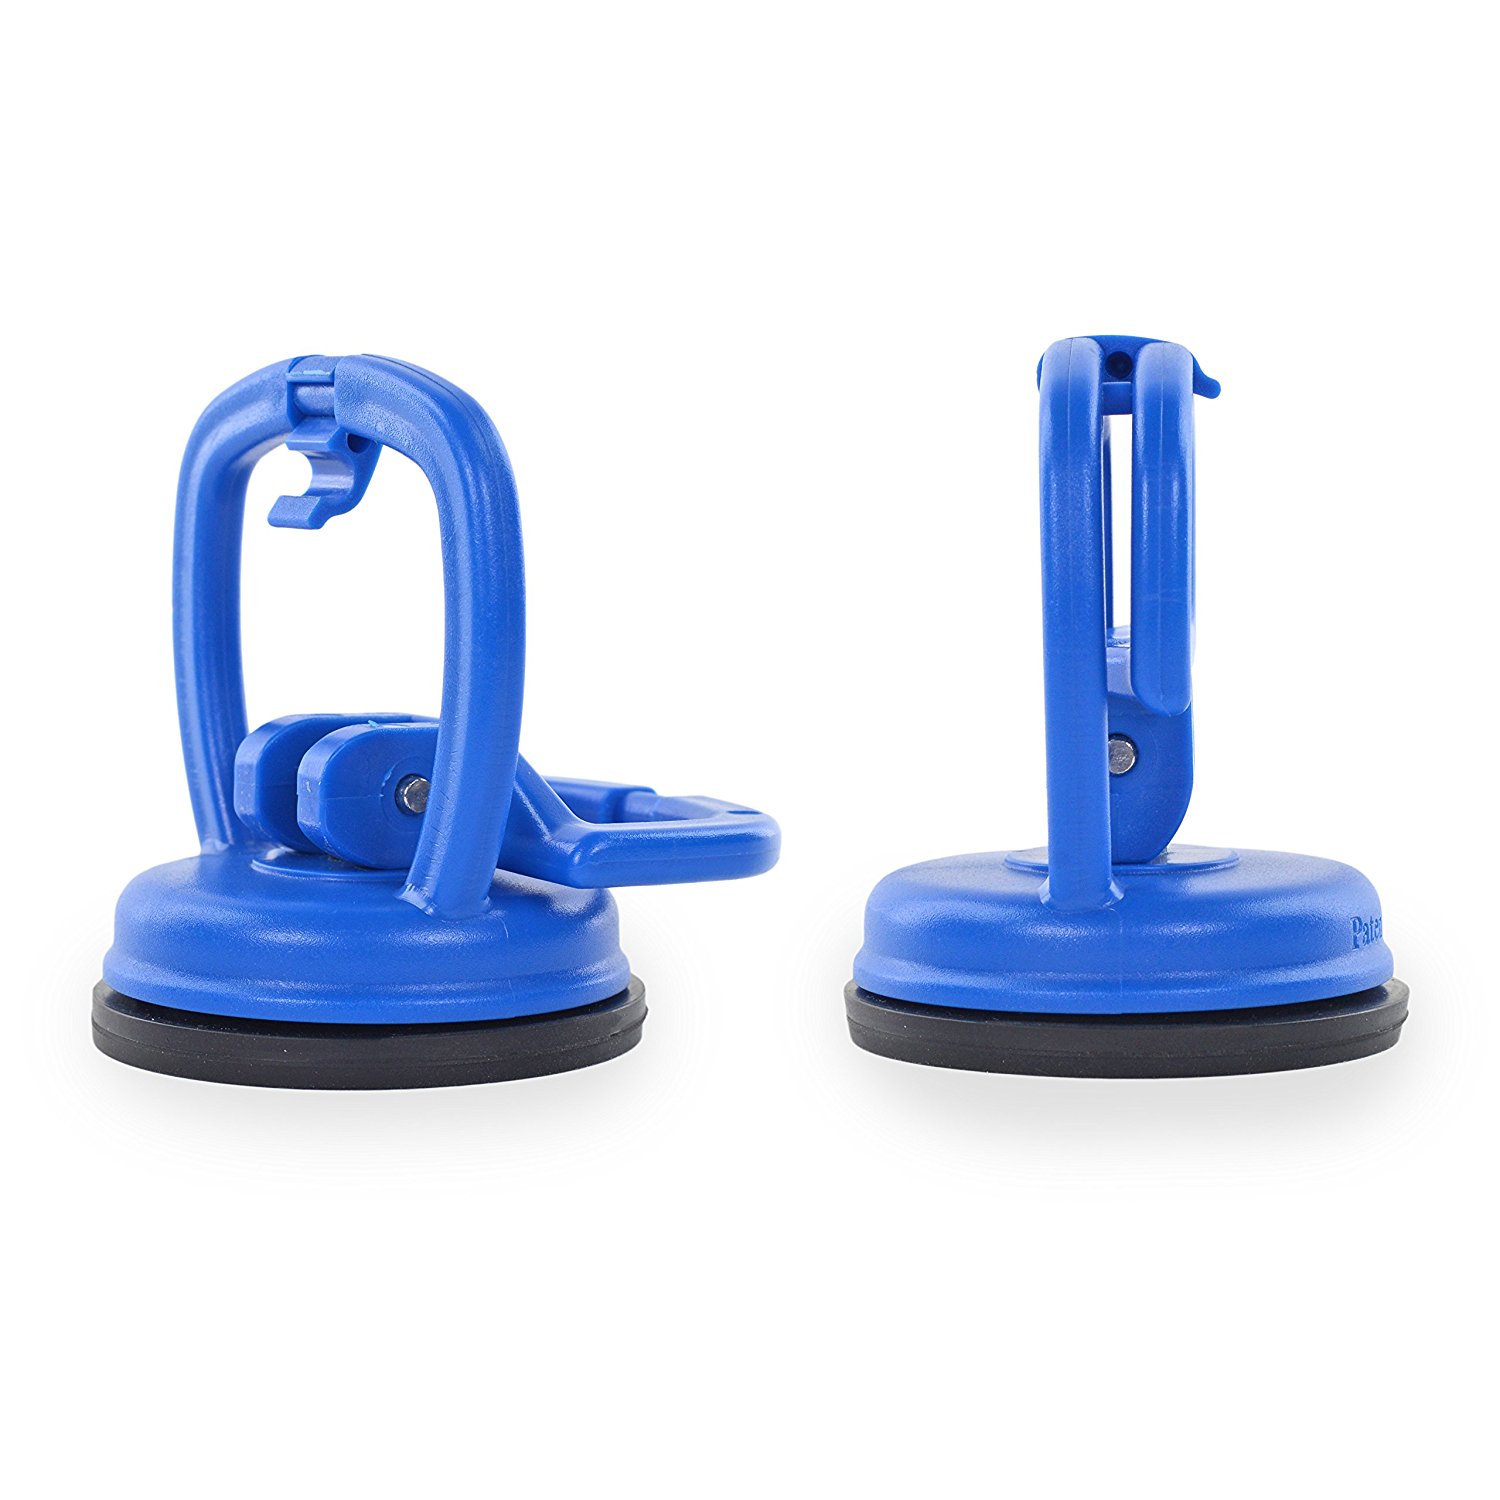
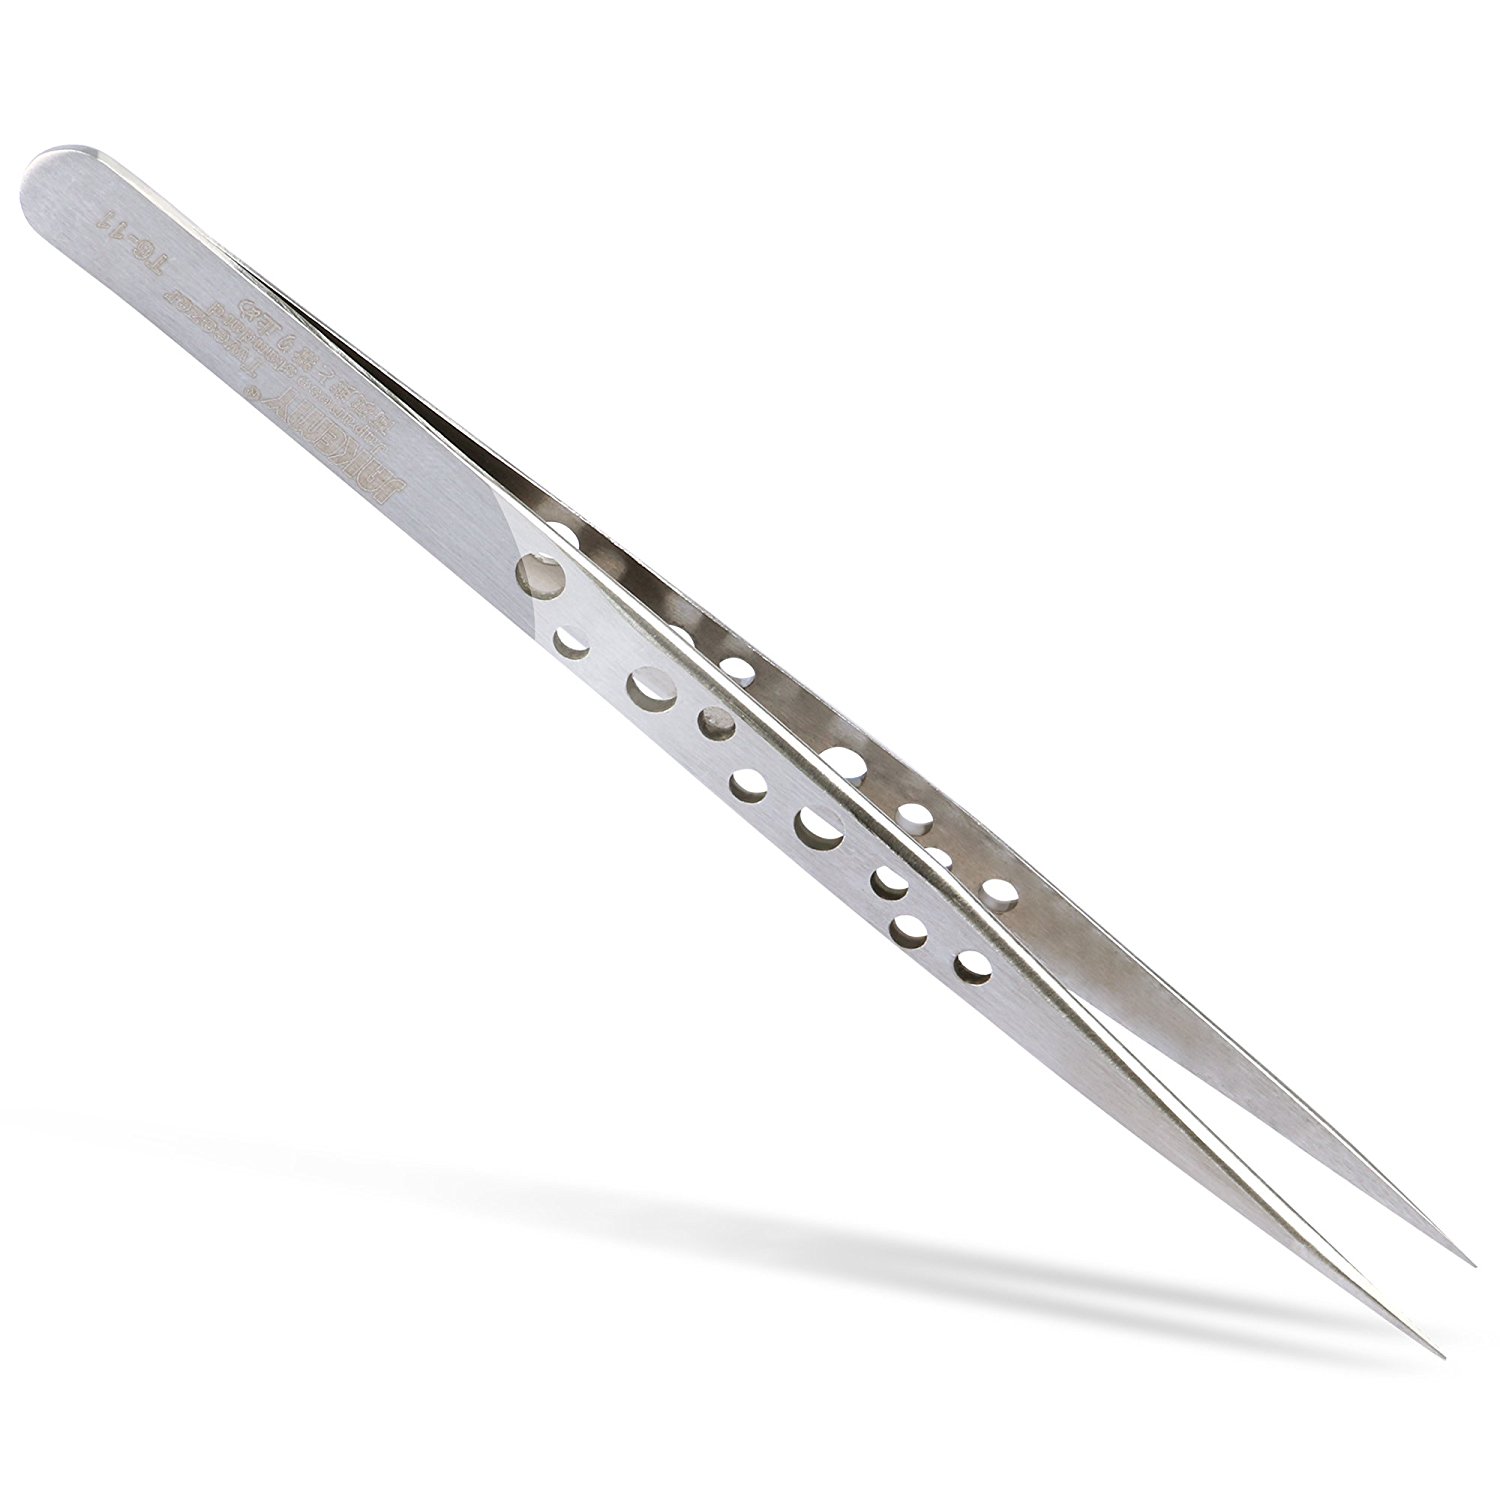
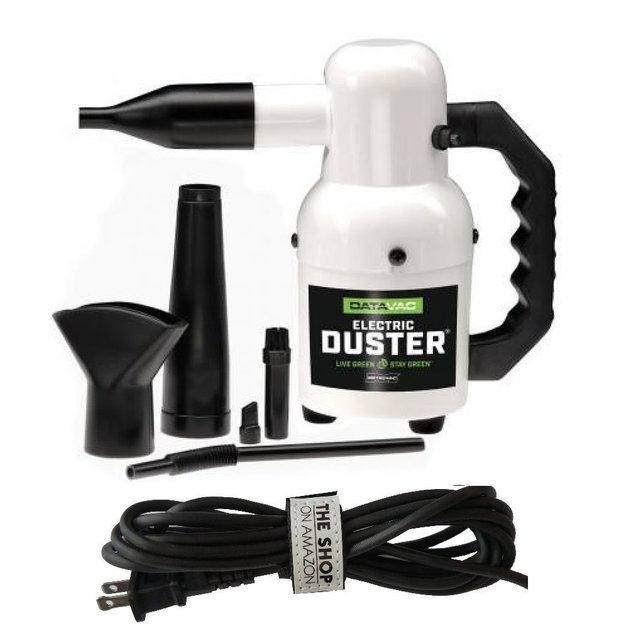
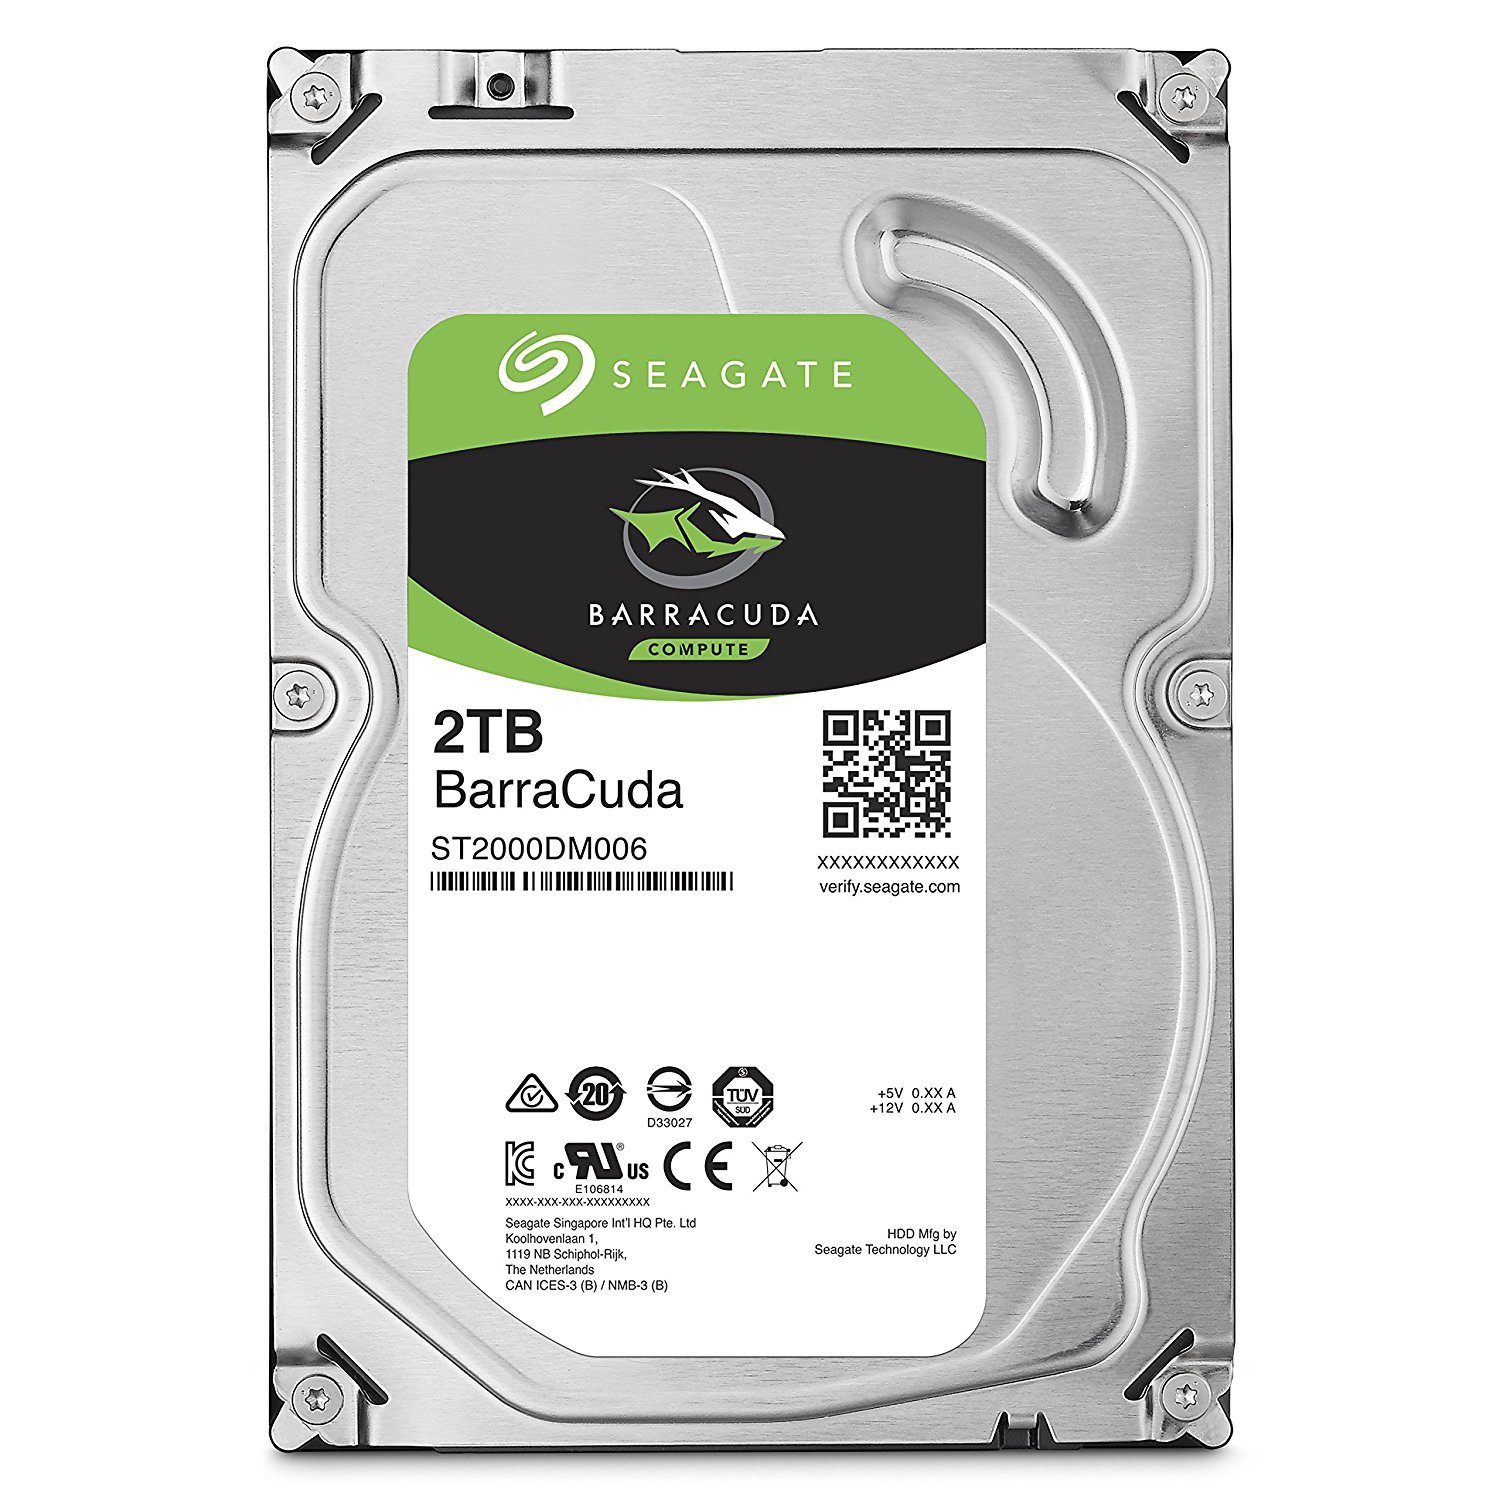
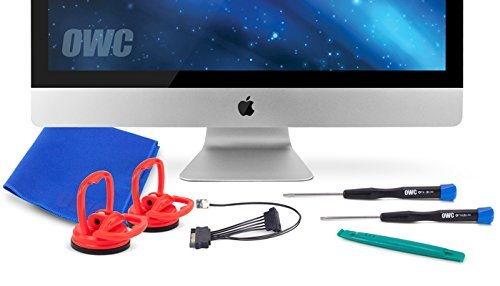
You will need the following 🔧tools to upgrade your iMac's Hard Drive:
Suction cups: http://bit.ly/iMacSuctionCups
Torx t9 screw driver: http://bit.ly/T9TorxScrewdriver

Anti Static Tweezers: http://bit.ly/AntiStatic-PrecisionTweezers
💨 Air blower: http://bit.ly/ComputerDuster
3.5 Hard drive: http://bit.ly/2TBInternalHardDrive
iMac Repair All in one Kit: http://bit.ly/iMacToolKit
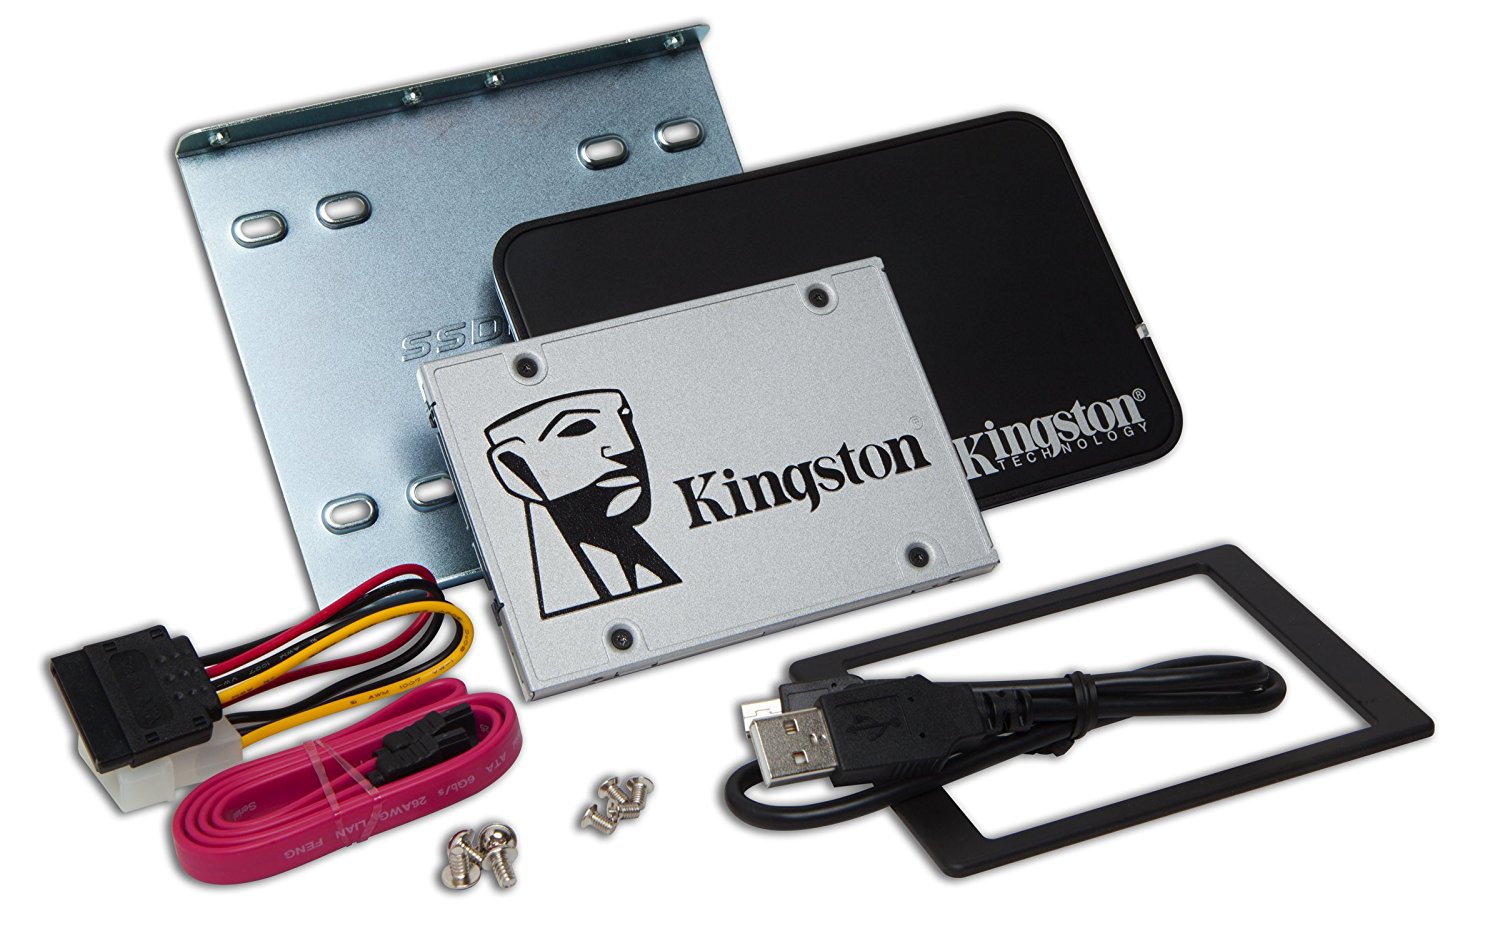
This would be the perfect opportunity to Upgrade your old factory 💾 Mechanical HDD with a 🚀 Fast Solid state Hard Drive. This would give your iMac a huge performance Boost: http://bit.ly/SSDUpgradeKit
🖥 How to Upgrade the hard drive in 2009 - 2011 27" iMac's
Step One:
You will need to use the suction cups to help lift and remove the screenStep Two:
Remove the Torx t9 screws from around the LCD panel. (just the side ones). This is where you will need to use the tweezers as there are magnets that will pull the screws.Step Three:
Lift the stickers from the top left and right corners and then gently lift up your LCD panel.Step Four:
Gently disconnect 4 cables that connect the LCD to the motherboard and power supply
2 power cords
LCD display cable
1 temperature sensor cableStep Five :
Disconnect the SATA power and cable from the hard drive which is located in the upper top center of the case.Step Six:
Unscrew the two screw from the mounting bracket from the hard drive and gently lift it out, making sure no cables are stuck onto the bracket.Step Seven:
Remove the brackets from your old hard drive and place them on your new hard drive.Step Eight:
Replace everything back and follow your steps in reverse to put it all back together and close up your system.
😆👍 You did it, you successfully changed your hard drive.

If you do not feel confident enough to do this yourself or you had problems. you could always reach out to me and I can do it for you. connect with me @ 📲 http://www.valentinerepair.com

Stay tuned for another video on how to clone your hard drive. Comment down below with repair questions or with what videos you'd like me to post. Follow me for repair tips and how to videos.


Welcome to Steem @alanvalentine I have upvoted and sent you a tip
This post has received a 2.82 % upvote from thanks to: @netgodbeerus.
For more information, click here!
@netgodbeerus got you a $1.56 @minnowbooster upgoat, nice! (Image: pixabay.com)
Want a boost? Click here to read more!
This post has received a 0.45 % upvote from @drotto thanks to: @alanvalentine.
This post was resteemed by @resteembot!
Good Luck!
Learn more about the @resteembot project in the introduction post.
Your post was resteemed thanks to @netgodbeerus
Check out the other content resteemed by @resteembot.
Some of it is really cool!
You Are An Excellent Steemian. This post has received a 31.13 % upvote from @steemthat Return the favor and SteemThat Person Back: @netgodbeerus. .
.
Please Upvote This Comment To Help Me Grow!
Look who's here ^^ @Alanvalentine, Let me welcome you to Steemit. Hope you gonna have fun with our community. Feel free to follow me @rightuppercorner Have a great time @rightuppercorner
This post has received a 3.64 % upvote from @nettybot thanks to: @netgodbeerus.
Send 0.100 SBD to @nettybot with a post link in the memo field to bid on the next vote.
Oh, and be sure to vote for my owner, @netuoso, as Steem Witness
Have a great day!
This post has received a 3.51 % upvote from @buildawhale thanks to: @netgodbeerus. Send 0.100 or more SBD to @buildawhale with a post link in the memo field to bid on the next vote.
To support our curation initiative, please vote on my owner, @themarkymark, as a Steem Witness
Your post is fantastic. You are a Master Steemian! More People Should Follow You And Upvote Your post which has received a 50.00 % upvote from @binkley thanks to: @steemthat for verifying this quality post. Please Upvote This Comment To Help Me Grow. When I Grow You Grow Too And I Can Verify More Posts.