YescryptR16 Miner on the Pi3
Hello and welcome to my pi3 mining guides, in this guide im going to show you how to mine the Yescryptr16 algorythm on the pi3. If you havent already you will need you Pi3 setup already, please read https://steemit.com/pi3/@mushroomkilla/os-for-mining-on-raspberry-pi3-and-best-overclock-settings this is my guide for the best OS and overclock settings for the pi3, once this is done we are ready for the next step.
To install this miner we need to install a few commands for the pi3 first, type in
sudo apt-get install build-essential
and press enter, this will bring up a list of dependencies and will ask you whether you want to go ahead, type y and press enter, the following process takes a few minutes but you should get the below screen

Now we need to get the commad wget, we do this by typing
sudo apt-get install wget
and then typing y and pressing enter when it asks if you want to go ahead, this will install the command for the next step. Now we need to install the repositories to compile the miner, the ones you need are in the following commands type
sudo apt-get install zip unzip
then
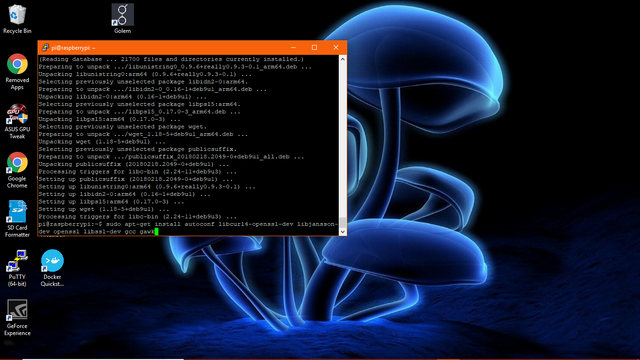
sudo apt-get install autoconf libcurl4-openssl-dev libjansson-dev openssl libssl-dev gcc gawk
so it looks like below, then when prompted to install type y and press enter again.
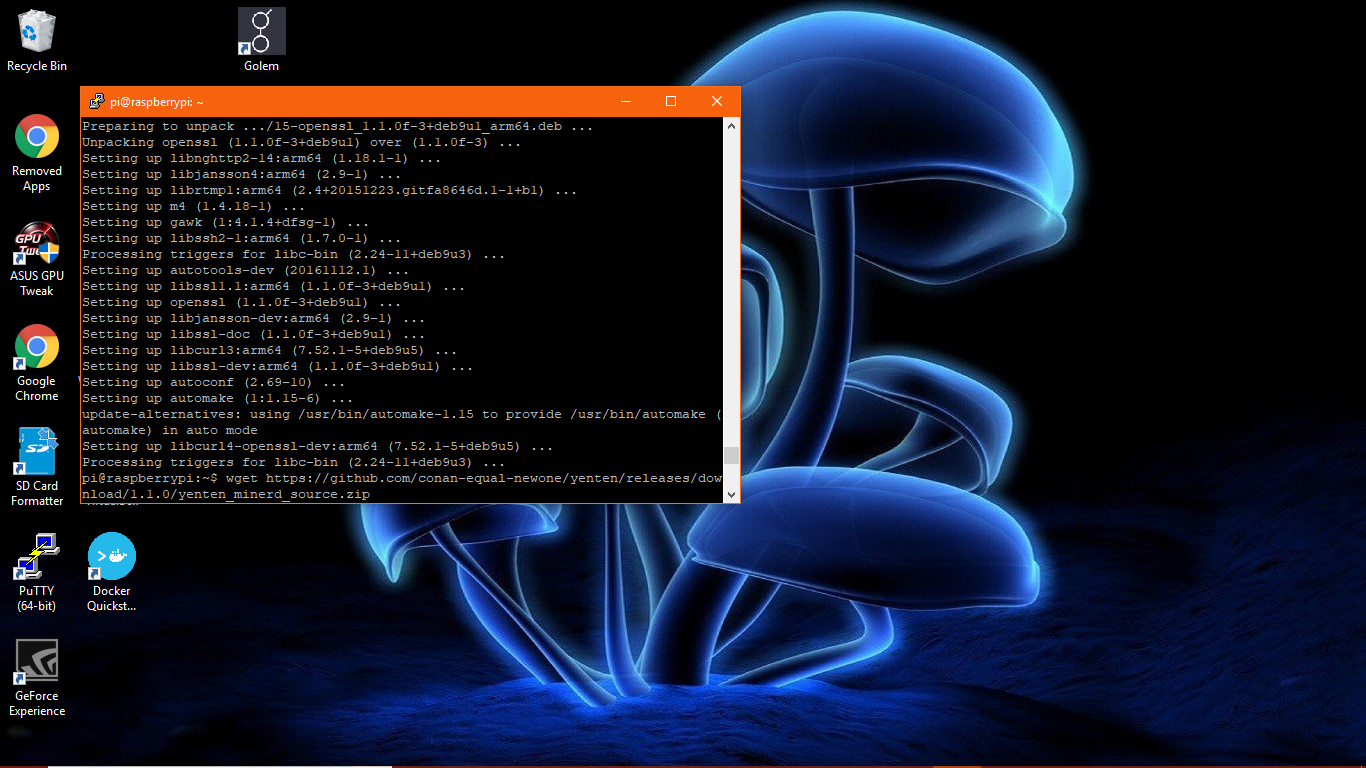
Now we need to get the miner, it was originally made for yenten but will work on any coin that uses the Yescryptr16 algorithm, we get this by typing
wget https://github.com/conan-equal-newone/yenten/releases/download/1.1.0/yenten_minerd_source.zip
so it looks like below, this will download and save the zip file
Now we unzip this file by typing
unzip yenten_minerd_source.zip
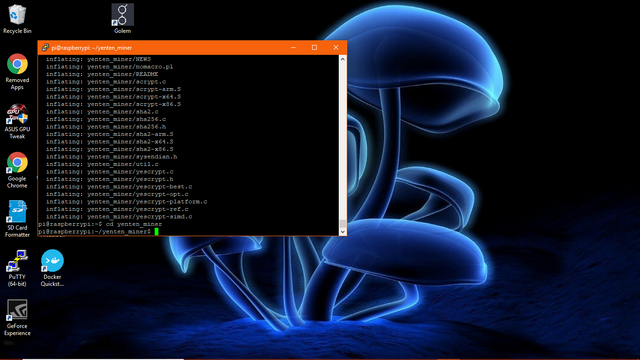
this will unzip the file, we need to enter it by typing
cd yenten_miner
you will now be on a screen which looks like below
You will need to cd into the file every time you start the miner, reboot it, or start a new session on putty. Now we need to change the permission within the file and when it is compressed this is lost, we do this by typing
chmod 700 *
press enter, it doesnt look like anything has happened but this is needed to install the miner, now we need to create a changelog file as it is missing and will cause an error during install if its not there, we do this by typing
sudo nano ChangeLog
This will open the file, dont type anything in there just save it by hold Ctrl+O then Ctrl+X. Now we are ready to go ahead and install the miner we do this by first typing
./autogen.sh
wait for this to finish then type
./configure
then once this is finished type
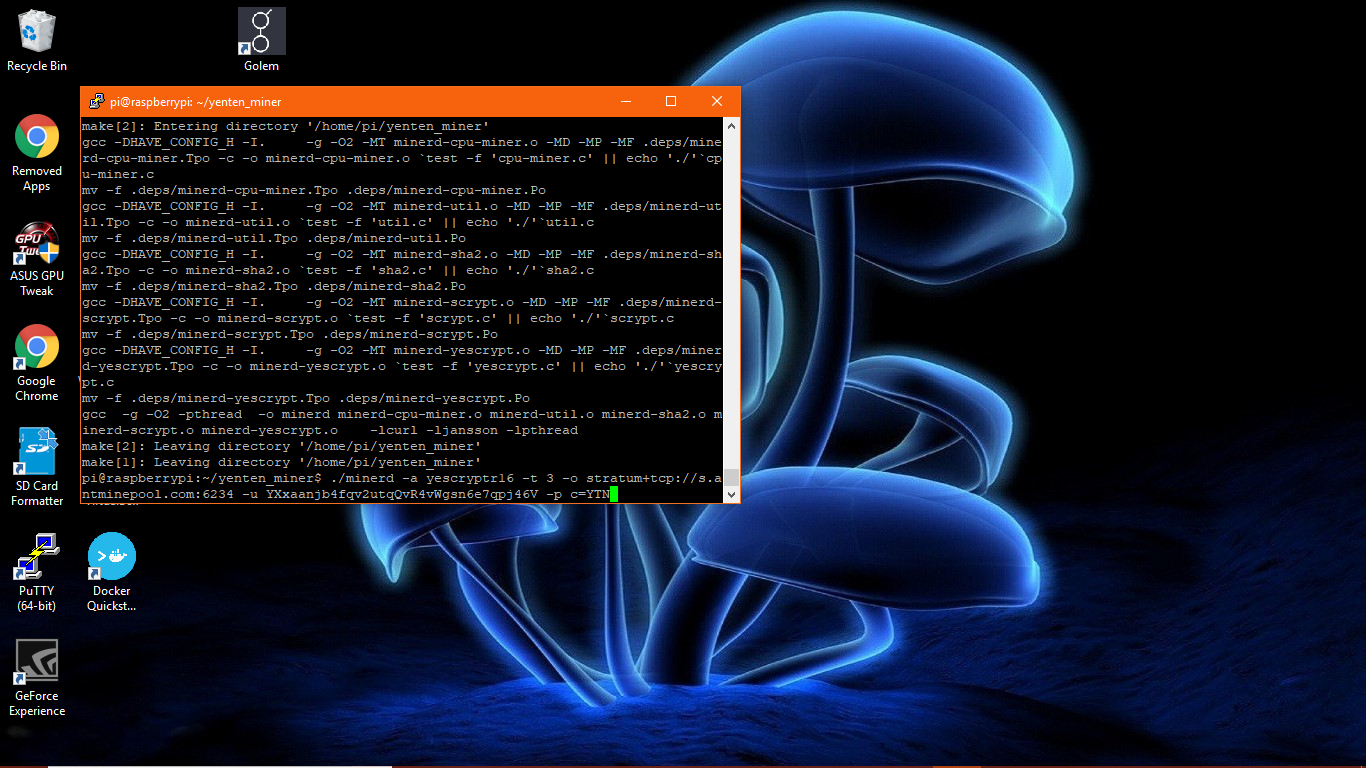
make
and wait for this to finish, once this is done you are ready to go, choose which ever pool or wallet you want to connect to and type the config into the command line to connect like below
./minerd -a yescryptr16 -t 3 -o stratum+tcp://YOURPOOL:PORT -u WALLET ADDRESS -p PASSWORD
replace the yourpool and port with the ones you want and change the username and password, so it should look something similar to below, always keep in -t 3, when trying to run on 4 threads it crashes every time,
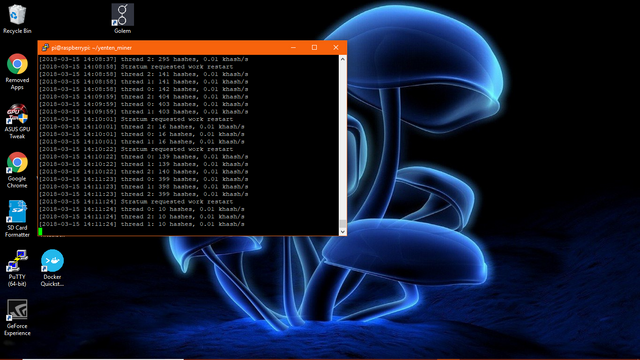
press enter and your miner will start, remember your pi3 only has a small processor compared to most intel and amd processors so dont expect riches from this, but after a few minutes you will start submitting shares and make some cryptocurrency, when mining you should see the following screen refreshing every few minutes
it may take up to 10 minutes before it starts submitting any shares and showing on the pool, if you have any questions comment below and i will try my best to answer them.