[Tricks of the Trade] : Slink Radio got them killer shelves
Hello guys, I have decided to write up a post about the work I've been doing for the past couple of days. One of my closest friends in my hometown has been setting up space in the town to act as his music studio/radio station.
Slink is going to be a musical venture that focuses on bringing the underground sounds of the world to the ears of the interested.
They are going to be running a radio show from Thursday to Sunday to kick it off and they plan to bring in local talents to DJ, present and to broadcast good vibes to the masses. The studio is looking very smart and the plans that they are talking about are very special.
Did someone say shelves?
Since I've got a relatively good background knowledge in joinery, my buddy asked if I could swing by and use up some of the leftover material from a partition that they had installed. A sheet of MDF, some lengths of timber and some offcuts here and there.
The aim was to have some deep shelves that were able to hold various pieces of mixing equipment. When making wider shelves you have to always account for how much weight could be loaded onto them. I don't want to get called back when somebody has climbed up onto the shelf after a few, and the whole thing has came crashing down.
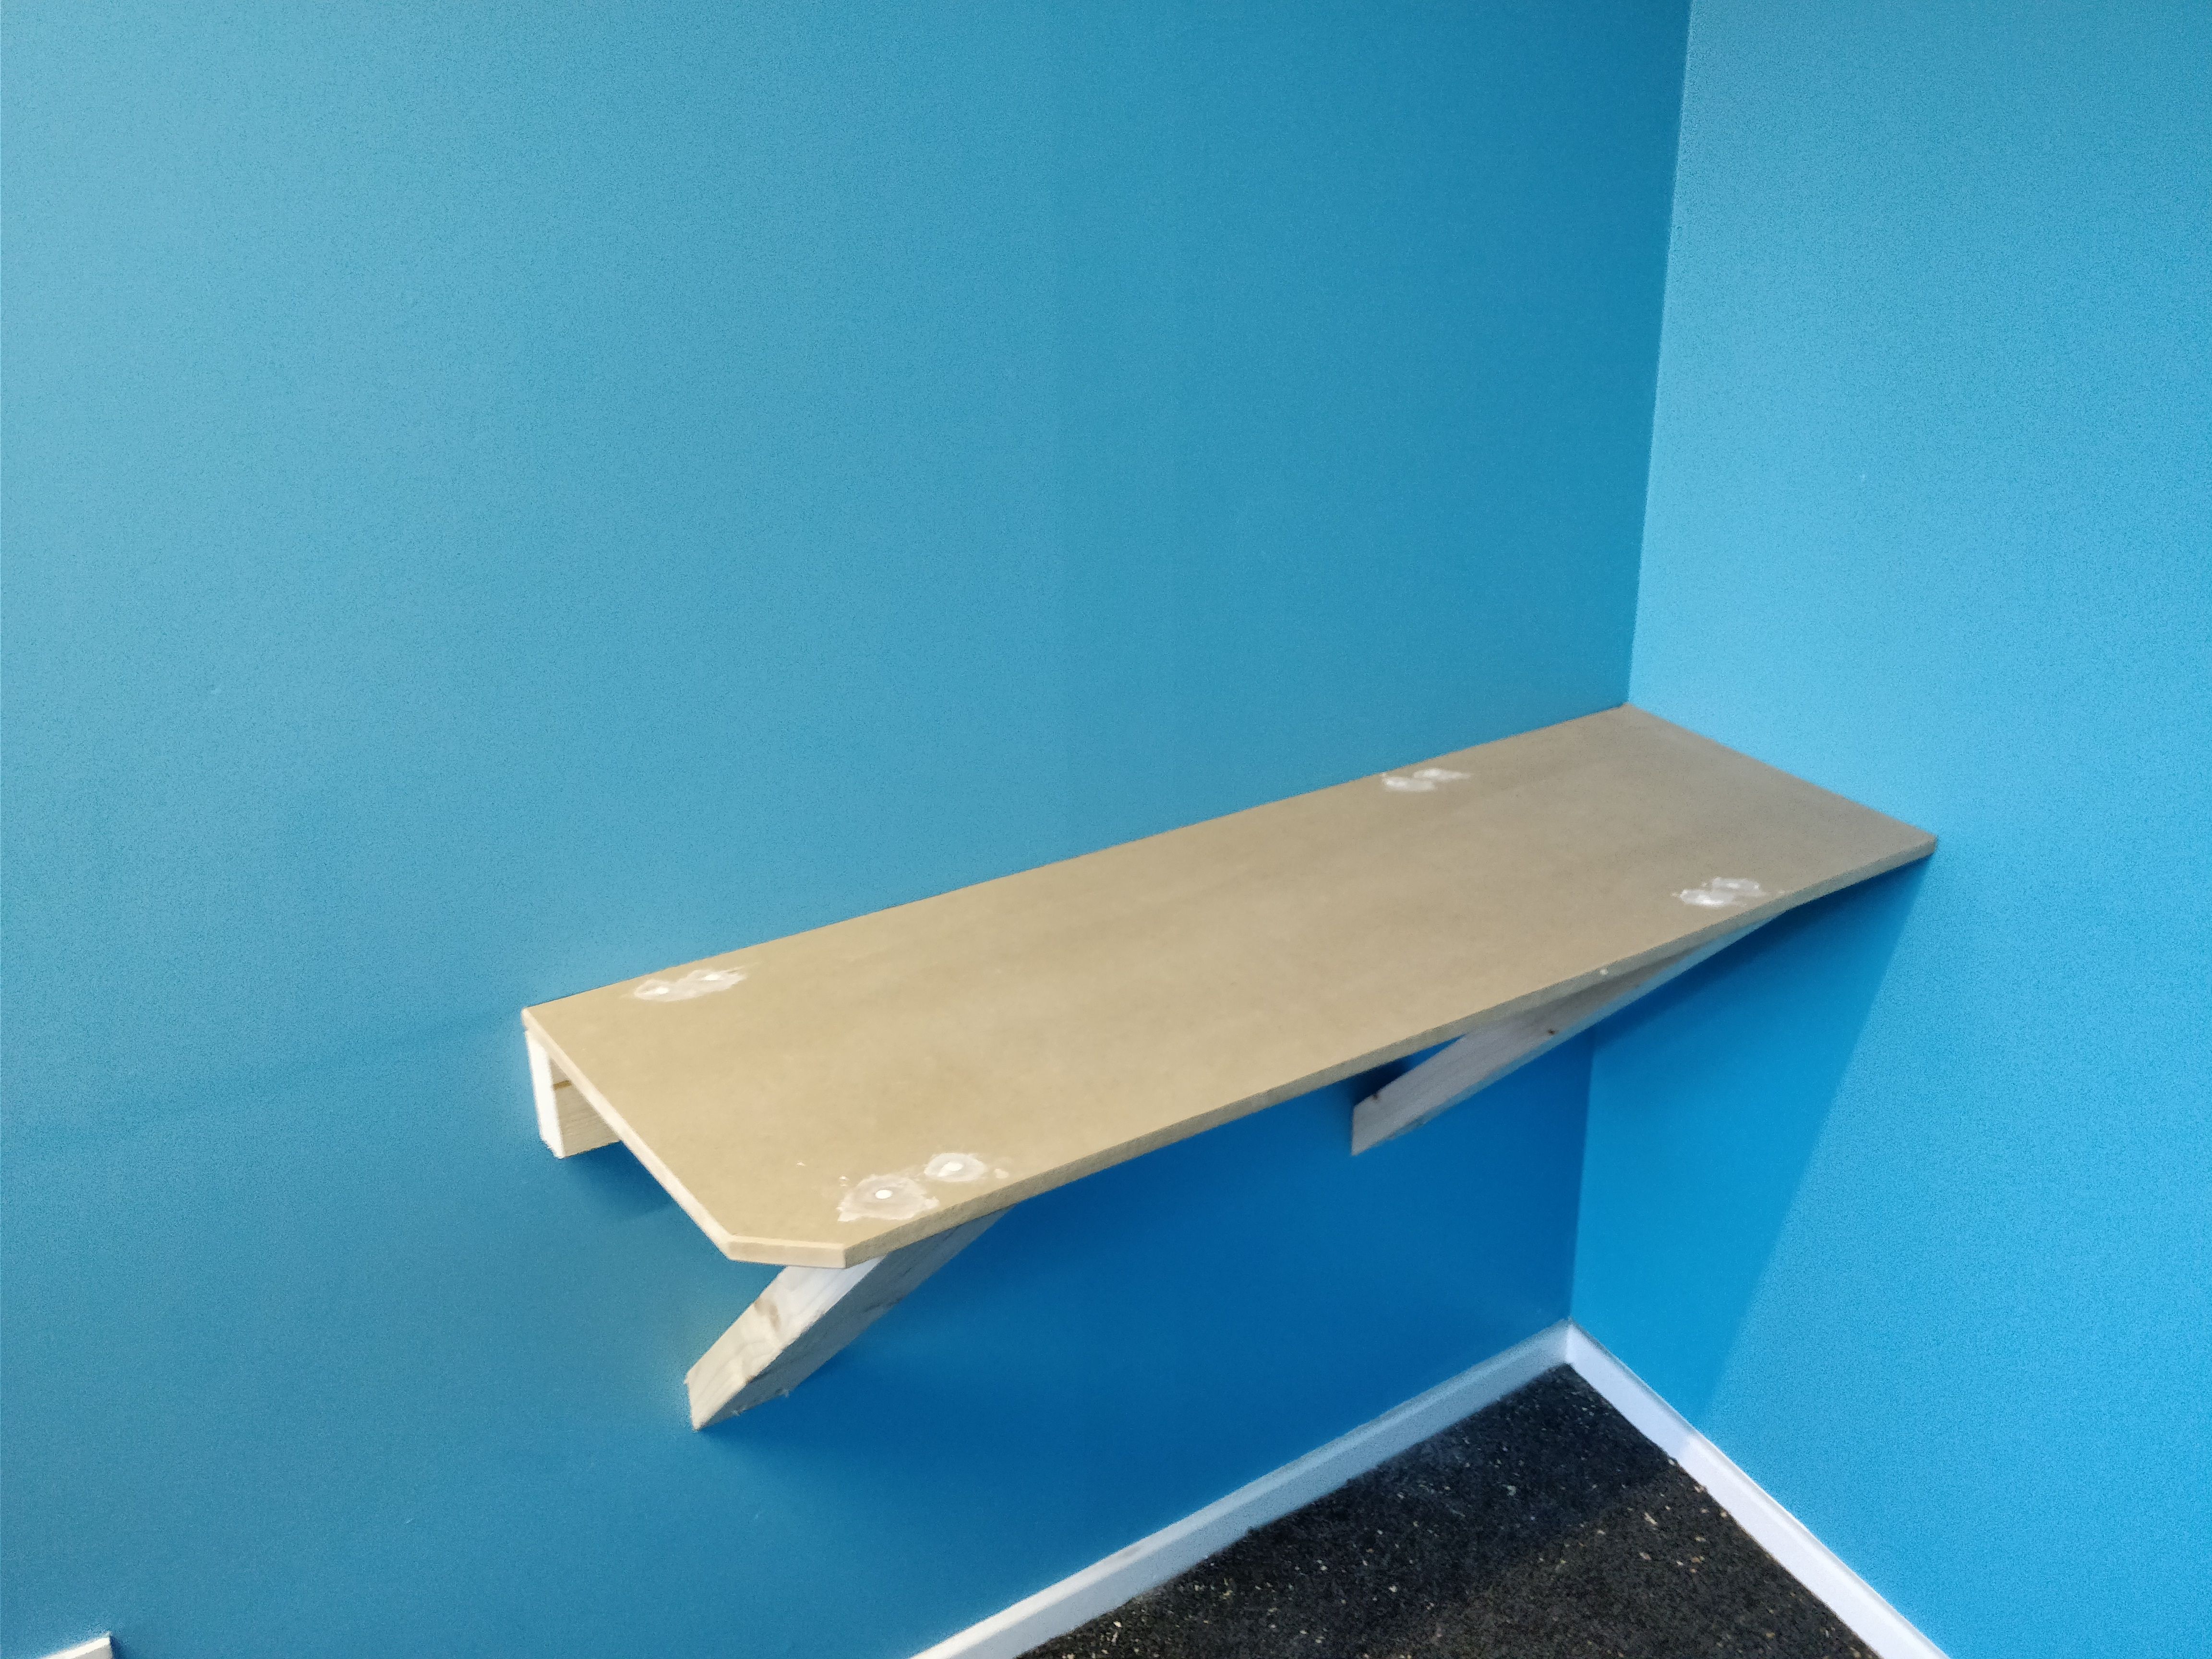
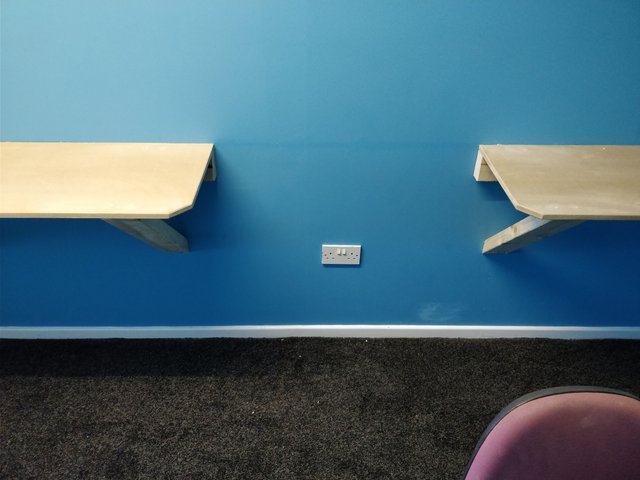
For those of you that aren't too interested in the process of the build, no fear, below is a picture of the finished product. For those of you who want to know how I went about the job, continue onwards! Hopefully you can learn something.

And yes, this was because I wanted to use this as my featured image. smileyface.
Where do I begin?
When you screw anything into a wall you have to make sure that your screw catches a stud. A stud is one of the vertical members of timber that forms the wall, they're usually spaced apart at 400mm intervals. When you are putting up some shelves that are carrying some very expensive equipment, you are going to want to catch a few of those!
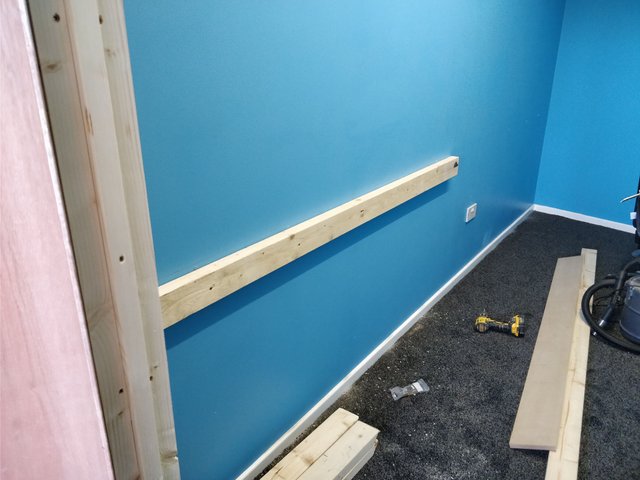
To begin I started by drawing a level line at the height I wanted the shelves to beat, we thought ahead and decided that we wanted the shelves to be at the same height as the desk at the end of the room. This would make sure the whole job looked integrated and like it was meant to be there.
After I had drawn the level line around the wall, I started looking for the studs. To do this I simply tapped on the wall and when I didn't hear a hollow hit, I drilled a small hole and felt the pull of the drill into the timber. A simple line below where my first timber brace is going and bingo, I'm already winning, I can see exactly where I want to screw.
When you are an efficient, in 'the zone' worker like me, you don't manage to capture a lot of the process with the camera but I tried my best to get enough to tell the story.
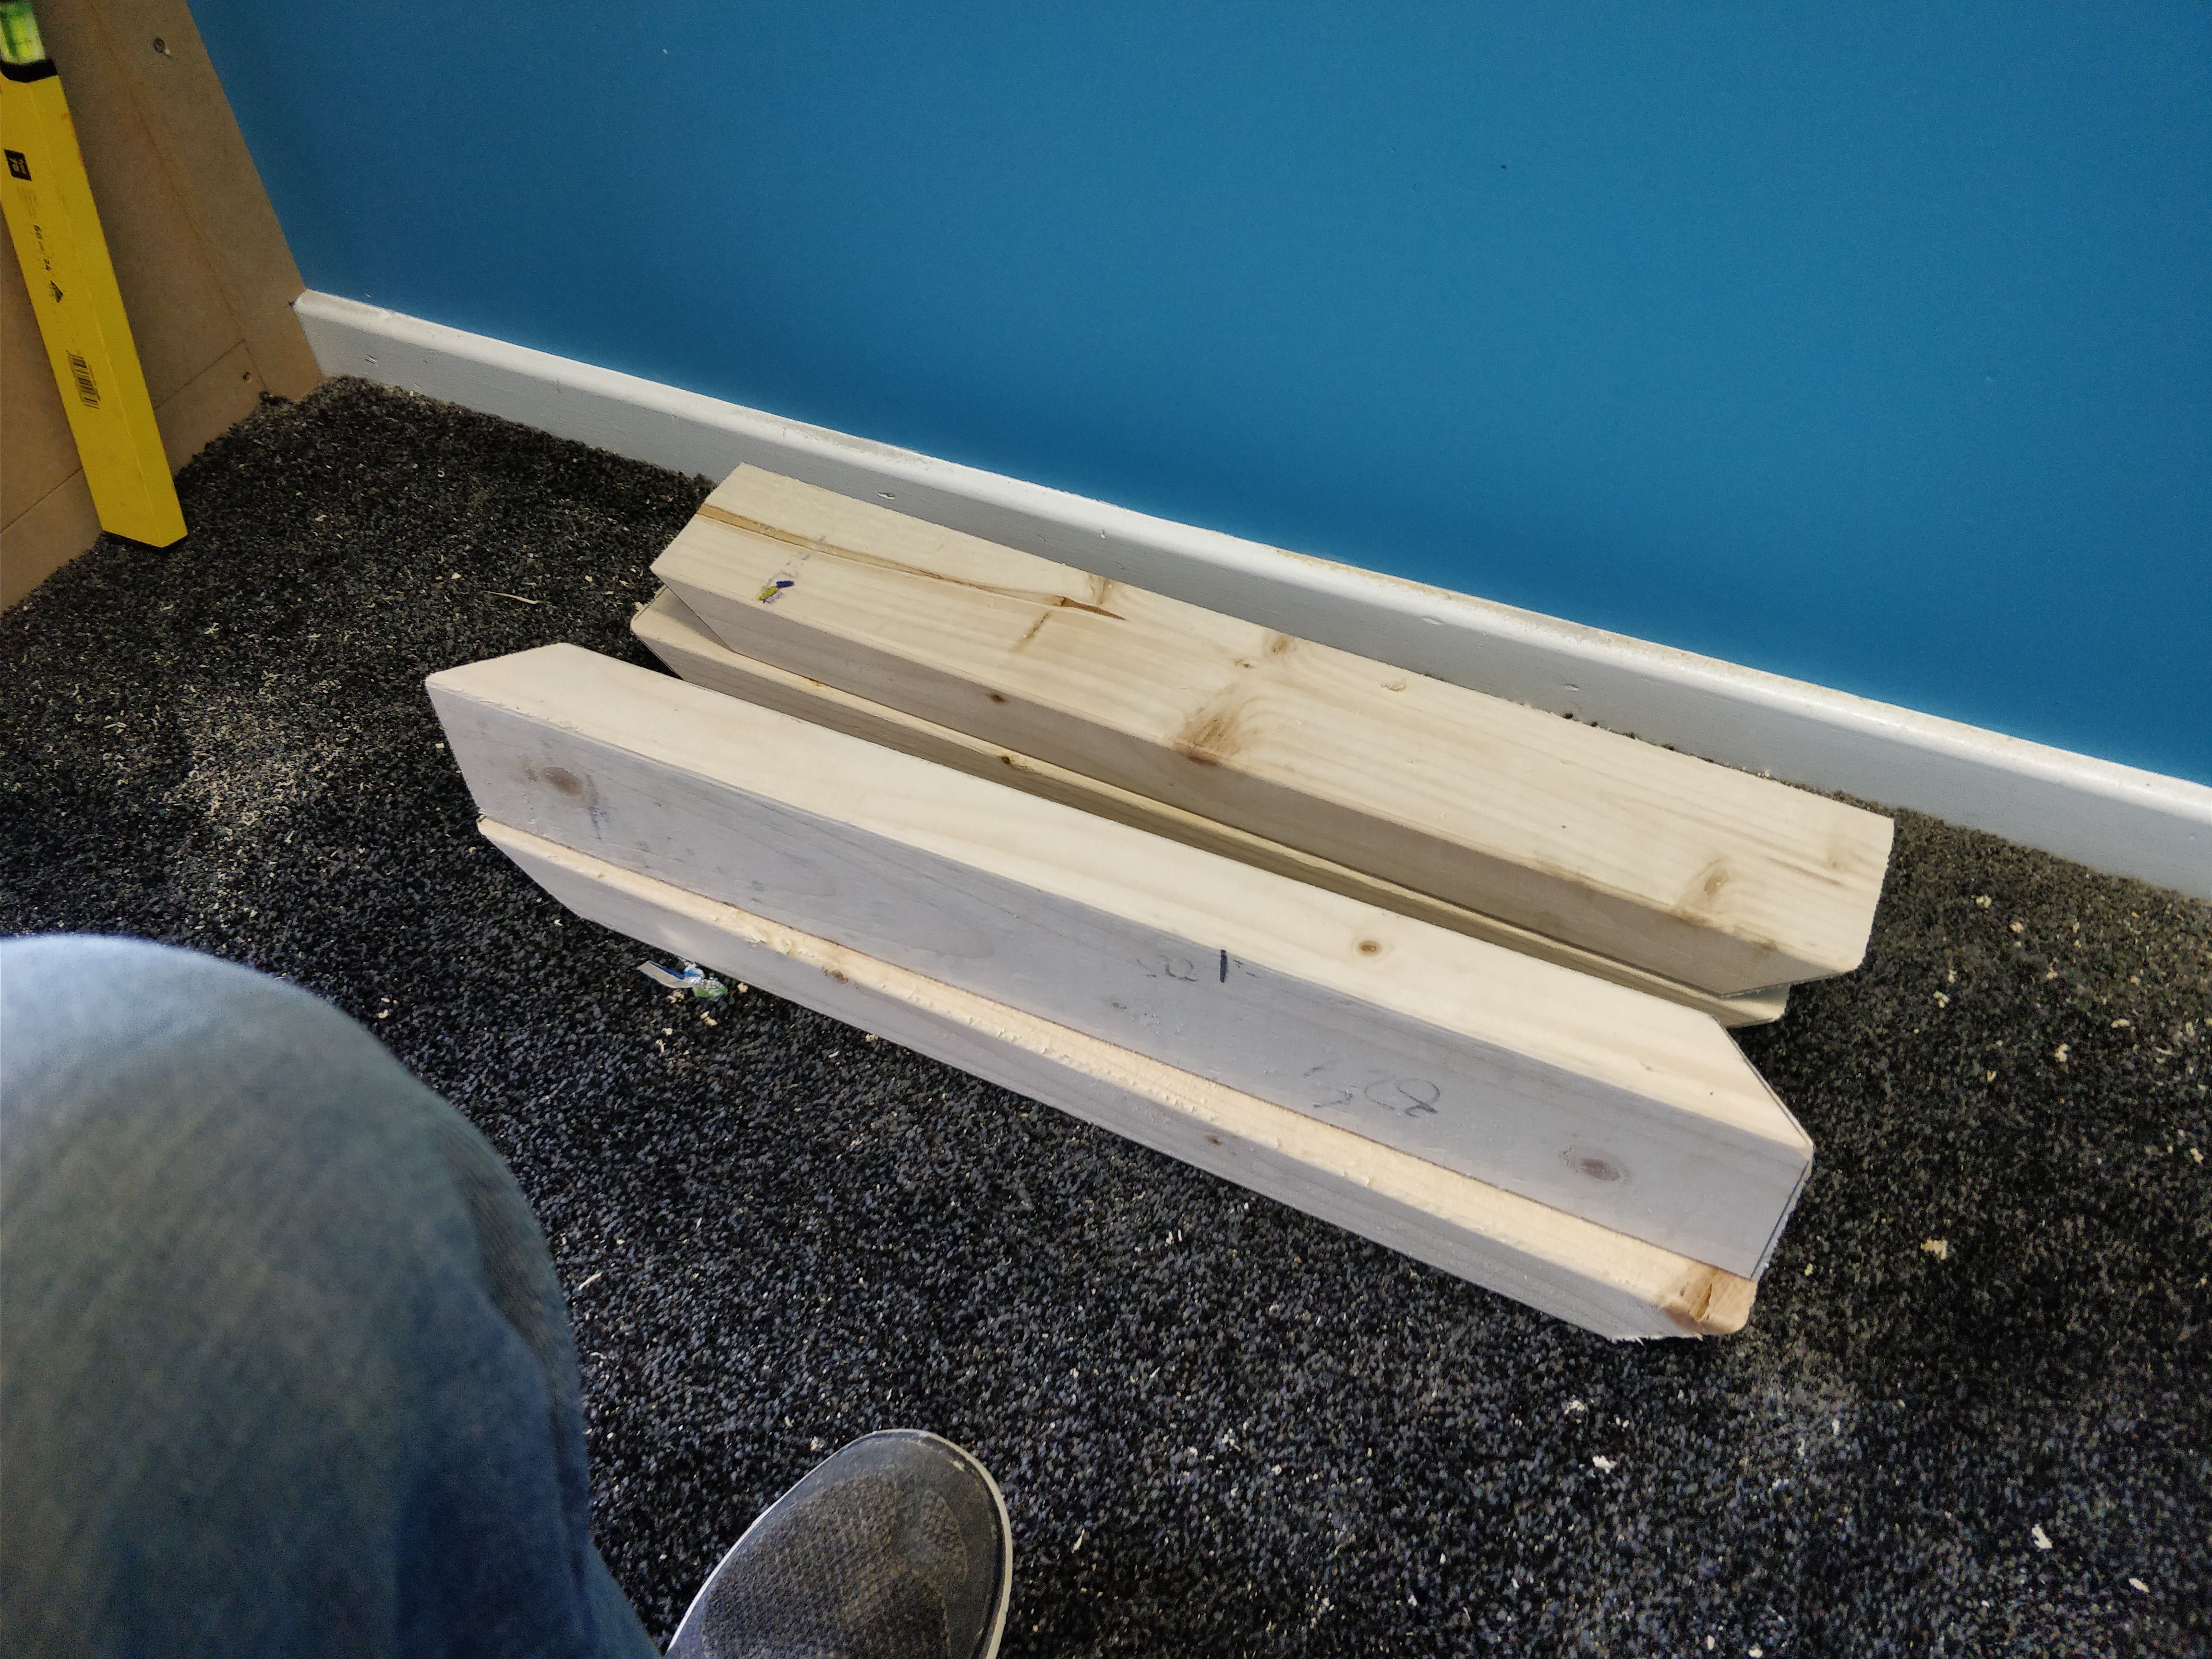
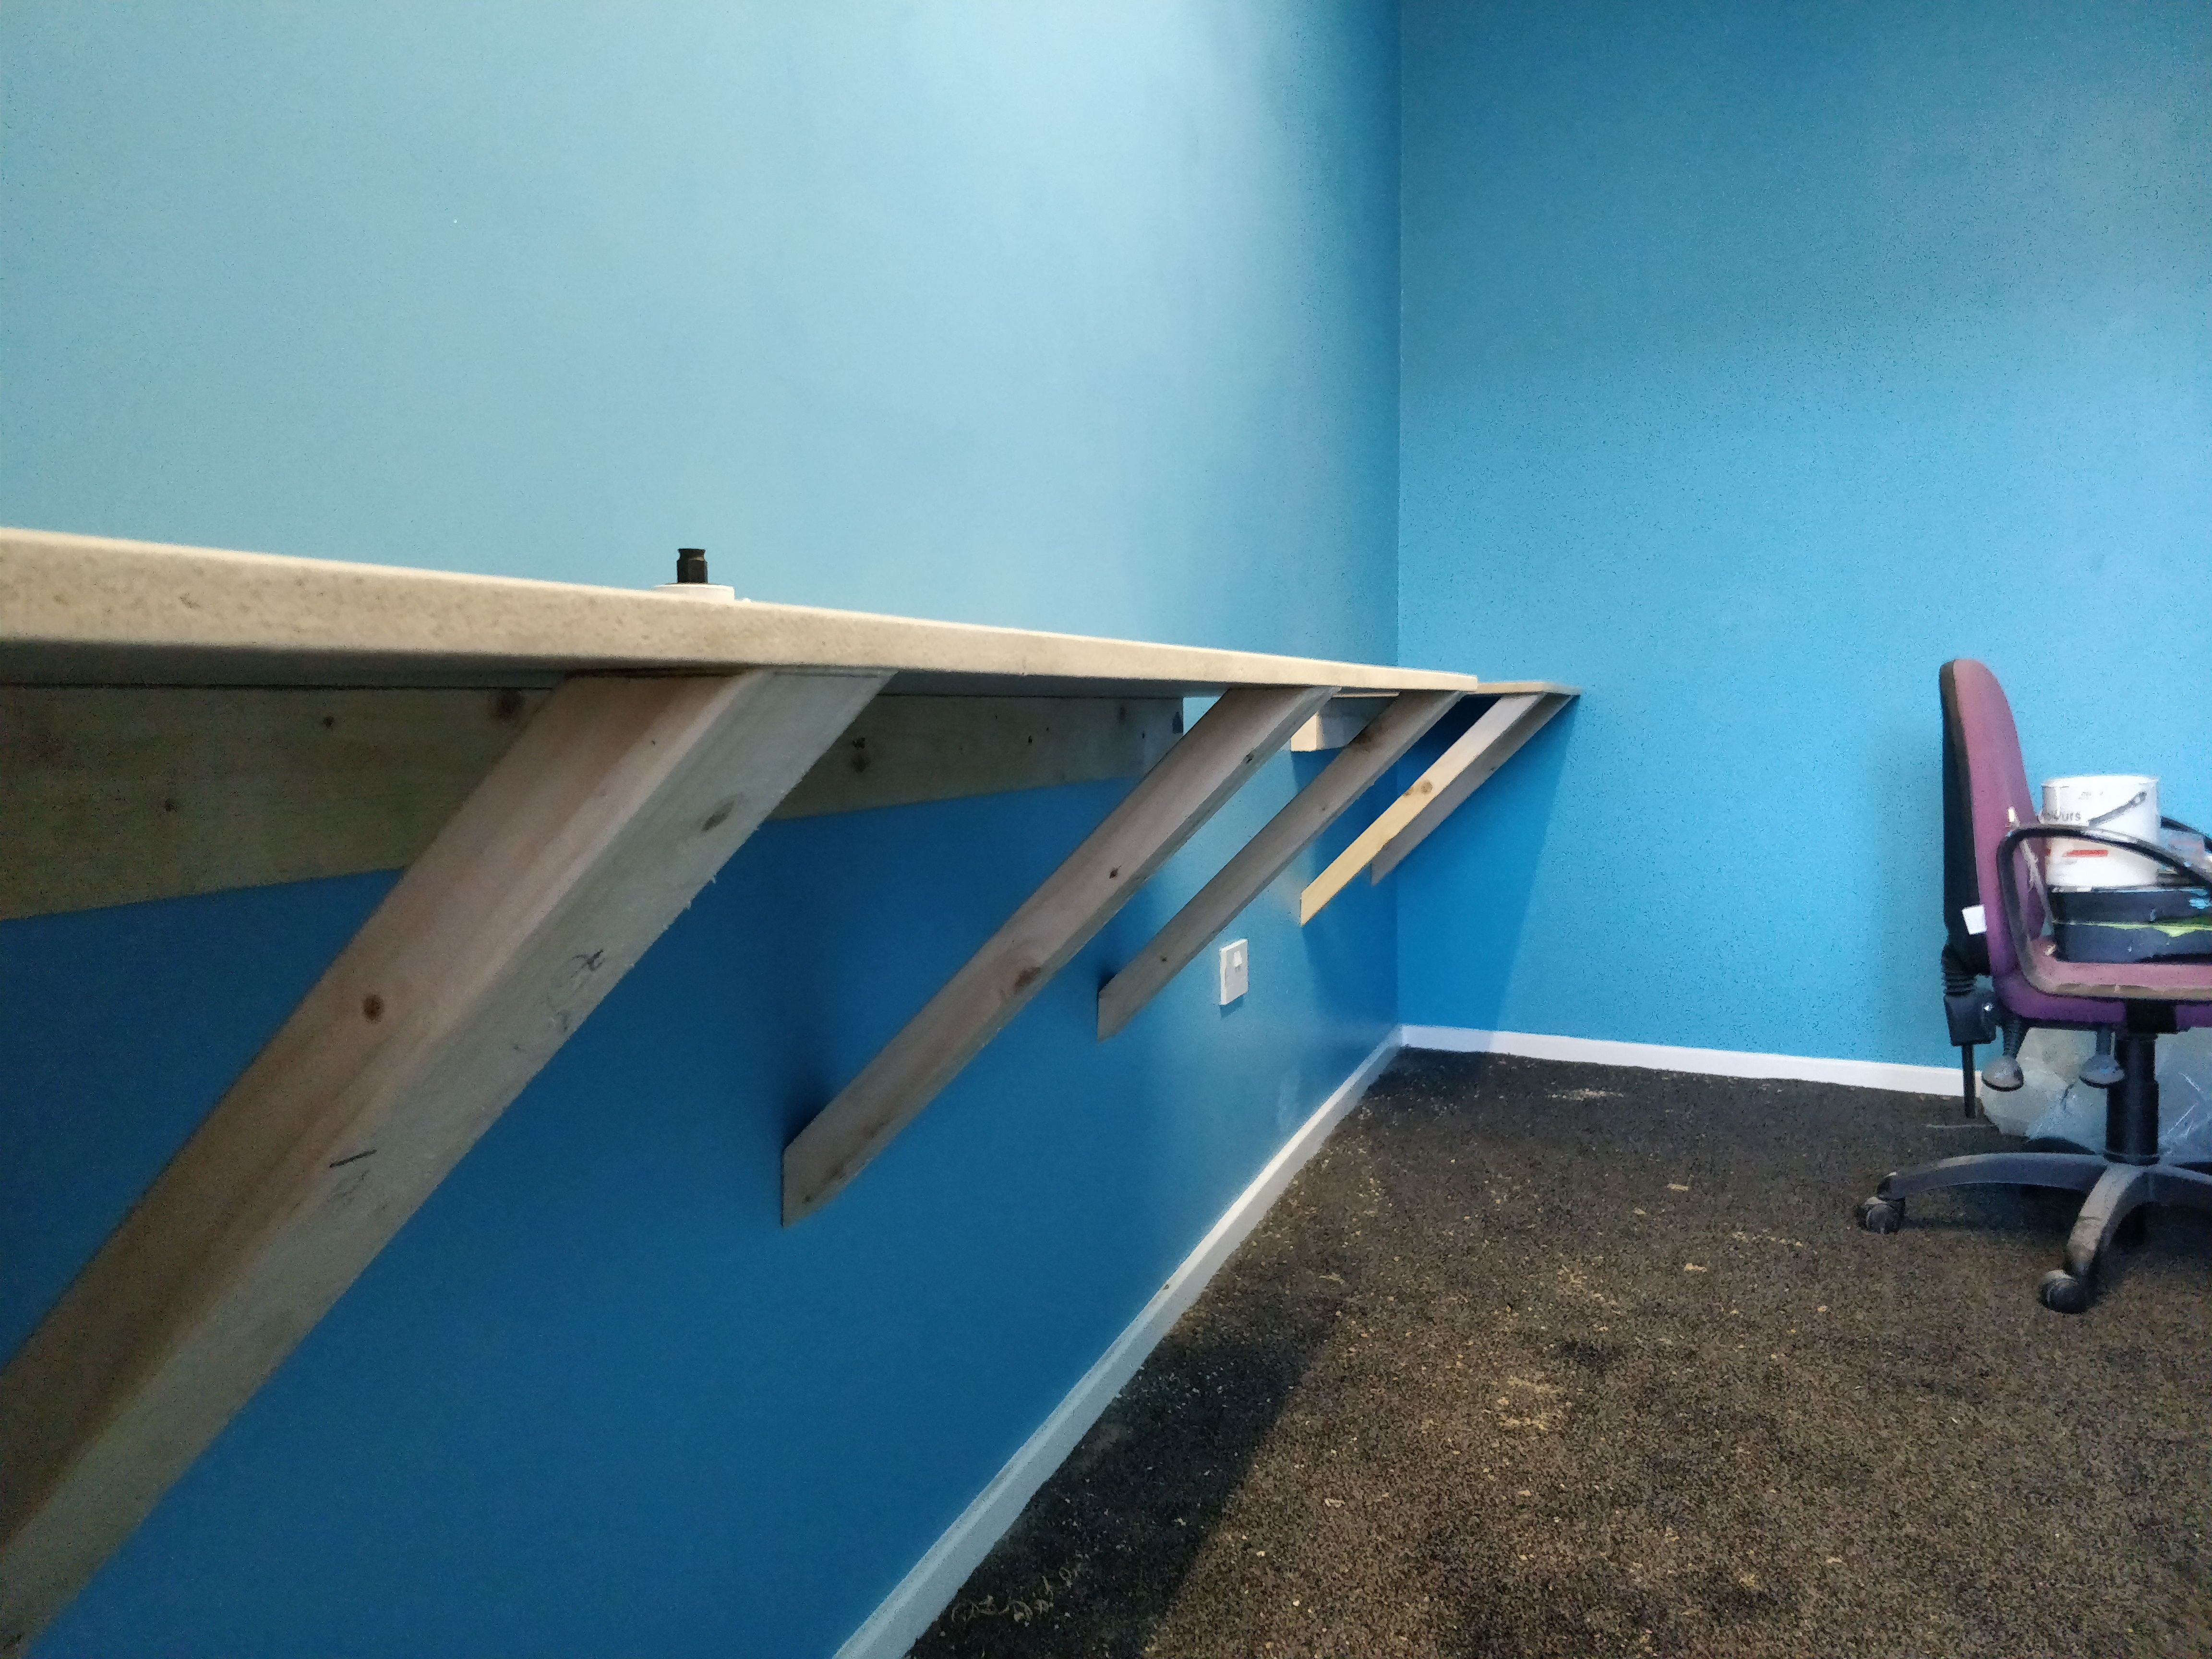
When my pal was away picking up some screws and other tidbits for the jobs, I decided I was going to work out the diagonal braces for the shelves. I had decided on braces rather than legs because of the aesthetic look, legs on shleves always defeat the point, it's a shelf not a desk and I didn't want to make the room feel smaller than it is.
A quick template was knocked up for the diagonal brace and in no time at all, I had 5 identical pieces of timber that were ready to get screwed up.
Time for some dust!
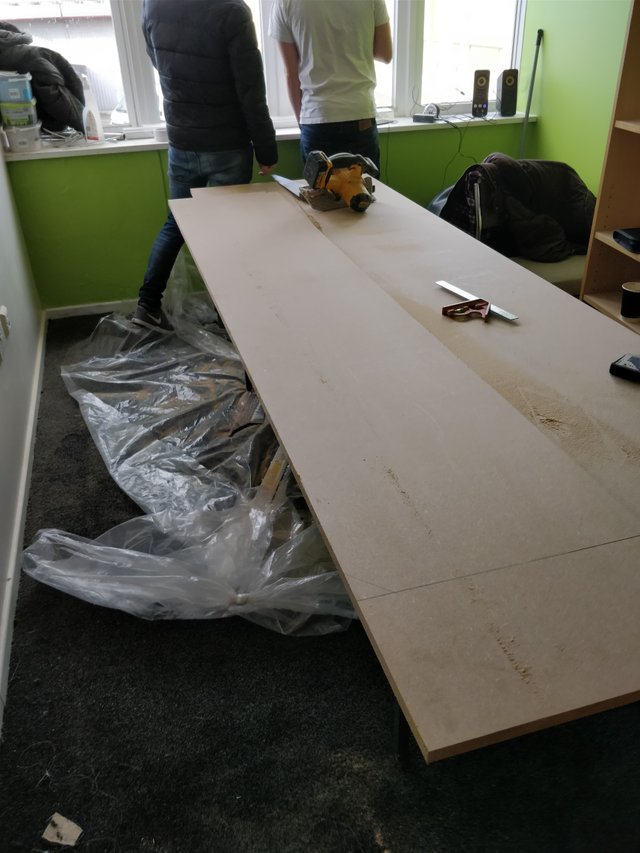
Back brace on, diagonal braces cut, now it's time for the shelf itself. Luckily we had an old desk in the studio so laying down the sheet of MDF was no problem at all and getting it cut was easy and at the perfect height.
Working on a stable, level surface is handy. It's always the little things that make the most difference on a job.
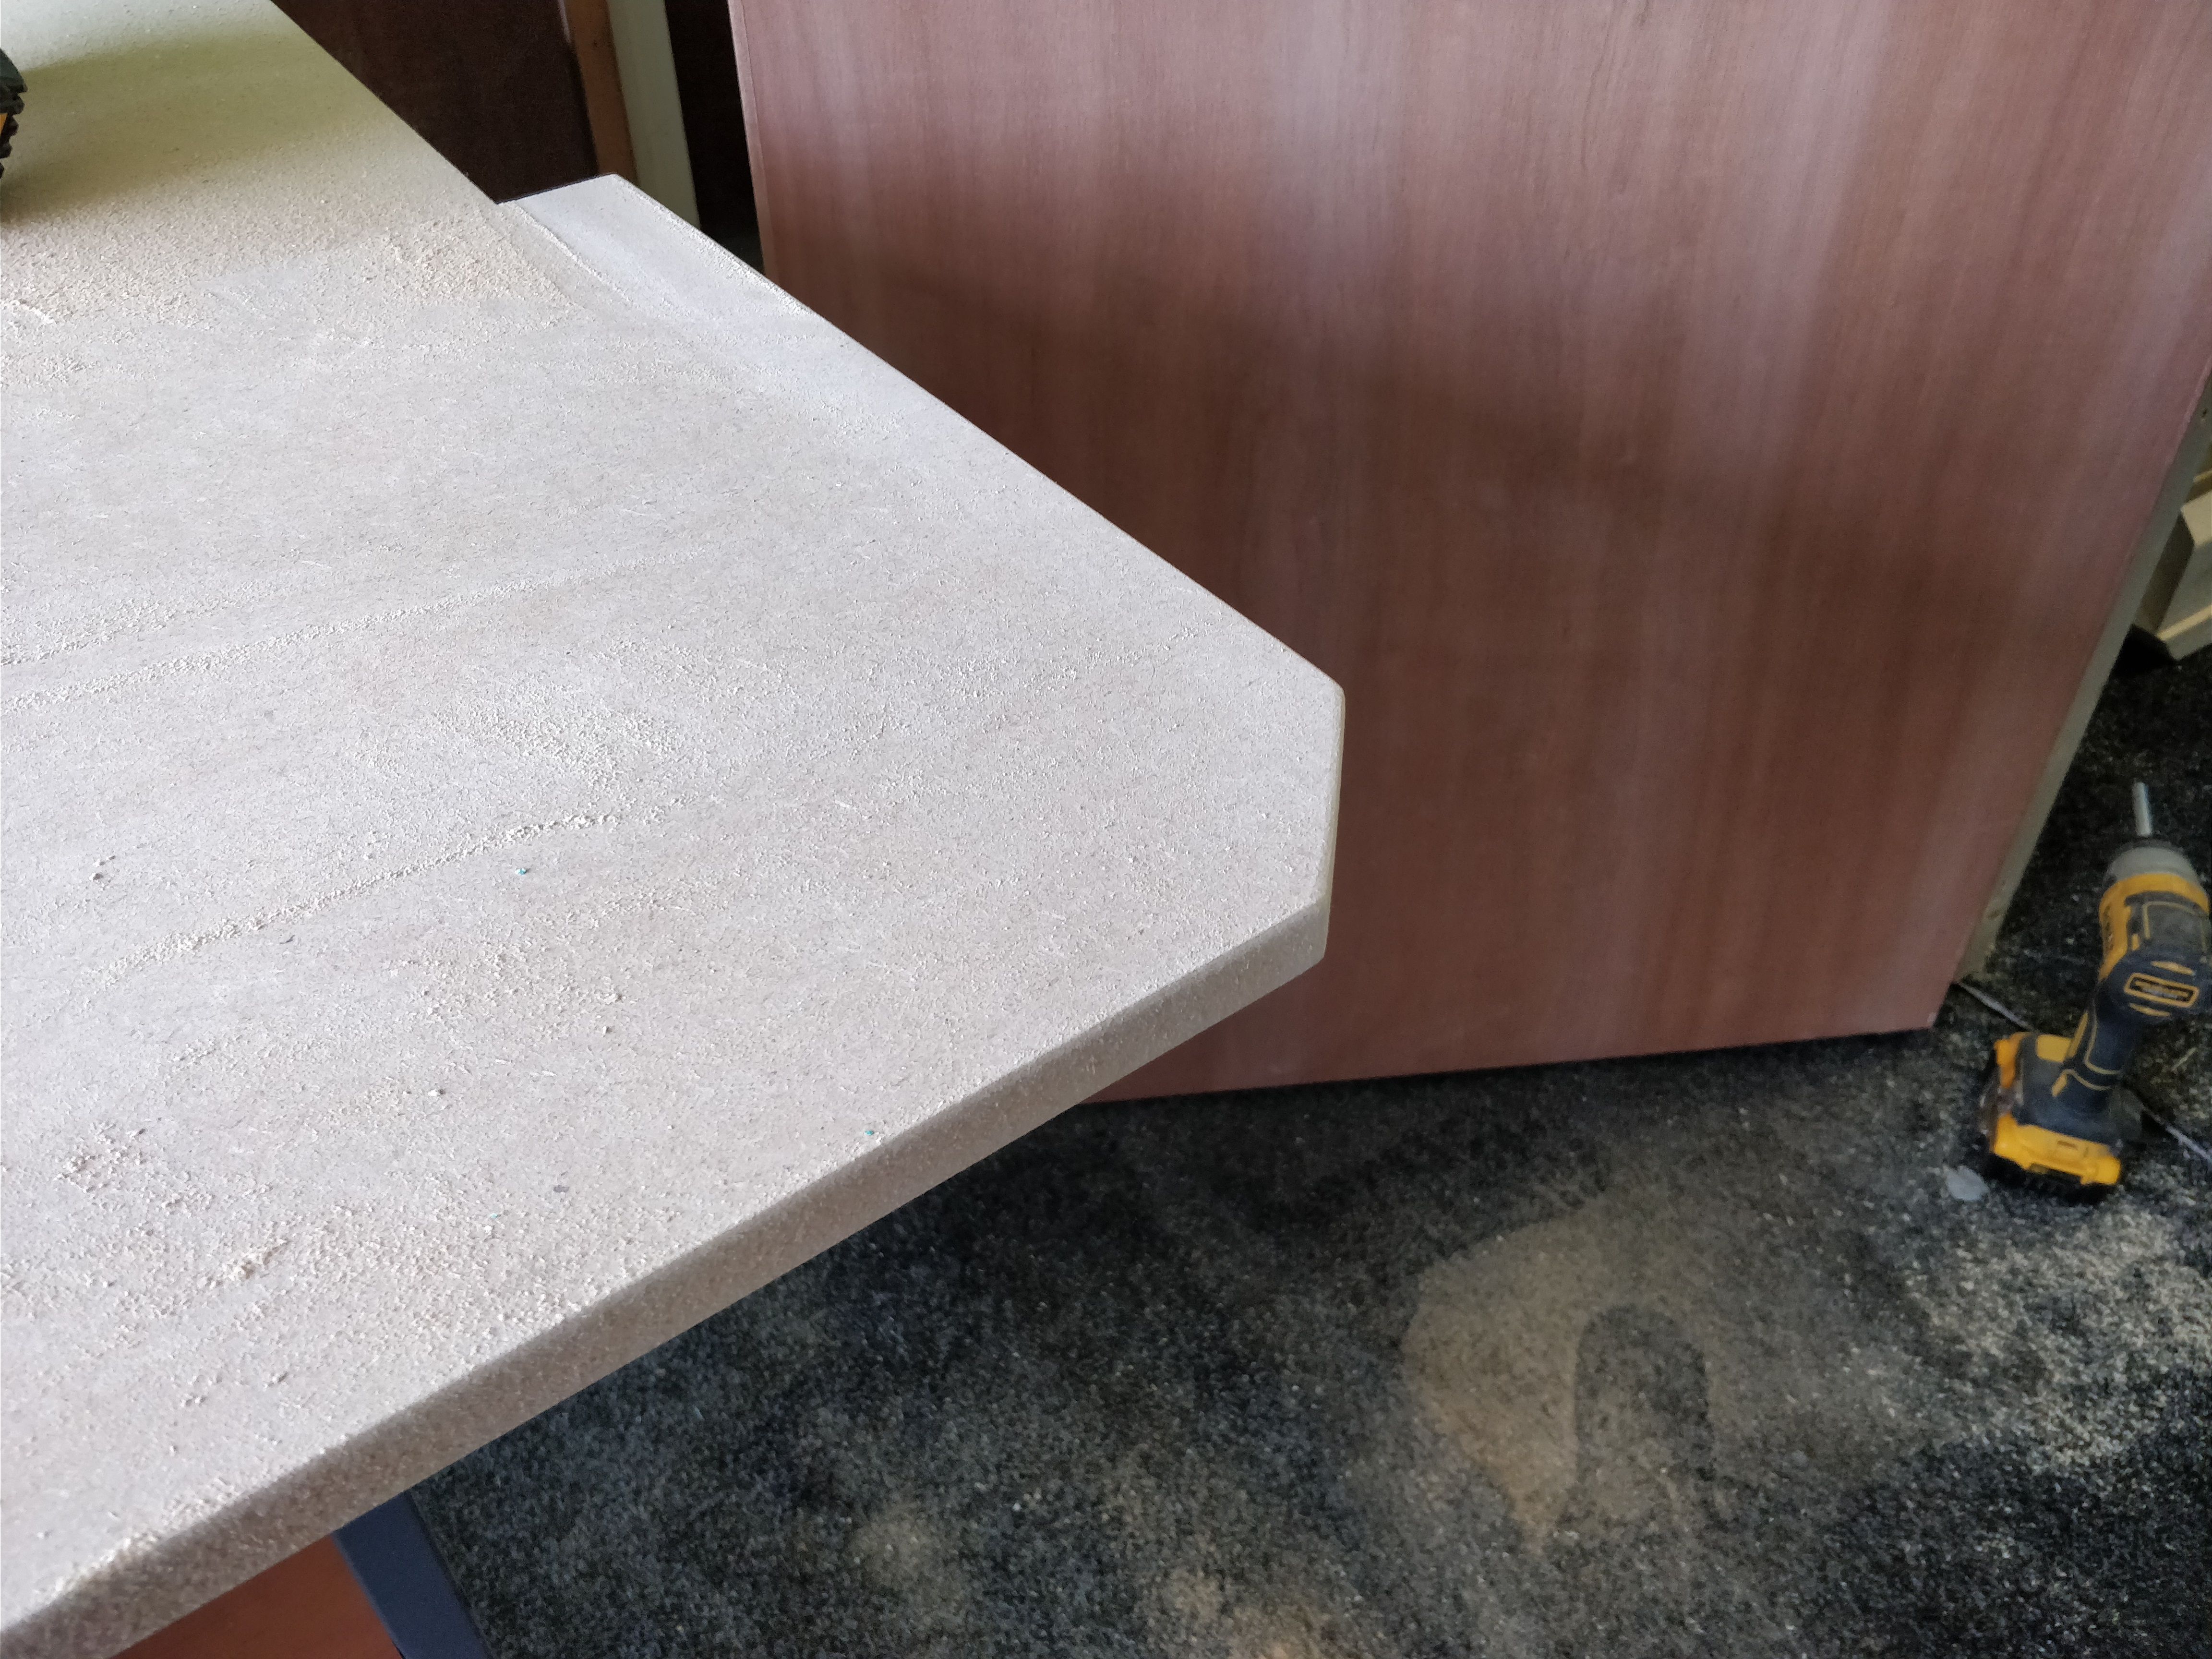
In no time at all I had my shelves cut and dressed up ready for installing. The only problem I had was a small notch that was needing out the lefthand side of the shelf so it could finish flush to the partition wall. Quick couple of cuts and that wasn't an issue.
I had decided to take a corner off the right side of the shelf to finesse the job up a bit. Not to mention, nobody likes to walk into the corner of something! A quick cut and a slight arrive (small chamfer) on the edges of the shown edge and we were in business.
Getting that good screw
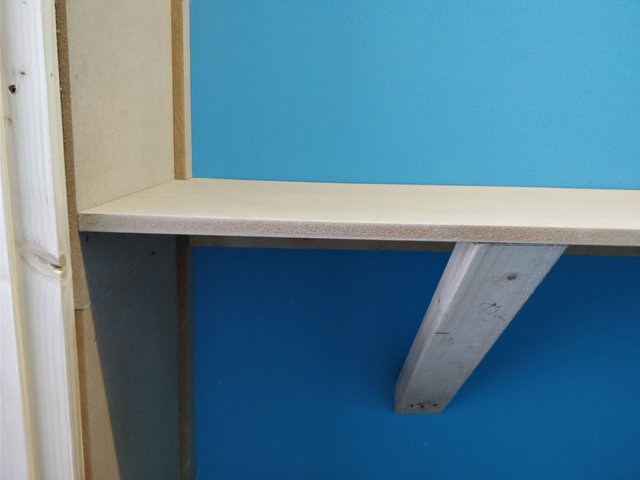
Shelf complete, everything at hand and ready to go, I started with my diagonal braces. I had worked out what height the bottom of the braces needed to be so I marked a pencil line on my 400mm stud marks and whacked two screws into the bottom of the braces.
The shelf sat neatly on top and thankfully the braces finished right on the edge of the shelf.
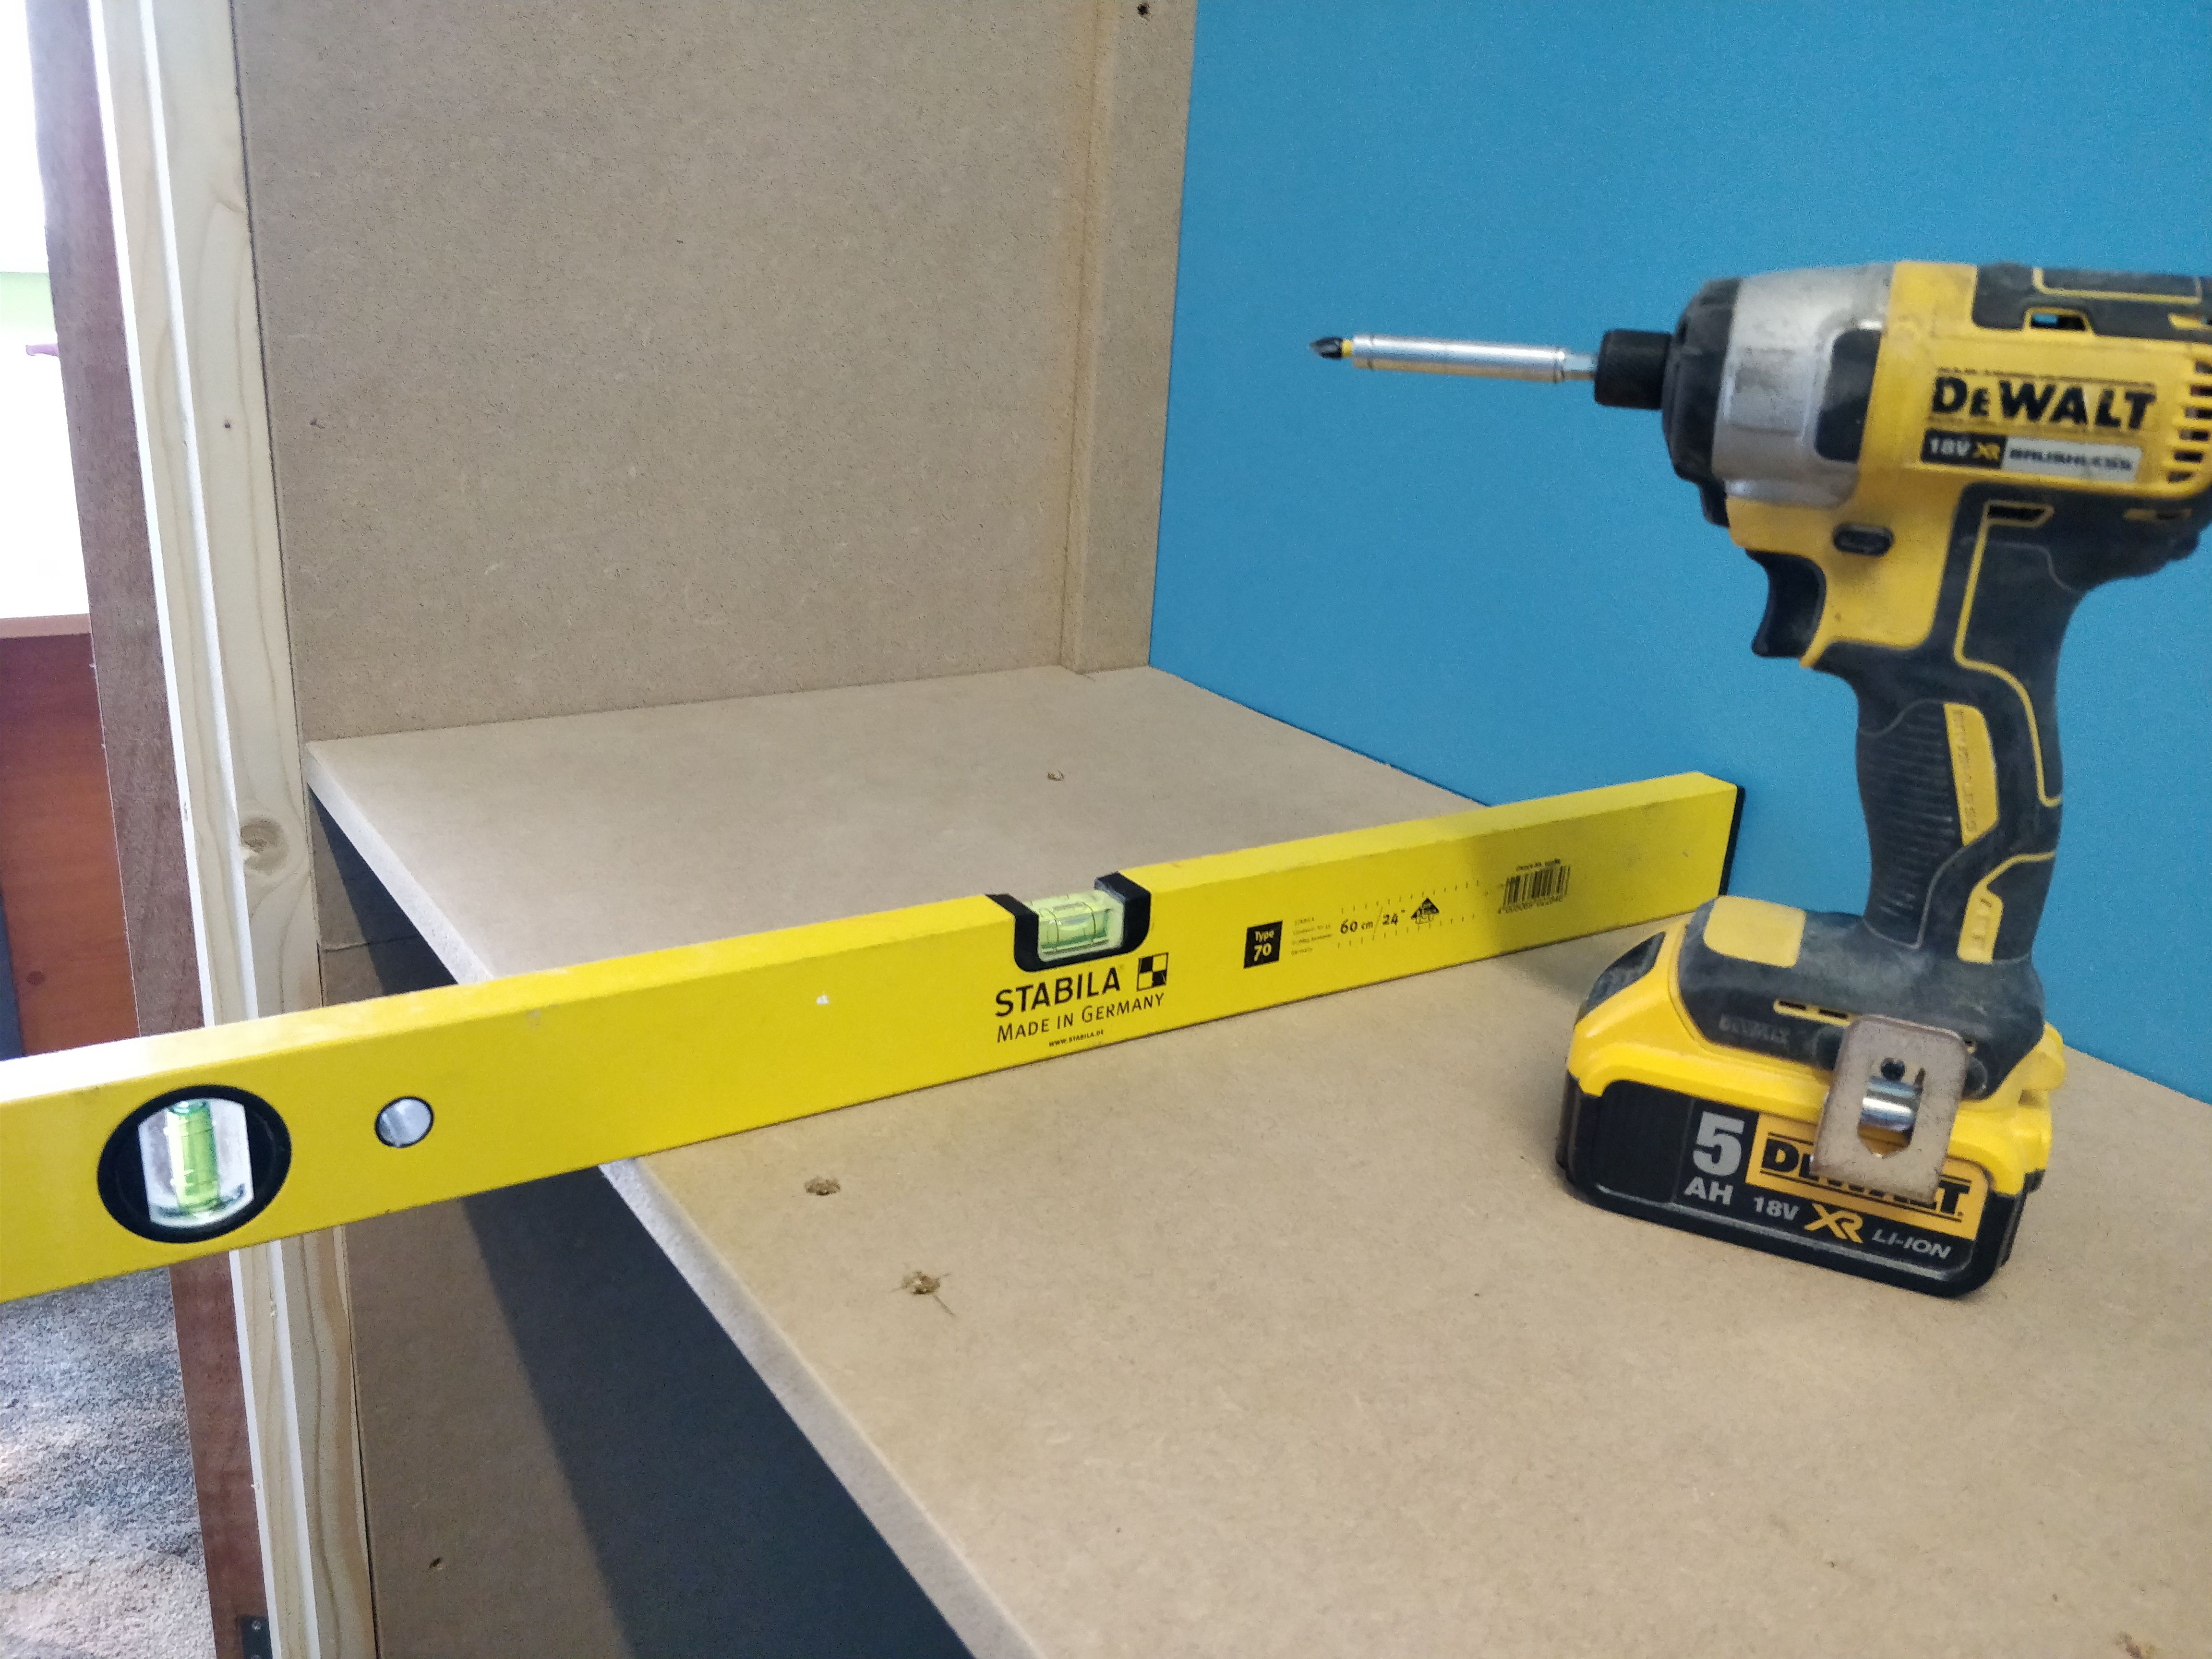
Success! I pre drilled some holes on the top of the shelf at the front (for the diagonals) and at the back (to catch the brace on the wall). Remember to drill 1mm bigger than your screw. This is a clearance hole. It lets the screw fall through the shelf so when I screw into the wood it pulls the shelf to the timber tightly. If you don't make a clearance hole, you can sometimes be left with a small gap between the shelf and the wood.
Out comes the level to make sure everything is sitting pretty, then away we go!
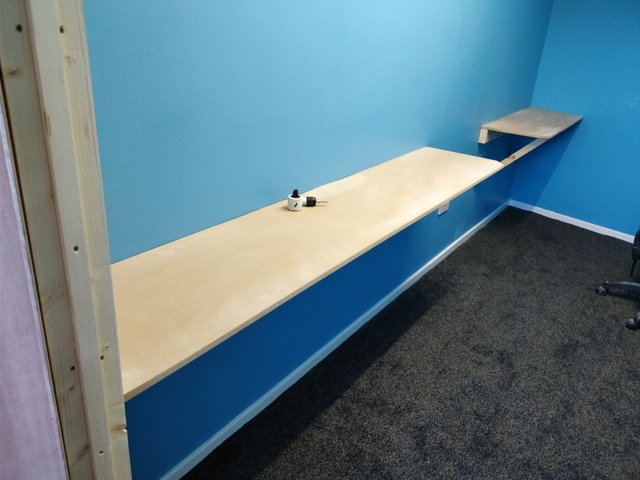
One down, one more to go. A quick step back to check out how it's looking and then it's swiftly onto the next shelf. Here is how the first one was looking.
Numéro deux!
Rinse and repeat. The second shelf has a few different problems I had to tackle but the initial steps were exactly the same so I won't bore you with the details.
I noticed right away that the second shelf was going into a wall that was angled towards me. This meant I was going to have to do a little manipulating. Not a major task, I simply sat the shelf up against the wall and and measured the distance it was short and marked that size on the front edge. Join the pencil line to the corner that isn't getting touched and a quick cut sorts out that problem.
As well as an angled wall, the back wall was not exactly straight. By sitting the shelf in its place, I could work out where I needed to scribe so that the whole thing would sit against the wall neatly.
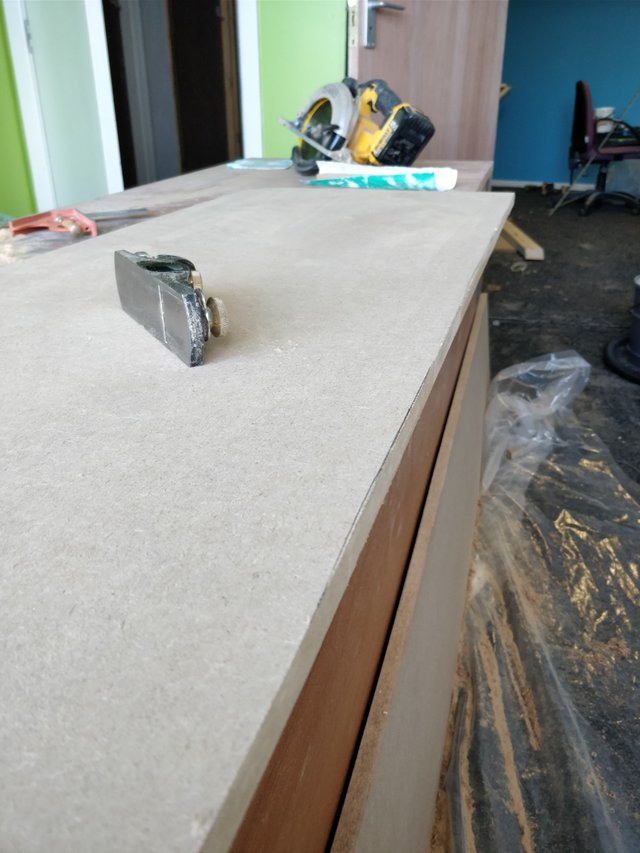
Little bit of planing and trying the shelf to the wall was all it too to ensure the shelf was sitting sweet. I cut the corner off the left hand side this time, cut the arrices and we were good to go. Time for the best part of the job, the final piece!
Again, I screwed the diagonal braces to the bottom and let them sit in place ready for the shelf.
Clean up and appreciate your work!
After pre-drilling the holes and getting the second shelf set ip, the finish line was in sight. I took some Poly filler and filled all of my screw holes so that my mate can paint the shelves if he wants to. Quick clean up and hoover and the day was done.
Very happy with the finished product and enjoyed the day! Slink seemed to be happy with the finished product and there is more jobs getting done in the next couple days. I'll be sure to get the posts made to show off their studio!
Nice and neat job. Did you borrow my block plane and circular saw? Good to know you have great taste in tools.
Thanks pal. Nice to get my hands on the tools again.
Haha! I sold my festool plunge saw and guide rails for 2x5ah batteries, charger, circular saw and £40. Absolute bargain.
Finding the dewalt battery circular saw a lot more versatile and I get a lot more use out of it. Just takes some confidence and a shape blade!
Nice. Yes it is good but it does go through batteries. I have got the jigsaw as well which is awesome.
Same here, I like the jigsaw but I wish it had an LED on it. My personal favourite is the Electric planer, such a great piece of kit.
I can't count the amount of times the planers got me out of a sticky situation.
Have Dewalt made a battery planer now? I was always hoping they would. Sweet.
Yeah it's brilliant! You can pick a bare unit up for about £150. 5ah batteries in it are a dream.
Another thing on my wish list then. I still have the 4ah batteries so I may have to get a 5ah as well. Thanks
The shelf work is quality. I like the way you made the shelf the same height as the desk.
Thanks for having a look at my work. --3D
Thanks very much pal! It's all about thinking ahead and keeping everything somewhat integrated. Anybody can screw stuff into a wall and hope for the best!
Cheers for stopping by mate.
You can read about us here
Nice work on that, @calumam! I like how you put the finished shelf picture at the top with a little blurb about it, and then the work progress after that. Great job with the beefy support brackets!
I've upvoted and resteemed this article as one of my daily post promotions for the @mitneb Curation Trail Project. It will be featured in the @mitneb Curation Trail Project Daily Report for 15 FEB 2018.
Cheers!
Thanks very much! I knew that there was going to be expensive equipment on the shelves so I wasn't taking any chances haha!
Here's a picture of what I made for him yesterday, shelf from the future for his DJ decks and speakers etc. So much fun.
Yet again, you are a true star for the exposure!
Thanks, @calumam! And those are nice looking!
Cheers!