[Tricks of the Trade] : Segmented shelf for Slink
To carry on from the last post I made for the shelves at Slink, today I'm going to be writing a small post describing another small job I did for them.
I've been off the wagon and not feeling too great the past few days and have been missing days posting. I'm planning to make a post later on talking about this and what effect it has had on BuddyUP, but I'll save all that for later.
The job
My friend asked me to build a small corner shelf in the studio where he could sit a monitor, speakers, and keyboard etc. Nothing too extravagant, just somewhere for people to present their shows while somebody else could be on the turntables.
We'd decided on the corner closest to the window and nearest to the main DJ 'booth'.
Just like the last post, I'm going to let you see the finished product before I let you know how I went about the job. 50% because I want to use it as the feature image. 50% because some of you really couldn't care less about the process. Win-win.
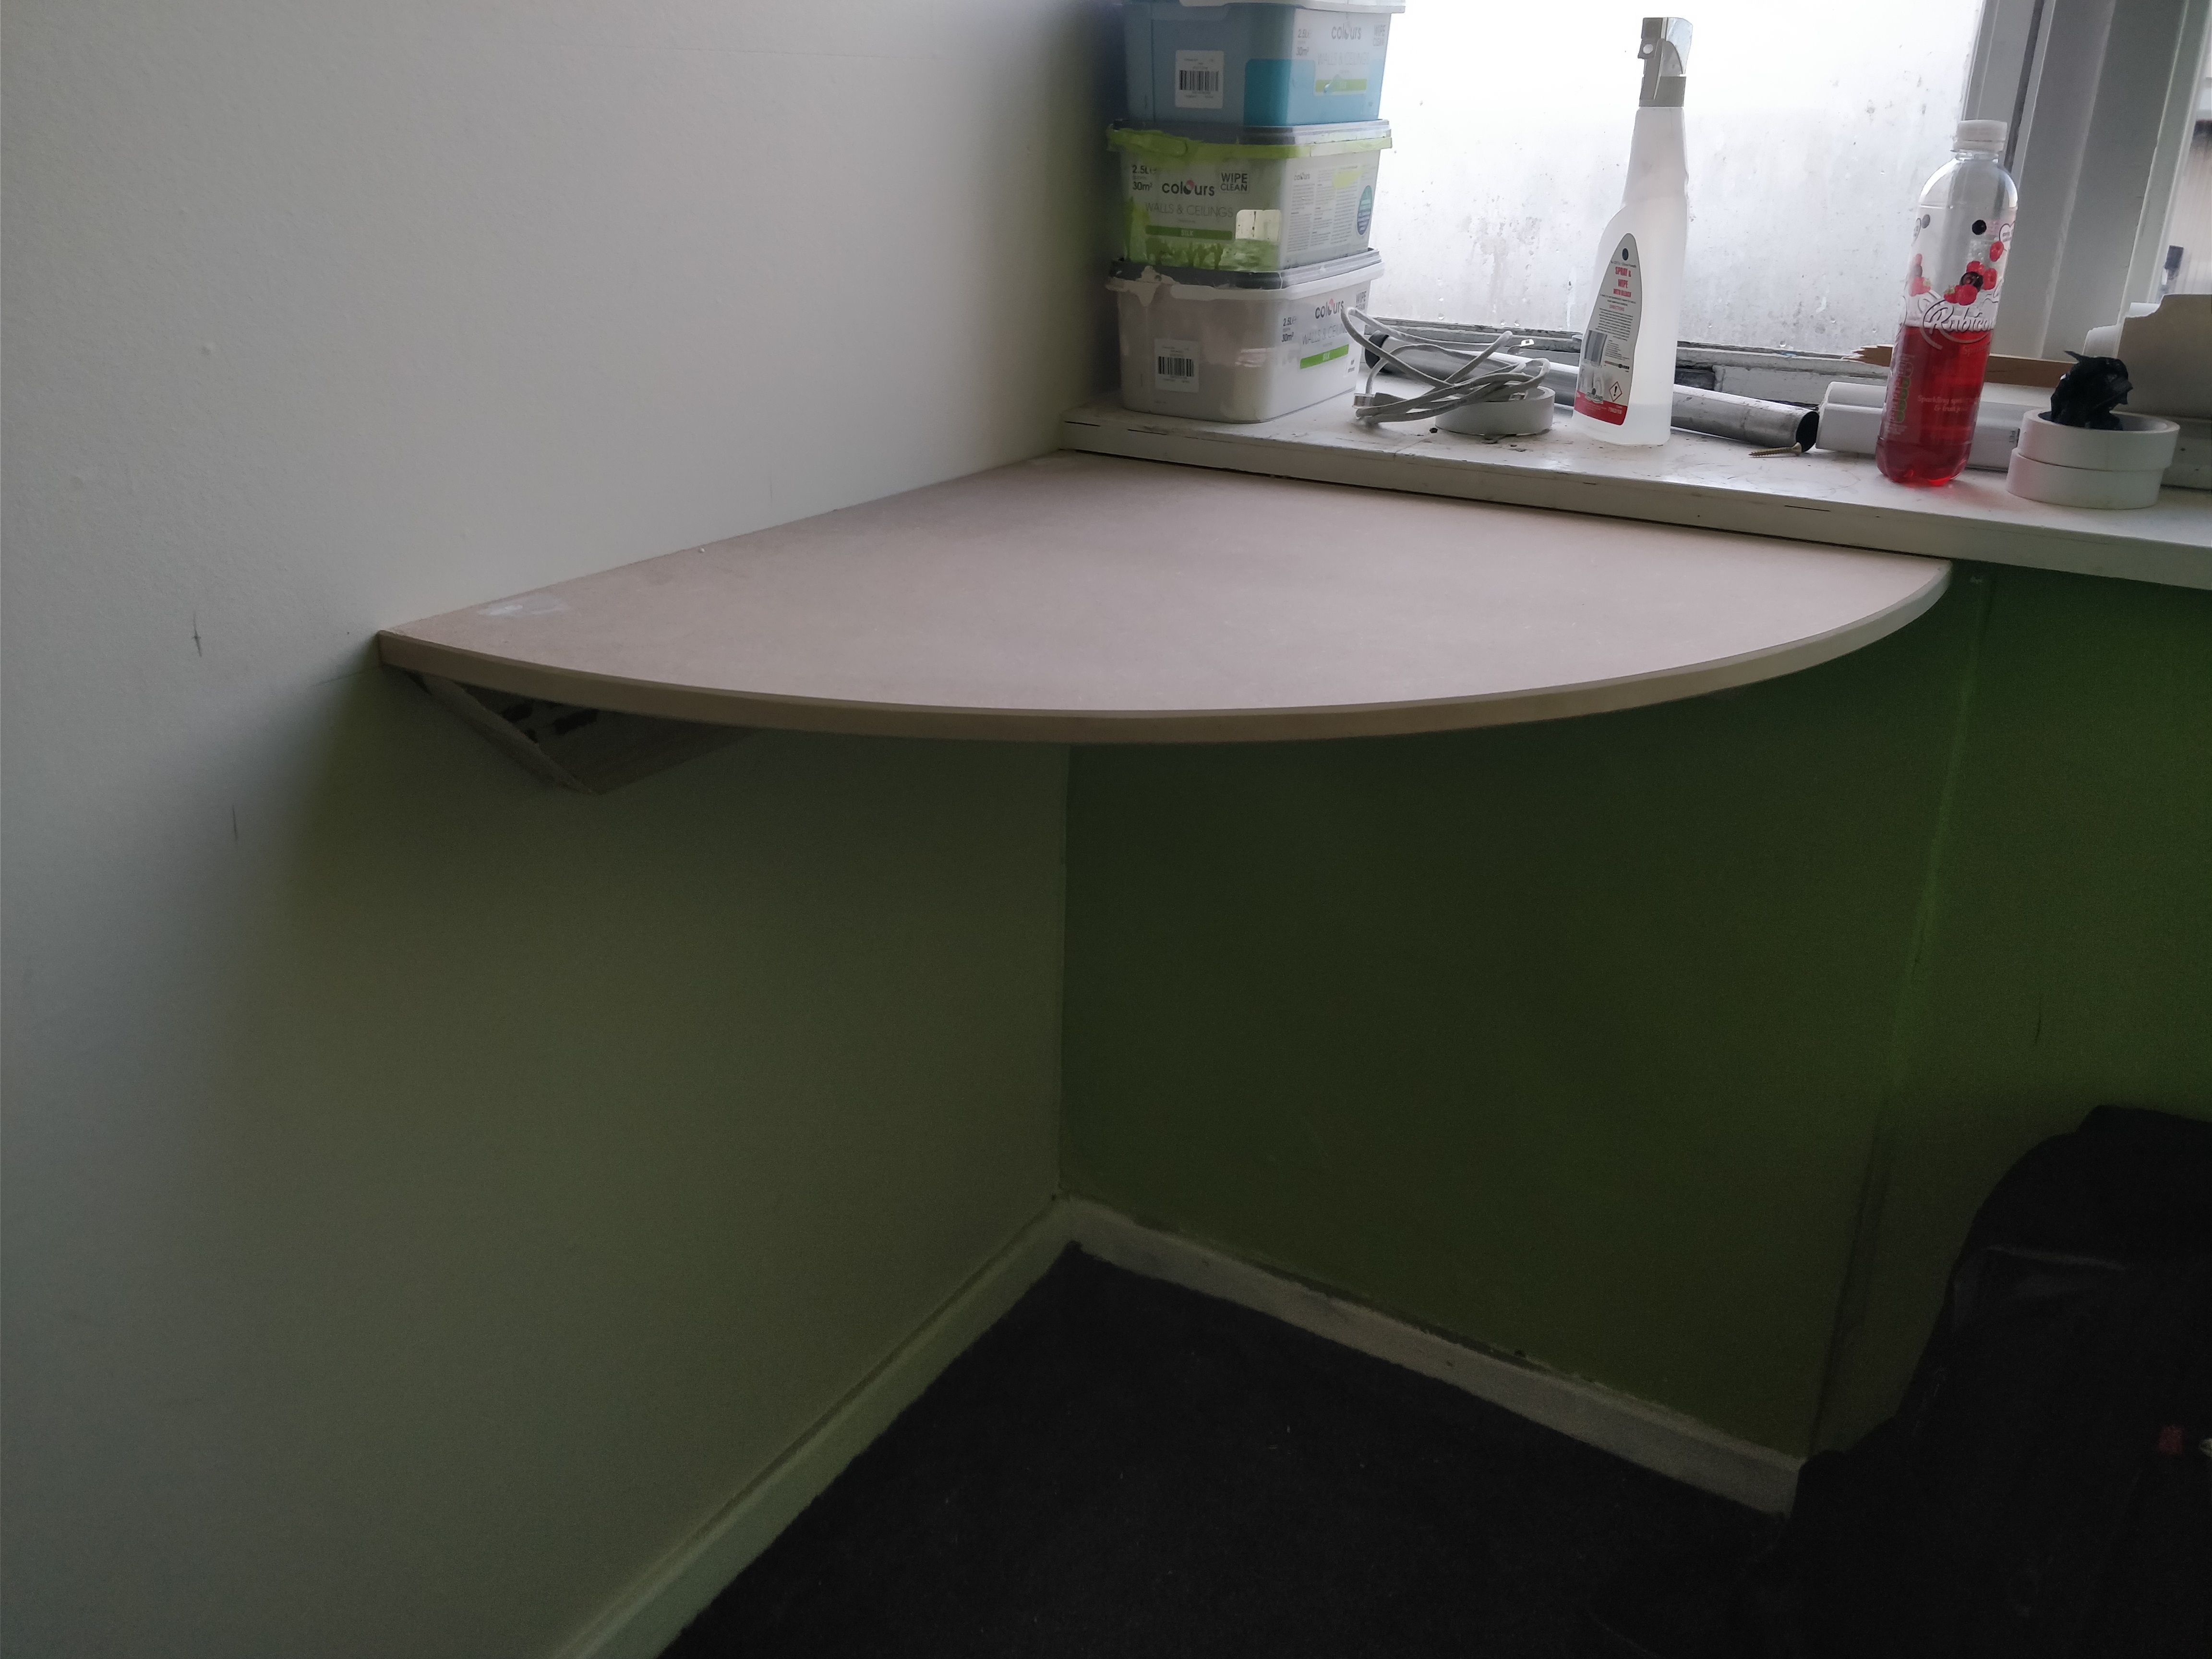
Hard walls
Before attempting any job that requires wall fixings, it makes sense to work out what kind of wall you are going to be drilling into. We were working with one wall that was timber (studs and drywall) and one wall that was brick.
Masonry drill bit bought from the shop and all other materials ready to go, we were ready to tear into it.
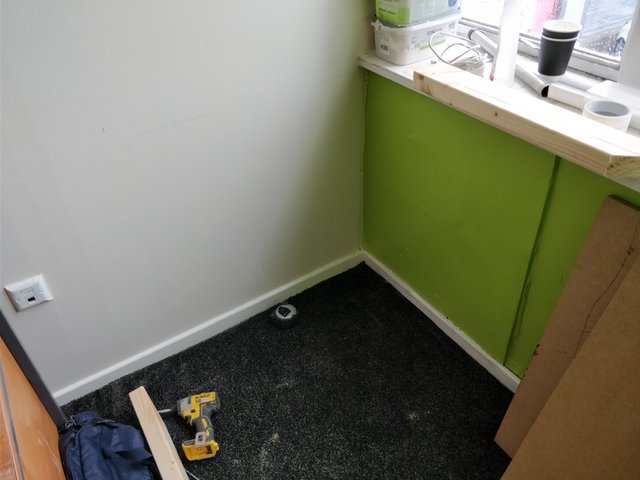
To start with, I needed to decide where the shelf was going to finish and how I was going to support the weight above. This didn't need to much debate since there weren't many options to go with.
In the end, I decided to screw pine supports to the wall and the right-hand side of the shelf was going to be wedged between the window sill and the pine to give further support.
With my pine supports cut and 45-degree angles cut on the ends (a little bit of finesse for the underside), I was ready to get them screwed into the wall.
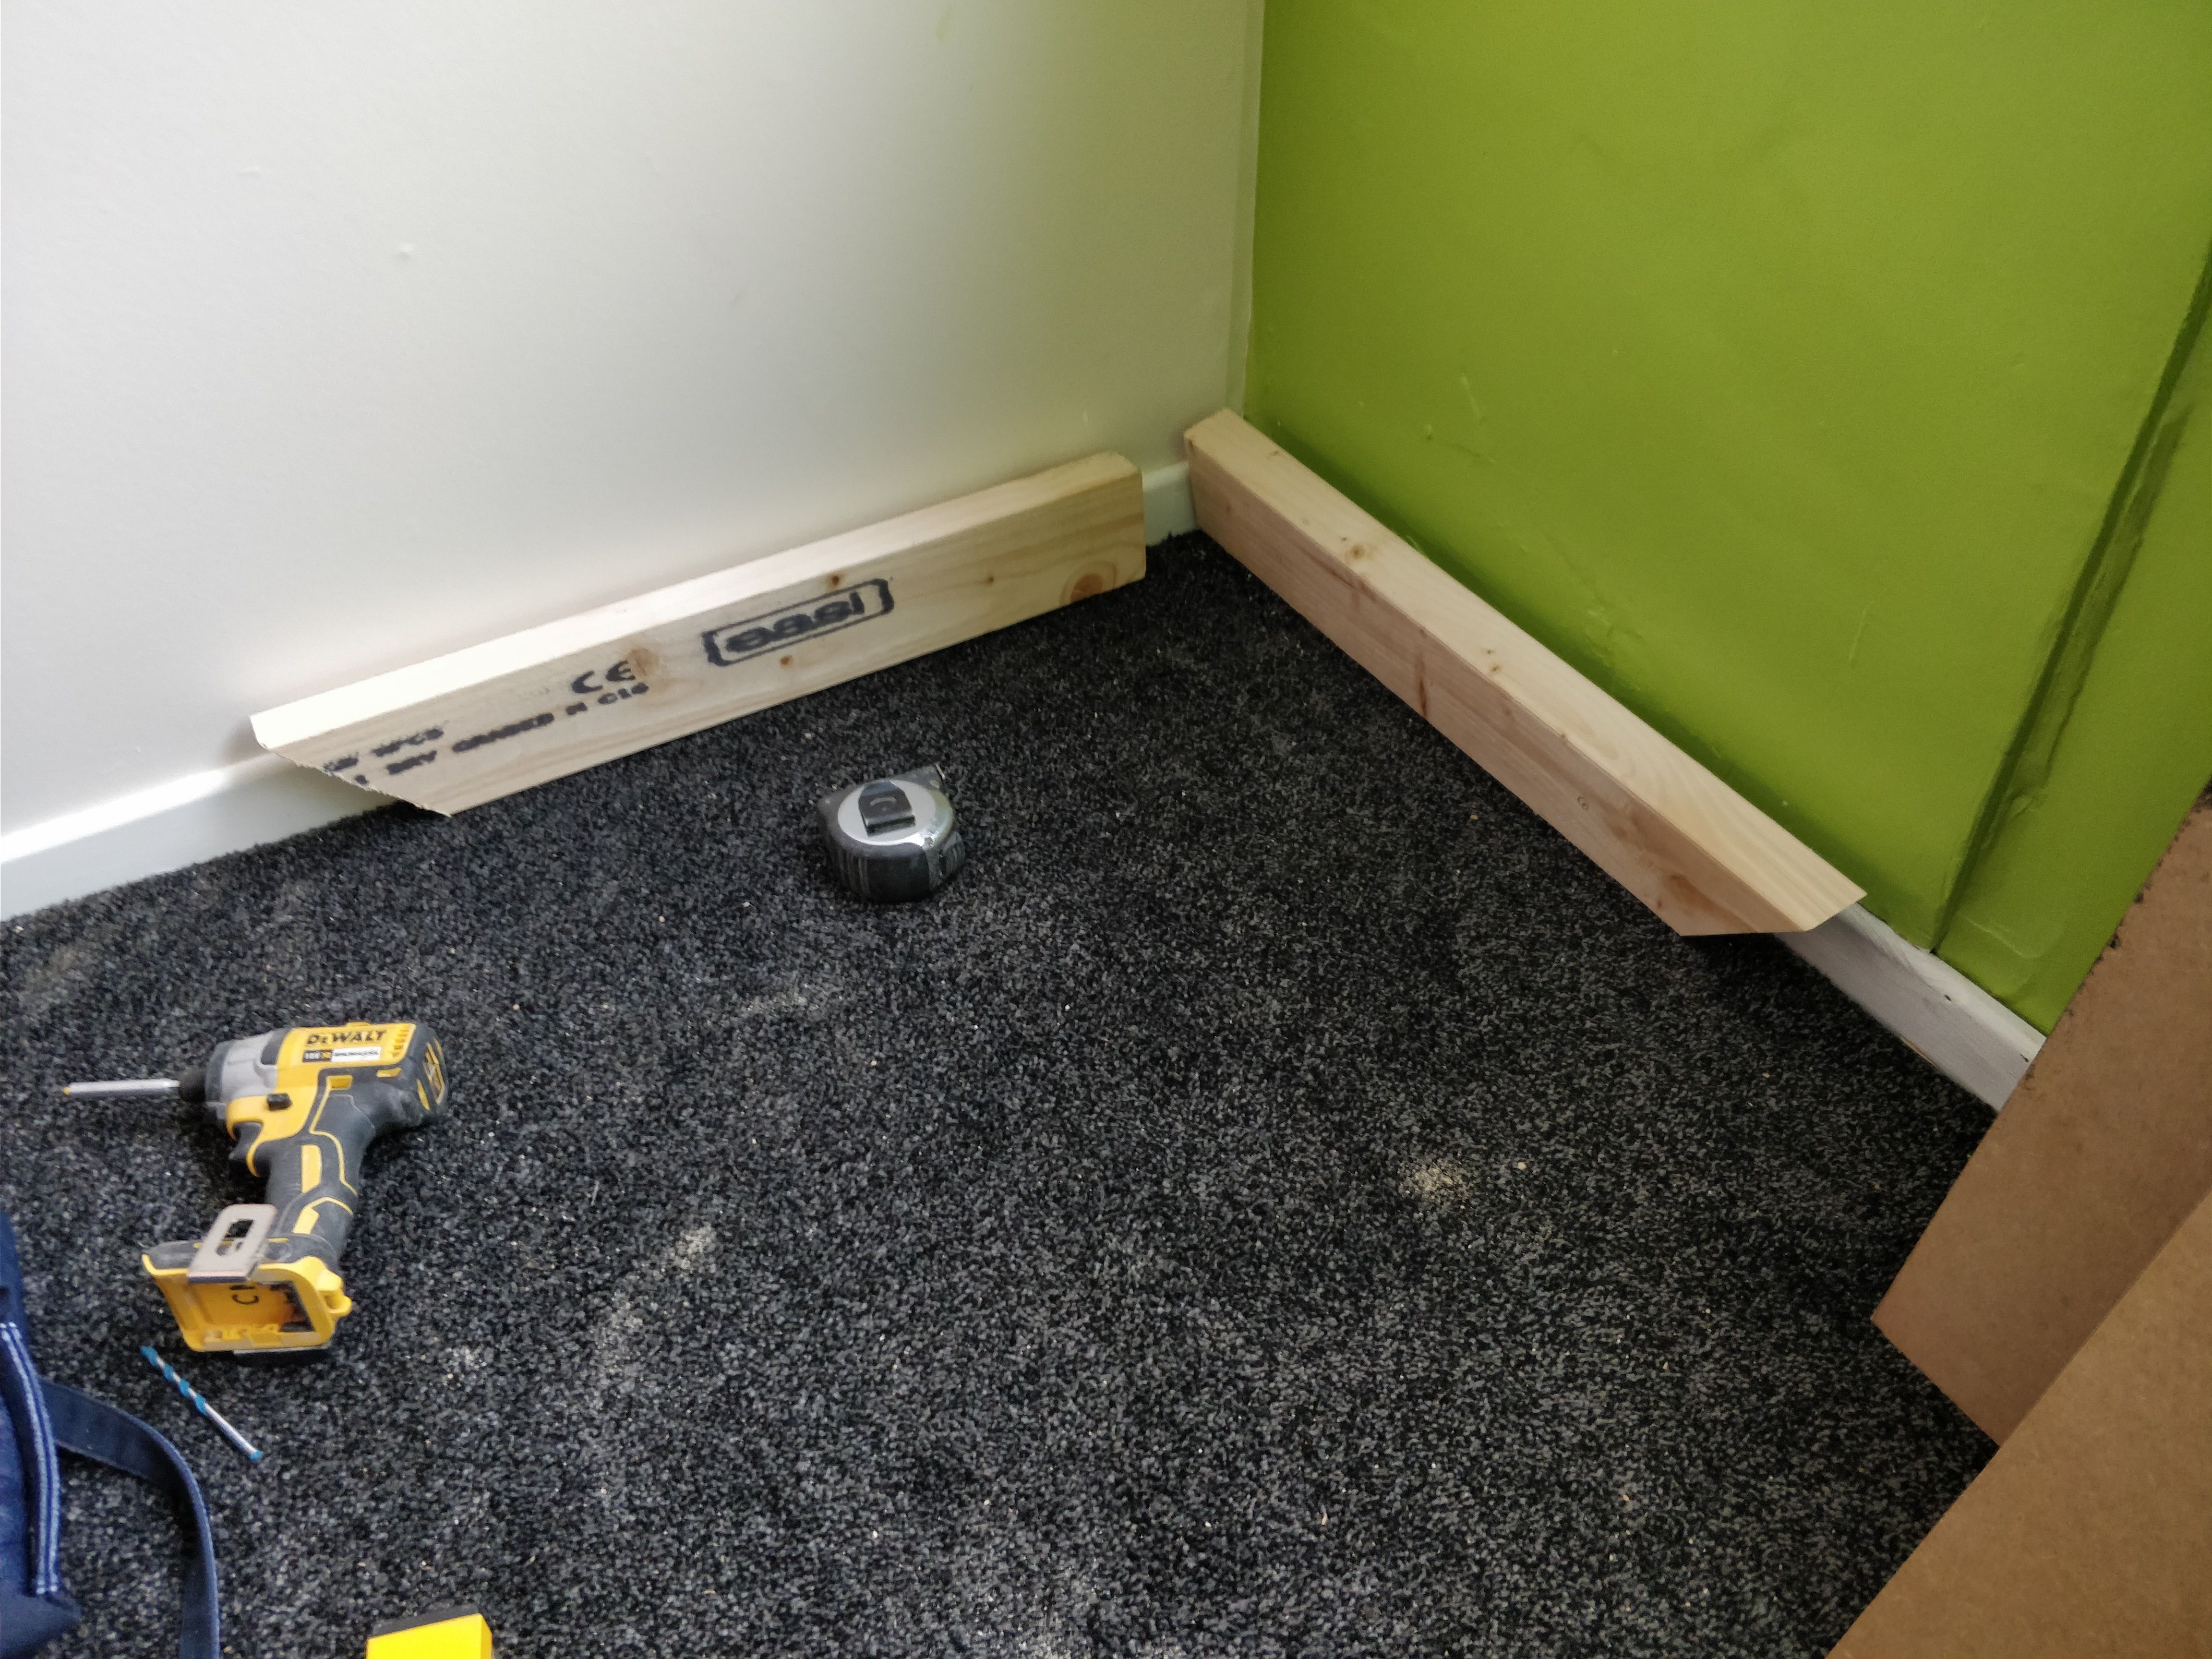
I measured down 18mm (the thickness of my sheet material) from the window sill and I marked a level line around the corner so that I can hold my pine up to the line and fix.
I find it easier to drill clearance holes in my pine first, then hold it up to the line and drill through to get the exact holes for fixing.
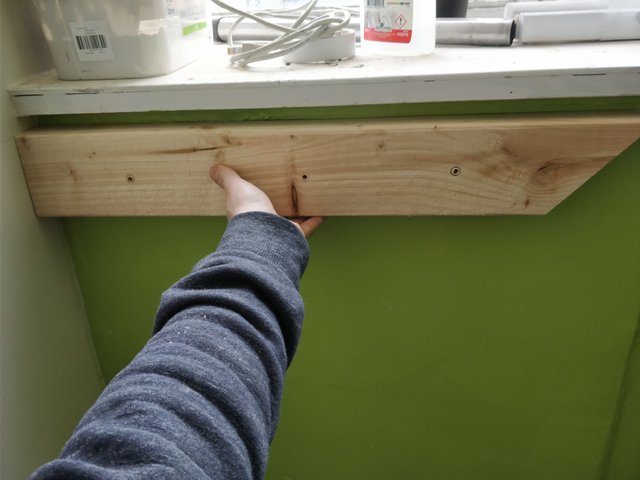
Holes slightly marked, masonry drill bit loaded up into the gun, flick to the hammer drill setting on my drill and away I go.
Holes drilled and plastic plugs hammered into the wall, I was quickly able to fix the supports tight to the brick. The left hand side in the drywall wasn't too much hassle, I tapped on the wall to find out where the studs were, then I screwed straight through my supports into them to get a solid catch. Ready for the next step.
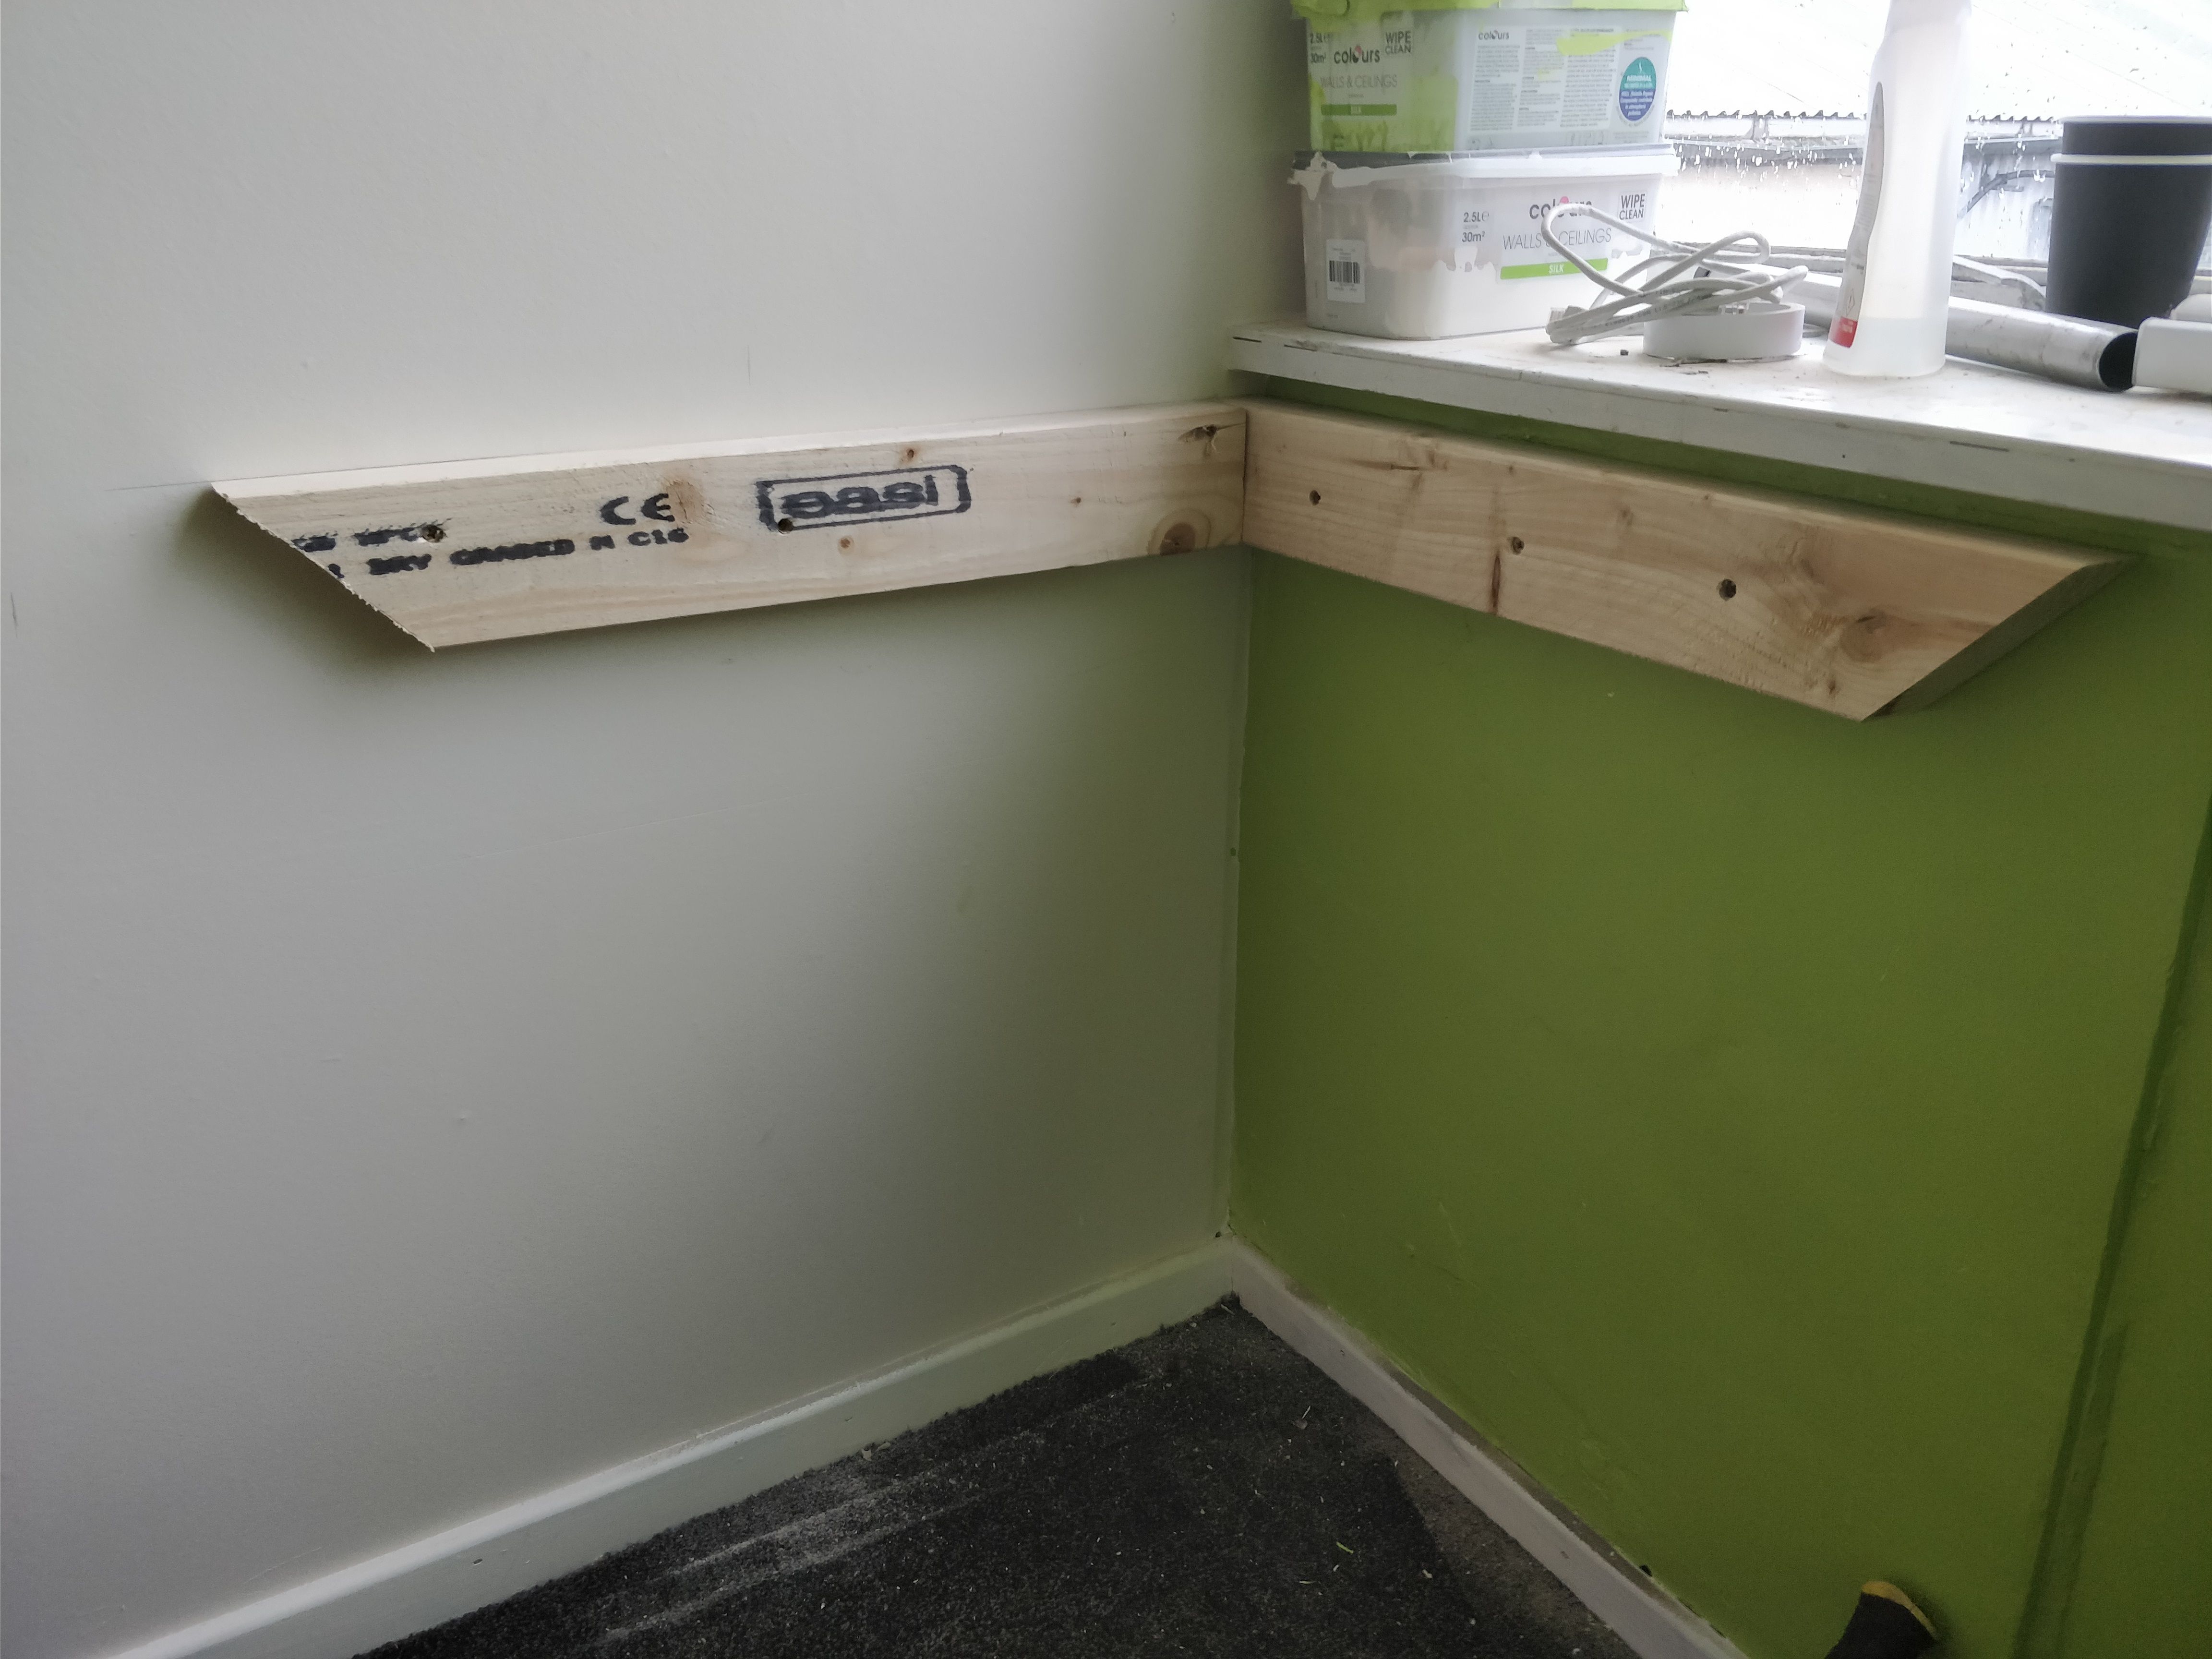
Shelf time!
Pine supports firmly in place and sitting level, it was now time to get the MDF offcut sat in place and shaped for fitting.
I had already decided the rough size for the radius before I had cut the pine supports, quite obviously. You don't want to be throwing up your sheet material and realizing you are 10mm to short. Especially when it's an offcut, you don't want to be buying a brand new sheet for something as small as this.
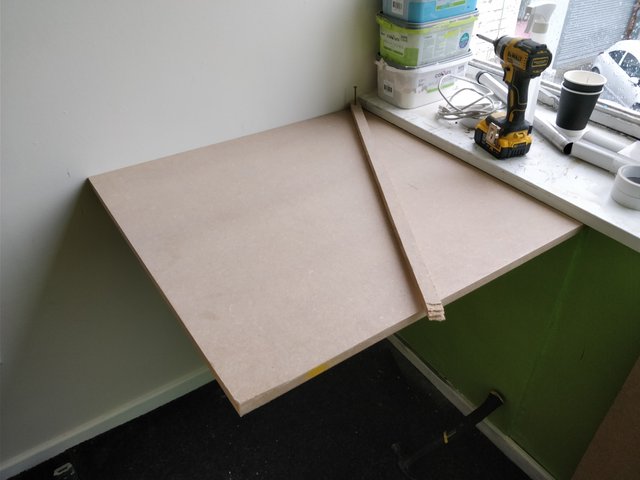
As you can see, I've sat the MDF in place and I cut a small rip of MDF to use as a trammel for marking my radius.
In the end closest to the wall, I drilled a small clearance hole and screwed the end down into the sheet. A clearance hole is necessary so that the rip doesn't get stuck to the sheet and you can't swing it.
As you can see, I got far to into the zone yet again and forgot to take pictures of the process. I can only try and describe it the best I can.
Draw your radius.
Cut on the line with a jigsaw.
Tidy up with a block plane and chamfer if needed.
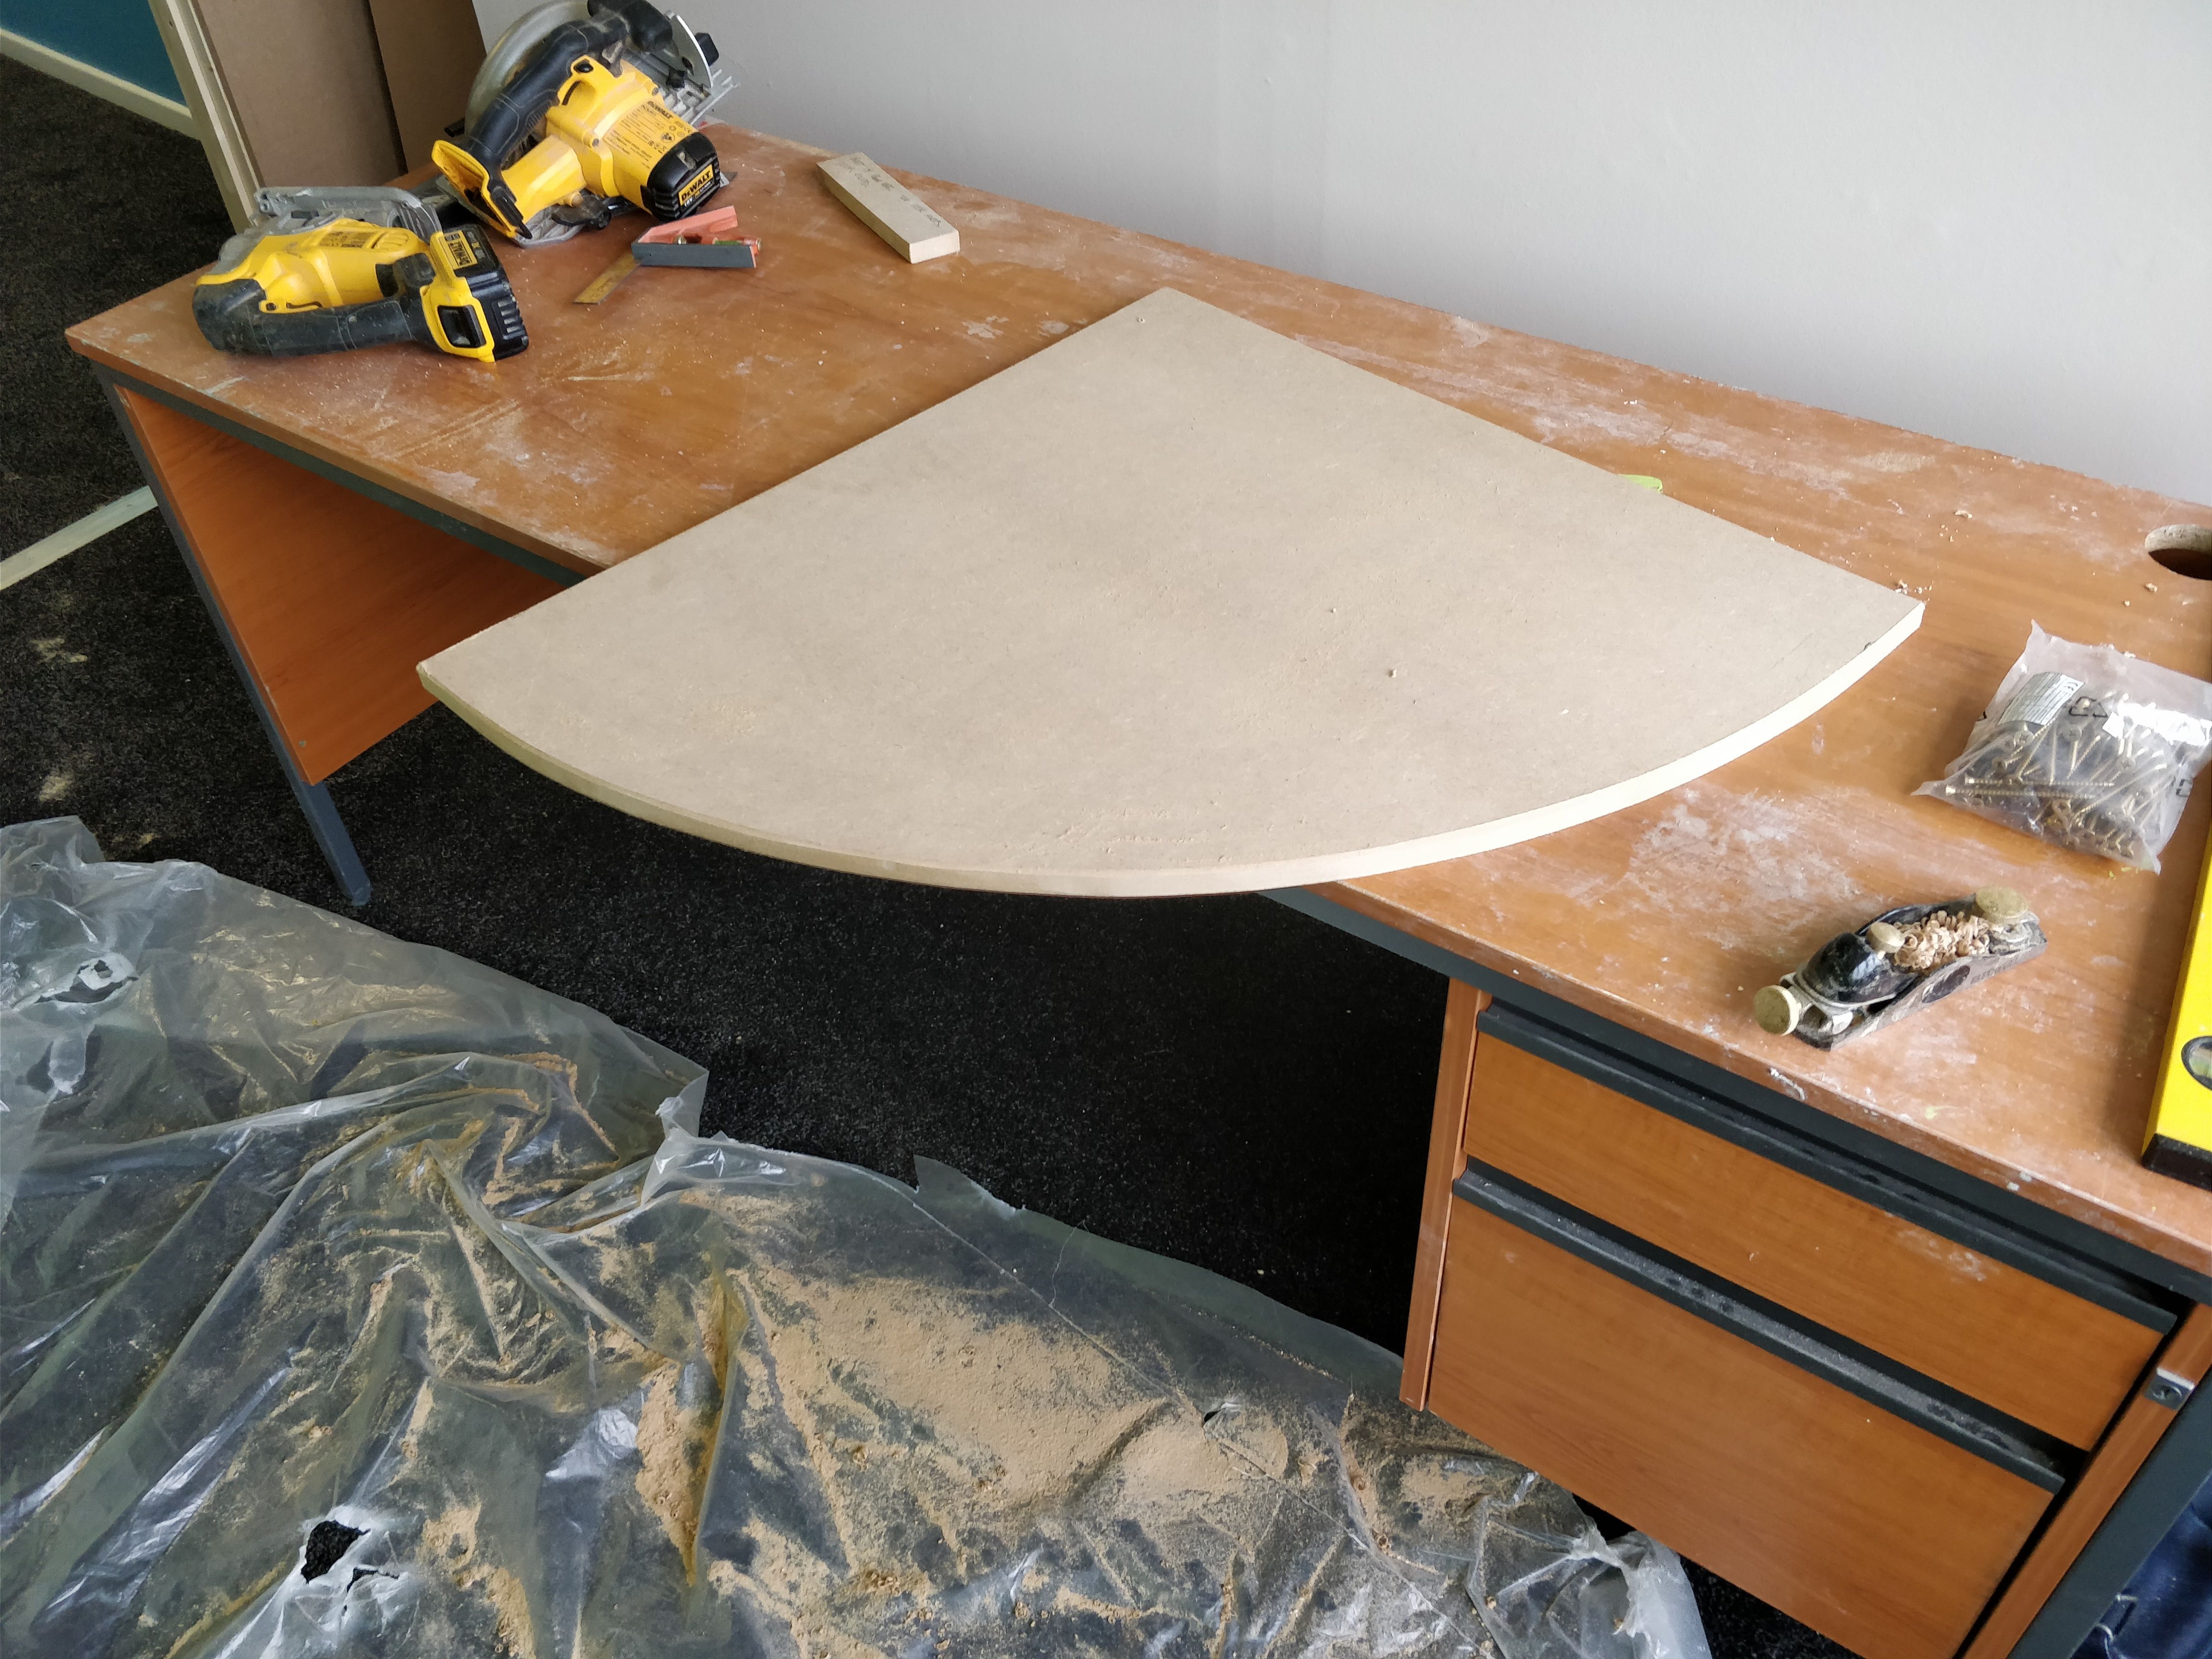
Glory shot!
Since the shelf is sitting underneath the window sill, and there isn't a massive amount of weight sitting on the shelf, I knew that I didn't have to get many screws into the pine support on the window side.
I predrilled on the wall side and sat the newly shaped shelf in place ready for fixing.
Three screws later and a little bit of poly filler to cover the holes and bingo. Job done and dusted!

Looks good mate. I like using a shop made trammel it works so well and is so simple to make.
Thanks bud. Super easy and quick, got to make do with what you have around you!
Congratulations! This post has been chosen as one of the daily Whistle Stops for The STEEM Engine!
You can see your post's place along the track here: The Daily Whistle Stops, Issue # 56 (2/25/18)
The STEEM Engine is an initiative dedicated to promoting meaningful engagement across Steemit. Find out more about us and join us today!