Create your site with WordPress #5 - Customization: Themes
You want to create a site with Wordpress but you don't know how to do it? Thanks to this series of tutorials you will learn step by step how to create a site, with as an example mine that I will build at the same time as you.
Note : Sorry, this is a translation of my French tutorial, so images are in French.
Today we will see how to install a theme, use it and customize it.
Install a theme
Here we will see in detail the installation of a theme.
Choose your theme
You will have guessed it, before installing a theme, you have to choose it ^^.
Indeed, there are tons, but then tons of themes! It is sometimes impossible to decide!
That's why I have prepared a small list of my favorite themes for you ^^.
My favorite themes
- Nisarg
- BlueStreet
- Hestia
- Codilight Lite
- Dublin
Note that you can find a theme that suits you even better on WordPress (see next section)
Be careful:
- To the functionalities
- Compatibility (with extensions)
- Style (subjective)
Here, before going any further; I'll perhaps show you how to set up a theme, right?
Install a theme
To install a theme, you must first go to Appearance > Themes:
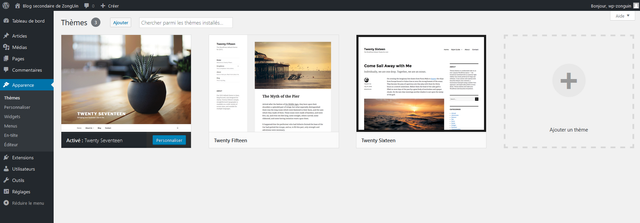
This takes you to the themes installed on your WordPress. The themes already present are those provided by default.
To add a theme, click on the last box: Add a theme. You will arrive on a page similar to this one:
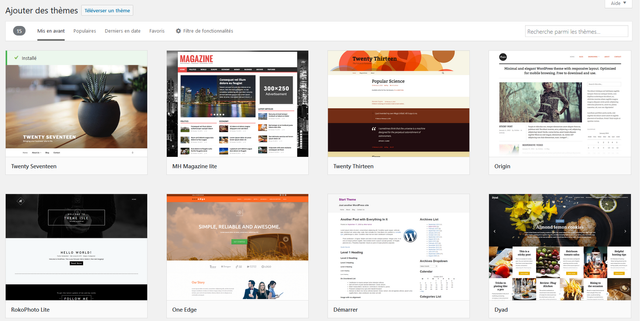
Now look at the menu at the top:
By default, we are in the Forward category, these are themes chosen by WordPress and, as the name indicates, put forward.
But I advise you instead to go to the popular category, that's where the best themes are placed.

In the menu, you can also search for a theme by its name (right).
Now, choose your theme. Here, I took the example of the Nisarg theme.
Once chosen, place your mouse over its box:
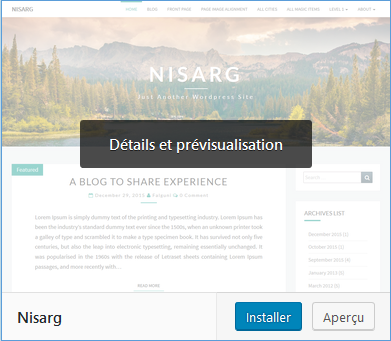
This is how the Details and Preview menu will appear.
You can install the theme without going through this step, but it is preferable to choose its theme.
Click on it. You will find yourself in an interface similar to this one:
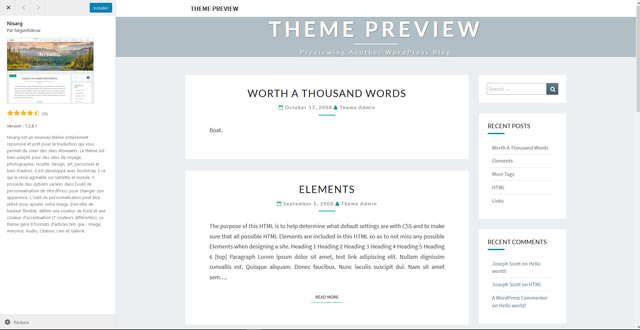
To the left, all the details on the theme:
- its author
- its rating (on 5 stars)
- Its version
- Its name ^^
- Its description
On the right is the preview: An example of a site using the theme.
This gives you a general idea of the theme, but don't rely entirely on it because it is without images. Now, I can assure you that the Nisarg theme is really beautiful with pictures.
If you are convinced and want to use this theme, click on Install:
Once clicked, the theme will be added to the gallery of your themes. But it's not activated. If you want to activate it, click on the button Activate:
Here you are, your theme and installed and activated! You can now go to your site. You will see that the interface has radically changed:
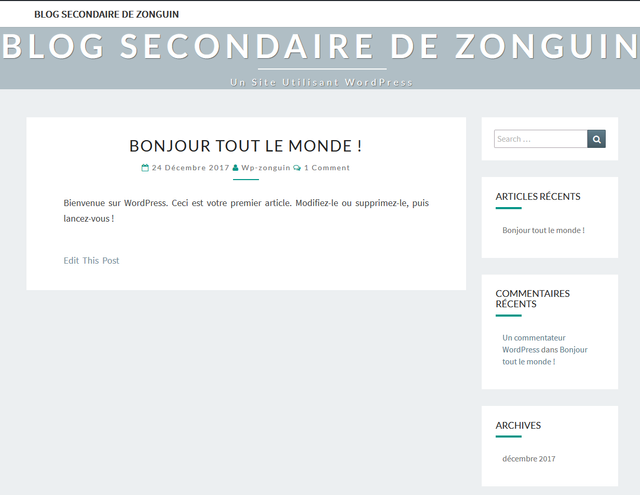
If you don't like the theme, you can always choose another one.
Personalize your theme
Here I show you the example of the Nisarg theme. Depending on the theme, the options presented may change slightly, but the changes are minimal. If you have any questions, ask them as comments. I would be happy to answer you; -)
The theme, installed, will look like this in the gallery (Appearance > Themes):
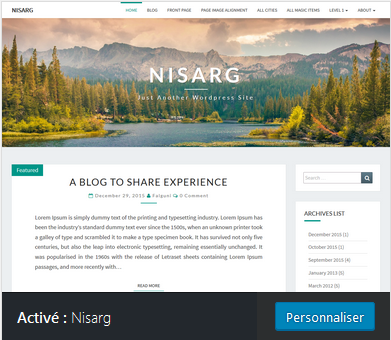
Click Customize.
This gives you the customization menu on the left and the results preview on the right.
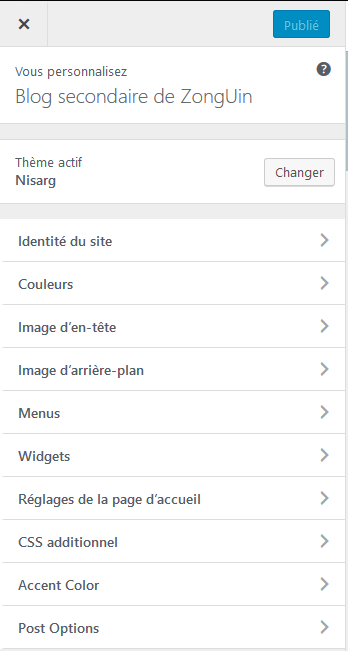
First go to the menu Identity of the site:
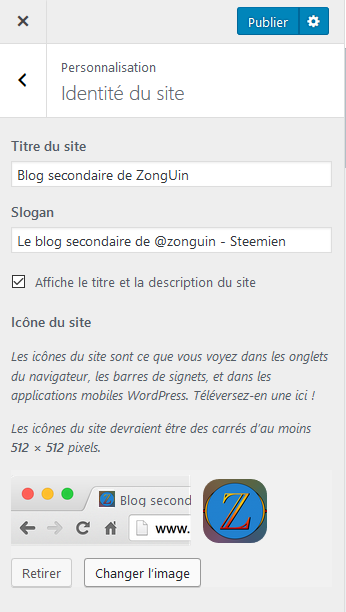
- In Title of the site, put the title of the site.
- In Slogan, add the slogan/subtitle of your site.
- You can check the Display title[...] or not check the box to display or not the title and slogan on the home page. I advise you to leave the option enabled.
- Here you can add the site icon. To do so, click on Add image. This will define the site icon (which you see in the tab bar) and the application icon (example on iOS, when you register a site on the home page,...)
You can see the result in real time on the right-hand side of the screen. To save, click Publish, otherwise continue customizing by clicking the arrow next to the menu name.
Then go to the menu Colors:
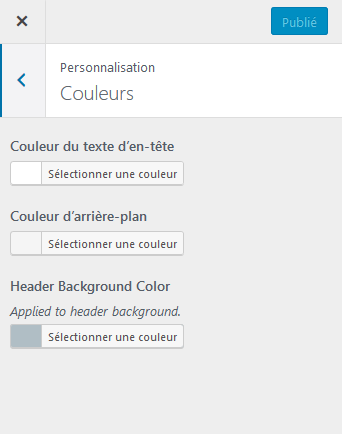
Here you can change the main colors of the theme.
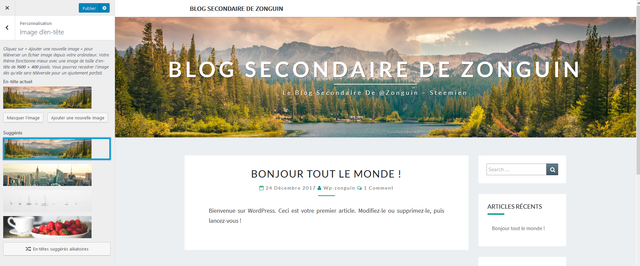
Let's go to the following menu: Header image.
You can select the image at the top of your blog. The recommended size is 1600x400 px. I recommend Canva if you want to place a banner on it.
In the menu Background Image, you can choose a background image for your site. Be careful, because finding a good background image is often a daunting task; -).
We'll skip the menu Menu for now, we'll see it in a next tutorial.
Go to the widgets menu. Here you can manage the widgets available on the right side of your page. Click on a widget to see its settings and click on Add Widget to add it. There is a large selection of default widgets.
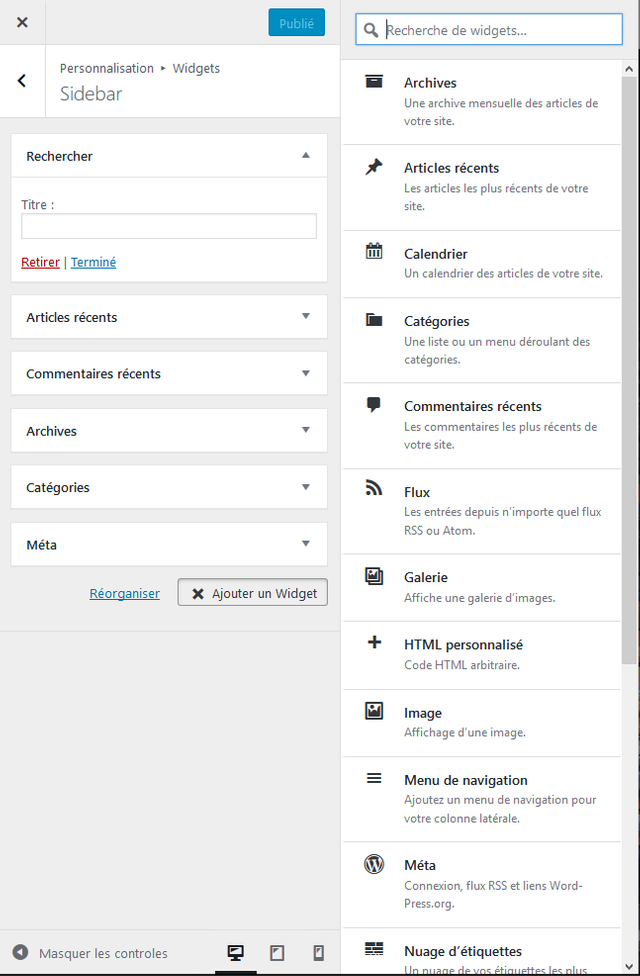
Note that I advise you to delete the Méta widget because it leads to the login page, it is a security risk (we will see how to secure the login page in another tutorial).
Personally, I added a custom html widget with links to my Steemit and Busy blog.
Click here to see the image
The menu Settings on the home page has already been seen in the settings.
The other menus are not very important and some are very complex.
If you liked it, don't hesitate to upvote / comment / stay seeded! ;-)
See you soon!
You have collected your daily Power Up! This post received an upvote worth of 0.65$.

Learn how to Power Up Smart here!
tes fier decrire bien ??? grosse pute ... personne samuse a lire des gens ki ecrive bien ... cest trop long .. et vla le texte pour expliké 3 truk bidon en faire tou un paté .... moi japel ca ralentire les gens
en plus tu casse les couil a tou les francais et tecrit meme pas francais bon a rien
Je traduis mes articles. Ce qui est bizarre c'est que les gens apprécient mes articles sauf toi. Donc si ça te pose un problème regarde pas.
c est toi ki me arcel alor c est a toi de pas regardé mes sujet tu serai pas venue foutre la merde je serai pas la ...
moi jvai taprendre a ecrire ... toi ta pas ete a lecole ca svoi ..... si torai ete a lecole tu serai ke personne lit des texte ecri a la facon des cromagnon on est en 2018 fils de pute hi hi
Tu viens d'où ? Ton éducation est horrible, tu m'accuse de pas savoir écrire alors que toi tu fais que de la mer** et tu fais une faute par mot. Retournes sur Facebook ou je ne sais quoi ici c'est pas pour toi.
Quoi qu'il en soit je ne suis pas sur Steemit pour répondre à des gens comme toi, alors je veux plus entendre parler de toi.
ferme ta gueul enculé de merde tu vien me arcelé ..... maintenent c est a mon tour tu tes bien amusé a pourir mes sujet assume .... toi degage de mes post enculé ... c est pas moi qui est venue te cherché ... tu sait ton ecriture c est de la torture a lire personne lit des ecriture comme ca .... ya que les pd qui ecrivent commen ca ... pour que les gens normeaux ne sinteresse pas a leur connerie ....
lotre y vien pourir mes sujet et mintenent y dit :
alors je veux plus entendre parler de toi.
moi jtai demendé aven enculé d arreté dme cassé les couil et ta continuer fils de chien
Ce que tu fais toi c'est spammer mes articles et dire de fausses informations. Arrêtes steemit, ceka rendra beaucoup de monde heureux.
ferme ta gueul enculé de merde tu vien me arcelé ..... maintenent c est a mon tour tu tes bien amusé a pourir mes sujet assume .... toi degage de mes post enculé ... c est pas moi qui est venue te cherché ... tu sait ton ecriture c est de la torture a lire personne lit des ecriture comme ca .... ya que les pd qui ecrivent commen ca ... pour que les gens normeaux ne sinteresse pas a leur connerie ....
lotre y vien pourir mes sujet et mintenent y dit :
alors je veux plus entendre parler de toi.
moi jtai demendé aven enculé d arreté dme cassé les couil et ta continuer fils de chien