Bow Ties: My First Woodworking/DIY Post
Some time ago, I came across a Buzzfeed article with some click-baity title like “10 things you need to be a real man!!!”
I’m not sure why I even opened it, but one of the things on the list featured this company that had started making wood bow ties. They looked gorgeous and definitely well made, but carried a price tag of $60+. I had very little woodworking experience at the time (even less than I currently do, if you can believe that), but I looked at those beautiful bow ties and told myself that I would make my own.
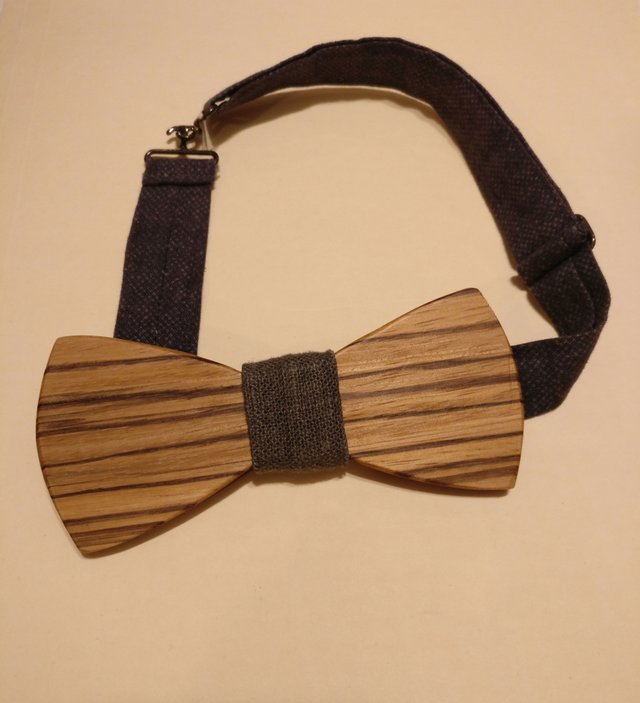
So I did!
Here is my process, from start to finish.
Taking Inventory
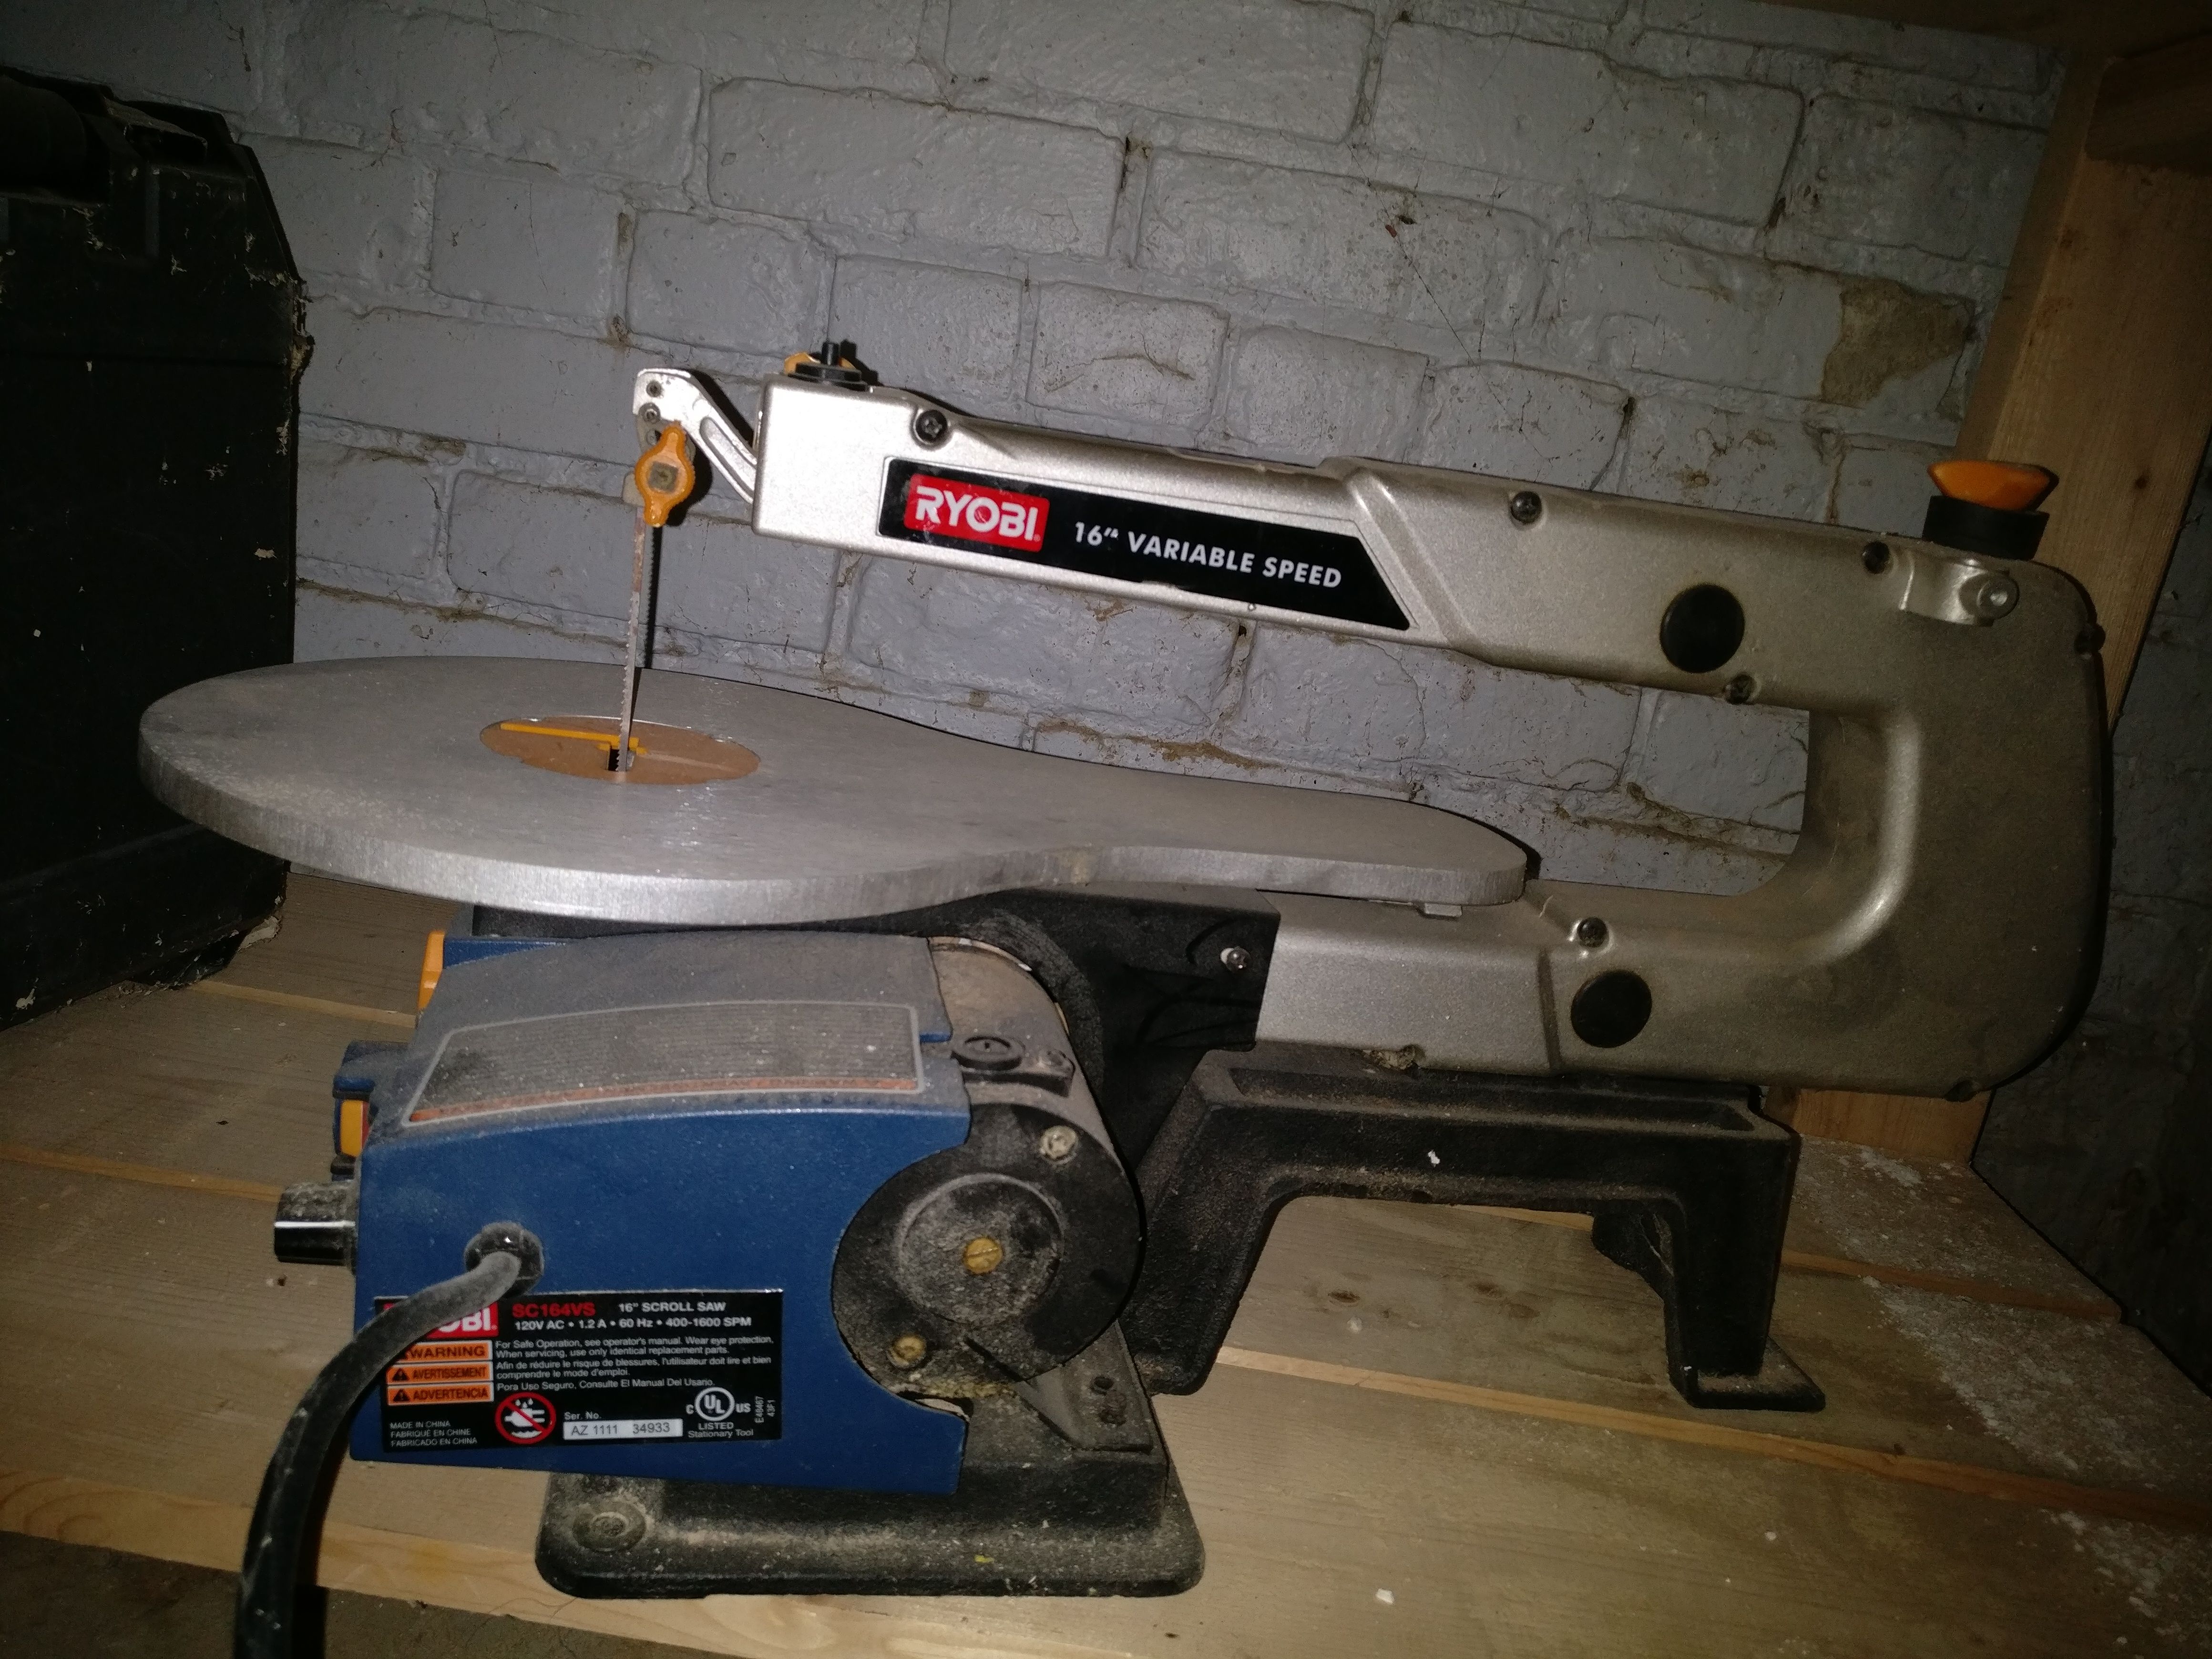
I had just started out with woodworking and did not have a lot of tools. I think I had a drill , a random orbital sander, and a miter saw that I was borrowing from my father-in-law (and a couple of basic hand tools). I also did not have a lot of money to go and buy whatever tool a job called for, but I knew right away that I was going to need something.
A scroll saw seemed like the perfect tool. I started to peruse Craigslist until I found a decent scroll saw. I’m pretty happy with this little fella.
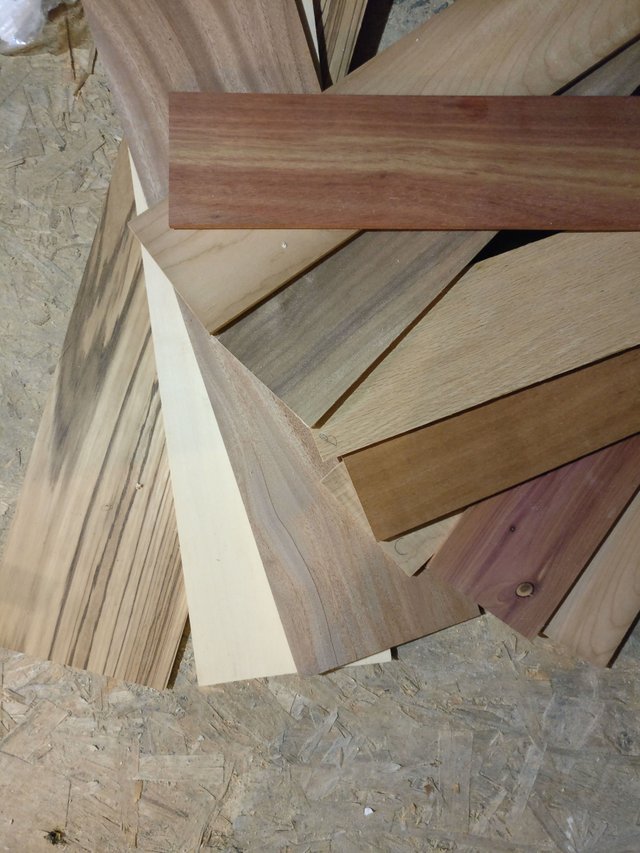
Now, I knew I wanted to try my hand at a variety of woods, but I had no experience buying anything except what they stock at big box stores. I was happy to find this company http://www.ocoochhardwoods.com/ that sells all kinds of woods in different thicknesses. This was important because I did not (and still don’t) have a planer.
I ended up buying some: walnut, zebrawood, purple heart, bloodwood, mahogany, cherry, maple, red ceder, and aspen in 1/4” thickness. The sheets were 4-6" wide and 24" long.
As this point, I pretty much had everything I needed.
Design
I still had a copy of AutoCad on my laptop from my one year in architectural school (still paying that debt off), so I used that to whip up a few different designs. I wasn't quite sure at first what shape I would like the best, and that matters. After all, unlike a regular bow tie, you can't really adjust the shape of these ones.
After settling on a few, I printed them out and glued the paper onto some thick cardstock to cut out the templates.
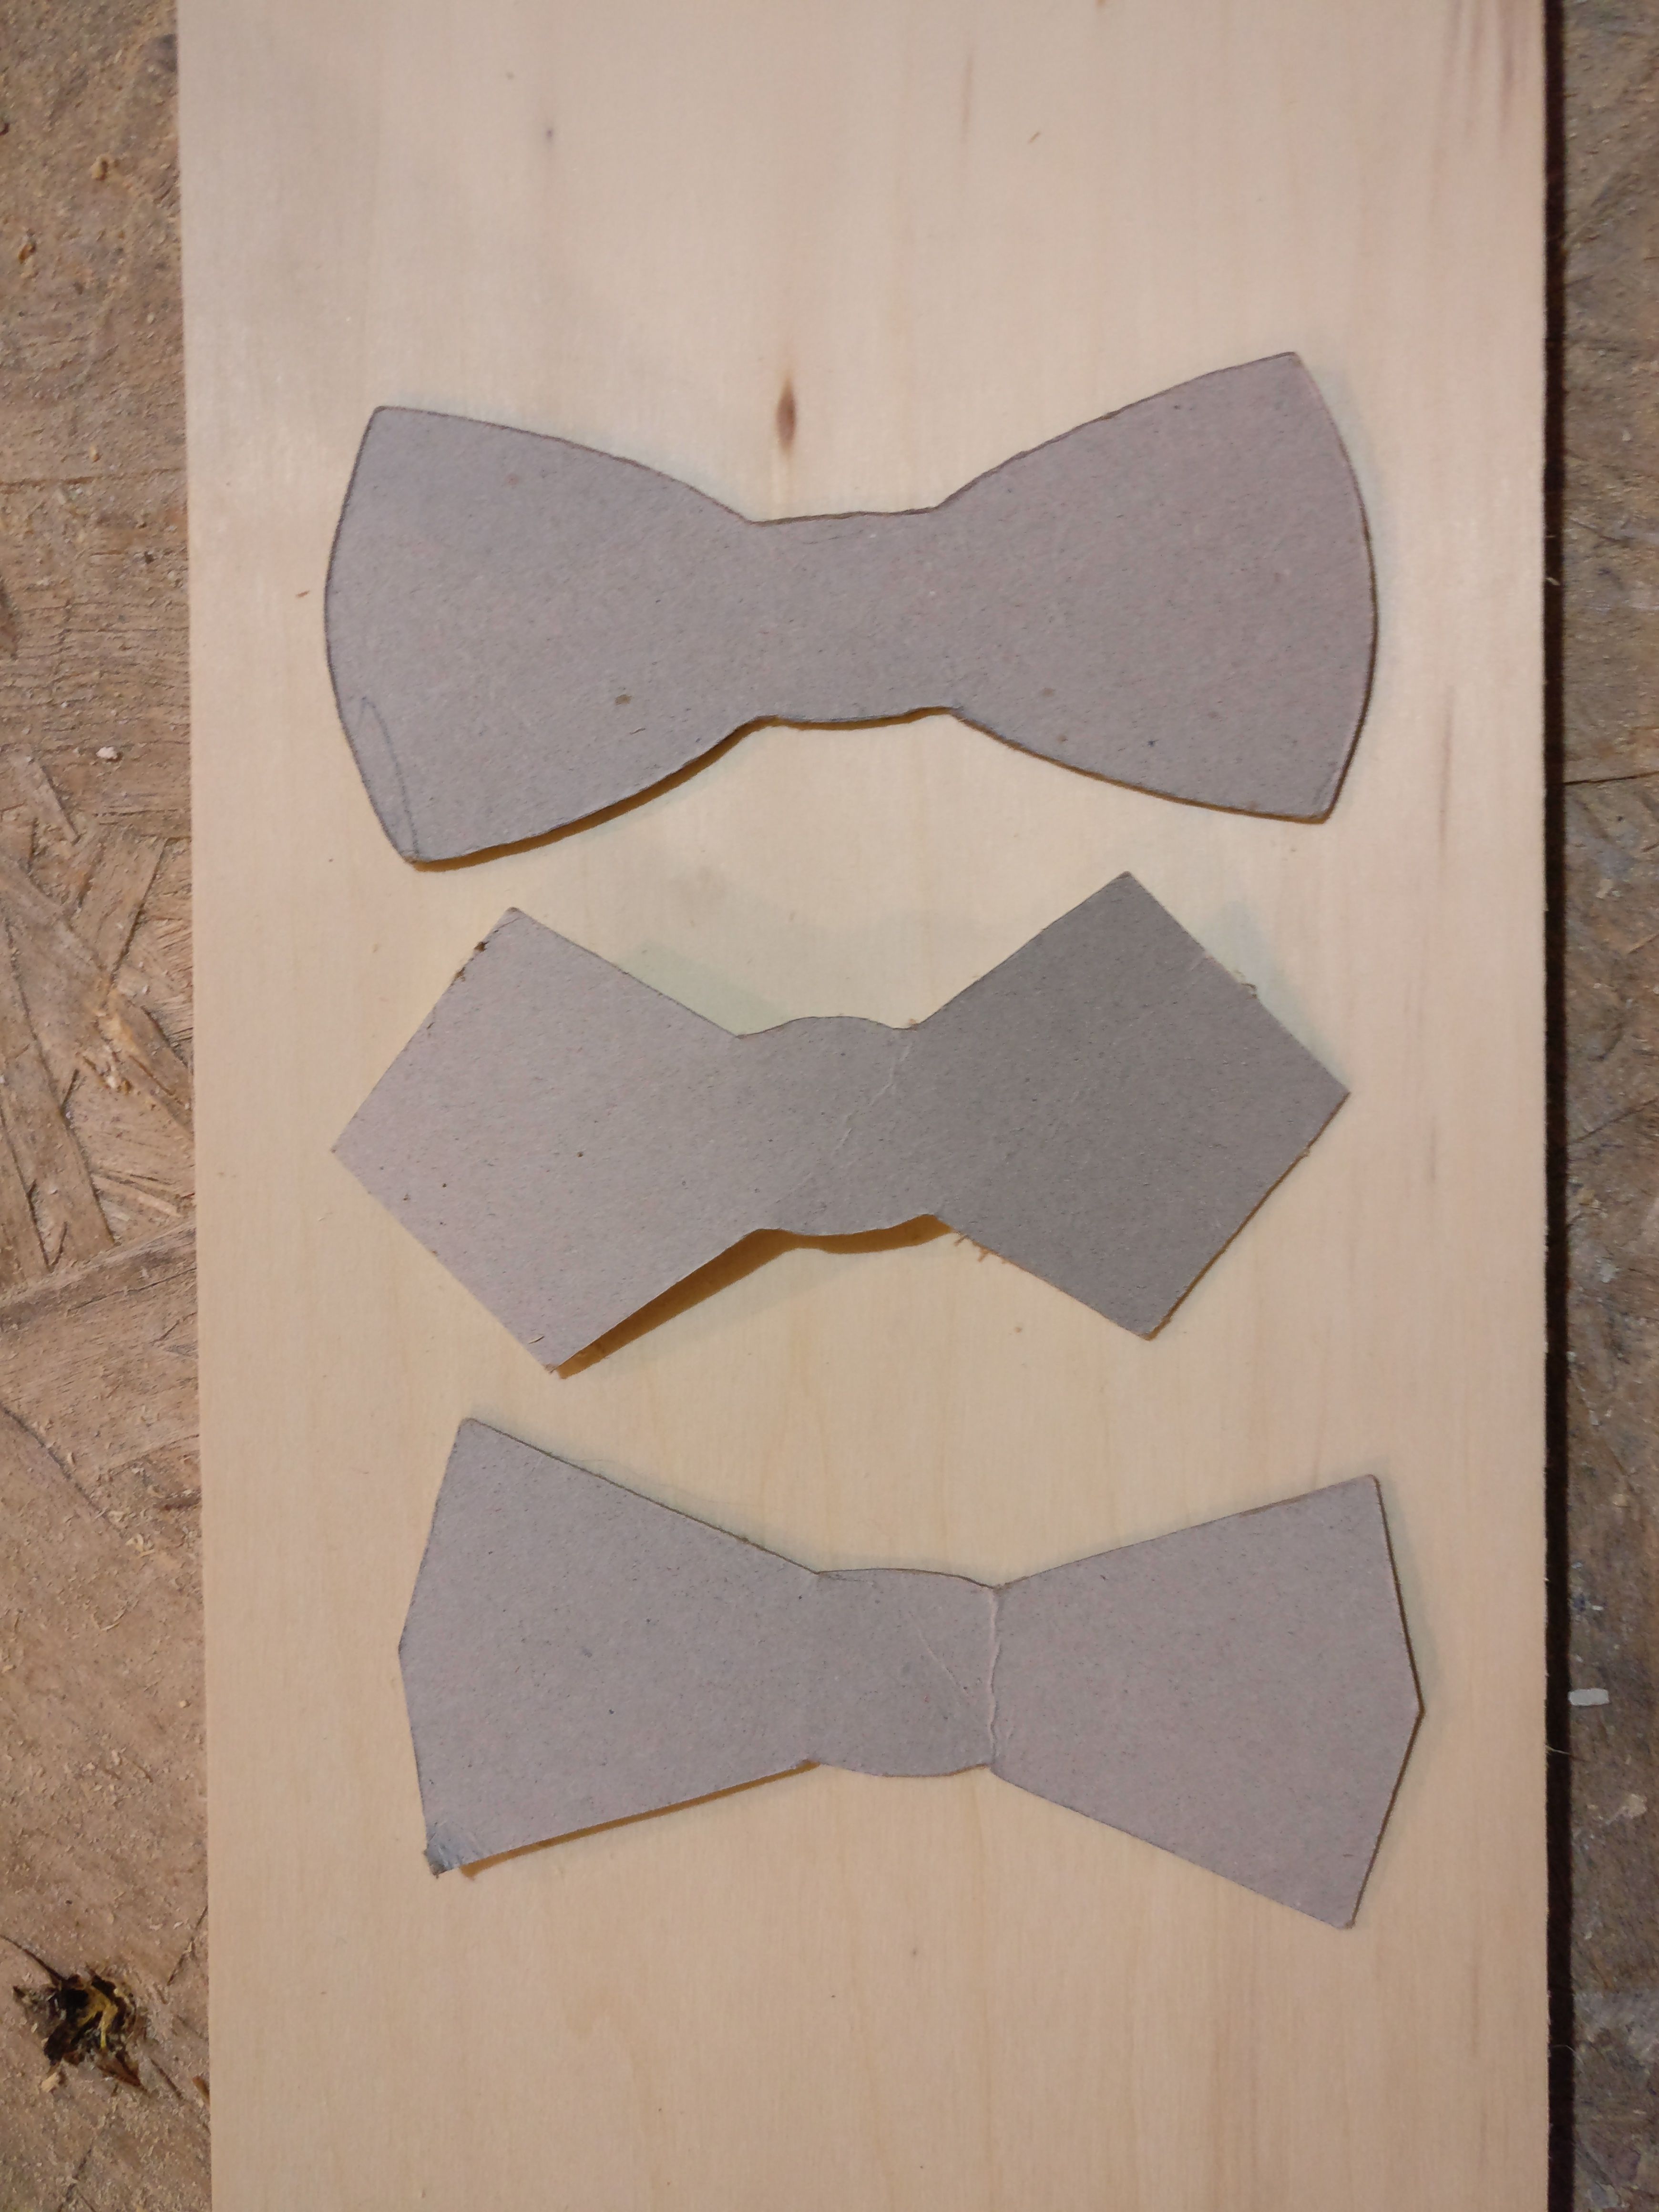
The top design has become my favorite.
Working the Wood
I traced the templates onto the wood and cut them out with the scroll saw.
Now this is the first time I had ever used a scroll saw (I also had not used a bandsaw or jigsaw at this point), so it took some getting used to before I could cut one out that wasn’t gouged or in need of a lot of clean up. But once I got going, it only took a couple minutes to cut one out.
Next, I’d sand the edges, adding a slight round, usually with an ROS, sometimes by hand.
The Finish
Because this was going to be right up under my nose, I wanted something natural and not very fumy, but because it was going to be rubbing against my clothes, I didn’t want something that would rub off.
I landed on 100% pure tung oil from these fine folks: https://www.realmilkpaint.com/shop/oils/pure-tung-chinawood/ This stuff is great and the company is superb. I was upset to learn that most cans labeled tung oil in the big box stores are a mixture of a bunch of stuff. This stuff is the real deal. And they also sell a natural citrus solvent that helps the oil penetrate the wood and is a real treat to work with.
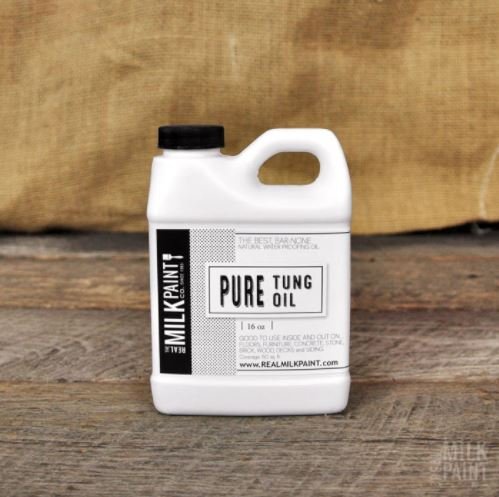
I applied two coats by hand with a rag and wiped off any excess. You may have to do another wipe off 24-48 hours after applying the last coat to make sure there isn’t any residue.
The Strap
Well now I had a nice looking piece of wood, but if I was going to claim to have a bow tie, I would need to make a strap. I wanted something of high quality that clasped and was adjustable.
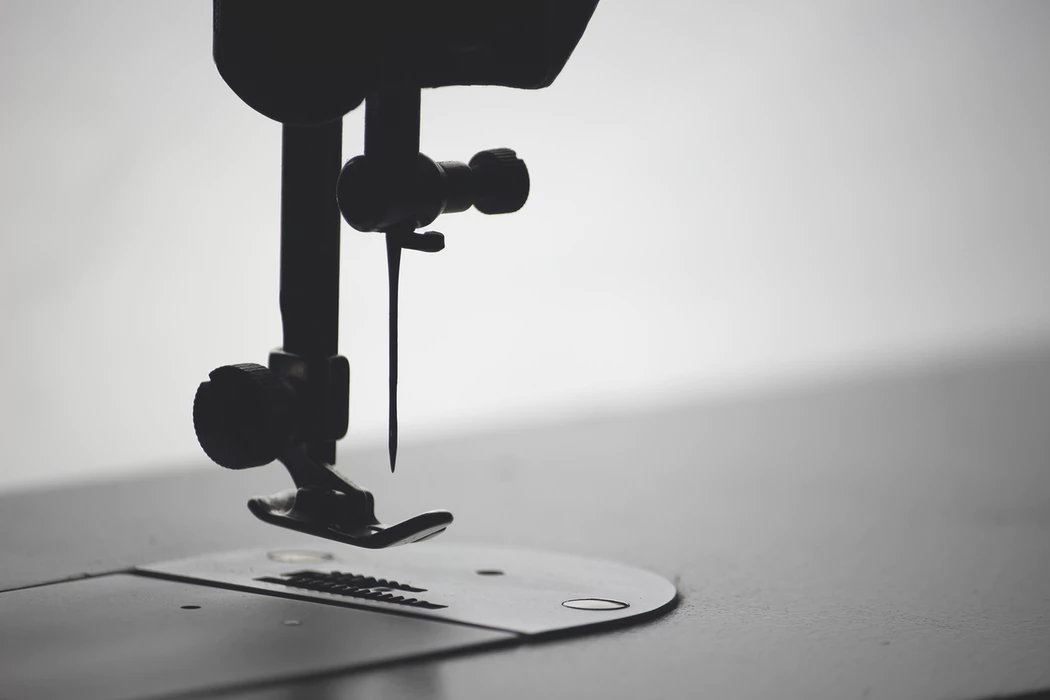
Luckily my wife had recently asked for a sewing machine for Christmas, and I was feeling frisky enough to learn a new skill. I've definitely used it more than she has...
I picked out a variety of materials from Joann’s. Even if the strap would be mostly covered, I still wanted it to shine. Plus, the part that goes around the center of the wood needs to look nice.
Creating the center piece is easy enough. You want to create it as a tube so that there are no exposed ends from the fabric. I cut a little square/rectangle (roughly 2” x 2”), fold it in half with the "good side" on the inside, and sew a line where the two edges meet (that's one line, just to clarify). Then, you flip it inside out so that the seam is now on the inside.
The strap is a little more difficult, but the principle is the same. You will need to know what hardware you are using before you can determine the width of the strap. I found these awesome clasps on Etsy: https://www.etsy.com/listing/264302702/bow-tie-hook-and-eye-clasp-with-slide
They are definitely not the cheapest option, but I fooled around with some of the cheaper ones for a minute and ultimately decided to up my game with quality hardware.
These will fit a strap up to 3/4”. You don’t want to go over that, because then the strap will bunch. You also don’t want to be very much under that because then the slide adjuster will not glide smoothly along the strap and will “wobble.”
In terms of the length, you should ask yourself how much adjustment room you need. If you place the bow in the middle of the strap, then you will only have an adjustment range equal to 1/4 the total length of the strap. That’s because the slide is only on one side, and at most, you can reduce that one side by 50%. I ended up putting the bow about 3/4 of the way towards one end and left the longer end for adjusting. Maybe overkill, but I like the options. The total raw length was about 19". You also lose about 1/2”-3/4” in attaching the hook and eye clasp.
You will want the piece of fabric for the strap to be slightly more than double the finished width (in my case, I cut a piece about 1 & 11/16” wide). Like before, you fold it length wise with the good side in and sew along the open edge.
Here is the real tricky part and definitely the most frustrating part of the entire process. You need to turn this tube inside out like that last one. The problem is that it is much longer and somewhat thinner. A trick I learned from my mother-in-law is to take a decent size safety pin and hook it through one side, right at the end of the tube. You then stick the pin into the tube and begin working it through the length of the tube with your fingers. Ideally, since the pin is attached to the fabric, the fabric will follow the pin and boom, you’ve made it. Sometimes I did need to grab a pencil and shove the eraser side in to push it along.
Attaching the clasp piece to the non-adjusting side is pretty straightforward. You feed the material through the slit, fold it over once or twice, and sew across.
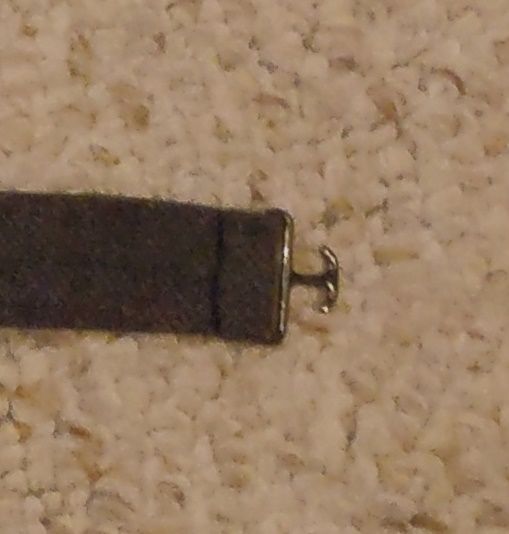
The biggest thing to triple check is that it is facing the right direction before you sew it on (made that mistake only once).
On the side receiving the slide adjuster, make sure you have the slide adjuster on the strap before sewing. Rather than explaining the feed-through steps, see this picture:
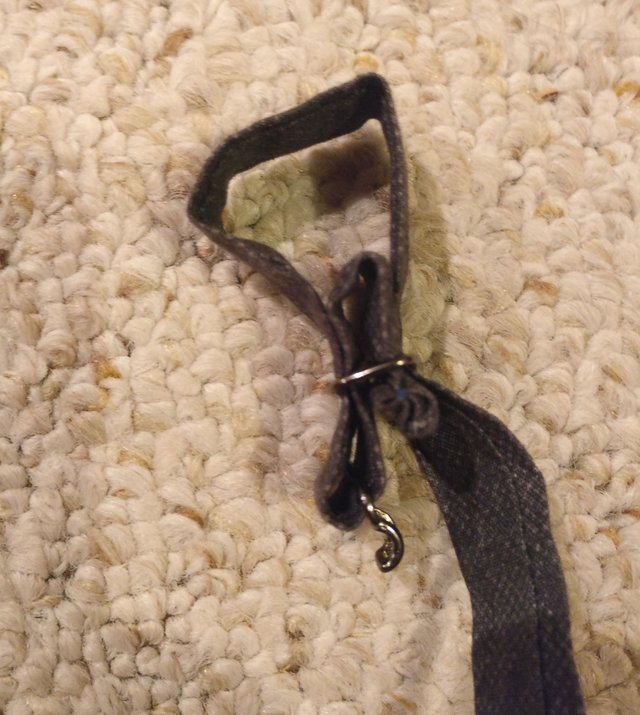
After feeding the strap through the adjuster the last time, you just fold and sew in a little "stop-block."
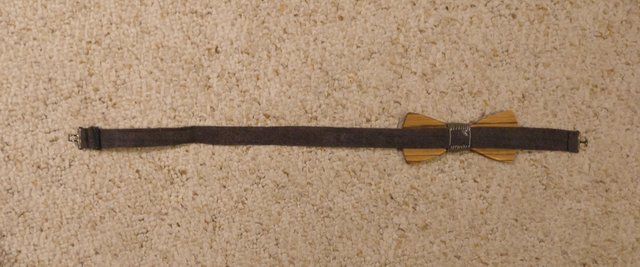
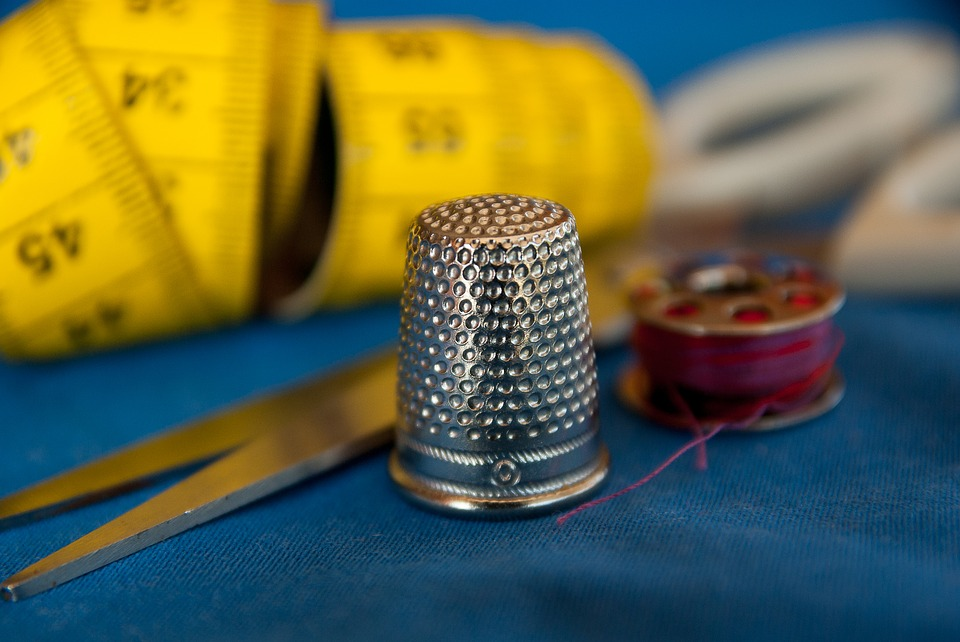
Now you need to attach it all together. This is where you need to break out the thimble and hand needles. I started by attaching the center tube around the wood. You want it snug, but don’t obsess over it, sewing on the strap actually gives you an opportunity to tighten it if it is a little loose.
Now, position the strap on the bow (again, make sure it is not backwards). The strap meets the center tube at four “corners.”
Start at one and work all the way around. This is where you can work the thread to get the fabric nice and tight around the wood. Make sure you tie the thread off nice and secure, and that’s it.
Now you are ready to dazzle your friends and never have to worry about starting small talk ever again. Seriously, people will always notice and ask questions. It is a great conversation starter.

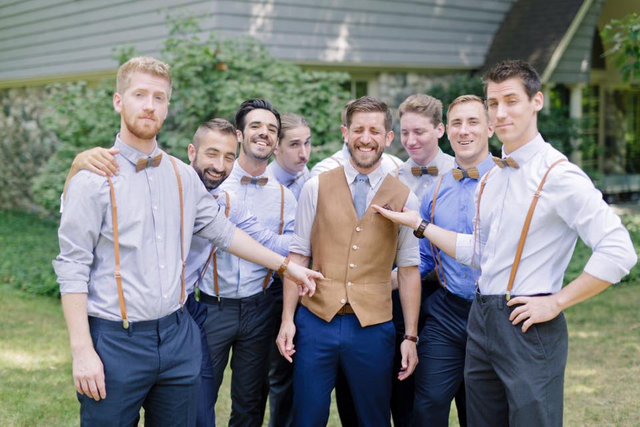
Or make them for your friends and family and wear them in a wedding, like I did!
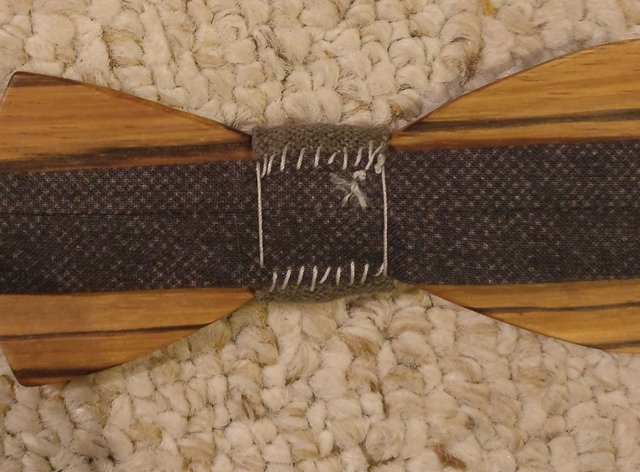
I also engraved my initials in the back, just for kicks.
Hope you enjoyed and were able to follow along. Sorry step-by-step pictures for the sewing portion. Write any questions in the comments and I will do my best to answer.
Thanks,
Sam
Image Sources: Sewing Machine, Thimbles, Friends.
Like most of you, I have been trying to build my Steemit account and community. It can take a lot of work to get started.
Steem Follower
Steem Engine
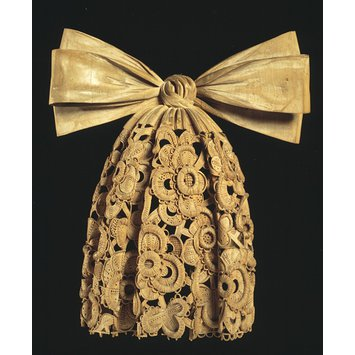
They look great and the zebrano works well. There was a woodcarver called Grinling Gibbons who carved a lace cravat back around the year 1700 which may be of interest to you. Great post and well explained. Thanks.
Oh my word! You were right. Look at this beauty.
I'll keep this in mind if I ever make it out to London again.
And thank you for the compliments and resteem!
Yes it was worn by a duke or something to a party. I saw it in real life and it inspired me to start carving.
Those are awesome Sam! I need to make one for when I go back to Tokyo! People there will trip.
Thank you very much! I have thought about making them to sell, but between five kids and a full time job, I can hardly find any time to finish any woodworking projects. Definitely keep me posted if you make one. I'd love to hear about your experience and Tokyo's reaction!
I can't believe that you did this without having much woodworking experience! I've been meaning to get into woodworking for SO long now but it seems like I first have to invest in the tools. (Totally feel you on paying off that architecture school debt btw). I love doing anything with my hands and your post gives such a great step-by-step overview on the process that goes into this. Hopefully I'll take the step to do these myself some day.
Well thank you very much! This was actually one of the projects that really got me going. It made me realize that I could really make some worthwhile stuff if I was dedicated and searched for advice in the right spots. But more importantly, it made me realize how much I enjoy it. I am a lawyer, so having a hobby where I work with my hands is a great contrast to what I do the rest of the day.
These actually started as a Christmas gift idea. I one for each of my five brothers, and my dad, and a few friends. I also made something related, but obviously different, for the women--that'll be a future post, if you're interested. ;]
Definitely keep me posted if you take the plunge and make one. I'd love to hear about your experience and answer any questions if I can!
Great idea..... That looks like something that would sell at a craft fair too.....
Thanks! I have considered making them to sell. They were first made as gifts for friends and family. Between my five kids, trying to create content on Steemit regularly, and my full time job, I'm not sure I could find the time to make more of these. Maybe some day though.
You can read about us here
Brilliant work.
These do look really nice. I had a teacher in college that made his own wooden ties. Ties I a bit more complicated I believe, but I want to look into making one now that I have to wear one every day.
Haha, wood tie, now that is a real trick. Probably more involved than just the bow tie. And I would imagine a little more cumbersome to wear?
This is one style I like
And this is the easier one to make. I want to talk to my teacher and see how he made his
Oh, those are pretty cool. You will definitely have to keep me posted if you go through with making one!
Very nice! My girlfriend is a wedding photographer, she would have loved to take photos of those.
Thank you! I have gone back and forth on whether to make and sell them. I've got a pretty full life between work and five kids already though. I got such positive response to this post that it is making me think about it again. Maybe some day soon your girlfriend will be able to! That would be pretty great, in my opinion.