Victorian house entrance hall way redesign. Part 2
Welcome back.
In a previous post I described how I had been asked to redesign and make an entrance hall way in a Victorian house.
Just to recap,
The design had to incorporate;
A utility with cabinets, sink, washing machine and tumble drier.
These were to match the existing kitchen which I made part of. You can read that post here
A coat rack and shoe bench.
A large room divider in oak with stained glass and opening doors (which I had to design as well.)
A small staircase which would lead to the main floor, the rise was only about four foot.
An under stairs cupboard to replace the existing one.
A Hall mirror and shelf.
You can read the first part here: Victorian house entrance hall way redesign. Part 1
Today's post is;
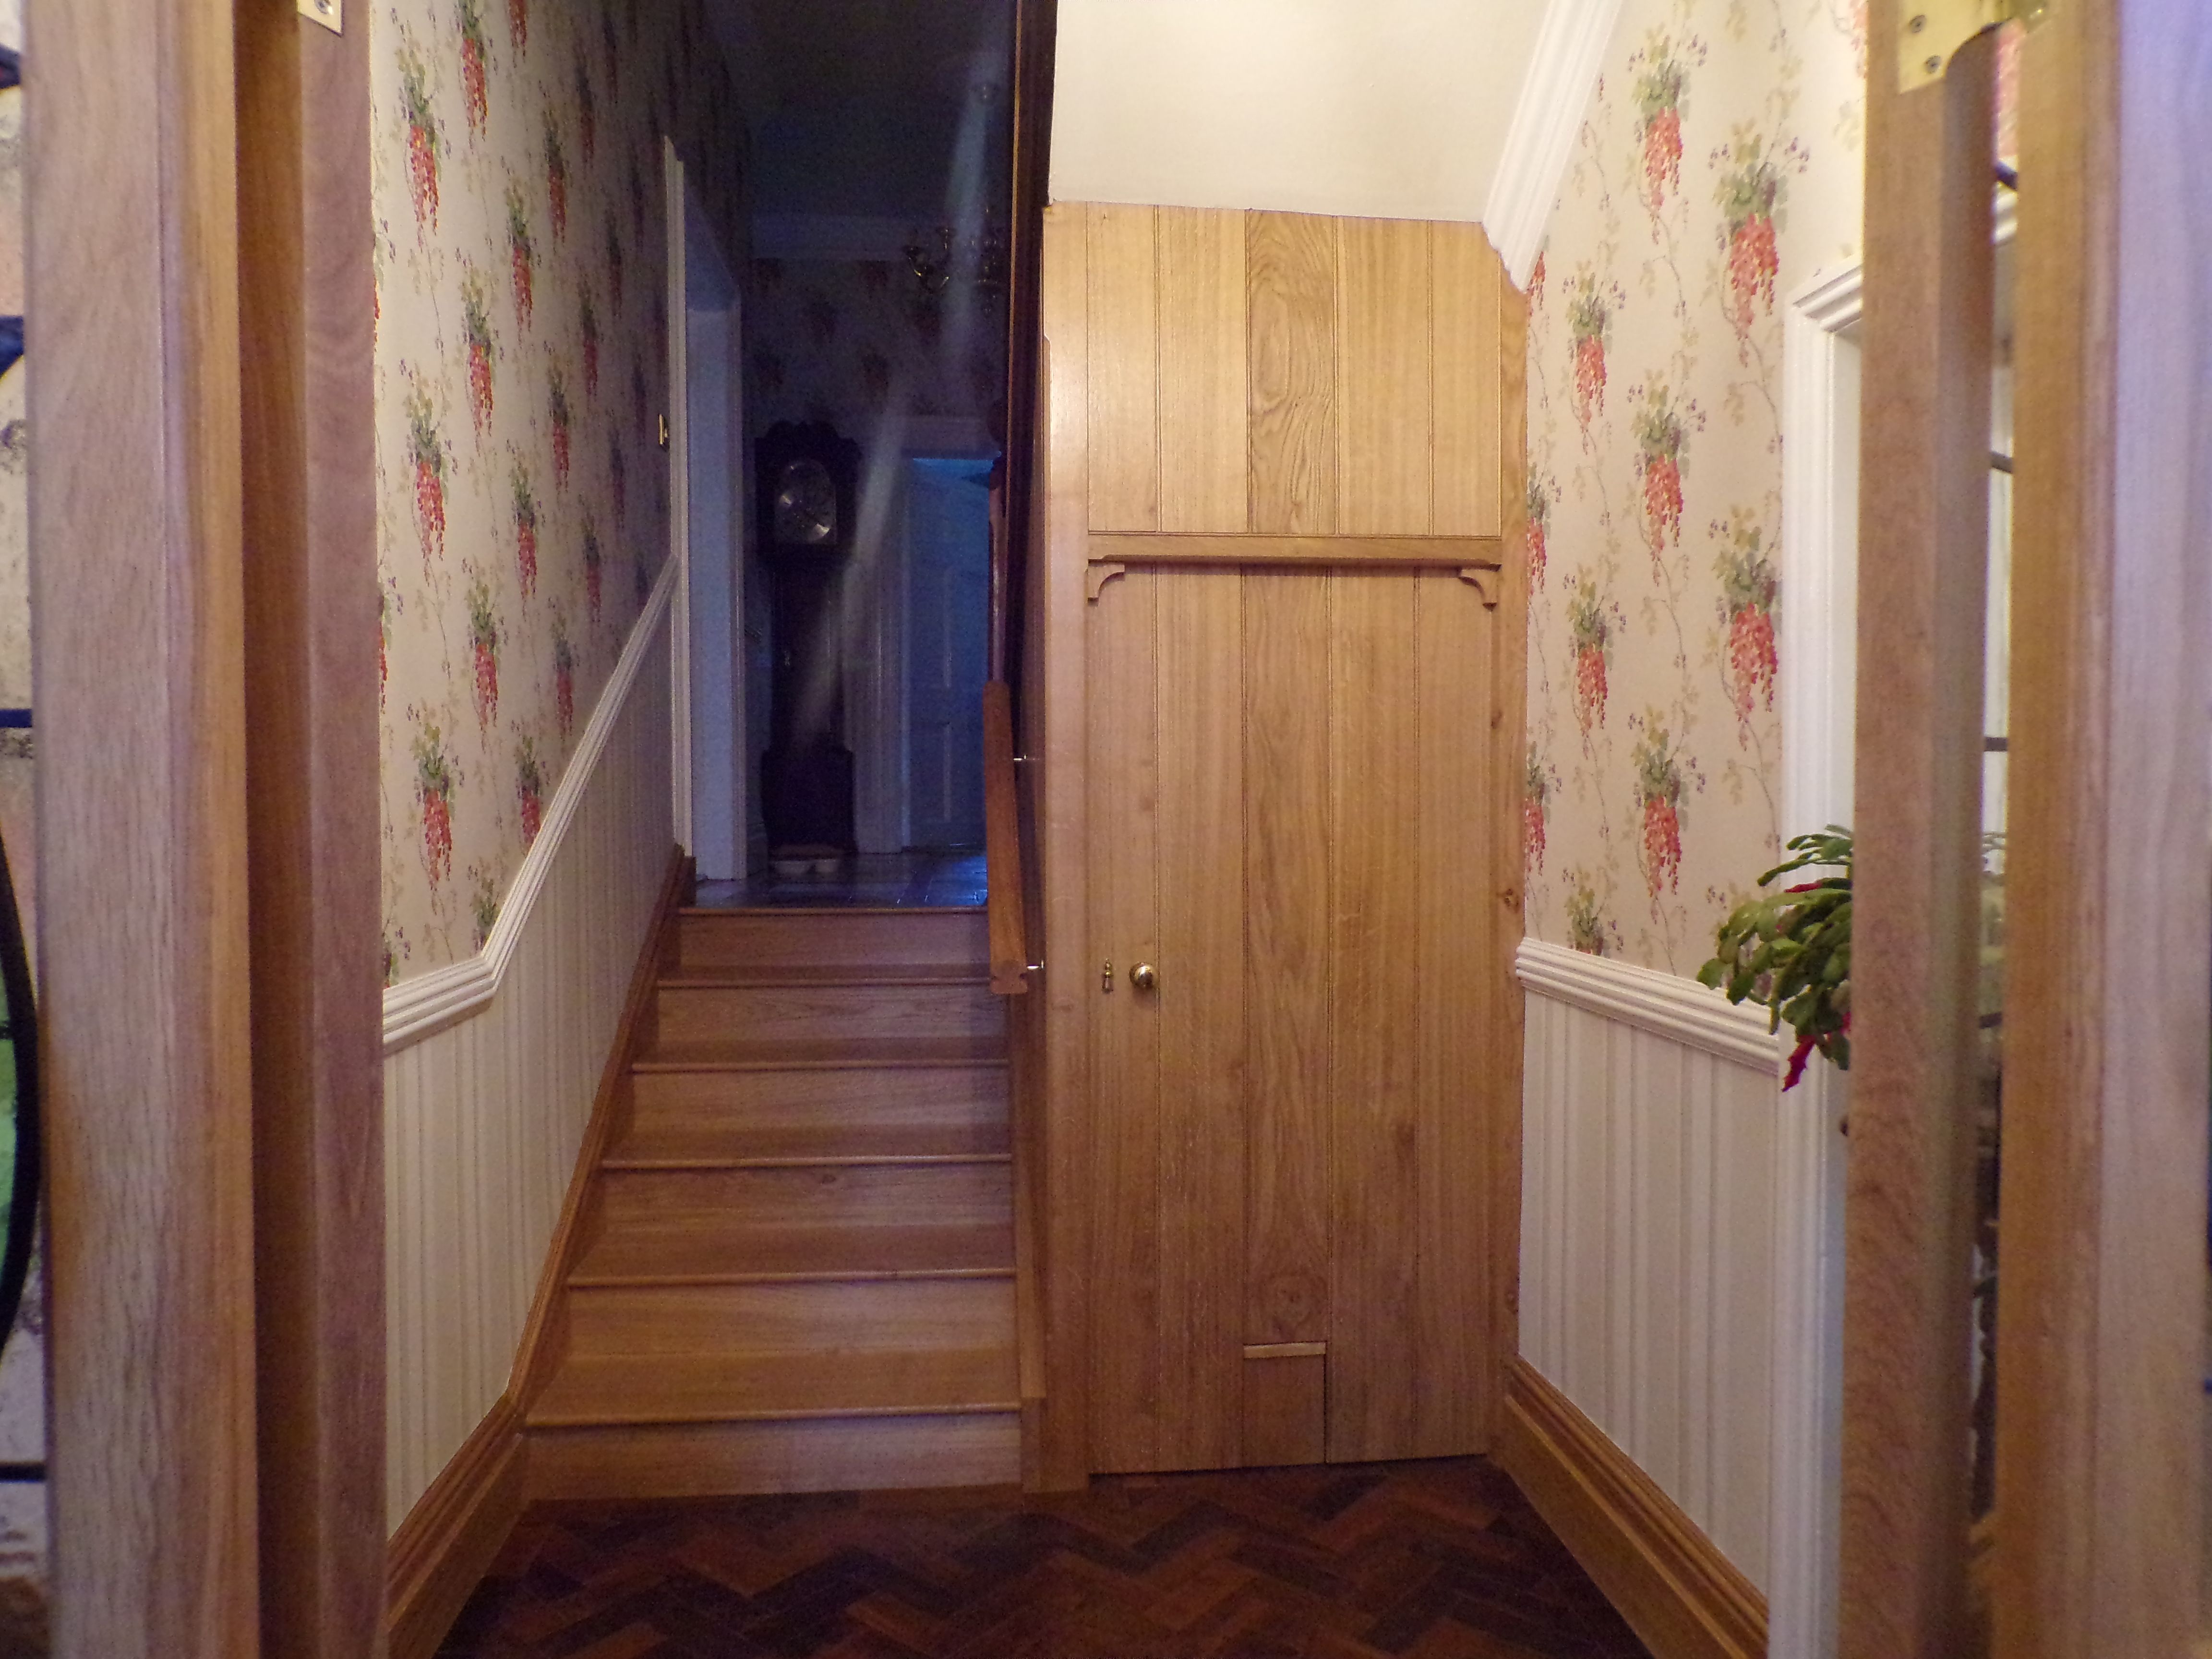
A small staircase which would lead to the main floor and an under stairs cupboard to replace the existing one.

The Design.
Again I used solid oak.
The original stairs were made from large stone slabs which had been concreted over in the 1970's.
The under stairs cupboard and door (which leads to the basement) was original and made from pine.
Here you can see the new basement door.
Pine back then was slow grown and a completely different animal to today's fast grown timber.
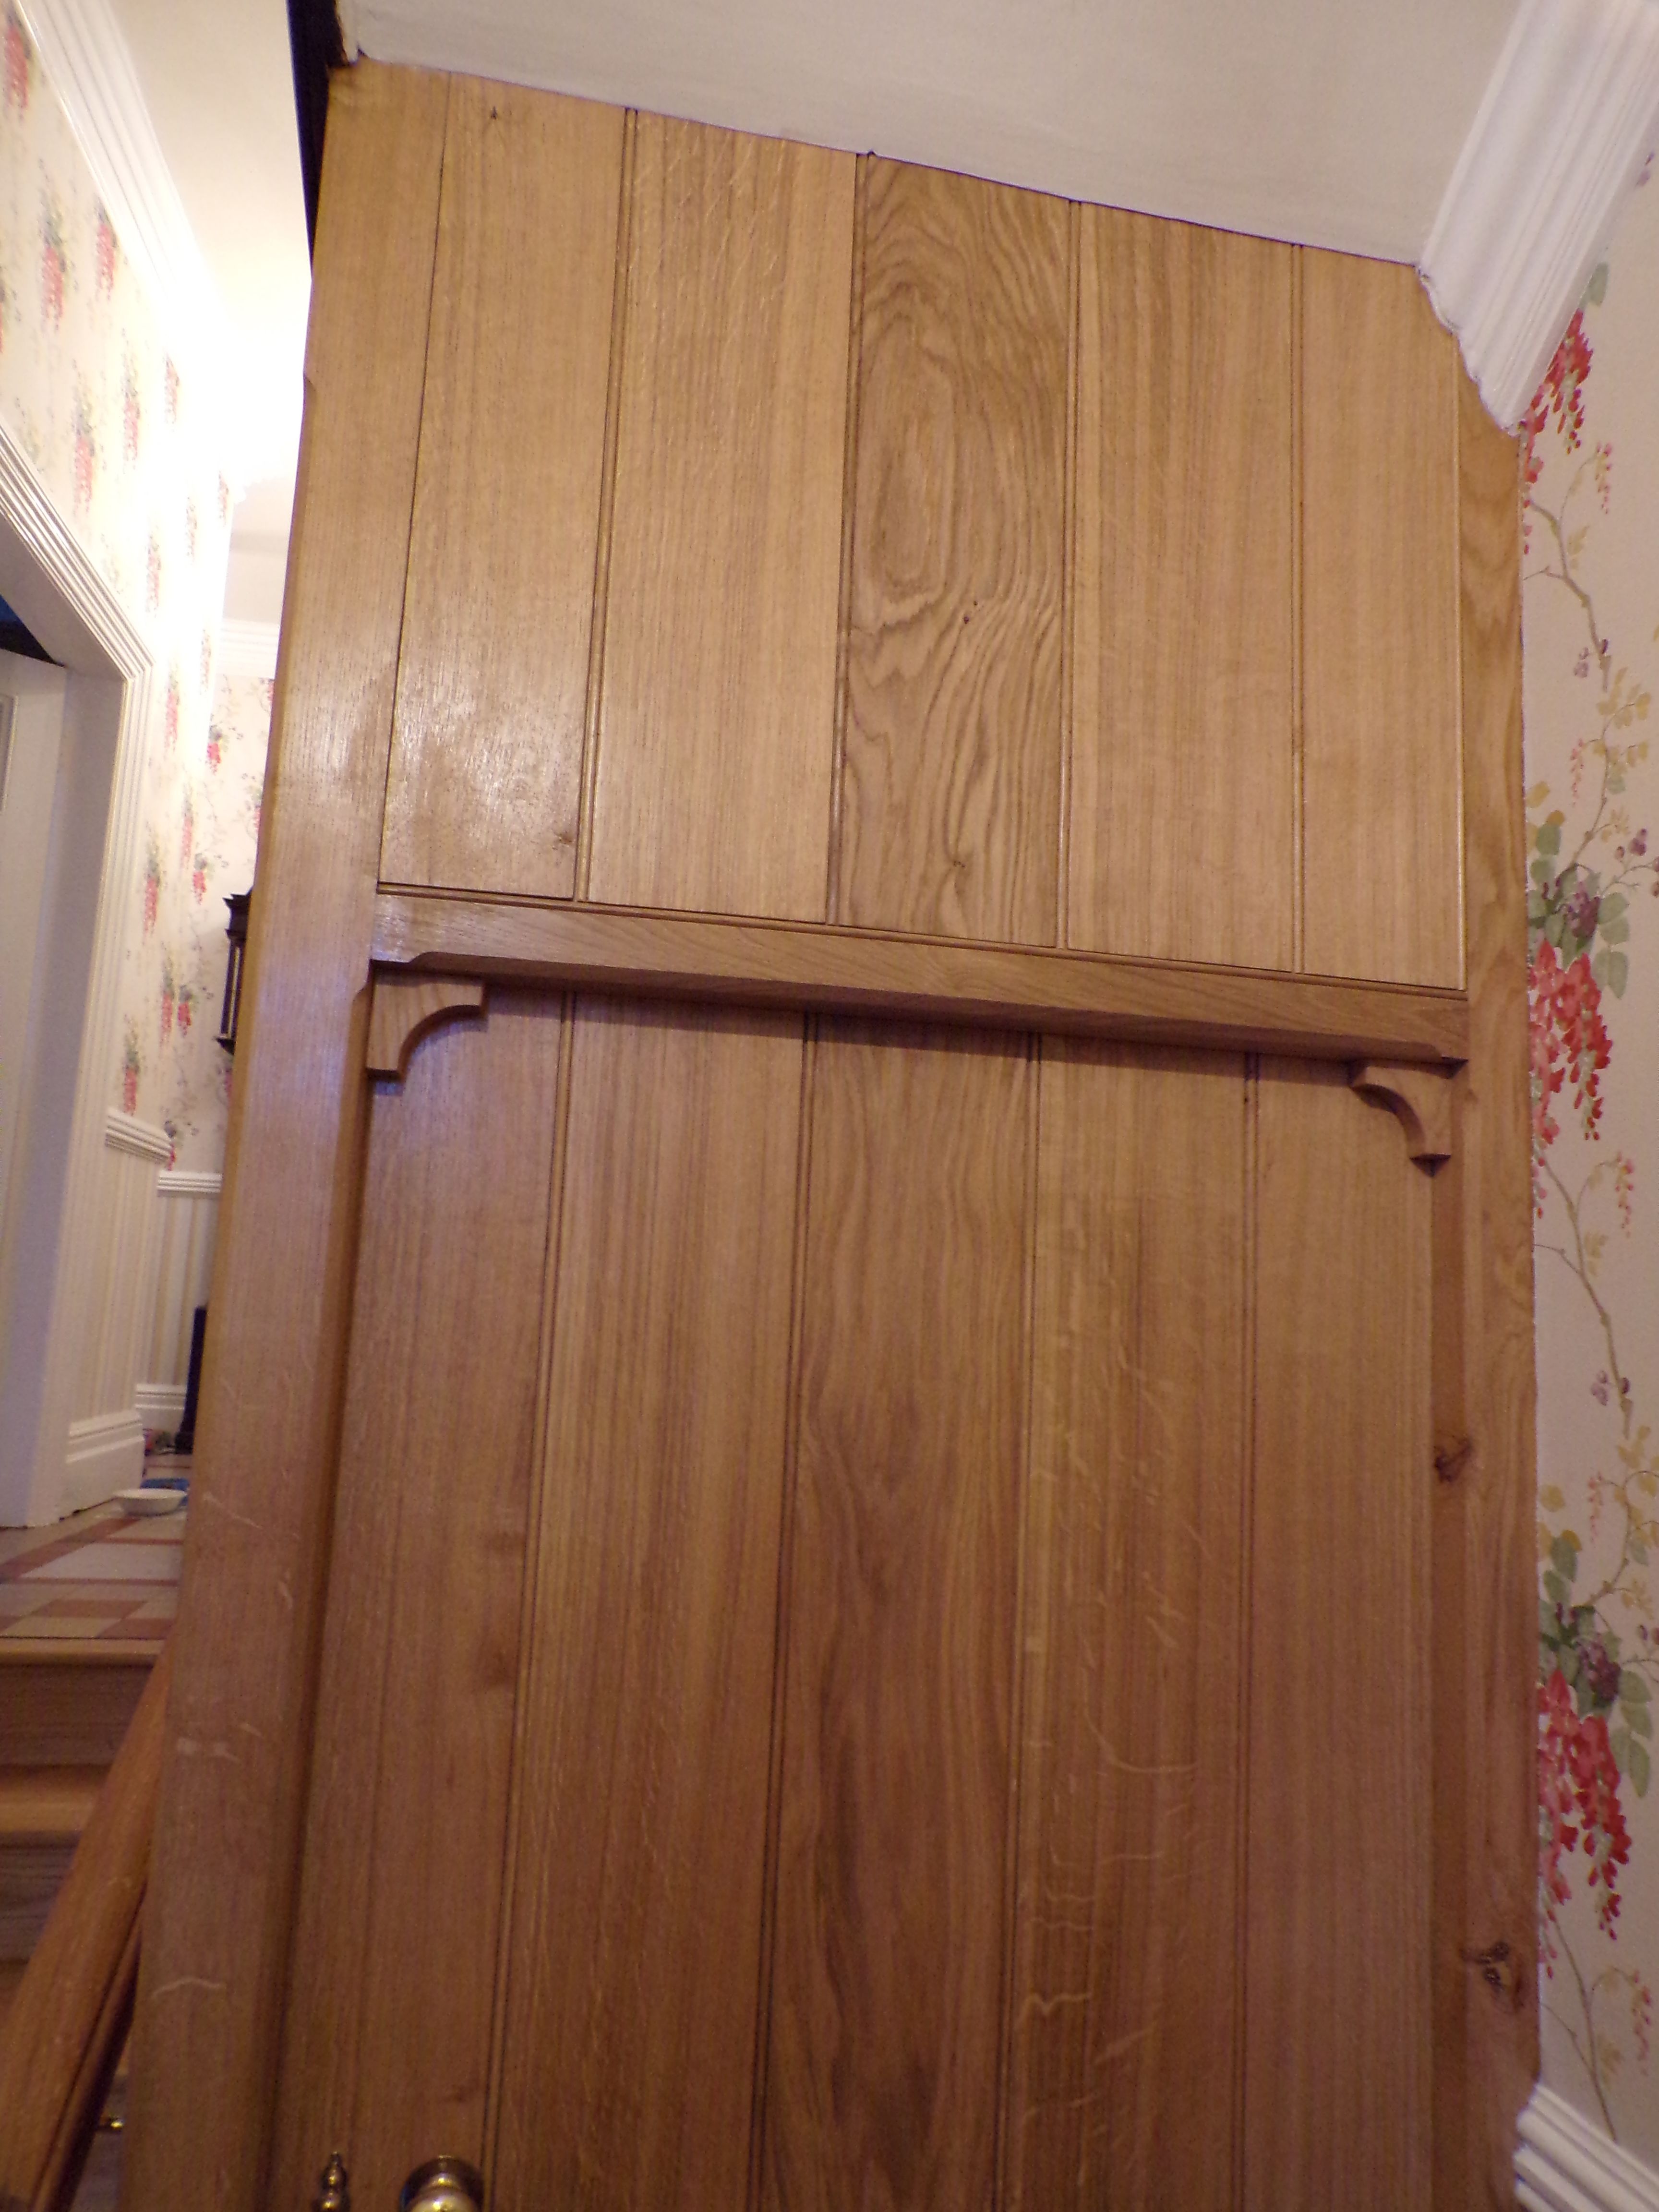
The only additions I made were the two oak brackets at the top of the door frame and the cat flap.
The brackets concealed the fact that, for the door to open fully I had to cut the corner off the door.
They also tied in with the shape of other mouldings and features.
The cat flap was requested by the client.
Making the stairs and under stairs cupboard.
The builder was to remove all the original stonework and pine to my specification.
I had prepared the timber but until this stage I could not take final measurements.

The Staircase
This was my first staircase and in the UK the regulations are very strict so I had to get the angles correct.
I won't go in to too much technical detail here but I very carefully marked out the dado's on the stair strings and then made a router jig to machine them.
I had already glued up and machined the steps from 1" oak and edged them with a bullnose.
The risers were also solid oak which I screwed at the bottom and set in a groove at the top.
This is to allow the wood to shrink.
The treads and risers were set in to a dado in the strings and wedged into place. This also allows for shrinkage as the wood settles.
I screwed through the strings and into the treads to pull everything tight.
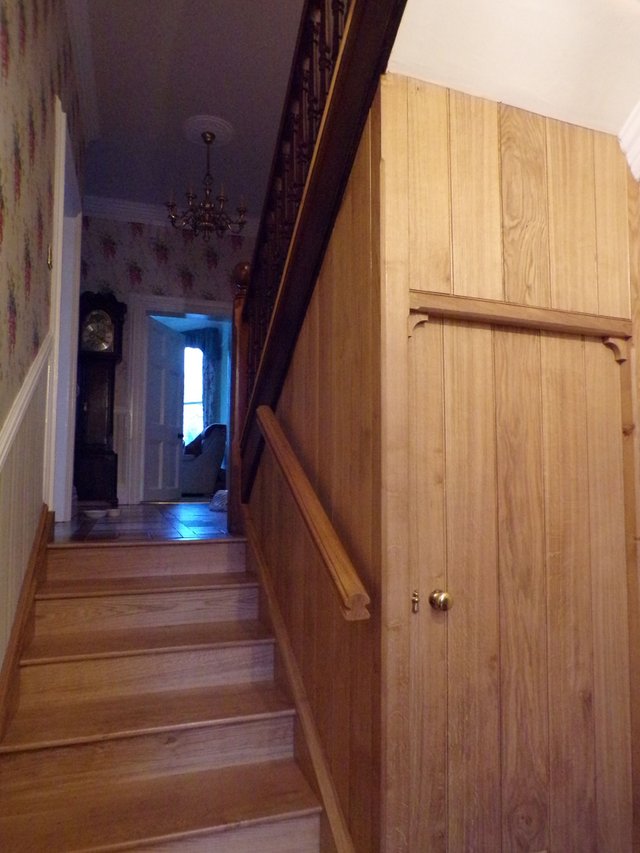
I also made a section of handrail which matched the upper staircase.
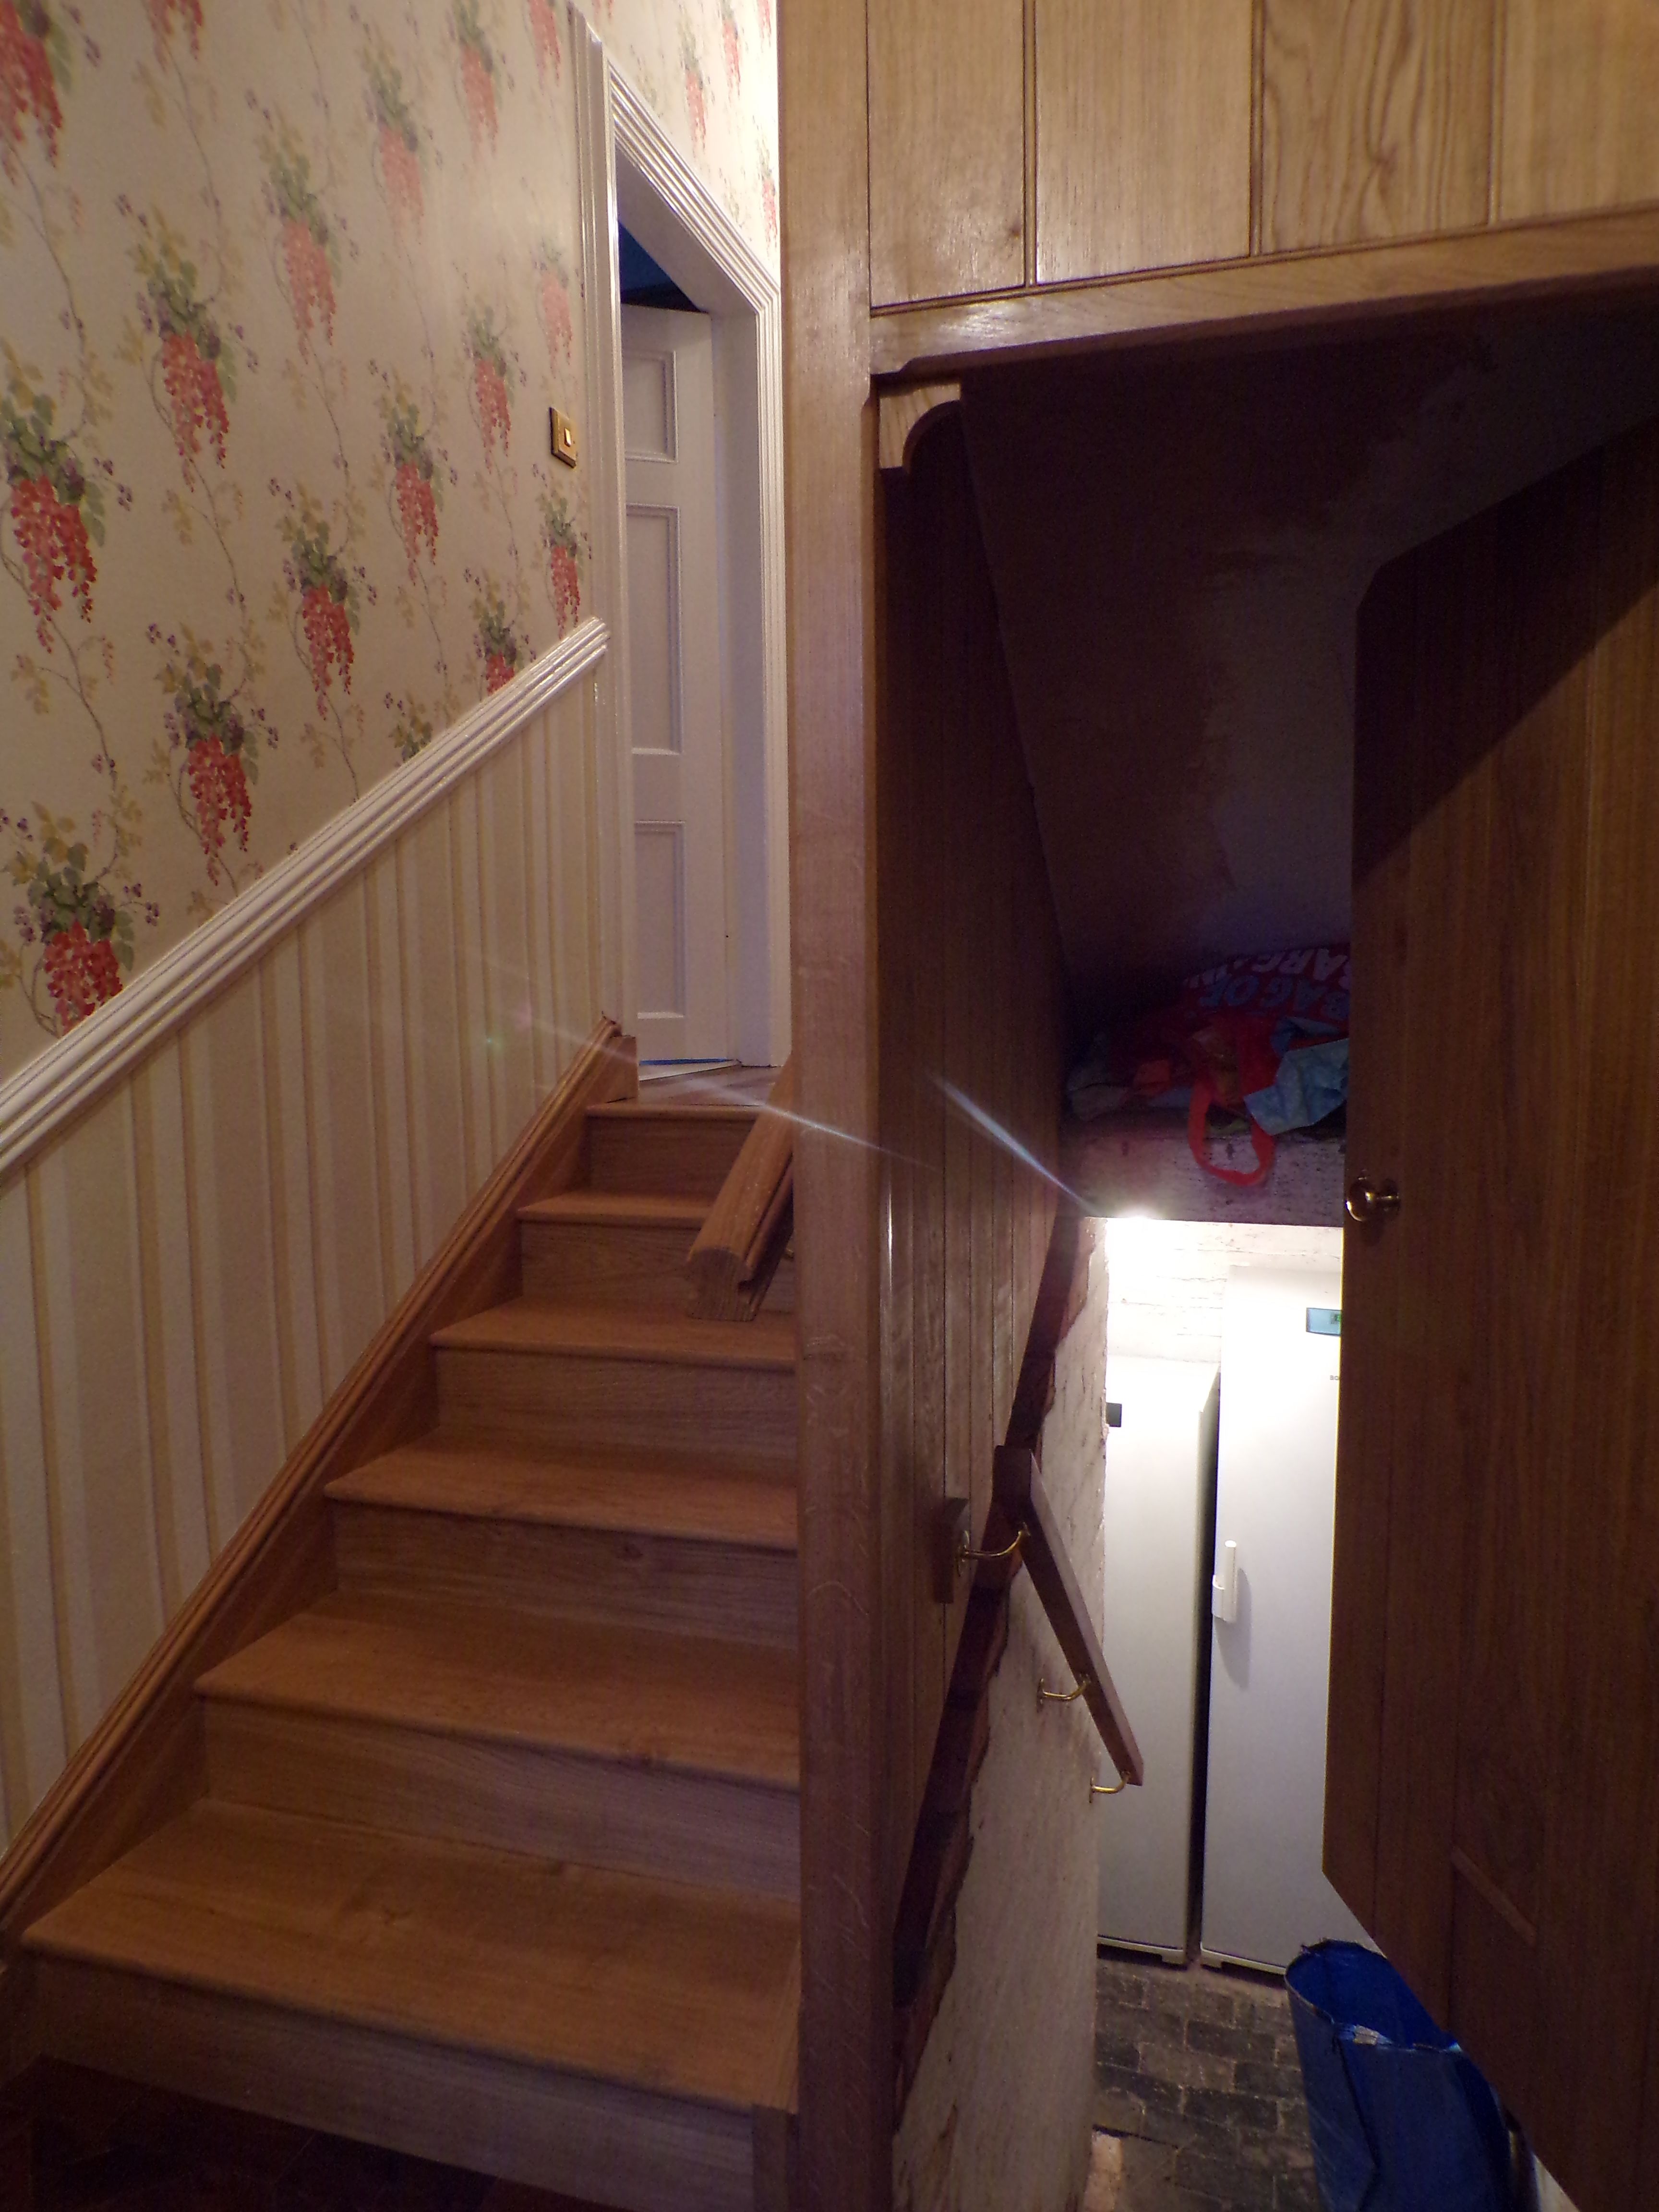
The Under stairs.
The under stairs cupboard was made from 7/8" tongue and groove boards and I copied the original faithfully.
The door frame was mortised and tenoned together. I copied the chamfer and beading detail from the original.
The door itself was tongue and grooved with three ledges on the back.
The ledges were screwed in place and a spot of pva glue was used to secure each board.
I made the cat flap from 1/4" oak faced ply. The ply was held in a section of grooved oak and pivoted on a 1/4"steel bar.
Installation.
I was nervous about this one.
It was the first installation I had done for the client. ( the mirror came later.) and it was my first staircase.
I always double check everything but you never really know until you fit the item in place.
I arrived with a helper and had a look at the site.
The builder was still doing the removal of the steps but had almost finished.
He had hit a snag which meant my measurements would be out!!
Luckily we had a good think and came up with a solution.
I would have had to re make the staircase otherwise and I wanted to avoid that.
I then fitted the stairs first and then the under stairs cupboard.
They were basically all connected.
The under stairs attached to the underside of the original upper staircase.
The door frame was installed first. I anchored this at the bottom with threaded bar and epoxy resin.
I then simply screwed my boards directly to the upper staircase strings and to the side of my staircase.
The door was then hung and I had taken care to match the door grain with the T&G boards above.
All the woodwork then had a final sand and was finished with Fiddes clear glaze.
Next time I will be writing about the large room divider in oak with stained glass and opening doors.
We have started a woodworking community here on steemit and would welcome you. We have a discord channel, link here: Woodworking on Steem Discord Channel And a weekly woodworking post competition ,
you can read the post here
If you have any questions about woodwork, furniture or being self employed as a craftsperson let me know.
I know my wood and I have spent years teaching myself furniture making , furniture history as well as living it as a self employed cabinet maker .
I am also in the process of writing a
'How to series: Setting up a Woodworking Business'
Which you can read here;
Part 1: Workshop
Part 2: Tools and machinery
Part 3: Finding a good timber yard
Part 4: Deciding what type of woodwork you are going to do.
Part 5: Advertising and getting customers
Part 6: Dealing with Customers.
Still I am learning every day and the journey is the point.
@woodworkcurators is a daily curation service for the woodworking community.


Many thanks for reading,
Until next time,
This looks really smart mate! I like the little corners on the inside of the standards. Nice little detail that sets the job off.
Thanks Mate, it is often the little details that make all the difference.
Are the stair treads resting on the concrete?
No all the original steps were removed so you just see the underside of the stairs from the basement.
This post has been resteemed by @woodworkcurators