Winston's Digital Wet Plate Photography :: EXPLAINED & REVISITED
Since I'm just now getting back into doing these after a few months, I figured it might be a good time to revisit the collection thus far. I'm very proud of this set, and I plan on somehow pursuing it as an added genre to our business venture. Expect to see more. :)
The uniqueness of the look almost demands that it be treated separately from the other more traditional portraiture or photography that we do, and I hope to progress the look as we move forward in order to further mimic the authentic appearance these types of photographs possess.
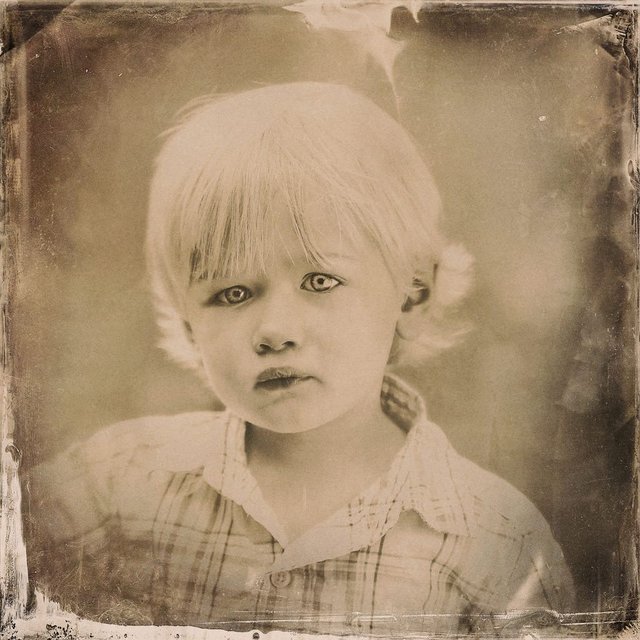
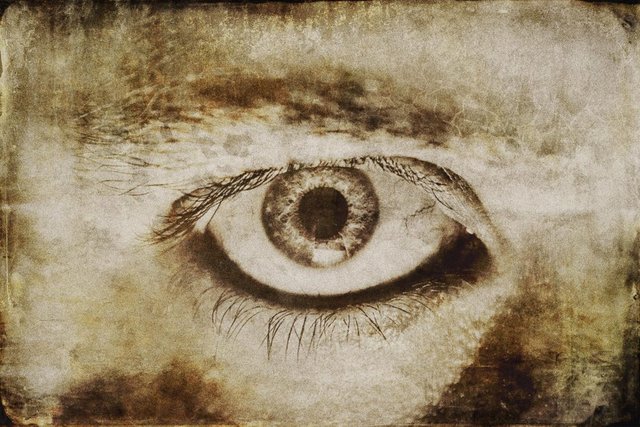
One of the many interesting facts about real wet plate collodion photography - aside from the fact that it was one of the very first photographic processes invented in 1851 - is that due to the nature of the chemicals used, it's not just a "black & white" type of photography, but it actually prevents it from being sensitive to anything but the blue light wavelength.
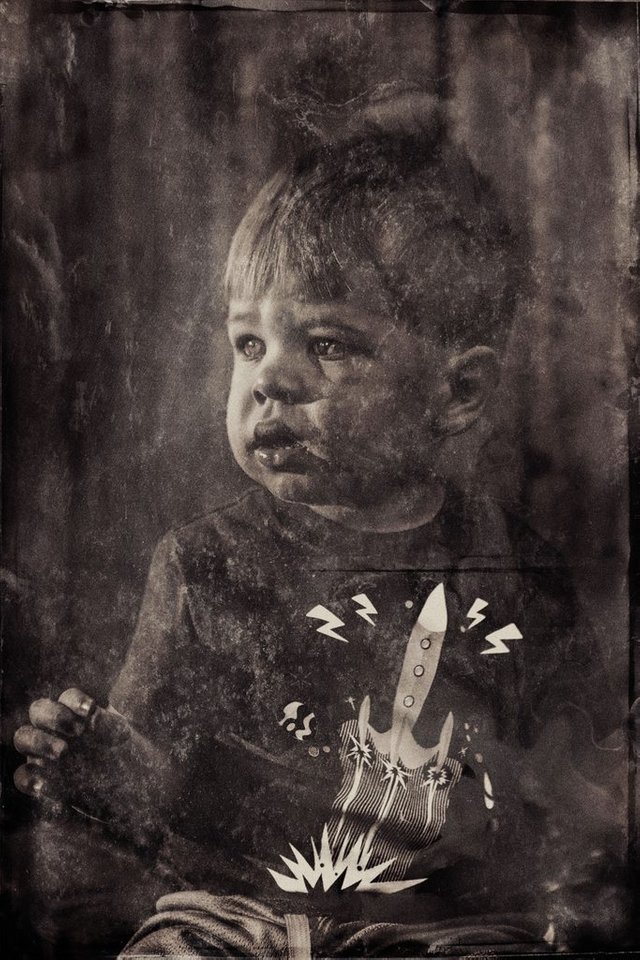
So what does that mean? Well, this explains why wet plate photos of people tend to show up dark, almost like they were dirty, as if having just come out of a coal mine. We don't have a lot of blue in our skin, so it makes our skin dark.
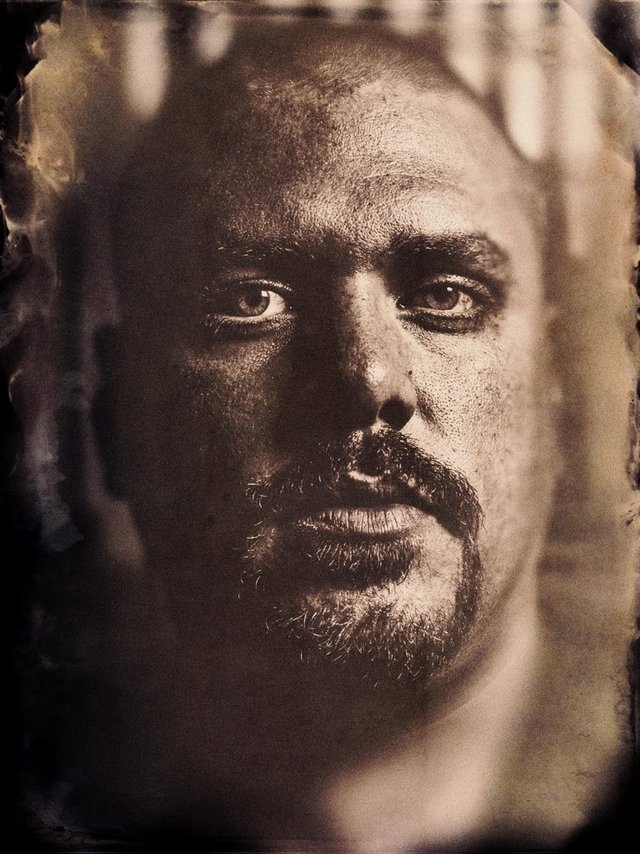
But if lit correctly, it can make blue eyes POP.
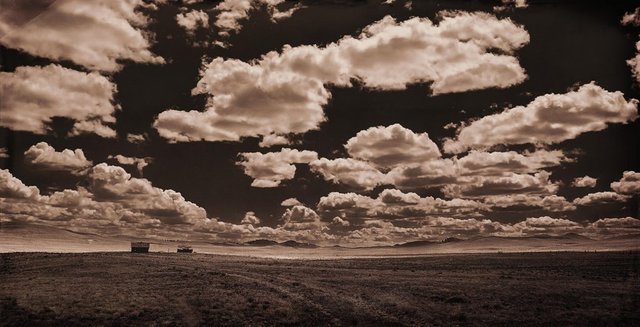
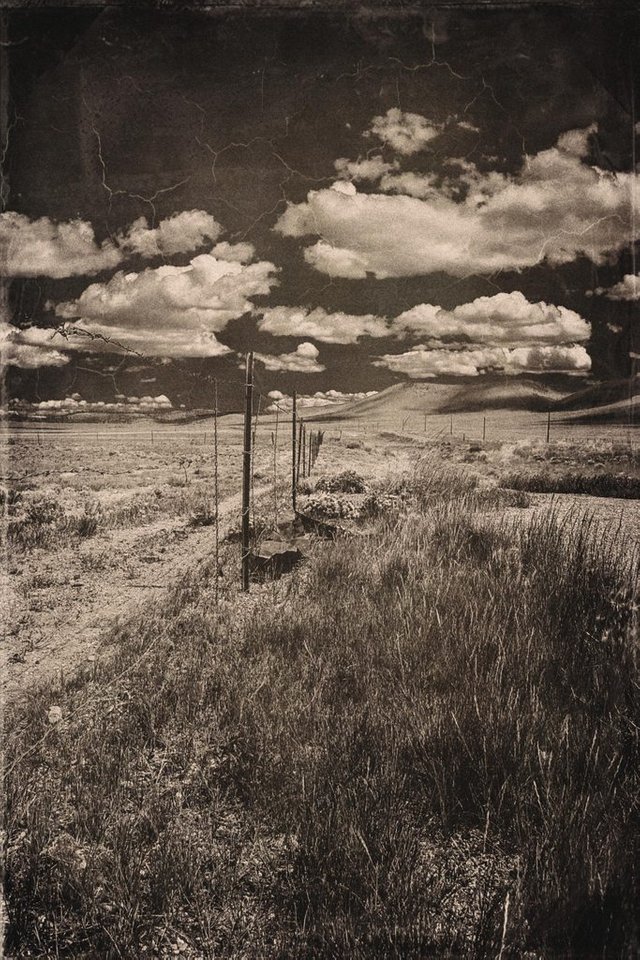
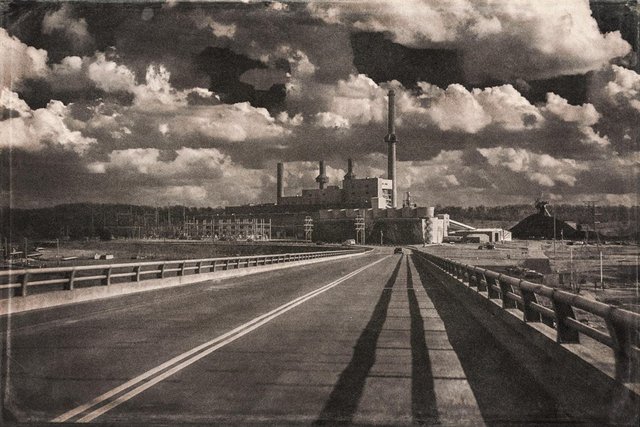
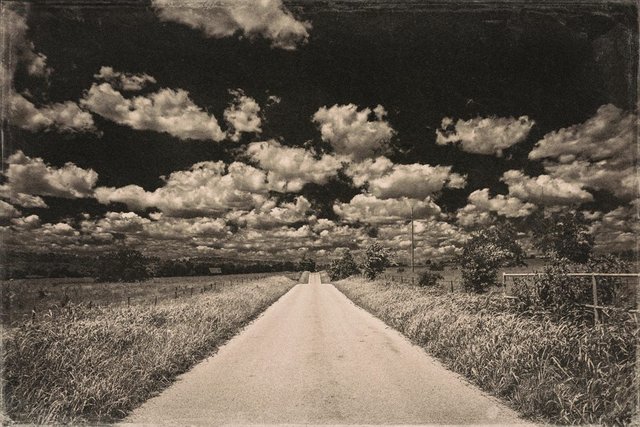
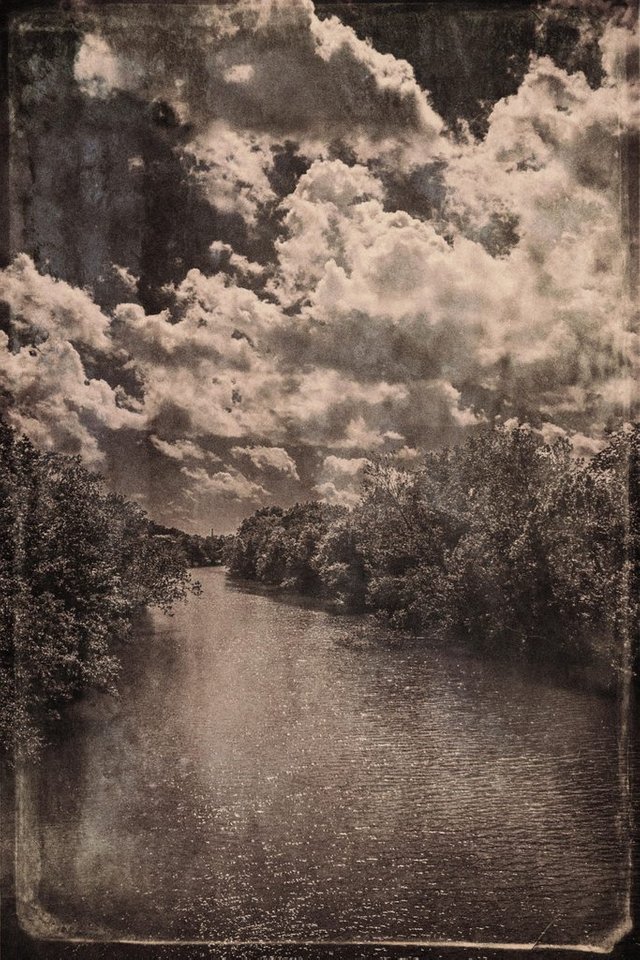
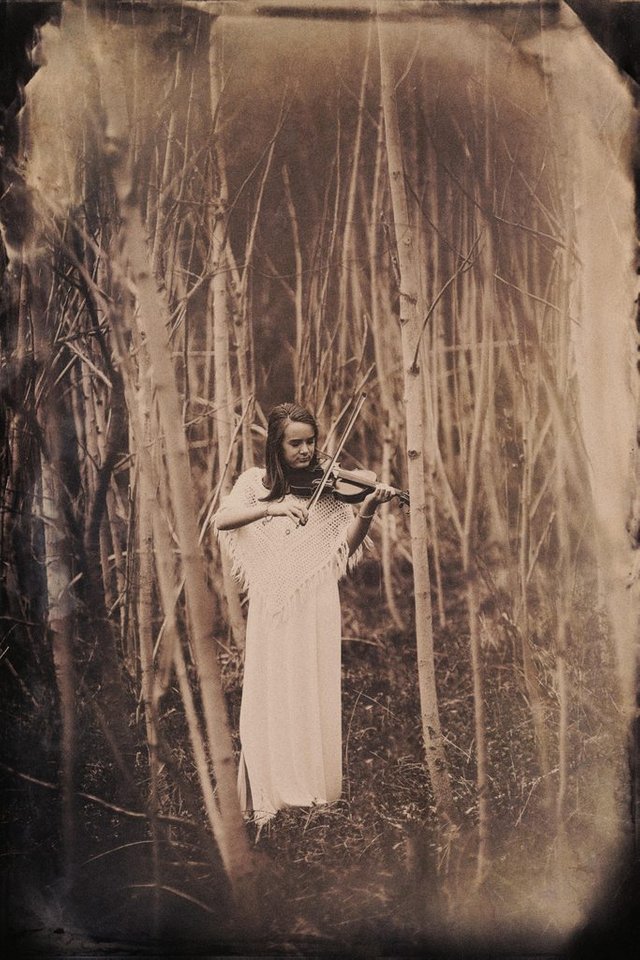
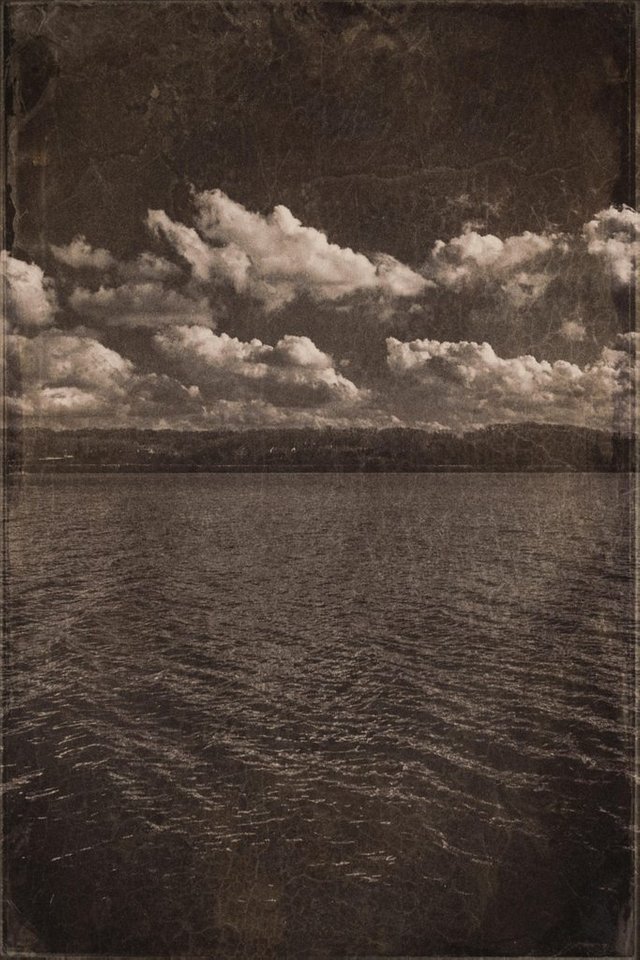
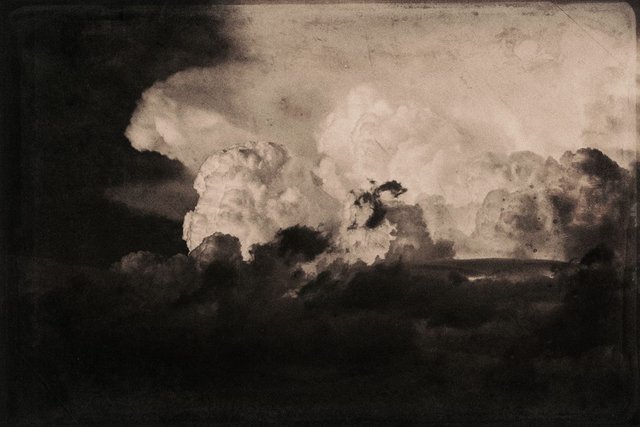
And, interestingly enough, it also means that technically, you should not really see any clouds of images of the outdoors in wet plate photos.
This is because clouds are not actually white. They're just enormous collections of water droplets that scatter the blue light of the sky coursing through them, so they're actually blue like the sky.
Thus, skies in wet plate photos are generally all washed out to white, clouds and clear sky alike.
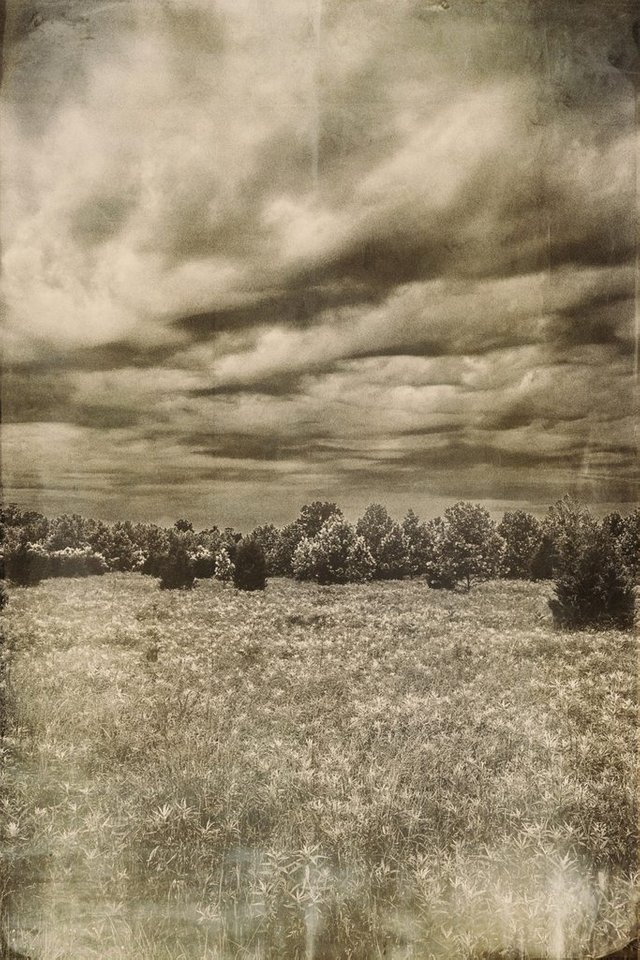
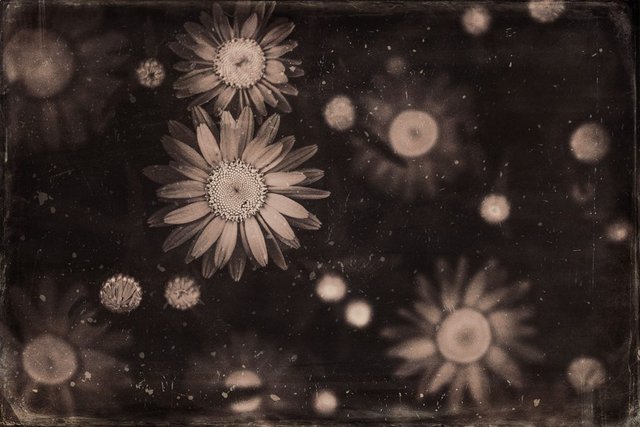
But, if you can't tell, I like to bend that rule a bit. ;-)
I think this treatment makes those Ansel Adams-style black skies with the contrast of bright white clouds really pop.
While this type of photography can be very intriguing, doing the real thing with the actual chemicals was very limiting, which is why, for the most part, it went out of style when easier, more accessible forms of photography became available.
The reason is that once the photo is taken, it must be developed within minutes, as there is only a very small window of opportunity before the compound becomes unusable.
This meant that if one were to go on location to take a photo, they'd have to bring some kind of vehicle or partition so that you could have a darkroom to quickly process your images.
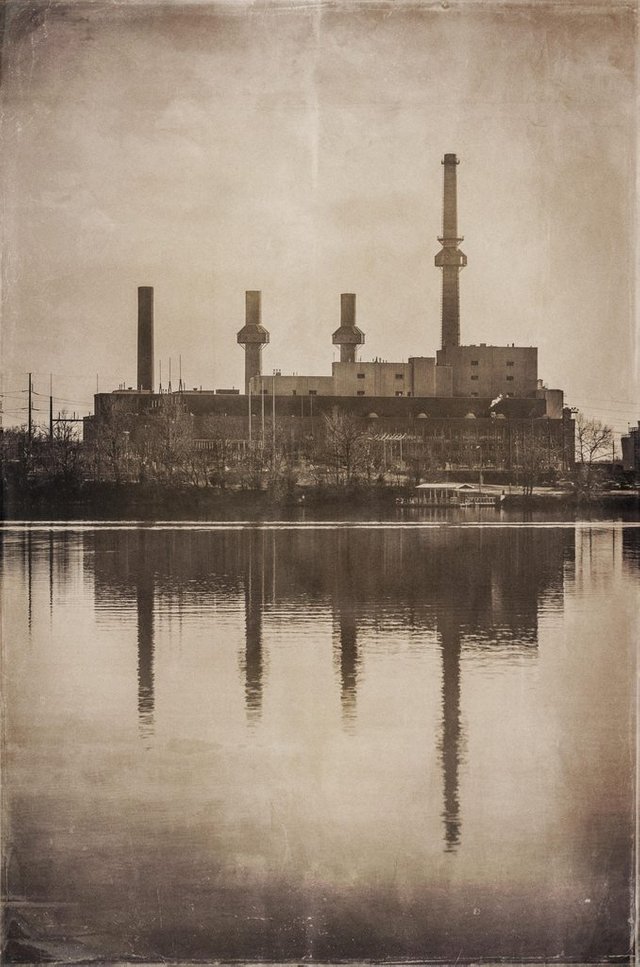
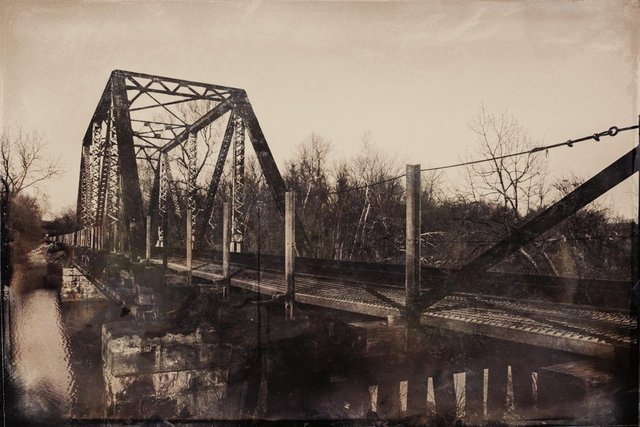
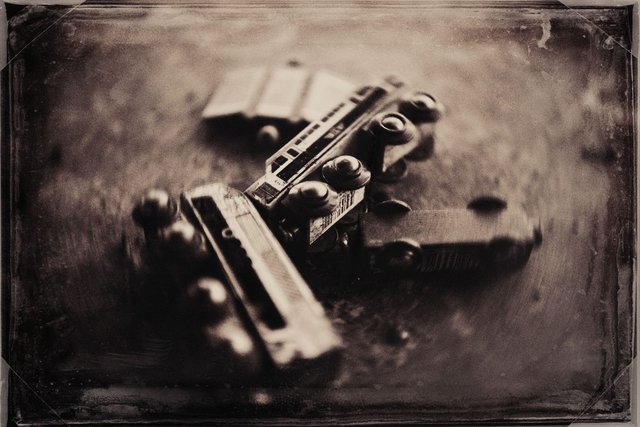
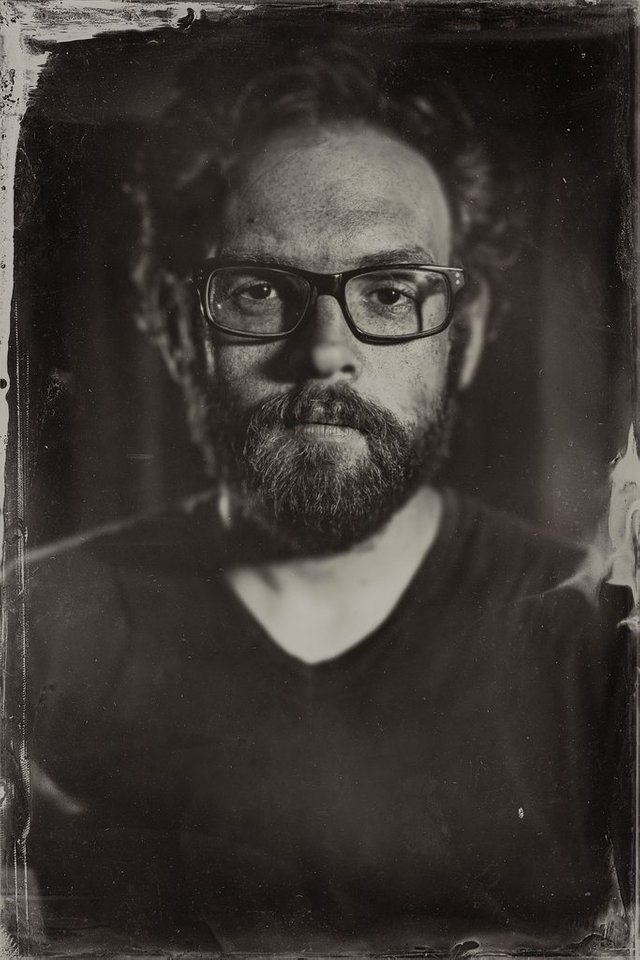
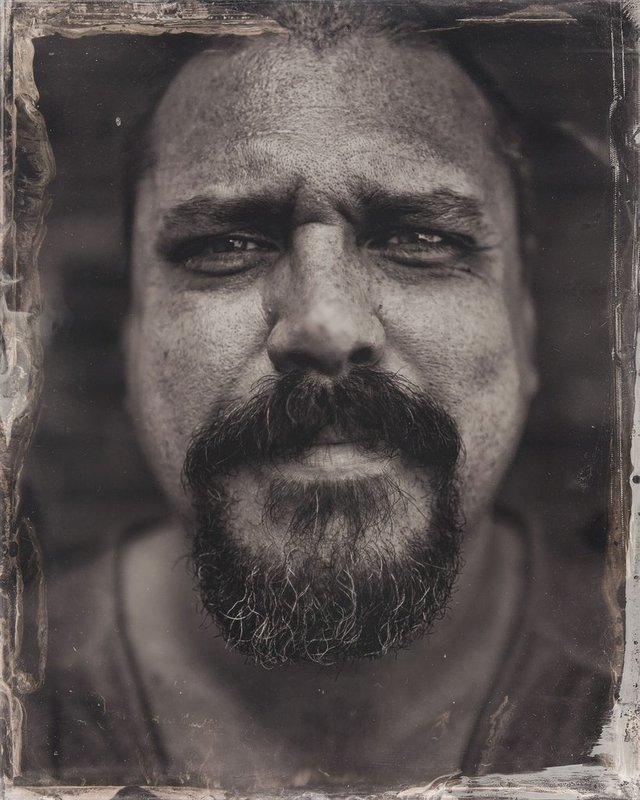
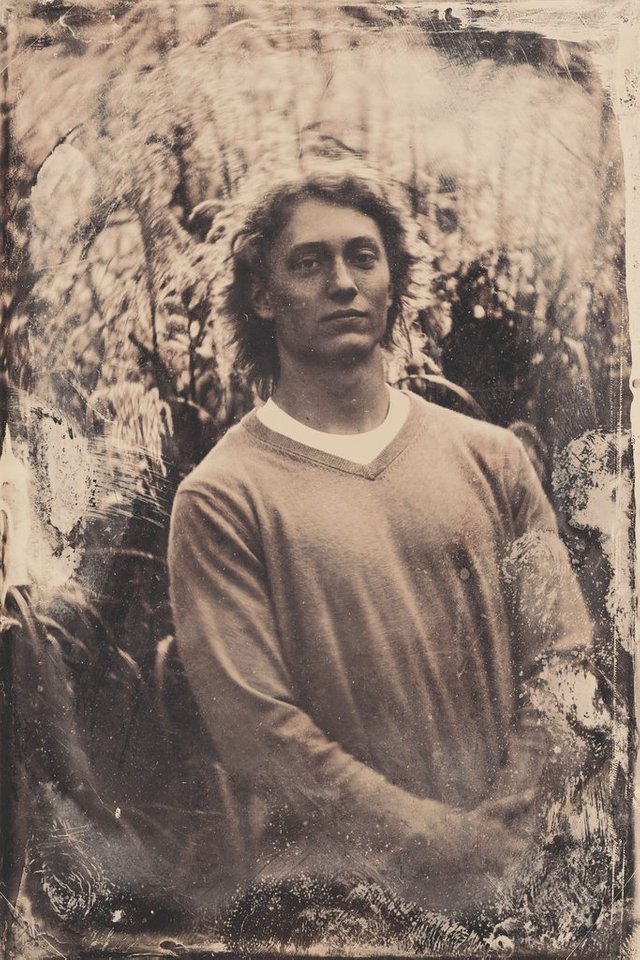
I'll continue to show my collection as I explain my method.
When I do this digitally, I'll open the file in the RAW editor of photoshop and get the levels and sharpness and everything the way I like, and then I'll lean it towards a cool color temperature. This is what helps to make certain elements pop when I convert to black & white prior to "wet plating" it.
When I go through the action to add all the elements to give it that vintage look, first I apply a foundation, which allows me to decide what kind of "type" I want. This include Ambrotype, Tintype, Ferrotype, Melainotype, or even a Glass Negative. Different images look better in different types.
After the foundation, I can then apply the texture, or "damage". These are the rough edges and emulsion marks throughout the image. Historically, the better you were at this and/or depending on the method you chose, the less "damage" would occur in the results.
Once I've chosen the texures I think work best with the image, the next step is to apply contrast enhancements, which is where I get to dial in the image in balance with the texture. The authentic look is beginning to emerge in this step.
The next step is then to apply the highlight enhancements. If you notice, in most of the wet plate images you see, they don't really possess any white highlights. They're generally always muted in some way, usually by the metal it was printed on. This is the step where you can apply the appropriate warm tones to those highlights to give them the proper muting.
At this point, the image could be considered completely processed, and any tweaks that need to be made should be done here, such as adjusting the contrast and highlight enhancement layers, or perhaps choose different textures.

A final step - which I sometimes don't bother with - is to add film grain. Anything from very fine, to thick black grain.
You may notice that my more recent work contains less and less grain. As I've gone, I've learned that real wet plate photography had incredibly small grain, if any at all it seemed. In fact the quality of the scans of wet plate photos most often depends on the capabilities of the scanner, not the image.
So, for the most part, if you ever get a chance to take a good close look at an authentic wet plate image, it's very possible that you may not even be able to detect grain. Therefore, I've been leaving it out, or applying it very lightly.
Now, although the editing process is completely, in my opinion the look is not complete until it's been printed on the proper medium to give it that extra touch of authenticity.
My recommendation here would be to choose either a metal print with a very low-gloss, or even an acrylic print, which I think mimics the real thing even more, because a lot of wet plate photos weren't printed on metal, but on glass.
I hope you found this post informative, and I hope you follow me to see more of my digital wet plate imags.
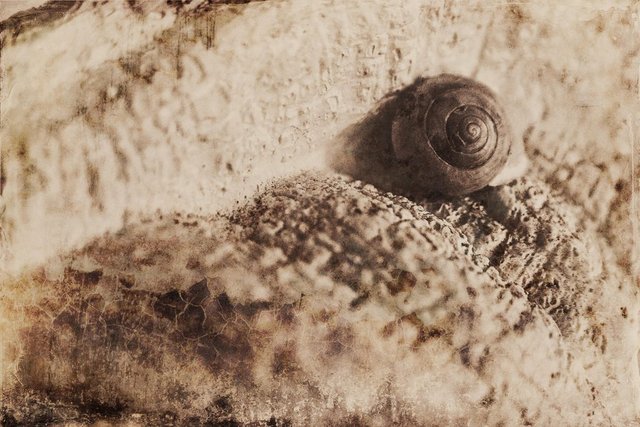
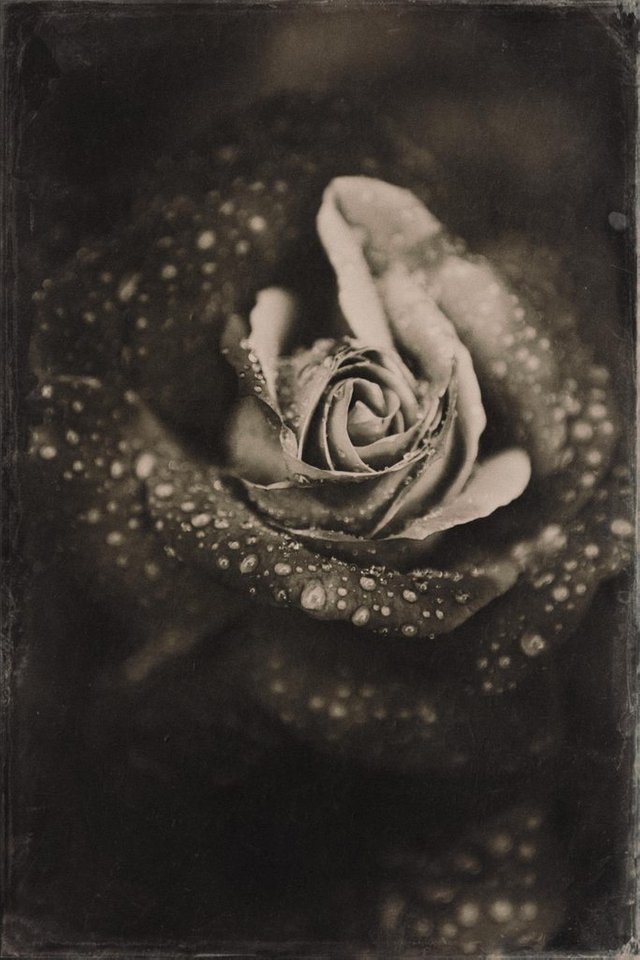
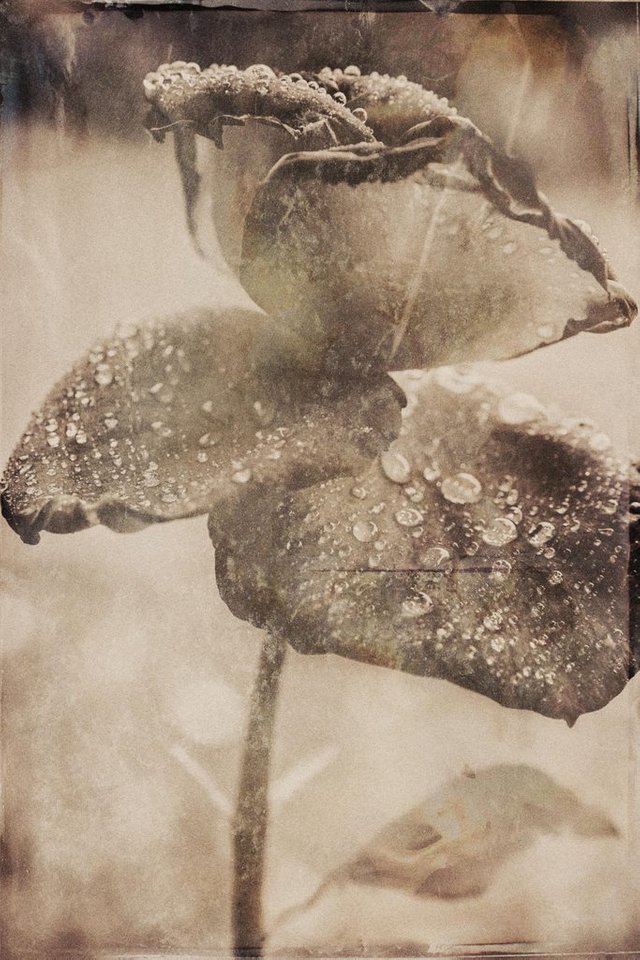
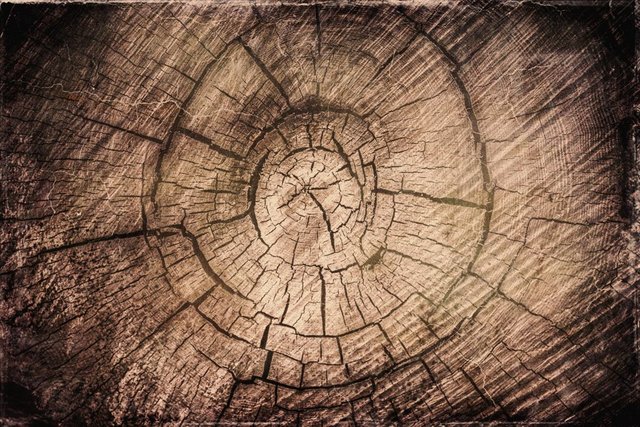
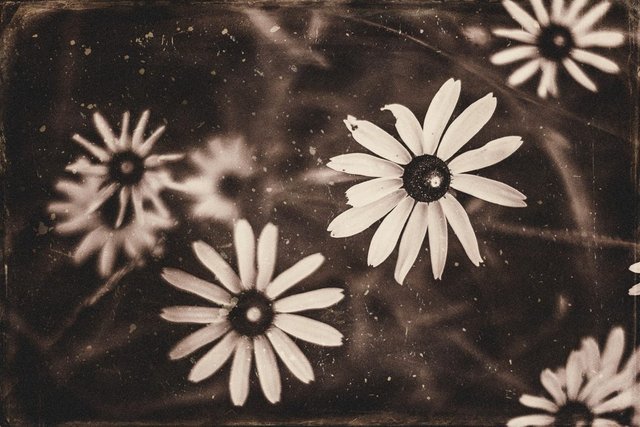
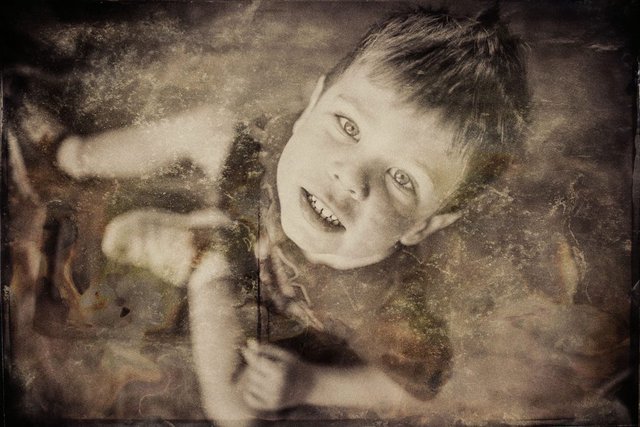
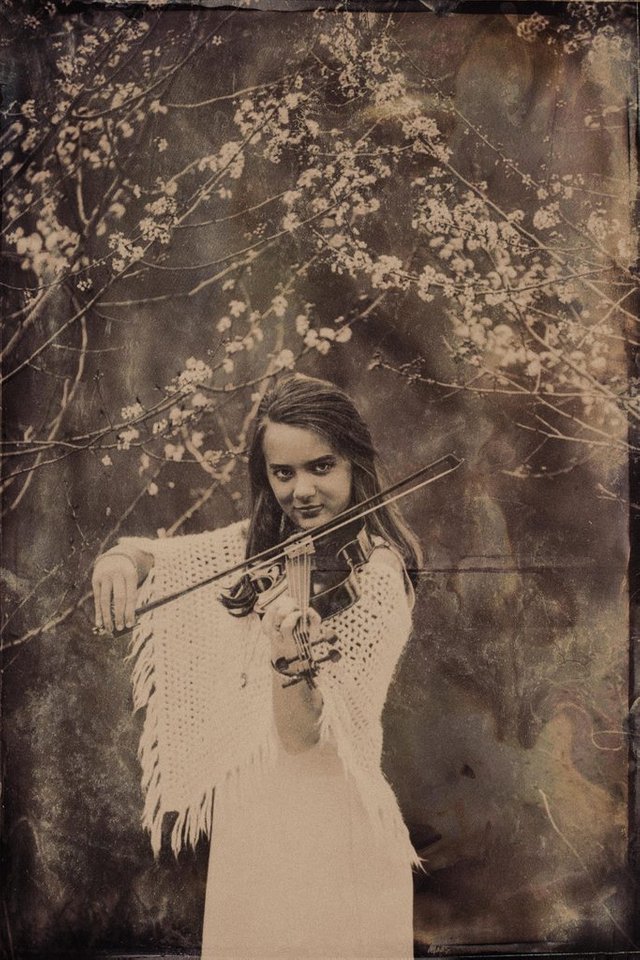
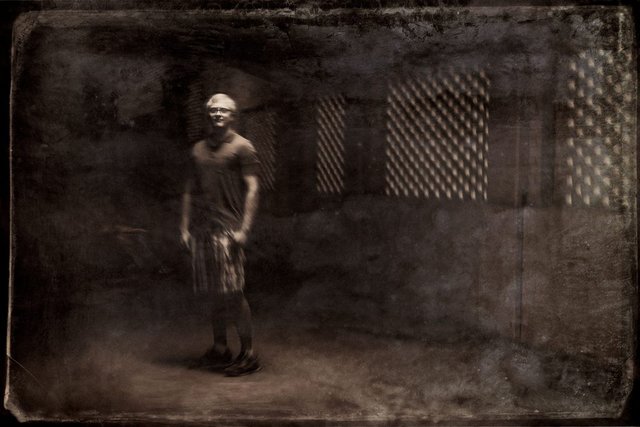
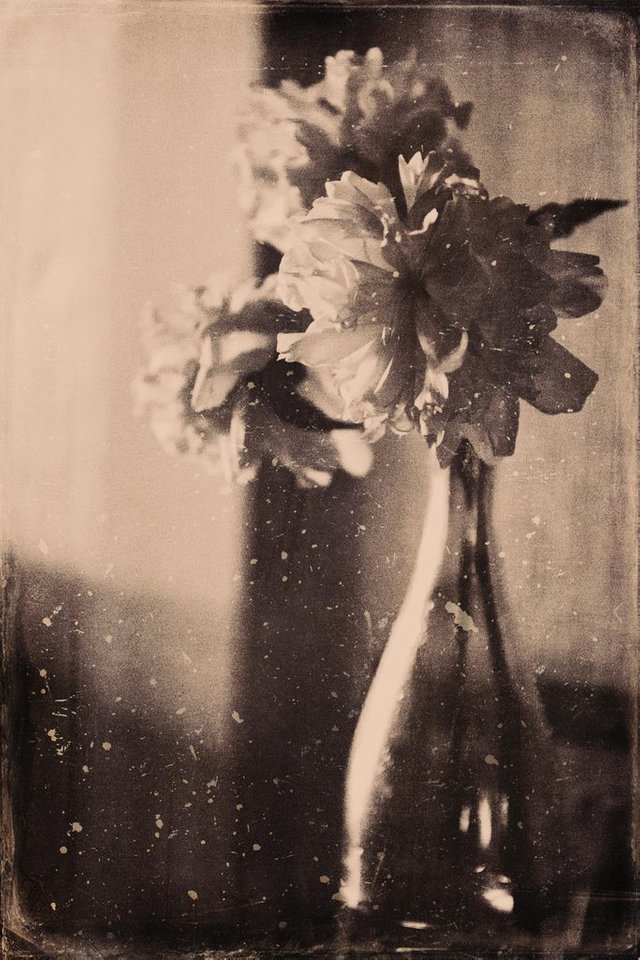
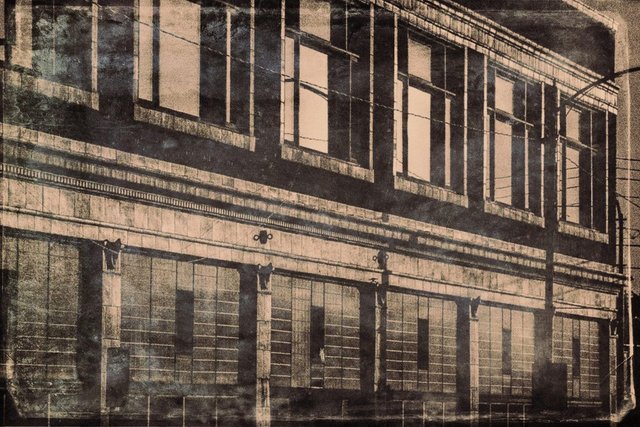
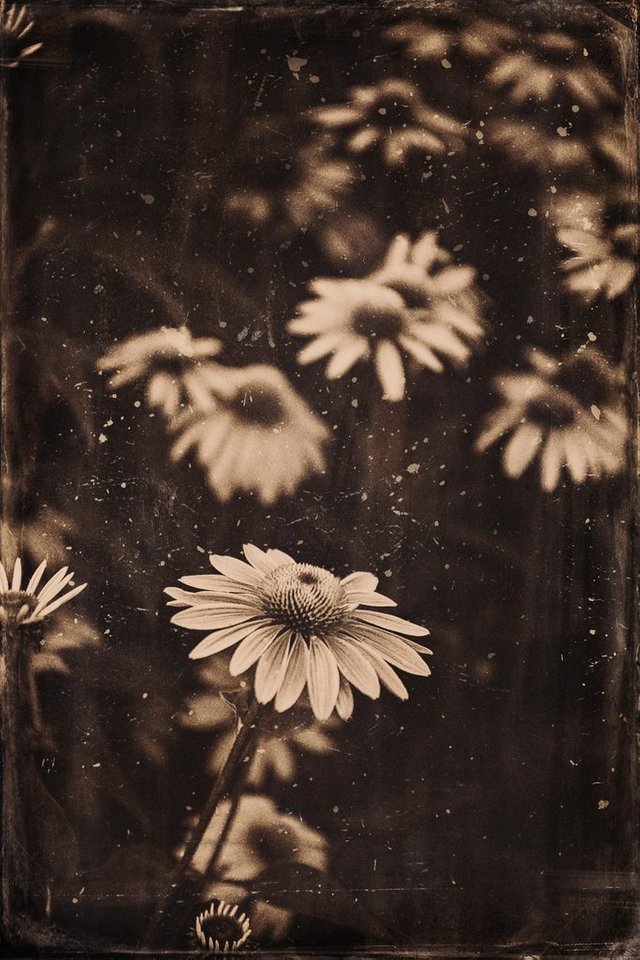
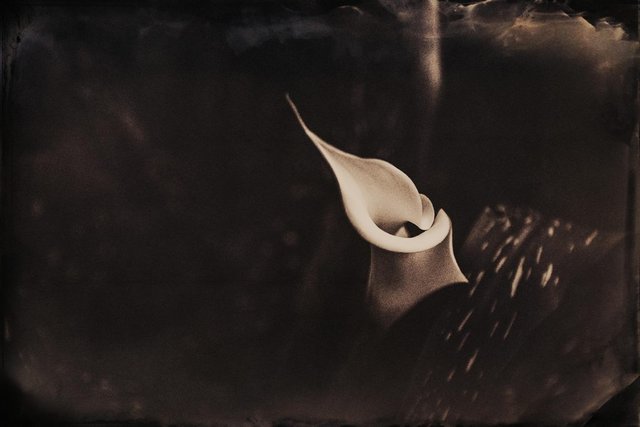
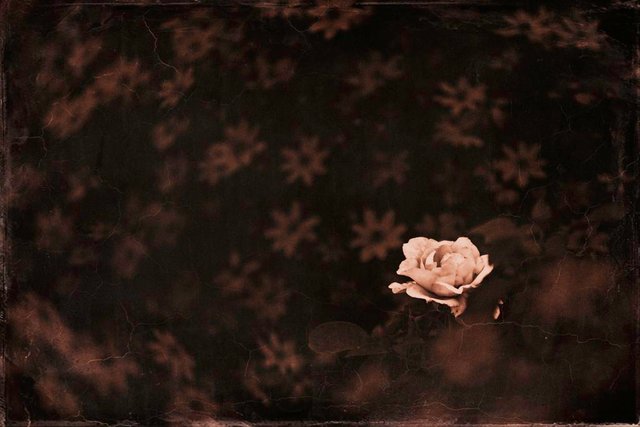
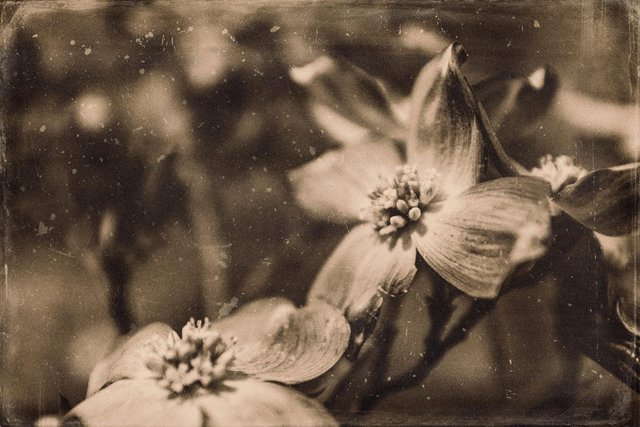
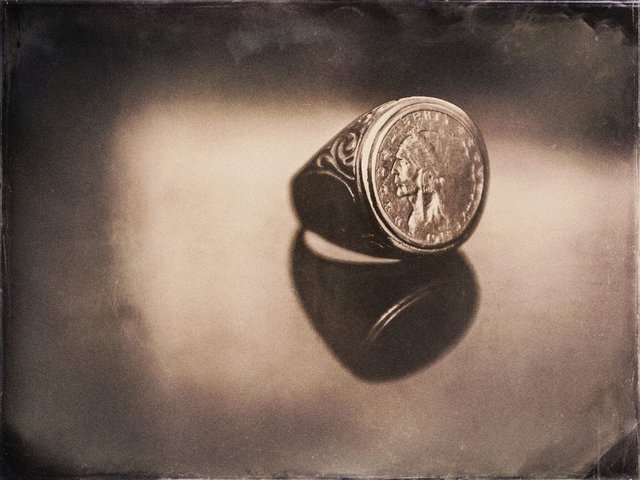
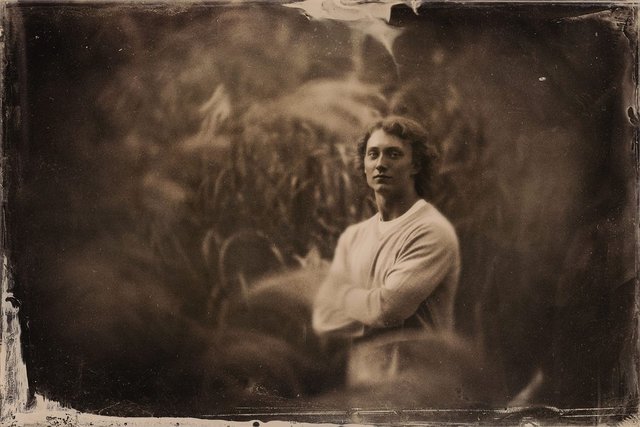
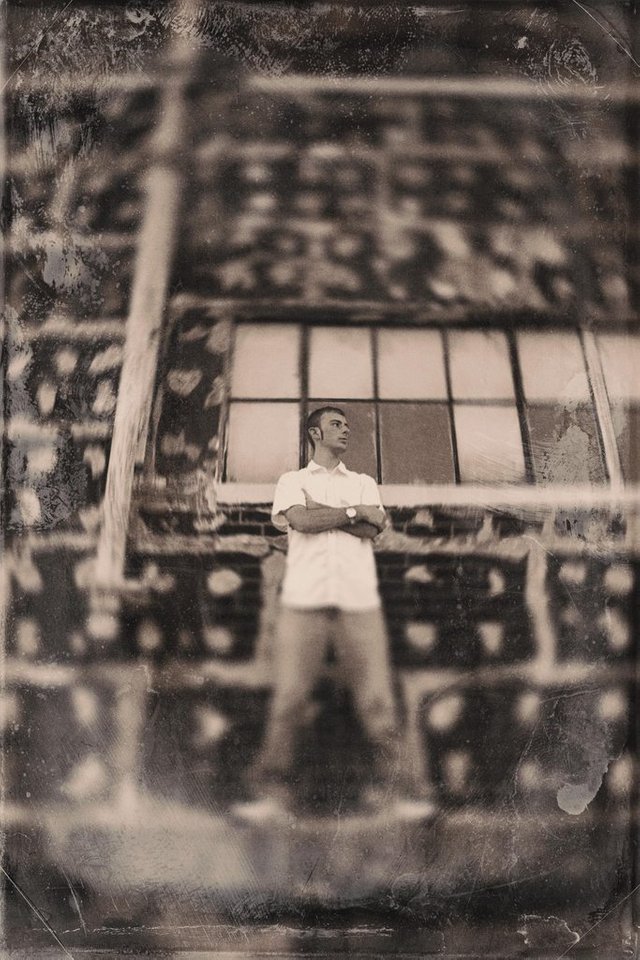
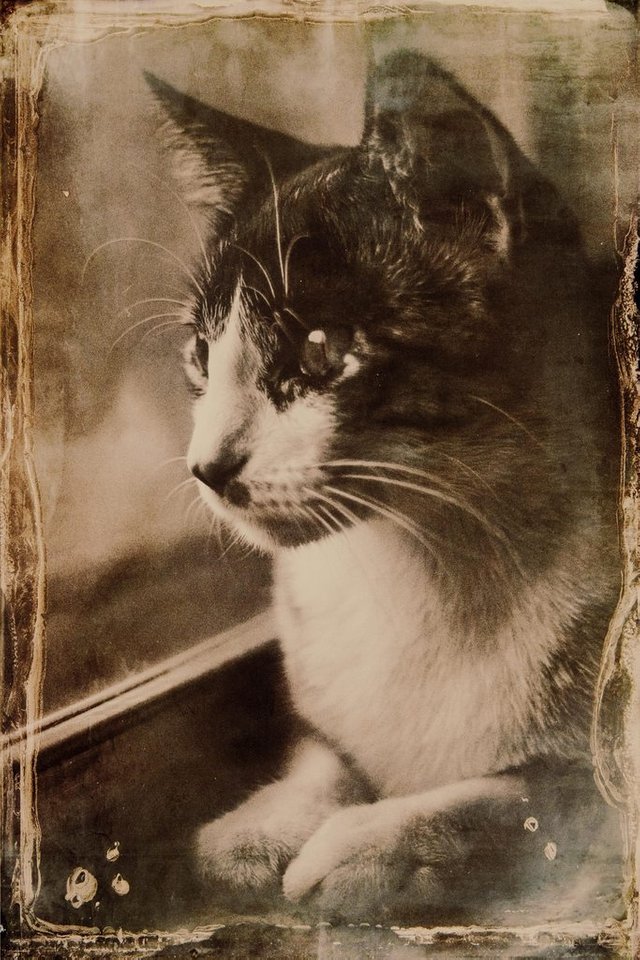
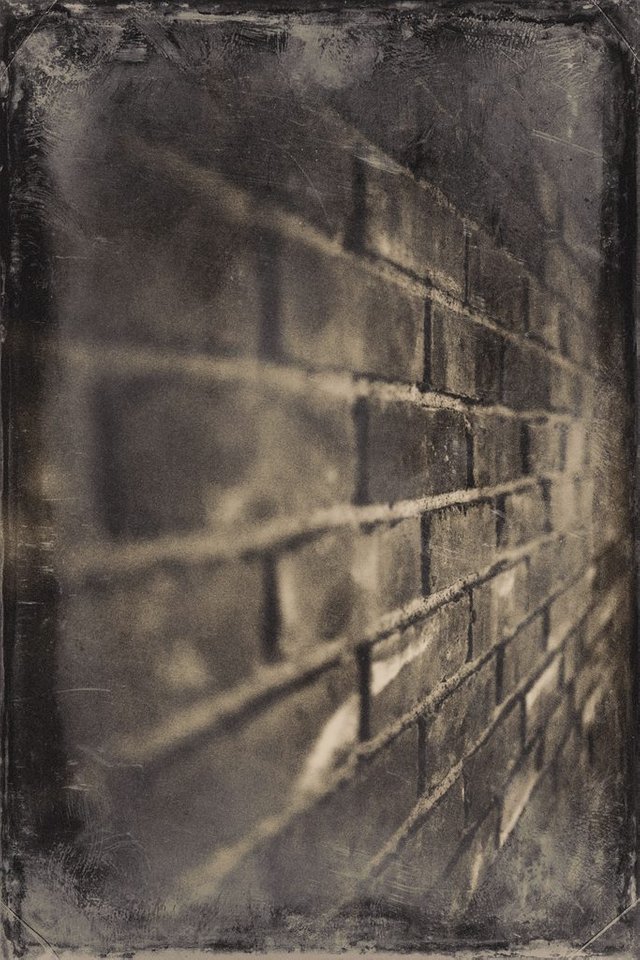
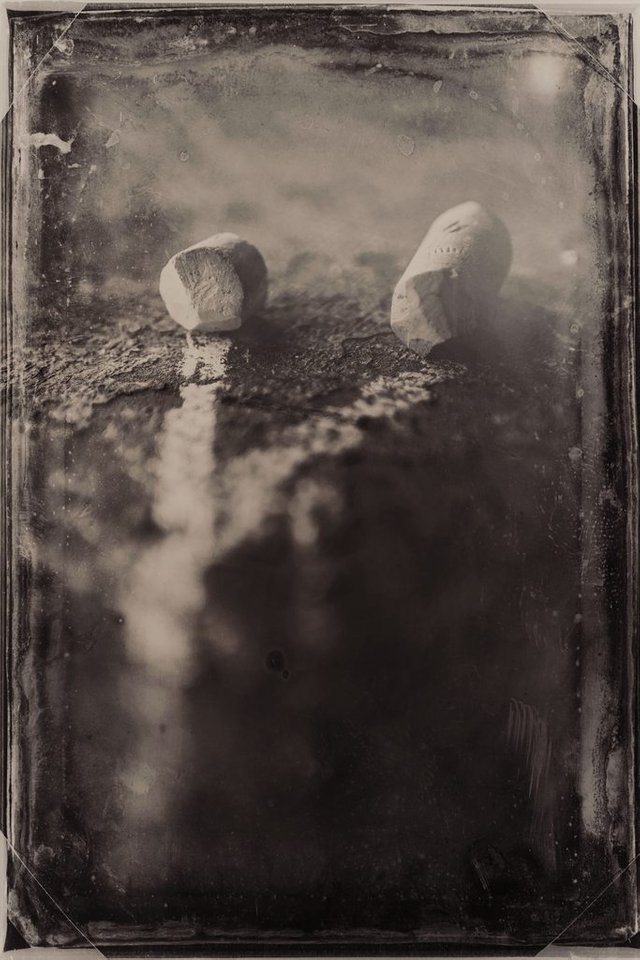
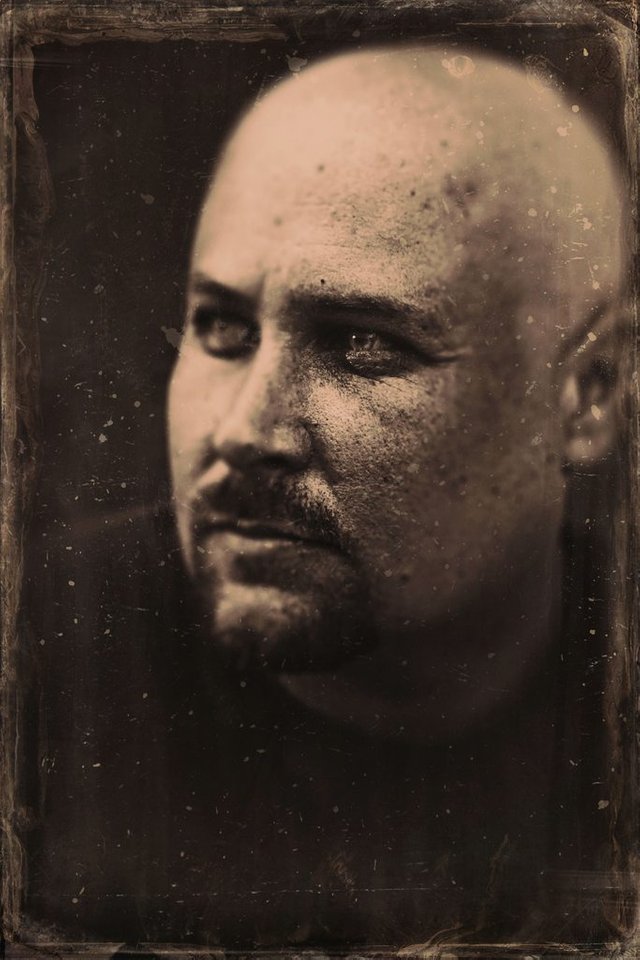
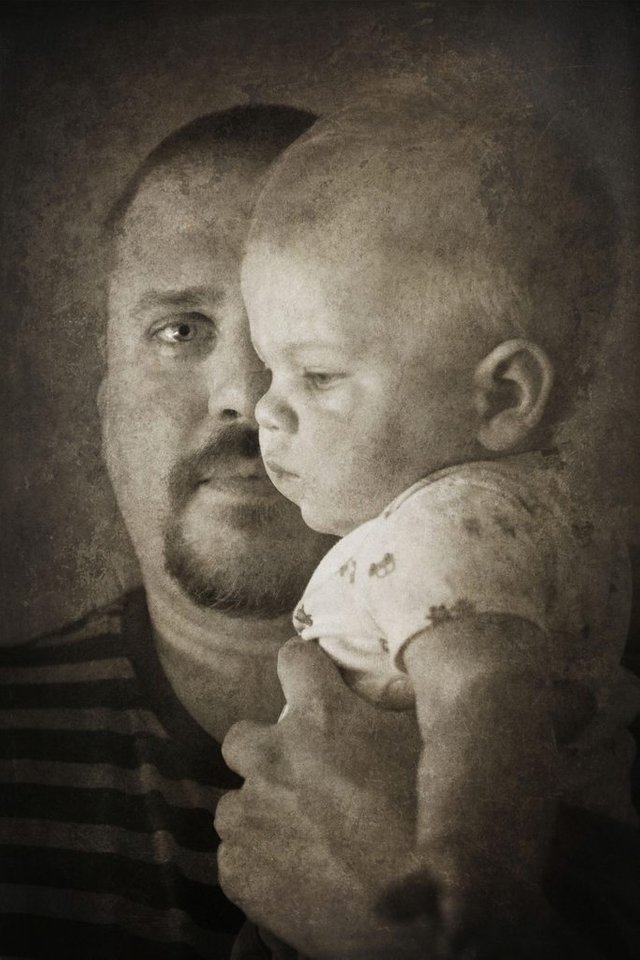
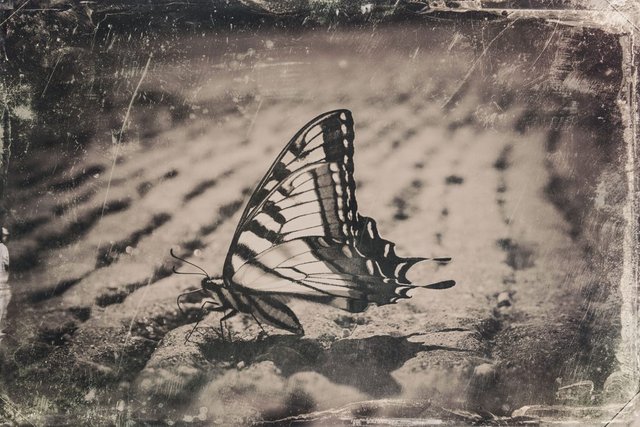
Enjoy the remaining photos!


To learn about the #wwtop5pix initiative, PLEASE CLICK HERE.


WOW man! I am speechless. They look so awesome. I want to start film photography once again, but your collodion wet plate process photos are from out of this world. (even tho they are digital :)) )
I'll look into the technical info about this, maybe even try(that mobile darkroom should be a pain in the ass). Great post, this is what Steemit needs to be.
Ditto. I want to leave a comment on how thought provoking and moving they are but just don't have the words.
Without a doubt you are a great professional, you have a lot of knowledge of work techniques, I admire what you do, in August I start my photography course, I hope to learn 10% of what you know.
You are very kind to share your knowledge
I wish you a great day
Very special and interesting set. Those photos are just ALIVE... )
Wonderful pictures... I like them too much because they all look unique. I mean there are tones of plug-ins,programs or photoshop actions but your edited pictures are really different and better than the results of the actions or plugins...
Thank you for this great informations and also pictures!
Have a nice day.... :)
First shot is incredibly great with clouds!
Original post, the photos are beautiful.
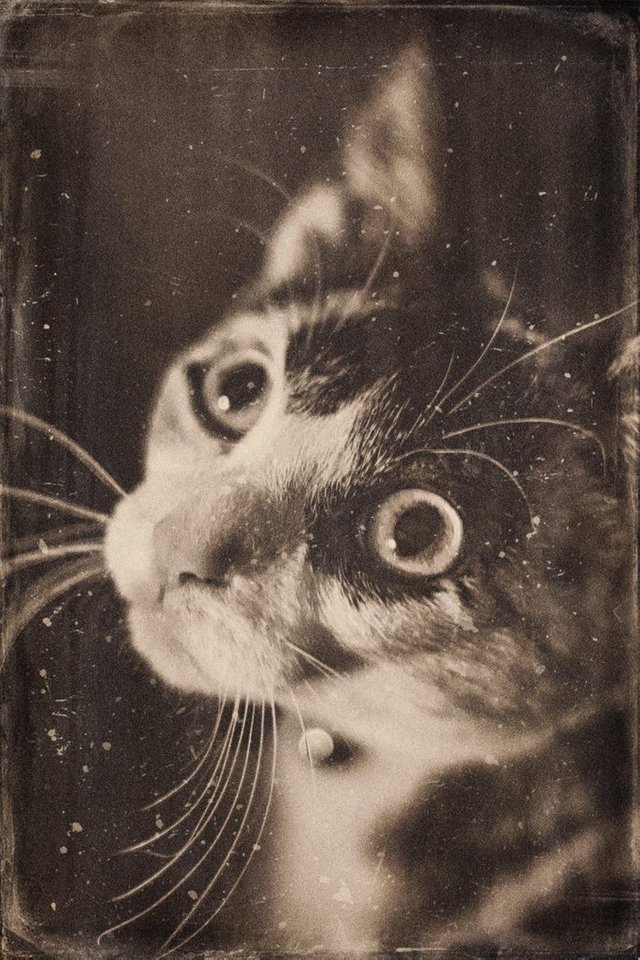
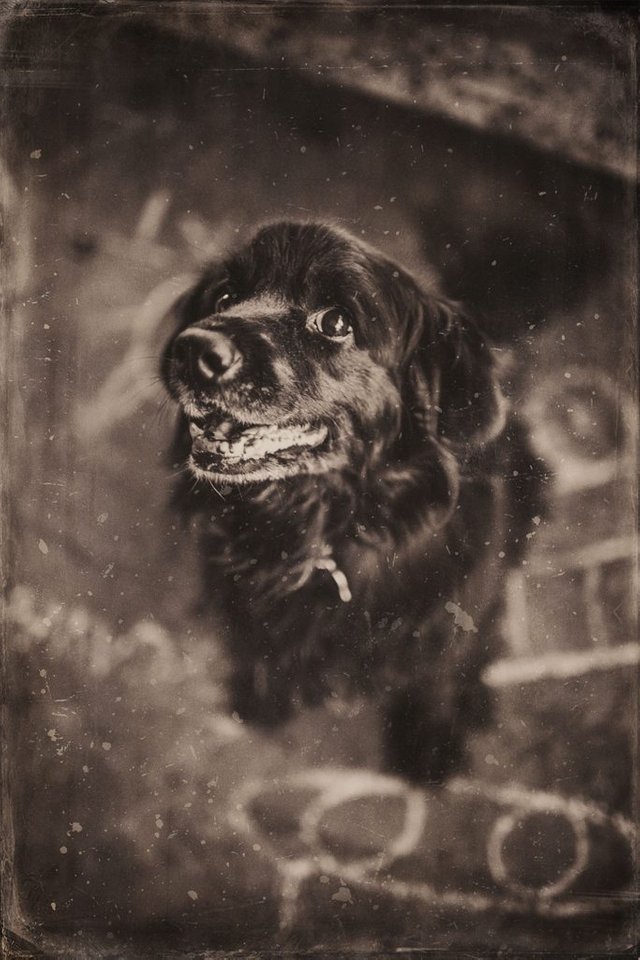
but I especially love cat's photo, it is very cute🤗
Nice post, beautiful pictures, could you throw more light on this because I'm confused, what do you mean by "We don't have a lot of blue in our skin, so it makes our skin dark".
@franny1
True wet plate photography was only ever sensitive to blue light. So all the blue things looked "brighter" than it's surroundings because colors like green, red, orange, or yellow all appeared dark... because it couldn't register those colors. There's no blue there. So because the color of our skin contains very little blue in it (usually much warmer tones like pinks reds and oranges, no matter how light or dark the skin), we appear darker than normal. This has a particularly interesting effect with people who have red hair and freckles. Wet plate photography will make those freckles really dark and make them pop. It's beautiful.
This is not my image, just a sample I found of a wet plate portrait of a red head with freckles.
Here's a great video about it featuring San Franciscan photographer, Michael Shindler.
Thank you, better understood now..... Well done
I love all of these Winston! 😊 great photography tips as well... I like how nostalgic and vintage they look. The wash over really gives them a great effect!
Resteemed and i will upvote when I have 100 % so it actually counts.
Hi @Winstonwolfe
This is genuinely cool work. I'm in love with ALL the images above.
I've traveled much of the same route some time ago and found that using old optics can help "selling" in the old photo illusion. There is certain things going on in the bokeh of old optics that's hard to re-create with modern high-end stuff.
Cheers, Erlend
Beautiful process and results!
Thanks to @randomwanderings, this post was resteemed and highlighted in today's edition of The Daily Sneak.
Thank you for your efforts to create quality content!