Designing My SteemPress Blog - Part 2: The Mockup
Read the 1st post of this series: The Wireframe & Style Guide
From the previous session, I already did a wireframe and a style guide. It was a very simple one since I will only use it for a personal WordPress blog, nothing fancy.
Here is the wireframe that I have:
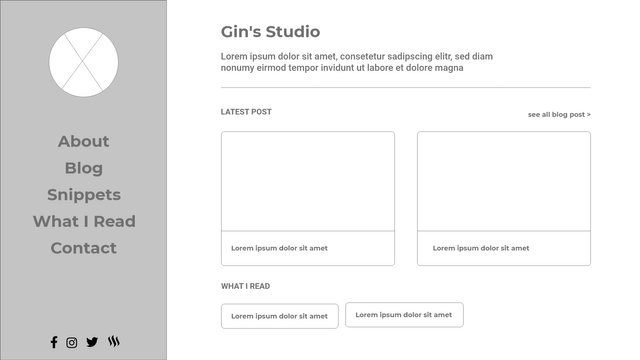
From this wireframe, I need to develop it into a mockup. So let's use that skeleton and implement all the style guide.
I use Adobe XD for this project. We can use any design tools, but Adobe XD is one of the best to date. It has this ability to store all the assets, styles, plenty of awesome plugins, and it comes with auto animate features. That feature will help us a lot in creating a working prototype.
The Mockup
To create a mockup, first, we need to pick which artboard to use. I already know that I will use bootstrap for this template development. If I don't use bootstrap, perhaps I'll choose various artboard sizes to accommodate mobile and desktop screen sizes. So, for this design, I choose a web artboard (1920 x 1080) and put a nice 12 grids layout.
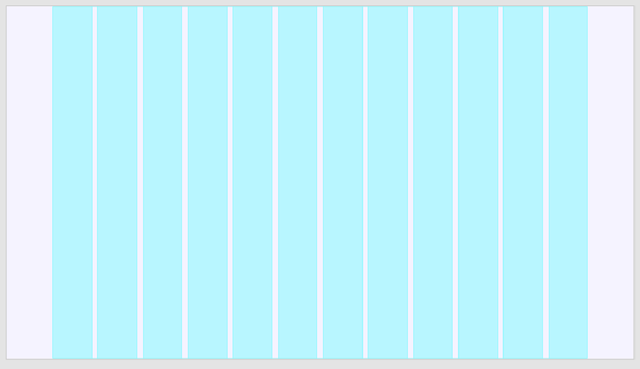
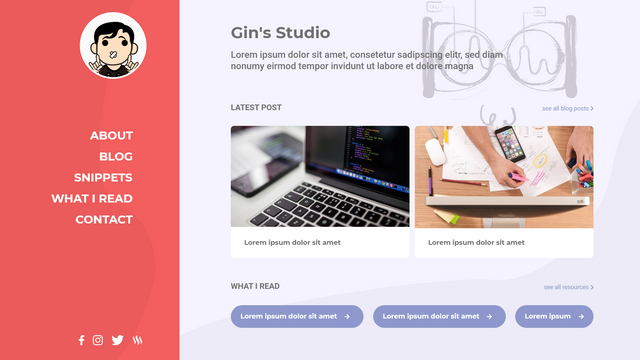
Now we already have basic ground to work. Let's start implementing that skeleton concept into the actual design. I won't polish the design at this phase. I just want to mix and match the layout and colors.
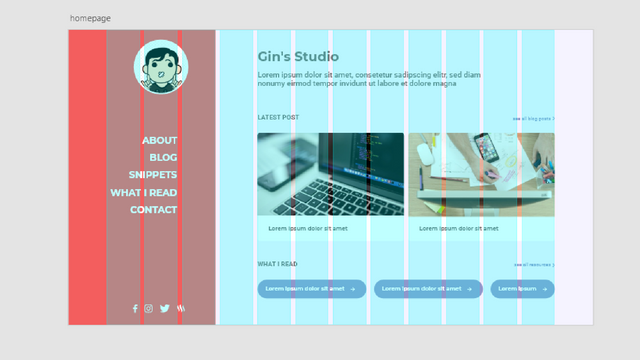
Let's remove that grid to see how's the design goin'

So far so good. Let's continue to the second part just bellow the 'above the fold' section. This part will be a container for my CSS snippets and footer to display my name.
This is what I have for the wireframe.
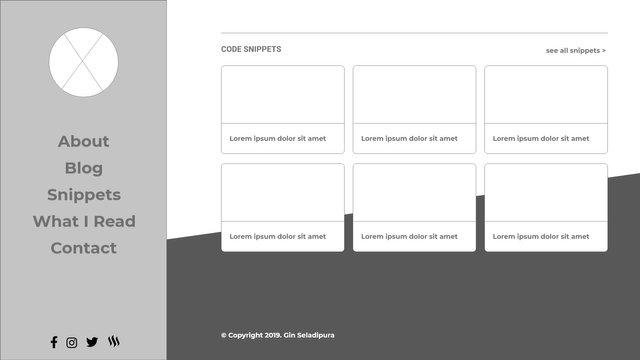
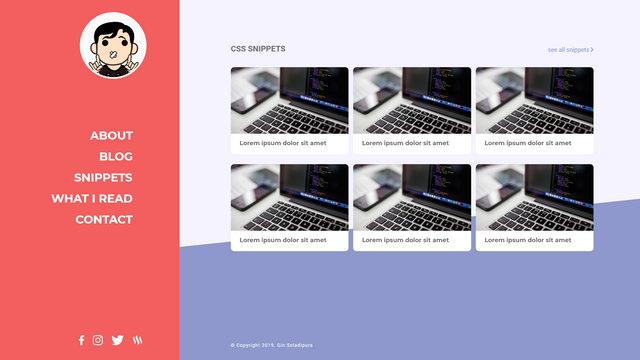
With the same method as the previous one, I start with a 12 grids layout, then put all the elements to the container.
The basic idea of this 'snippets section' is similar to the 'latest post' section. It will have a bootstrap-y cards style to display the information. But I will have many posts of these snippets, much more than my blog posts. That's why I need to reduce the card width so in a row, it will contain 3 cards. I'm planning to have 6 cards of CSS snippets on my front page.
Ok. I kinda liked the layout already. But it still needs some polishing. Maybe add some texture, curves, or add some characters into it. I'm not an illustrator but these days we can easily find free to use resources for our UI design. Some of these resources are free to use even for commercial purposes. What a great time to be alive.
Some of my favorite resources for illustration are:
For my blog design, I'll go with free illustration from absurd design. Their illustrations are weird, and I like that.
Let's add some curves and illustrations then.
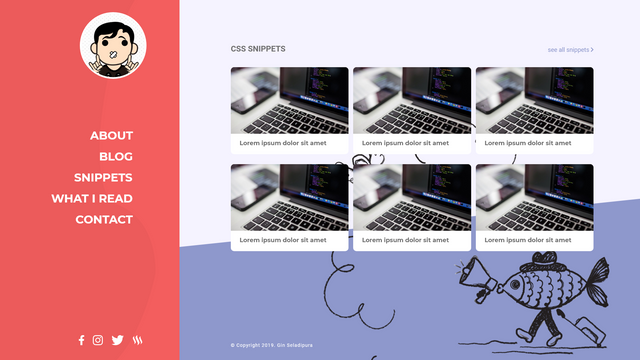
Definitely Not the best web design of the year. LOL. But I like it. I think I'm gonna save this work for now.
I guess that's it for today. For the next part of this series, I will try to code this template into an actual WordPress theme. It won't be too complicated since we will use a popular WordPress starter theme. All we have to do is just styling the CSS. All the WordPress hack, hook, or whatever to make our theme function well, it's already handled by that starter theme :)
All rite.
See ya!
cover image by William Iven from Pixabay, edited with Canva.
What surprised me when I started using steempress was that the design is not transferred. Steempress also seems to be unsupported anymore, although it generally does what it's intended for - it publishes a WordPress post on the steem blockchain.
You can see examples of how steempress works by comparing the original post on http://vd-photography.com/index.php/2019/12/10/mount-kirkjufell-and-kirkjufellsfoss-iceland/ and steempressed: https://steemit.com/howisitmade/@dejan.vuckovic/mountkirkjufellandkirkjufellsfossiceland-vkc7eo93ty
Hi, Your blog is awesome! :)
Looks like steempress couldn’t handle heavy formatted blog as yours. I don’t know if markdown could handle such advance formatting.
Yes you’re right, for the simplest goal that is to directly publish post from wordpress blog on the steem blockchain, steempress is doing fine.
As for my blog, I’m fully aware of this limitations. Actually, that is why I decide to give steempress a try. I want to start normal blogging with simple design, both for people in steem and outside the chain.
Thank you for stopping by.
Have reblogged to thousand followers.. Thank you so much to vote @puncakbukit as witness.
Shared on my twitter: https://twitter.com/ginseladipura/status/1205909005681344512
Congratulations! Your post has been selected as a daily Steemit truffle! It is listed on rank 11 of all contributions awarded today. You can find the TOP DAILY TRUFFLE PICKS HERE.
I upvoted your contribution because to my mind your post is at least 3 SBD worth and should receive 195 votes. It's now up to the lovely Steemit community to make this come true.
I am
TrufflePig, an Artificial Intelligence Bot that helps minnows and content curators using Machine Learning. If you are curious how I select content, you can find an explanation here!Have a nice day and sincerely yours,

TrufflePigGood robot :)
Congratulations @gibic!
Your post was featured on our daily build newsletter! We've sent 100 liquid BUILD tokens to your wallet upon which you can sell, trade or buy on steem engine or SteemLeo. We've also shared your work on our Facebook and Twitter pages for more exposure.
Keep sharing your awesome DIY and How-to tutorials together with the recommended tags #diy, #build-it, #how-to, #doityourself, #build as well as posting from our website
This post was shared in the Curation Collective Discord community for curators, and upvoted and resteemed by the @c-squared community account after manual review.
@c-squared runs a community witness. Please consider using one of your witness votes on us here