"Back From The Dead" 1949 Plymouth - part II
Yesterday here in northeastern PA we had a big ol' sloppy snow-sleet-rain-snow-rain-snow storm which left the roads undriveable for 99% of the populace (basically everyone besides plow trucks and me.)
So, what to do on a day off? Well, while @msvee was baking me some big fat peanut butter brownies and an amazing turkey sausage frittata (which you should totally check out here: https://steemit.com/food/@msvee/turkey-sausage-and-pepper-frittata) I got to spend a rare weekday afternoon in the shop making more progress on the 1949 Plymouth.
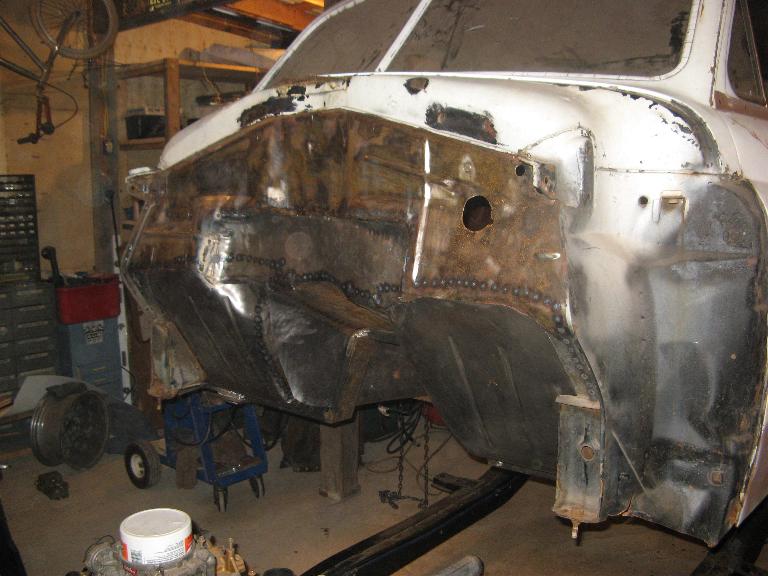
In the previous post, I mentioned how I basically had to cut out the entire rusted floor and start replacing it piece by piece. Now, I'm sure a bunch of you would think this is a daunting task. Not gonna lie - it is. Even for me, a guy who has wrenched on all manner of rusty junkers for around 35+ years, this has been the furthest I have gone in terms of resurrecting a vehicle.
But, NOTHING makes you more fearless about doing stuff than diving in and getting it done. After this car, I can no longer feel intimidated by rust. And, considering I don't have the funds to go buy something mint and rust-free, here in the northeast that usually means I'll be dealing with rust on just about any old car I'll ever buy.
I used a couple chainfall hoists to raise and lower the body onto the frame in the shop, which I'll have to do numerous times to do all the fitting and fabrication.
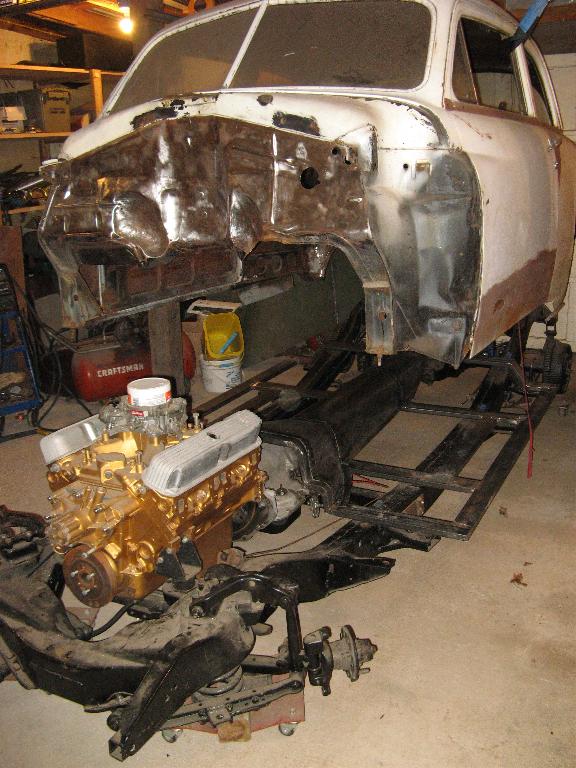
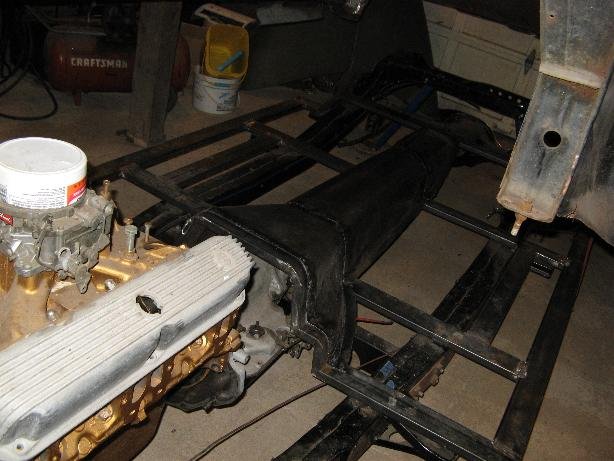
After yanking the old flathead 6 cylinder and replacing it with a 318 V8, I decided to fabricate all new framework for the floorboards with 1x2 rectangular tube steel, and made the tunnel to fit around the transmission, making sure to make room for the floor shifter mechanism.
I'll go over the chassis mods in a later post.
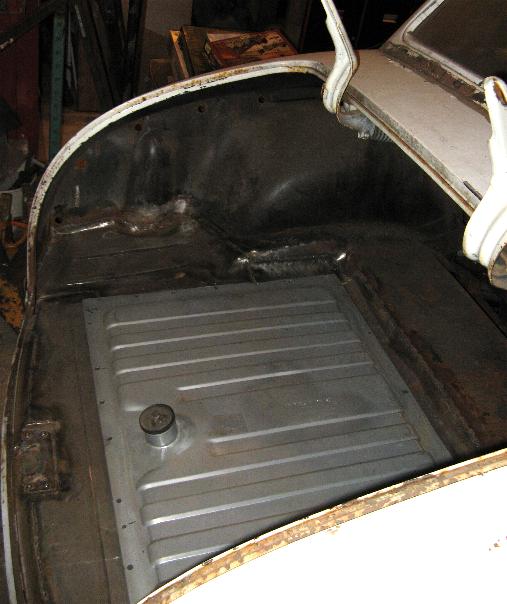
The trunk floor was also toast and needed to be cut out, so I made patterns with posterboard from the dollar store, and used 20ga cold-rolled sheetmetal with beads rolled in to prevent oilcanning. I decided to use a new stainless '65 Mustang gas tank which I got on ebay for something like 180 bucks.
Yesterday's big progress was finishing the footboards, recessed firewall, and transmission tunnel. This was HUGE, because all these pieces had to be hammered by hand (sadly, I don't own a planishing hammer or English wheel) and there were SO MANY tight compound curves. With all the hammering, I felt like my one arm was like Popeye's.
The other big accomplishment with this is now the rest of the floors are all just basic flat pieces, which should only take a day of work! Cut 'em out, roll beads, weld 'em in!

Here's a shot of the recessed firewall
Still needs a little finishing work to smooth over a bit better, but for now, this makes me feel like Mr. Accomplishment!
That is pretty badass! Curious how you get the "papers" for a car like that? There must be a bunch of them hiding in barns all over, but the titles......?
This one actually came with a title! If not, there is always a way. Us gearheads have a way of making things work out of nothing!
We know the snow all to well. Greets from Central PA! Has she been in your possession since production?
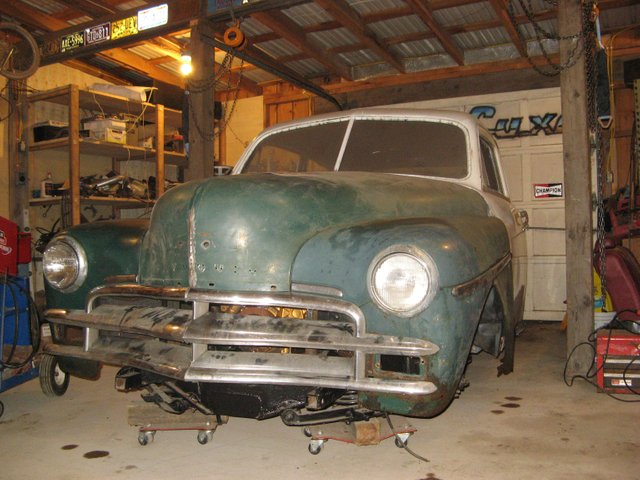
No, I'm not that old! We picked this one up last year. It had been sitting in a field on a farm since 1975 and was completely rotted. Here's a pic of us dragging it home after buying it...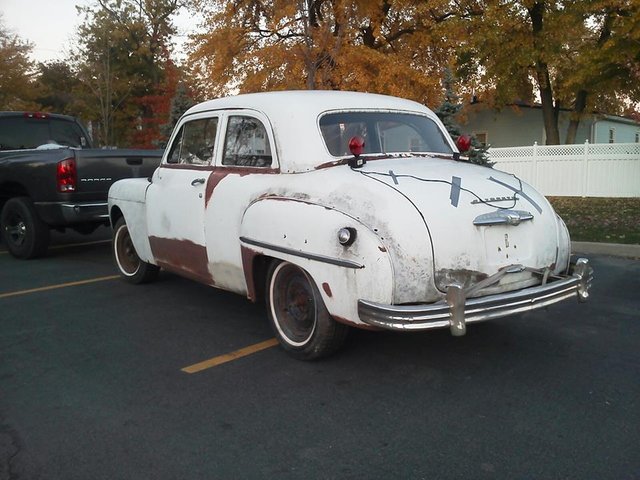
Nice, greetings from Nigeria
Looks like your making great progress. And we have got lots of snow over here also and more during the weekend.