Setting up Ionic 3 with MeteorJs Backend
Nowadays, Ionic is one of the easiest way to get done a powerful cross-platform apps. However, there are several users finding information on how to implement a backend into an Ionic app. Most of the users decides to use a serverless solution (such as Firebase) to their apps. Nevertheless, this solution is not efficient to all users (like me).
This tutorial requires you be familiar with setting up the Ionic framework to get started. If you are not familiar, it is highly recommended that you follow this tutorial Building Your First Multiplatform Apps Using IONIC and then you come back to this one.
Getting Started
Creating the Ionic project
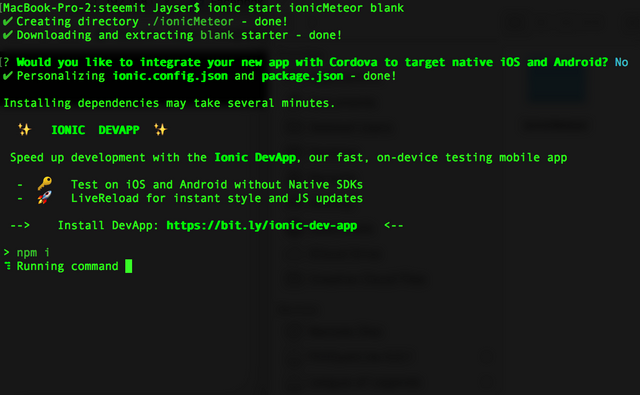
First thing to take in mind is to go the the directory where you want to have your projects. and use the following command to initialize a new project:
Ionic start ionicMeteor blank
Now, navigate to the created folder by doing the following command:
cd ./ionicMeteor
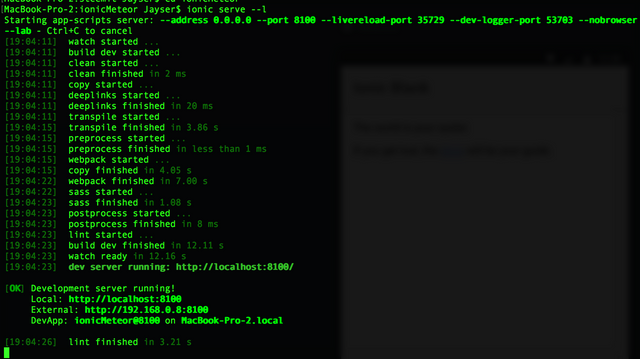
Then, make sure your project is working fine by running it:
Ionic serve --l
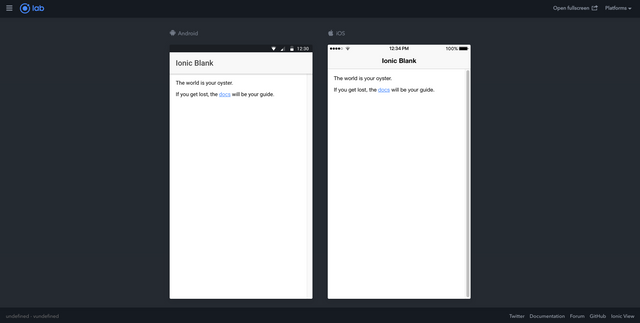
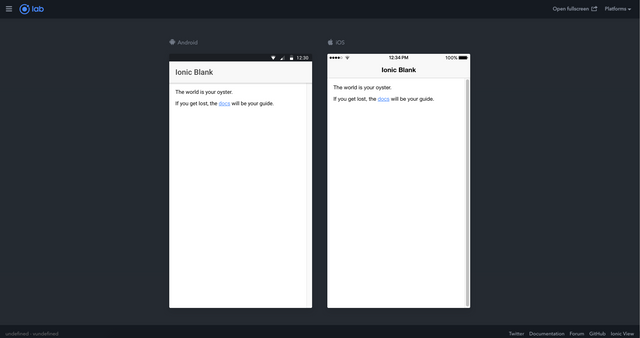
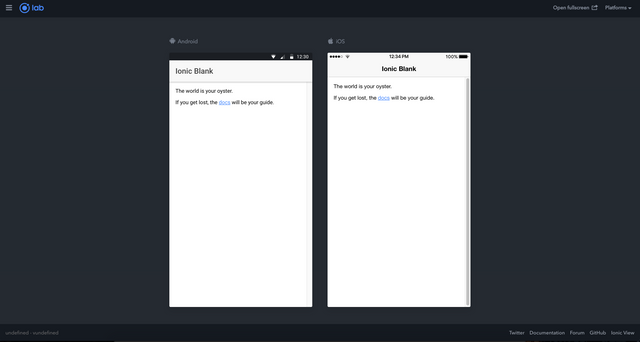
And you should get a webpage like the next one:
Preparing project for Meteor Js
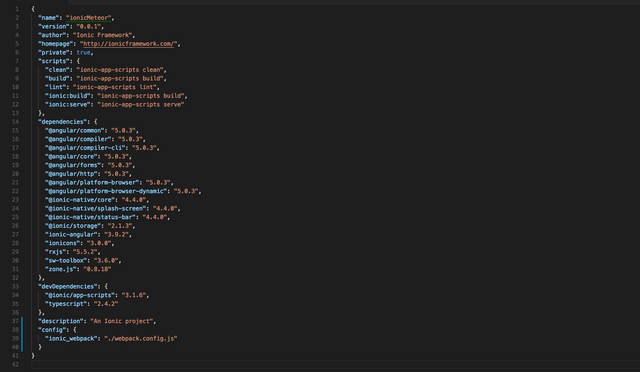
Before getting started, we need make some configurations into our Ionic project. So, the first thing is to include Webpack into the project. To do so, open the package.json of your project and reflect it to the following:
"config": {
"ionic_webpack": "./webpack.config.js"
}
However, it will throw an error since this file does not exist. But, Ionic provide us a default config file which is located under "node_modules/@ionic/app-scripts/config/webpack.config.js" and can be copied to our project root by using the following command:
cp node_modules/@ionic/app-scripts/config/webpack.config.js .
Now, we will add the following abilities to the project:
- Load external TypeScript modules
- Have a direct alias to our backend
- Be able to use Meteor packages and Cordova plugins.
Since this step is so large, feel free to copy the content of the following file into your "webpack.config.js" file:
Then, since we are using the module typescript-extends, you need to install it by running the following command:
npm install --save-dev typescript-extends
Typescript configuration
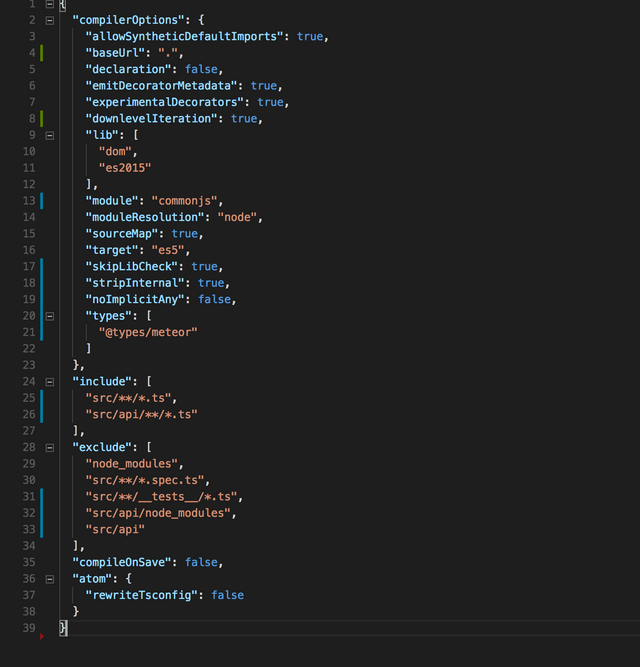
Now, we will tell TypeScript compiler to include the api folder (this folder will be created when we initialize the Meteor project) during the compilation process. To do so, open the tsconfig.json and reflect the following file:
You can get this file in the following gist: tsconfig.json
This configuration requires us to install declaration types for Meteor. This can be done by executing the following command:
npm install --save-dev @types/meteor
At this point, we are ready to set up Meteor Js. But first, let's run the app once again to confirm that there is not any errors in the configuration:
Ionic serve --l
And if everything is correct, you should get the following screen once again
Meteor Js Set up
Now that our Ionic project is ready for the Meteor Js power, we can start by installing Meteor Js if it is not installed in your machine. To do so, you just need to run the following command:
curl https://install.meteor.com/ | sh
Once it is done, navigate to "src" folder of the app into the command line:
cd src
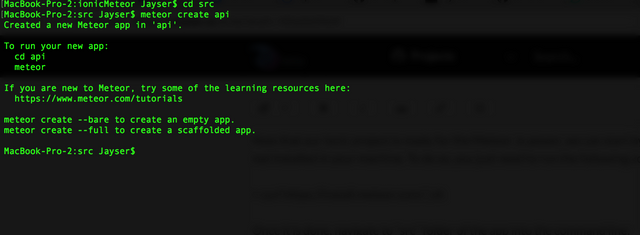
and create a new Meteor project inside this folder by using the following command:
meteor create api
Now that our Meteor project is created, we need to remove the following from the api folder:
- node_modules folder
- client folder
- package.json and package-lock.json files
Why remove these? Because we do not want to have duplicated files in our stack so, we will make a symbolic link to them.
So, go to the api folder by doing:
cd api
To remove node_modules folder run the following command:
rm -rf node_modules
To remove client folder:
rm -rf client
To remove package.json and package-lock.json files:
rm package.json package-lock.json
And now, we will create a symbolic link to the files needed:
ln -s ../../package.json
ln -s ../../package-lock.json
ln -s ../../node_modules
Since we are using Typescript and no Javascript, we need to make our Meteor project to be compatible with Typescript. Inside the "api" folder, run the following command to make Meteor compatible with Typescript:
meteor add barbatus:typescript
The next thing is to create a "tsconfig.json" into the "api" root folder:
touch tsconfig.json
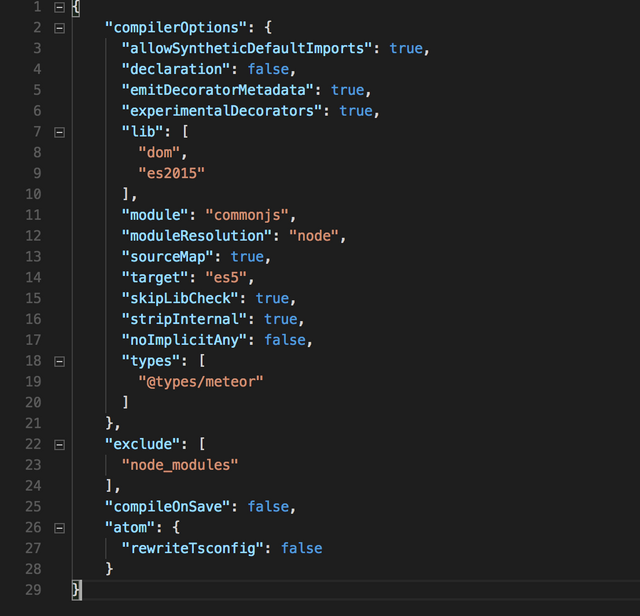
And reflect the following changes to this new file:
If you do not want to follow this image, feel free to copy the file content from this GIST tsconfig.json API
Now, since Meteor generate .js files by default, let's change the extension of "server/main.js" to "server/main.ts":
mv server/main.js server/main.ts
The next thing is to go back to the root of the project folder:
cd ../../
and install the following dependencies so, our backend can run properly with our Ionic Angular front-end:
npm install --save babel-runtime
npm install --save meteor-node-stubs
Hooking up Ionic 3 With Meteor
Now that our project is ready to connect to Meteor backend, we need to install meteor-client-bundler in order to generate all Meteor client script into a single injectable module for our Ionic client. To do so, we need to install globally the following dependence:
sudo npm install -g meteor-client-bundler
And in order to use this dependence, we need to also install the "tmp" module to generate temp files:
npm install --save-dev tmp
The next thing is to include a custom script for generating our client bundle. To do so, we need to open the package.json into our project's root folder and add the following into the scripts section:
"meteor-client:bundle": "meteor-client bundle -s src/api"
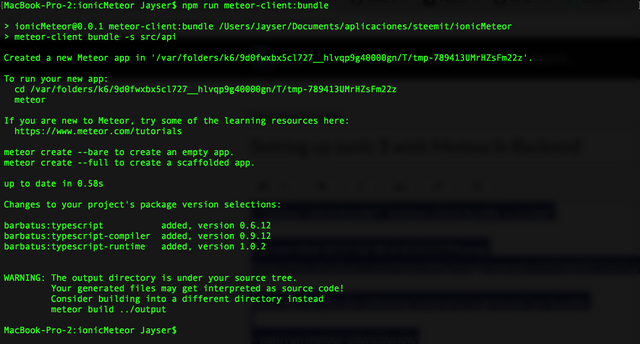
Now, you can run the following command to generate our bundle:
npm run meteor-client:bundle
By doing this, we are able to import our meteor client by using the following import:
import 'meteor-client';
So, open the following file "src/app/main.ts" and at the top of this file, include the following import:
import 'meteor-client';
By default, it will listen to Meteor on port 3000 (which is the default port using in Meteor) but you can specify your own port by using --url flag in the npm script that we included before.
Running the app
To run the app, I prefer to have 4 command lines (YES FOUR!). Why that much? Because we will use two to run Ionic and Meteor, and two more to add packages to both :).
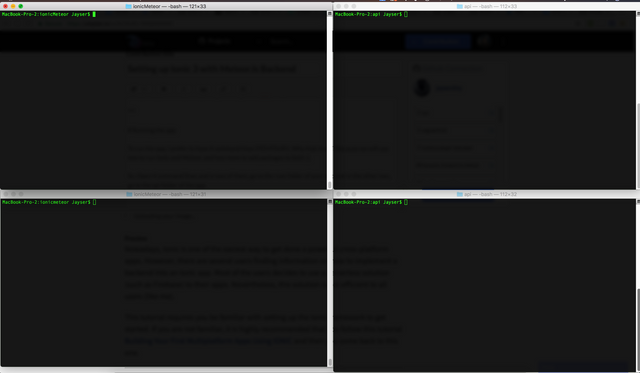
So, Open 4 command lines and in two of them, go to the root folder of your app and in the other two, go to the api folder of the app.
If you use my setup, you will end up with something like this:
So, in the first command line, run the following command:
ionic serve --l
and in the command line next to this one, run the api:
meteor run
Once both are running, you can expect the following results:
BUT WAIT! There is still the same! Yeah, actually the UI is still the same. However, when you open your browser console, you can confirm that Ionic is connecting to the port 3000 using sockets :D
So, yeah! Meteor is successfully connected to Ionic at this point!
Quick Starter
For those who wants to start using the integration without following the tutorial, feel free to fork/clone my ionic-meteor-starter repo:
ionic-meteor-starter repository
If you have any question regarding this tutorial or if you are facing technical problems, do not hesitate to leave a comment in this post and I will certainly help you 👌🏼
Next tutorial: Ionic 3 Meteor - First server methods
Posted on Utopian.io - Rewarding Open Source Contributors










Hey @jaysermendez I am @utopian-io. I have just upvoted you!
Achievements
Suggestions
Get Noticed!
Community-Driven Witness!
I am the first and only Steem Community-Driven Witness. Participate on Discord. Lets GROW TOGETHER!
Up-vote this comment to grow my power and help Open Source contributions like this one. Want to chat? Join me on Discord https://discord.gg/Pc8HG9x
Thank you for the contribution. It has been approved.
You can contact us on Discord.
[utopian-moderator]
This is what we do for our business
I am using this implementation for my business also :). I will be launching to the market in-between mid-2018.
@originalworks2