(PT 2) Ethereum Front End - Web3.js On Browser, React, Switching Chains And Pulling Data (Part 2)
Repository
https://github.com/igormuba/EthereumFrontEnd/tree/master/class2
What will I learn?
- Connecting React to web3
- Serving web3 to the browser
- Connecting web3 to Metamask
- Pulling data from the blockchain
- Switching between Ganache and Ethereum Main net
Requirements
- Chrome or Brave Browser
- Metamask browser extension
- Node/NPM
- Ganache
Difficulty
- Intermediary.
Introduction
On the previous tutorial of this series, you were introduced to web3.js, which is a framework for you to use Javascript to interact with the Ethereal blockchain! In our case, we are actually using Ganache to interact with a simulated blockchain. In the end, it works the same way, but by using a simulated blockchain we won't spend real Ethereum!
Web3.js is not the only framework for that, there is also "ethers.js", but for now, let's use web3, which is the "official" Javascript framework.
Previously, we have used the backend to understand how does web3 work and what are a few functions we can do with it. However, the goal of this tutorial is to go from the backend, which we have been doing in the previous series, to the front end. For the front-end, we will use React.js to serve the web3 to our browser. We will start a new project from scratch, which will be a so-called "react app".
Getting react
To create a react app on node js, we need to install something called "create-react-app". According to the documentation, you can get this feature with just
npm install create-react-app
With this tool, you won't have to create a new node project, initiate it and import react. You will be able to just run a command and create a new react app from scratch. You will only be required, from there on, to personalize according to your project specifications.
cd to the folder where you want to create your new react project, and inside it do:
create-react-app frontend
"frontend" is the name of the app I am creating for didactic purposes, as we are in a front end tutorial.
You will see a screen like this.
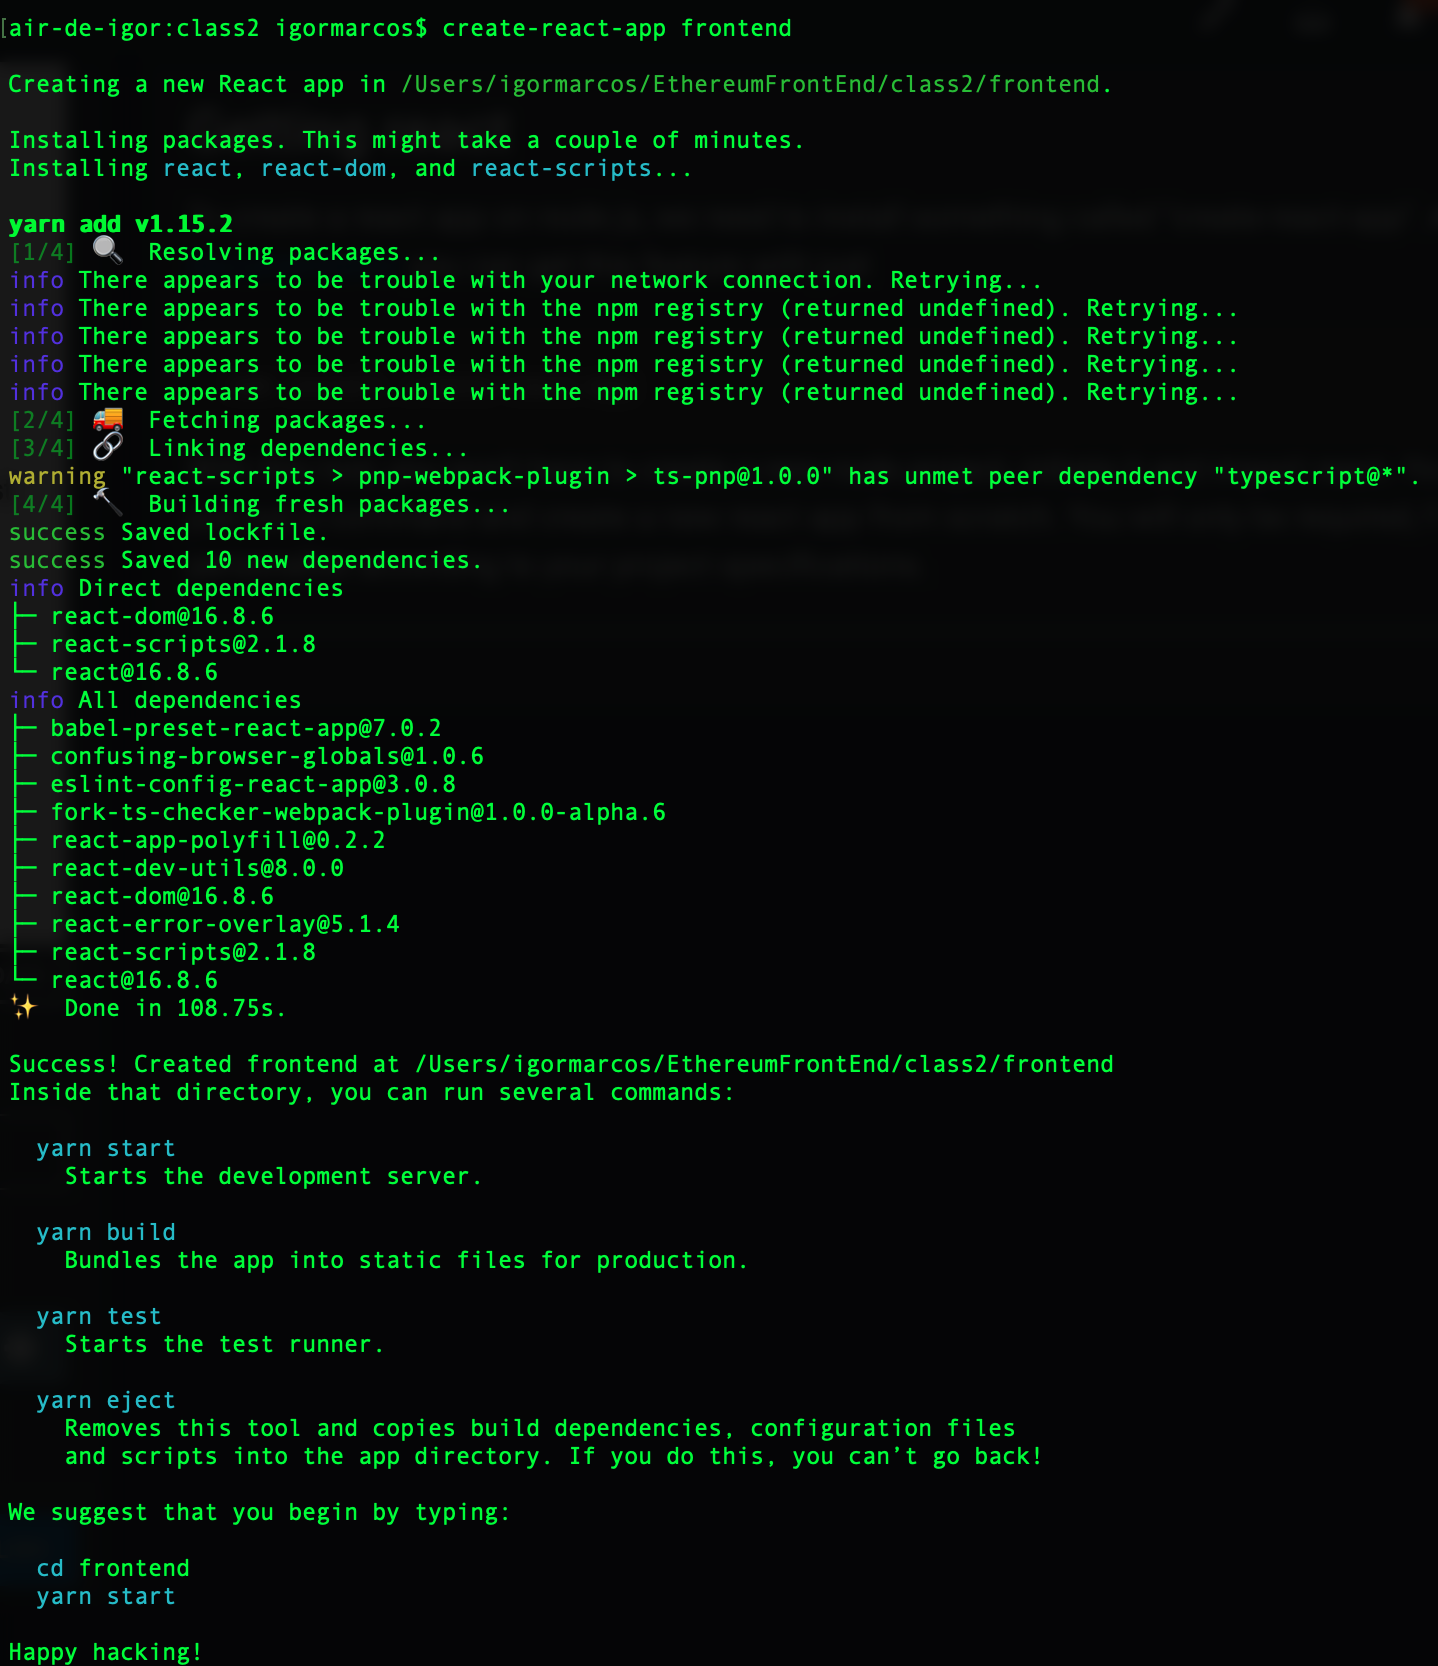
If you are successful, in the end you will see the classic "happy hacking!" message.
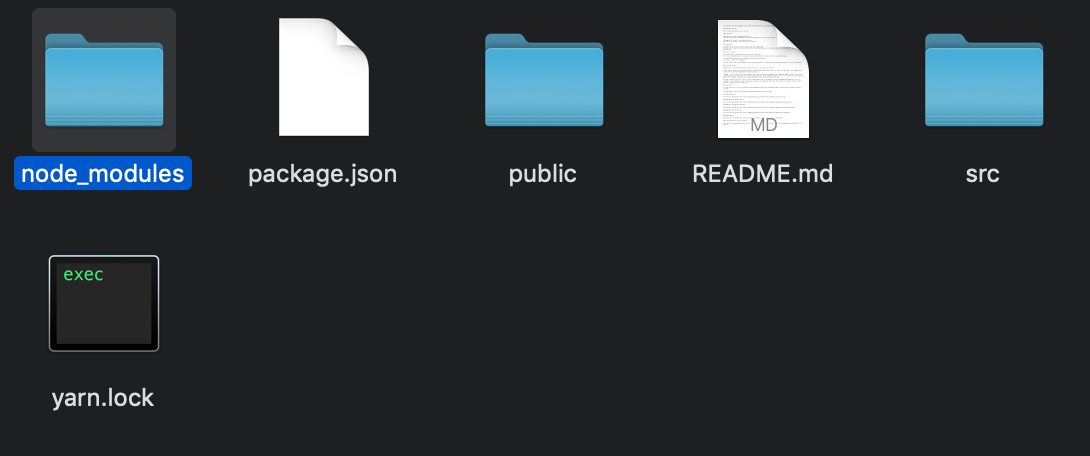
again, cd to the new folder:
cd frontend
In there you can see that the tool create-react-app have already populated our project with the basic files to start a react app:
Other configurations
On the previous tutorial I have already explained how to get web3.js to your project and the settings you need, but I will go back at it very briefly in case you are landing in this tutorial but not following the series.
First, you need Ganache installed, a "simulated" Ethereum blockchain. Once you have it installed, open the app, and take note of what port is it listening to:
In my case, port 8545.
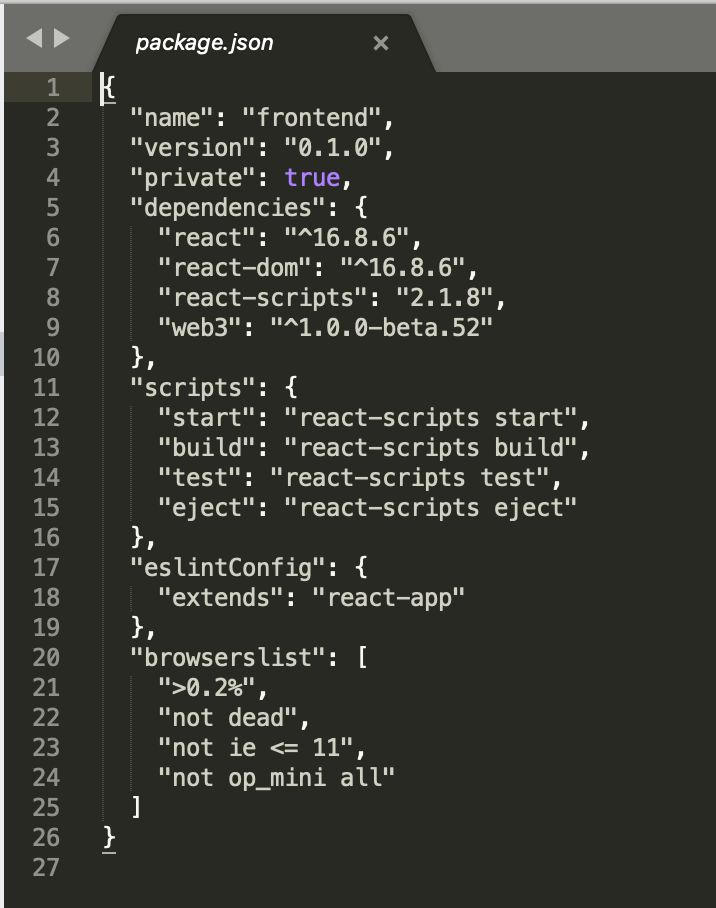
Now, get web3 into your react app. The [official documentation] says you can just do nom install web3. Because web3 1.0 is in beta, there is no "stable version", you will automatically get the latest beta version, and that can cause problems with dependencies. In my experience, that command is not reliable, so I recommend using a "tweaked" version with some flags. The command I ran to get web3 to my front end project is:
sudo npm install --save web3 --unsafe-perm=true
Once it is finished, you can see it is correctly installed on the package.json file on the project main directory:
Differently from the last tutorial, from now on we will start working on the front end. We want to interact with the blockchain using our web browser, not the node console.
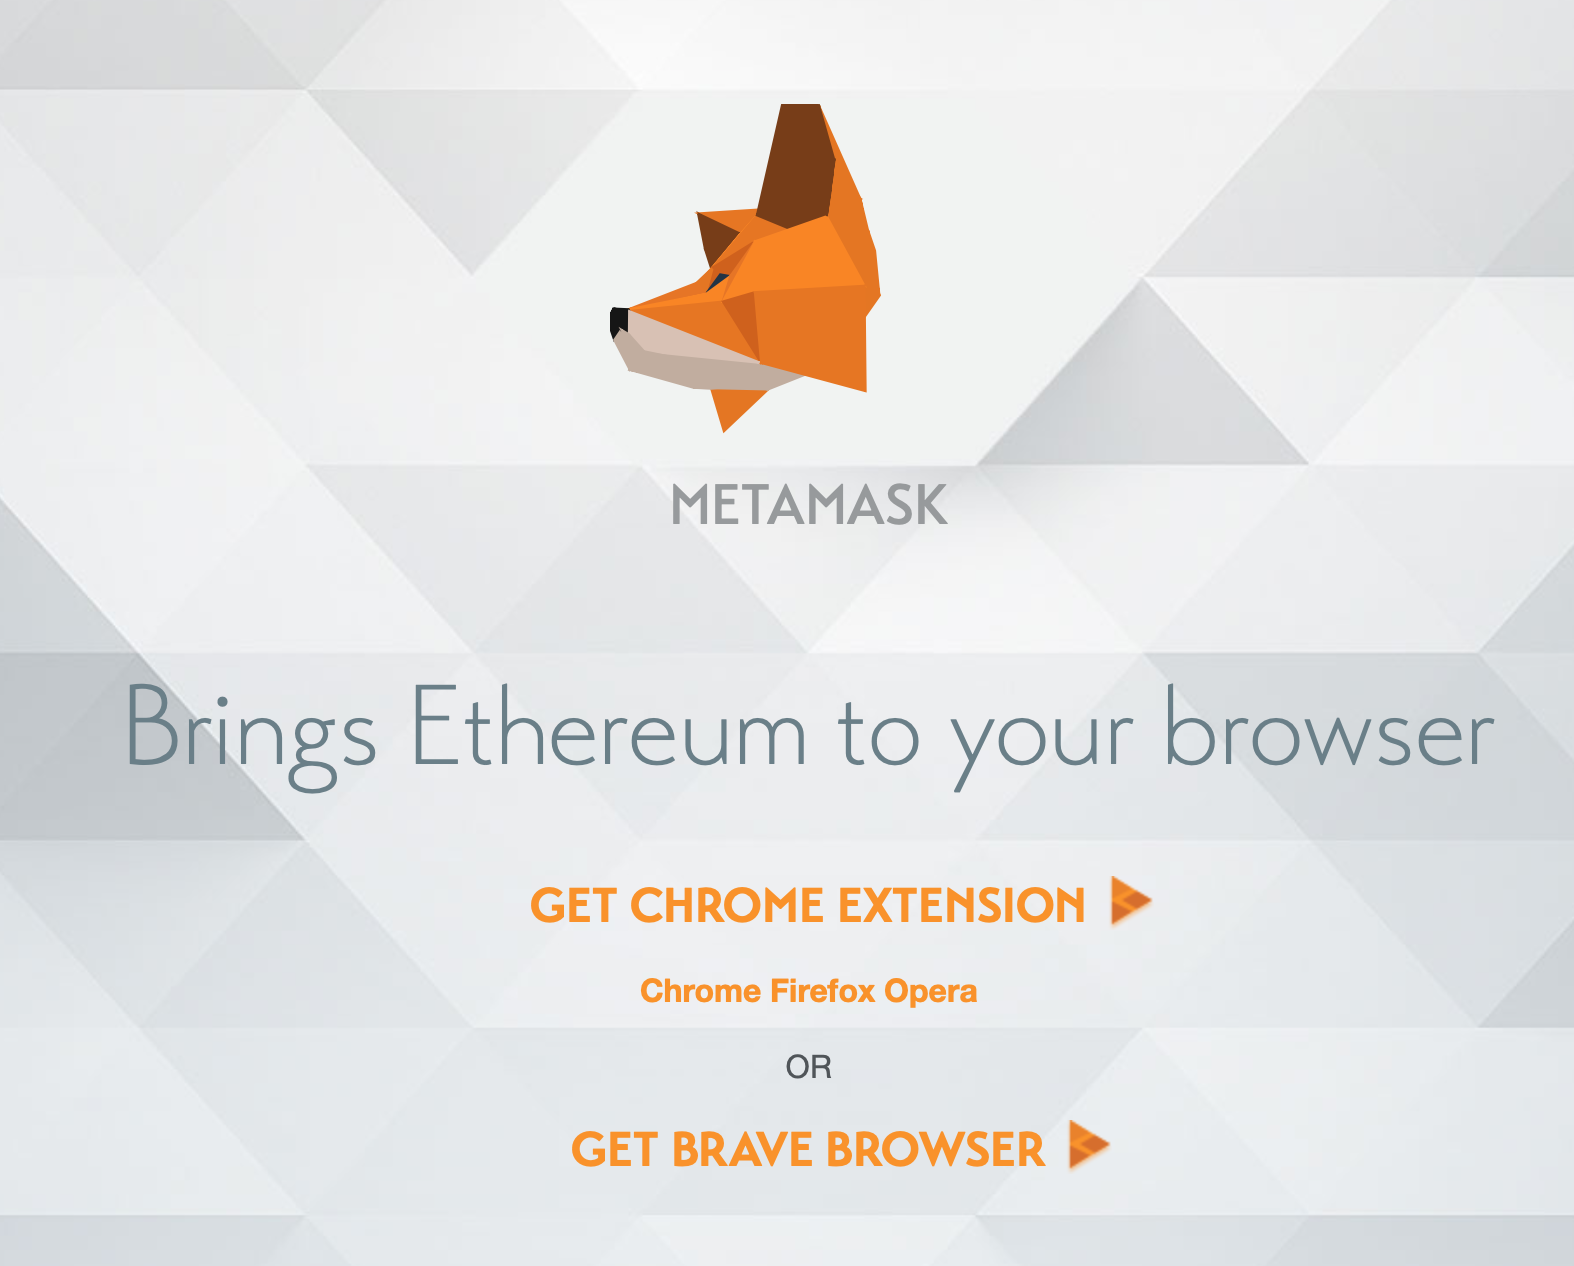
Metamask
Metamask is not the only "blockchain access provider", you can connect directly to a node, or directly to Ganache, or any other way you are used to if you are experienced. But I highly recommend you to install Metamask on your browser. The extension is available for Google Chrome and for the Brave browser.
Importing web3 to react
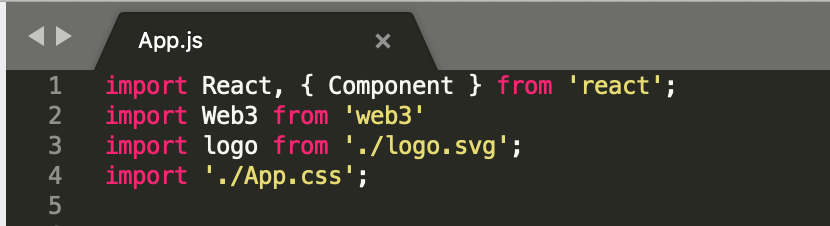
So, now we have our react app, and we have web3 on the same node project as the app. We need some way to "connect" the web3 to the react. We can do that by importing web3! On the src folder of the project, you will find a file called app.js. Open the app.js file and inside it, add:
import Web3 from 'web3'
So it looks like this:
Blockchain and asynchronous functions
Now, the most important part is how you will load web3 on the browser. You will need to send the web3 to the user browser, and fetch a node, so it can communicate with the blockchain.
But remember, blockchain calls are not done instantly! It depends on many factors! In our case, we are using a simulated Ethereum environment, provided by Ganache. But if you make calls to a real blockchain, or even a testate that uses a real blockchain for tests purposes, when you make a call it can take several seconds to get a response!
Because of that, we need to use a feature from JavaScript called asynchronous functions/calls. An asynchronous call basically "stops" the code execution when you tell it to wait for a response, and that is exactly what we need to talk to the blockchain!
On my Ethereum smart contract tutorial series, I went a bit more in-depth about asynchronous functions. But a quick reminder:
- The main keywords for asynchronous calls are
asyncandawait - When you make an
awaitcall, the code stops and waits for a response - You can only make
awaitcalls inside anasyncfunction
Putting into practice, you need to create an async function on your app.js (or the react module you are using):
async blockchainConnection(){
    //code to connect to the blockchain
}
Connecting the browser to the blockchain
Now, inside the previous asynchronous function we will make the connection, just like we did on the previous tutorial on the backend, but this time, inside the user's browser! So, just, like before, but inside the asynchronous function from the previous section:
let web3 = new Web3(Web3.givenProvider)
This will connect according to the provider the browser has, that is, Metamask! If you don't have metamask, you can change that to:
let web3 = new Web3("ws://localhost:8545");
You can also set more than one provider, in case you want to have fallback protection, we won't need it in this tutorial, but in production, it is useful and recommended:
let web3 = new Web3(Web3.givenProvider || "ws://localhost:8545")
I will stick with the first option, just to make sure I am connecting to Metamask, and not to my local Ganache at the moment.
And we will use a feature from React called componentWillMount that is called when the view is loaded. We can call this function from inside it with:
  componentWillMount(){
    this.blockchainConnection()
  }
Starting the server
To start your react app server, on the root of the project type:
npm start
You will see a warning that is safe to ignore:
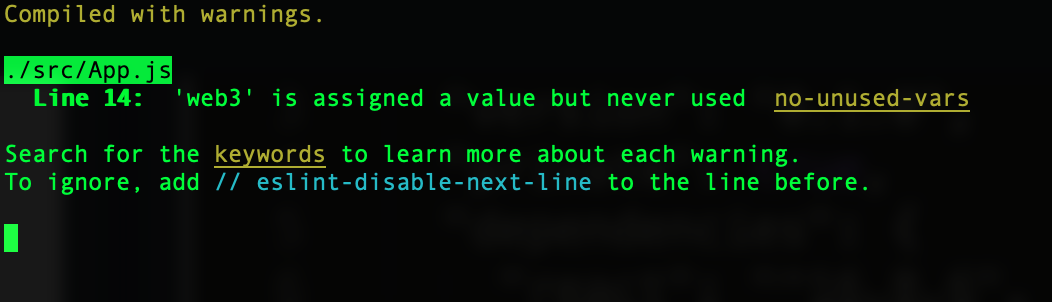
This is because we are creating the web3 object but we haven't used it yet, that is alright.
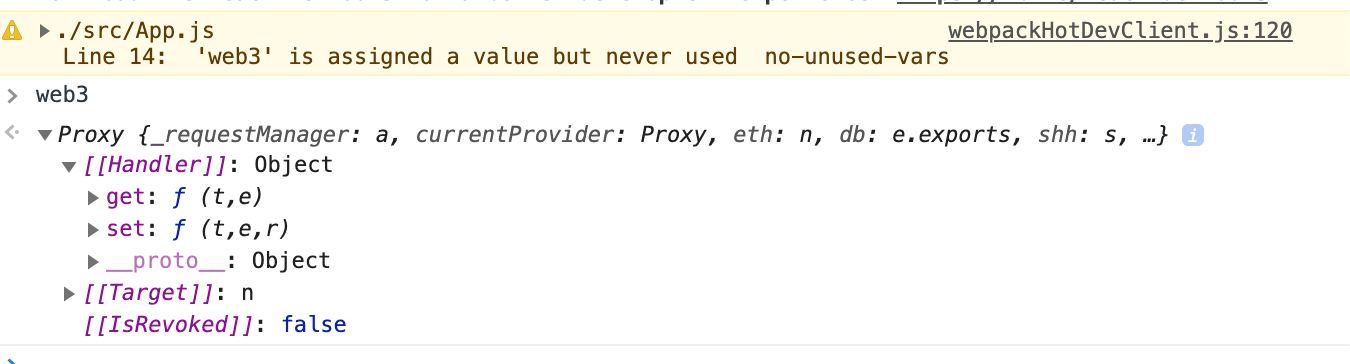
The URL to open the project page probably is "http://localhost:3000/", like mine.
Now, check on your browser console, if you have the same warning, it means the client has web3!
Accessing blockchain data
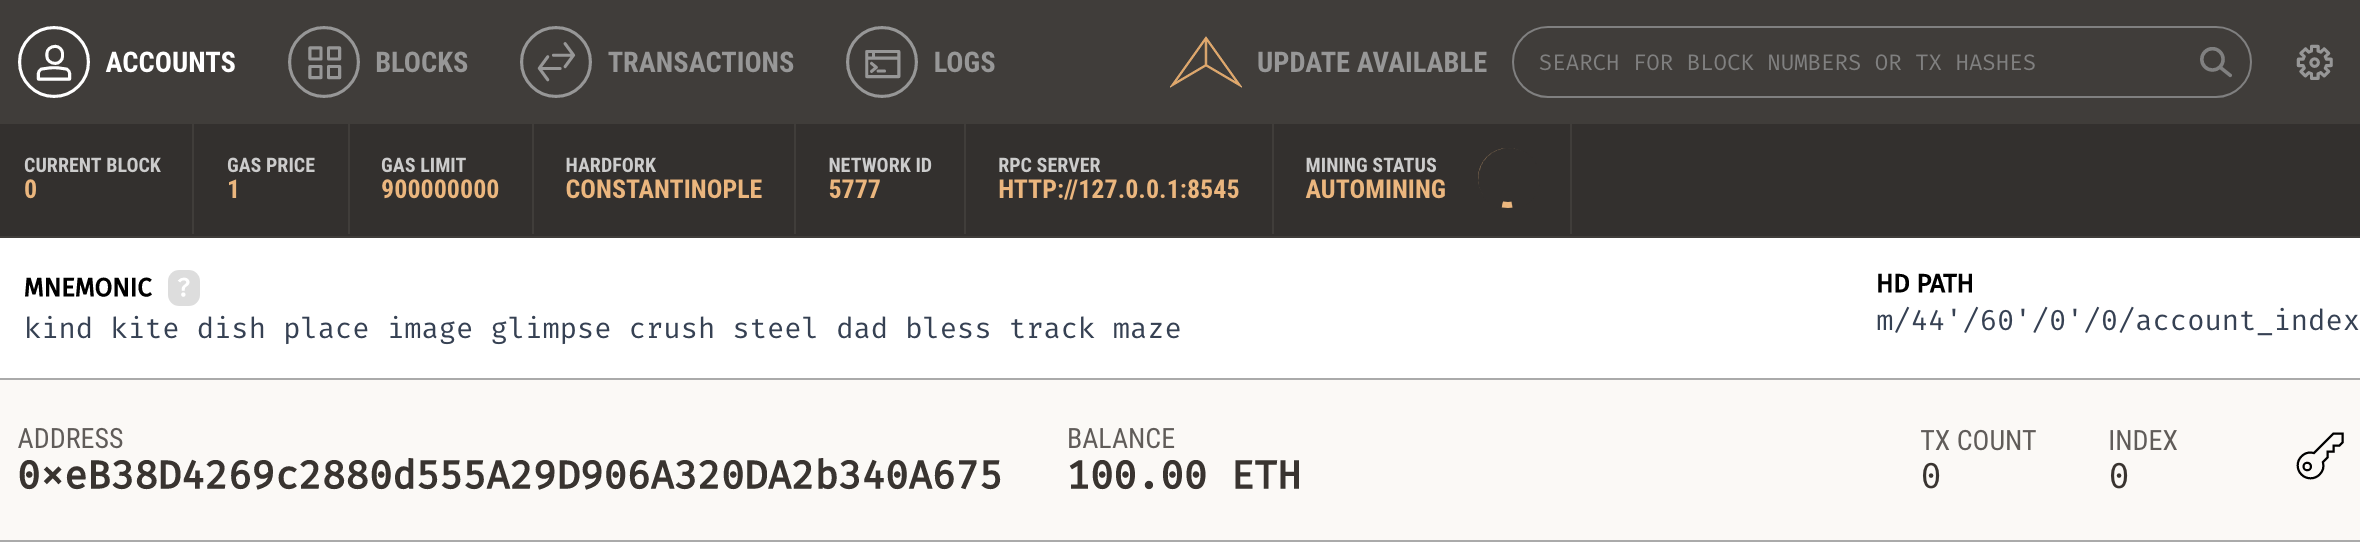
Let us access some data from the blockchain to do a test! I have thought of an interesting experiment for that! We are using Ganache and Metamask. Ganache gives you 10 wallets with 100 "Ethereum" (fake obviously) in each. Metamask, by default, connects itself to the main blockchain of Ethereum. The Ethereum wallet in Ganache are valid Ethereum wallets, so obviously they exist in both blockchains, but with different balances. Chances are, the wallet you have on Ganache has zero Ethereum on the main net.
So, the experiment is:
- We will check the balance of a wallet from Ganache
- If the balance is zero, we are on the main net
- If the balance is 1*10^18 wei (100ETH) we are connected to Ganache
I will use the first wallet Ganache provides me:

I ask the blockchain, using web3, "what is the balance" with:
let balance = await web3.eth.getBalance('0xeB38D4269c2880d555A29D906A320DA2b340A675');
And I log the balance:
console.log(balance);
The final code for this asynchronous function is:
async blockchainConnection(){
    let web3 = new Web3(Web3.givenProvider);
    let balance = await web3.eth.getBalance('0xeB38D4269c2880d555A29D906A320DA2b340A675');
    console.log(balance);
  }
We save, and check the browser console (don't forget to click on the Metamask fox logo to log in first!):
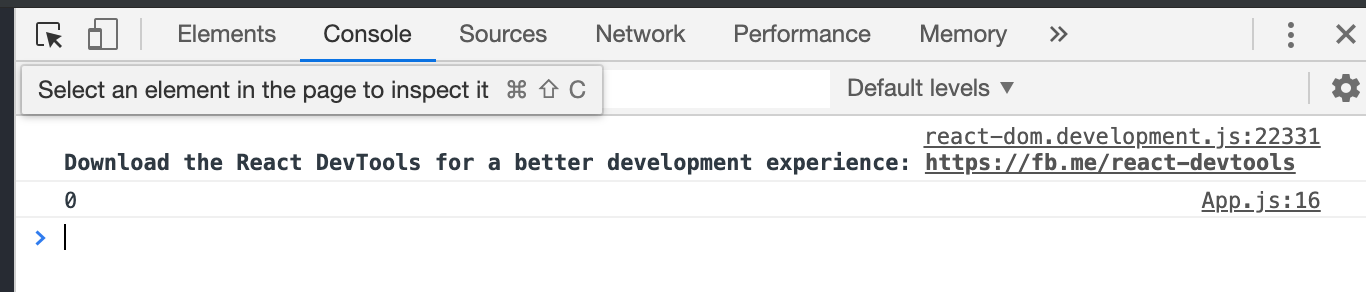
Well, this confirms the wallet from Ganache has zero Ethereum on the real blockchain. Now, to switch to the local test net is easy! Click on the Metamask logo and click where it says main net (mine is in Portuguese):
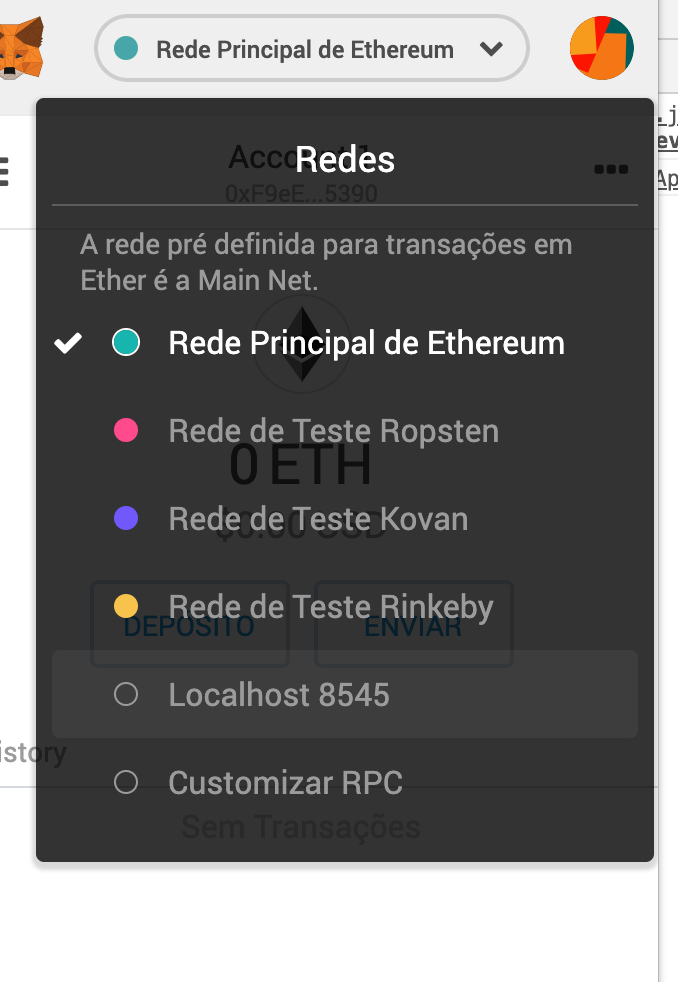
And choose localhost:8545
Reload the page and:

You are now connected to Ganache! This allows the user to execute your contract on test nets or the main net!
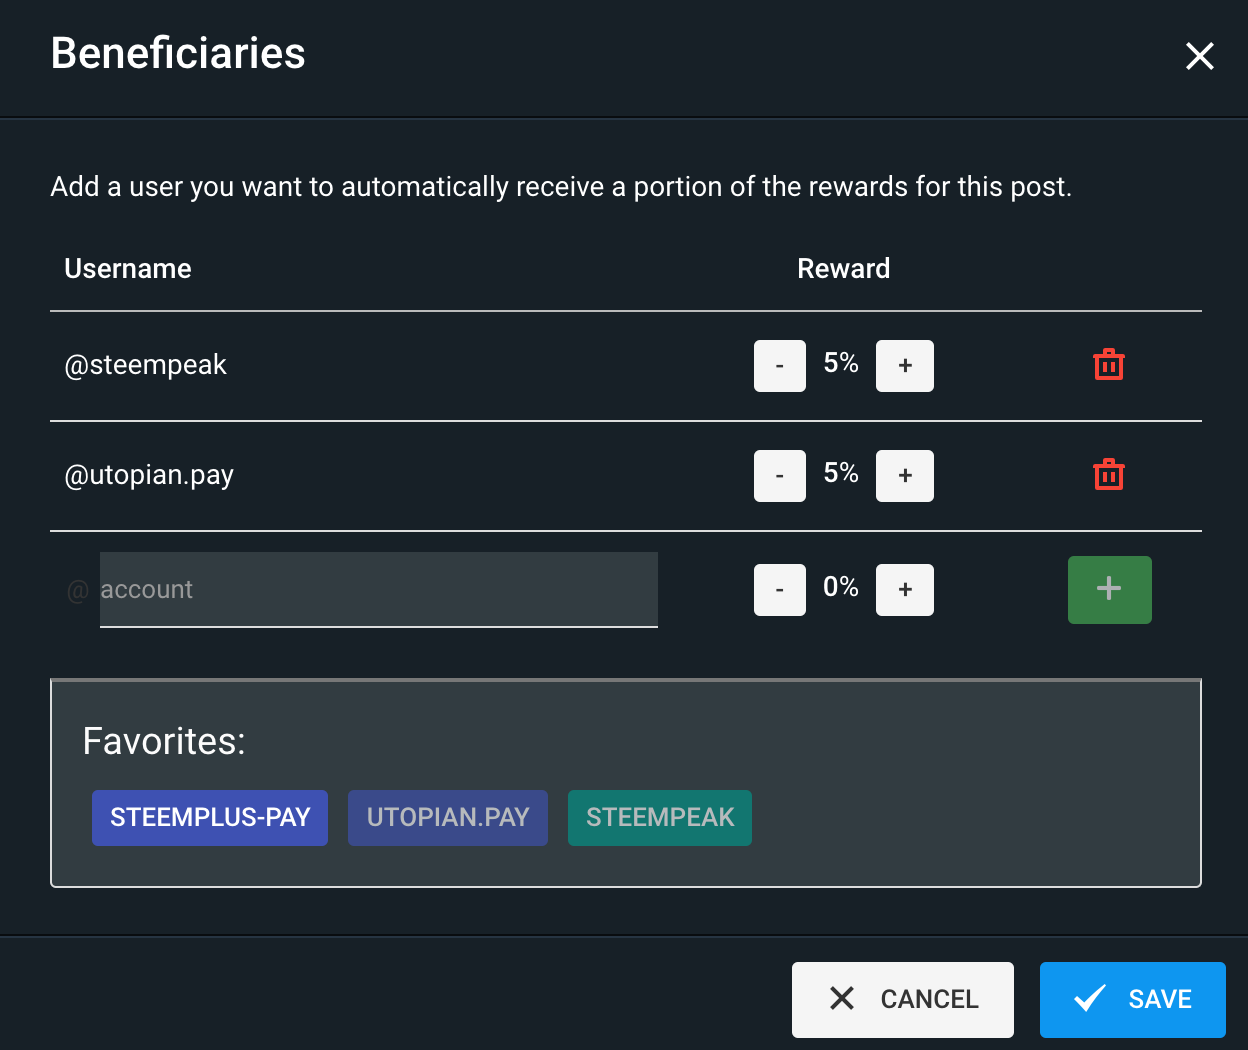
Beneficiaries
This post has as beneficiaries
- @utopian.pay with 5%
- @steempeak with 5%
using the SteemPeak beneficiary tool:
Thank you for your contribution @igormuba.
After reviewing your tutorial we suggest the following points listed below:
I follow your work from the beginning and as personal opinion you are increasingly improving. Continues like this, with good tutorials and good developments. Thank you!
We suggested just to make your tutorials even more interesting, to have the results in GIFs. It is more attractive and it's not necessary to put many images.
Thank you for your work in developing this tutorial.
Looking forward to your upcoming tutorials.
Your contribution has been evaluated according to Utopian policies and guidelines, as well as a predefined set of questions pertaining to the category.
To view those questions and the relevant answers related to your post, click here.
Need help? Chat with us on Discord.
[utopian-moderator]
Thank you for your review, @portugalcoin! Keep up the good work!
Hi, @igormuba!
You just got a 0.26% upvote from SteemPlus!
To get higher upvotes, earn more SteemPlus Points (SPP). On your Steemit wallet, check your SPP balance and click on "How to earn SPP?" to find out all the ways to earn.
If you're not using SteemPlus yet, please check our last posts in here to see the many ways in which SteemPlus can improve your Steem experience on Steemit and Busy.
Congratulations! Your post has been selected as a daily Steemit truffle! It is listed on rank 8 of all contributions awarded today. You can find the TOP DAILY TRUFFLE PICKS HERE.
I upvoted your contribution because to my mind your post is at least 9 SBD worth and should receive 113 votes. It's now up to the lovely Steemit community to make this come true.
I am
TrufflePig, an Artificial Intelligence Bot that helps minnows and content curators using Machine Learning. If you are curious how I select content, you can find an explanation here!Have a nice day and sincerely yours,

TrufflePigHi @igormuba!
Your post was upvoted by @steem-ua, new Steem dApp, using UserAuthority for algorithmic post curation!
Your post is eligible for our upvote, thanks to our collaboration with @utopian-io!
Feel free to join our @steem-ua Discord server
Hey, @igormuba!
Thanks for contributing on Utopian.
We’re already looking forward to your next contribution!
Get higher incentives and support Utopian.io!
Simply set @utopian.pay as a 5% (or higher) payout beneficiary on your contribution post (via SteemPlus or Steeditor).
Want to chat? Join us on Discord https://discord.gg/h52nFrV.
Vote for Utopian Witness!