ULOG 010 : Solar System Mural Painting for My Alma Mater's library
Heyo there! I can really relate wt this song title that says: "Young, dumb and broke" lol yeah, past weeks were a bit rough and low - rough life, real-time fees, low steem, low votes, low everything (sighs)
So in order to at least earn some bucks, i seeked for commission projects and luckily found one. This project is connected to my previous post here which was entitled Ulog 005 : Reincarnating the stairway to the library of my Alma Mater through a mural painting. Yes that was a month ago already, maybe my costumer (a teacher) liked my work lol thats she asked me to make a mural painting again. Though the talent fee was not so satisfying, I still accepted the job since it was for my alma mater. And this is for the improvement of the library.
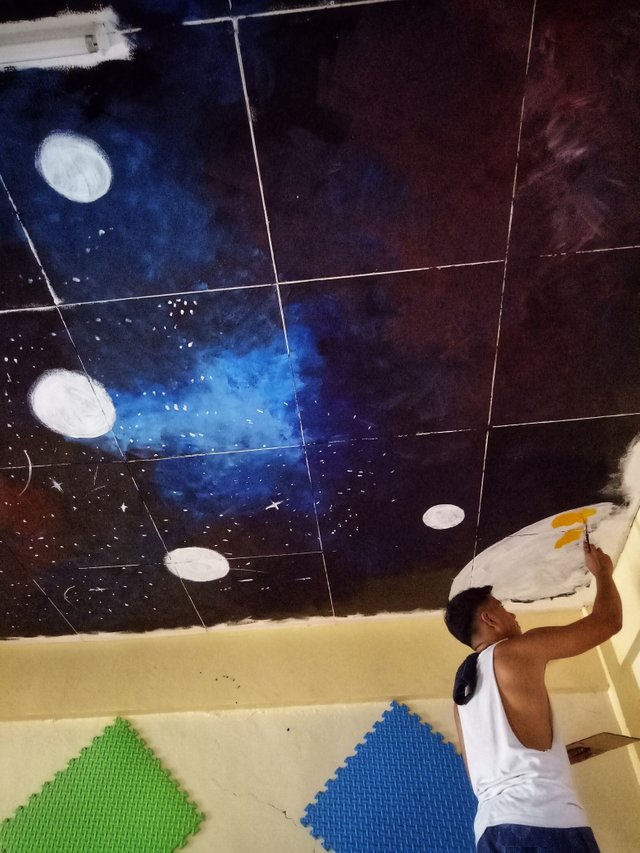
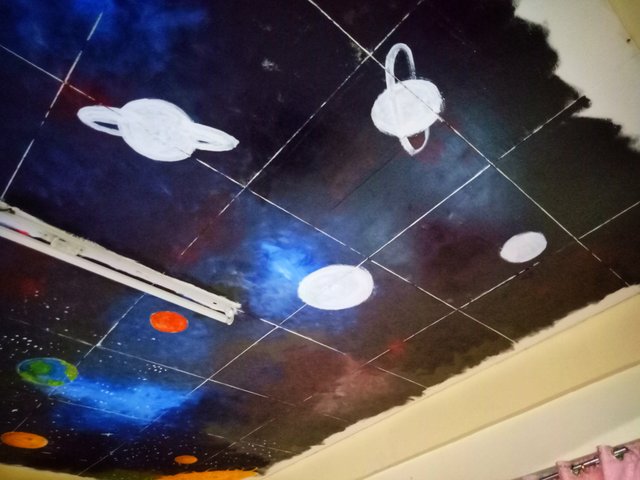
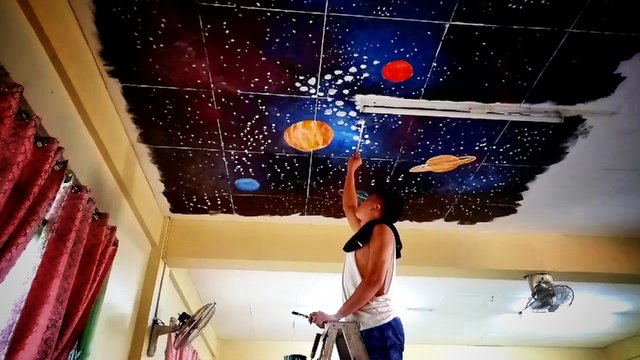
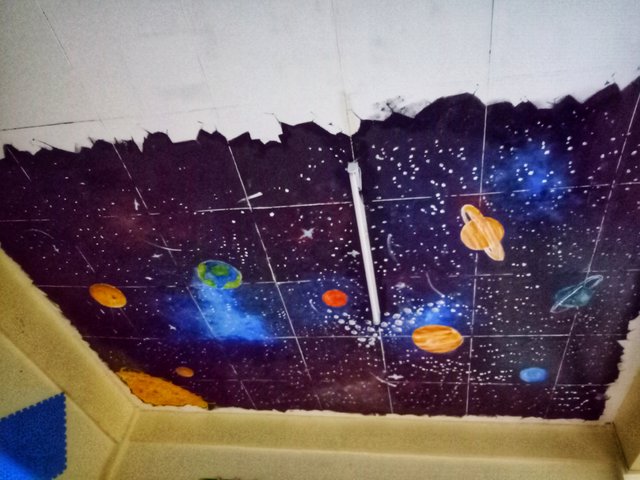
Well, my previous mural (my first mural painting ever) was a bit easier than this one. Aside from I had a partner when I did it, also it was just a wall. Yes, way easier than painting on a ceiling! On the library'a ceiling (science corner part)
I experienced a loooot of challenges as I made this project. I can even enumerate some of 'em lol.
- I was just the only one doing it
- Too big canvas for 1 artist (no pro)
- Man! Its a ceiling!
- Emotionally and physically challenged lol
- Not so small TF
- Broke my neck
- Needed to be done within just 2 days
- Risky
- Im not pro
- Im not pro
- Yes im not pro
Yes, im still learning this style and media.
Okay, so without further ado, im gonna show you the process on how I made it, how I overcame the struggles and the final output.

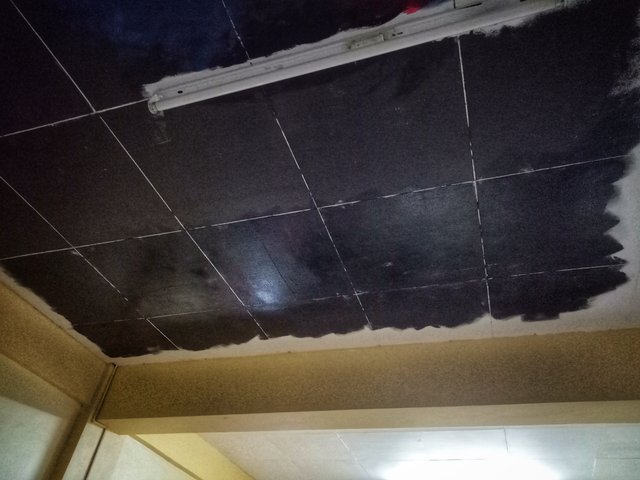
The canvas ; before
So first I did was checking my canvas. I measured and pictured out things on my mind. I was a a little unsure if I should continue at first, because i thought it was too big for a 1 no-so-much-experience-artist but I was really broke so I proceeded anyway.
Then during the night, i made a draft of what i was gonna make. I identified the colors needed, researched about the planets and their physical features, the concept and many more.
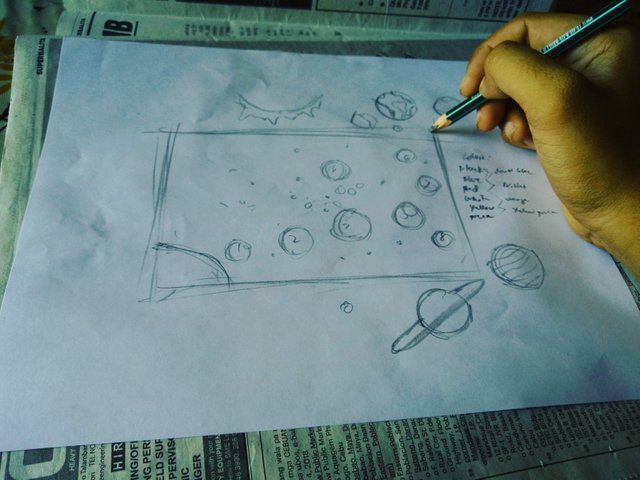
Sun, planets, stars, chosen colors
Day 1
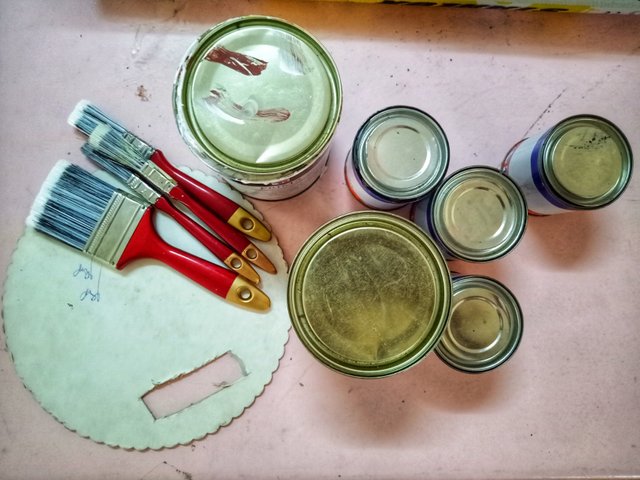
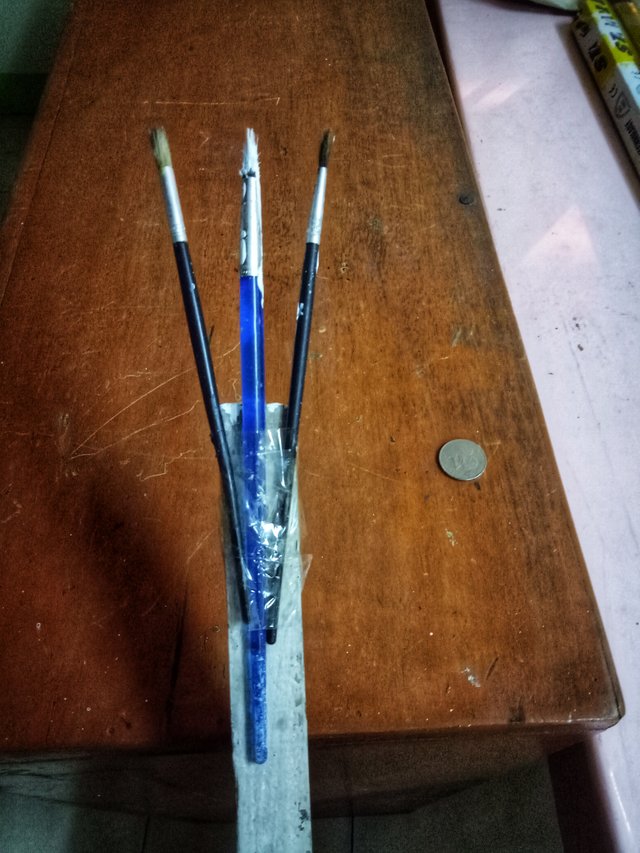
The weapons
Since I only had 2 days to finish it, I started applying black paint as the first layer of the mural.
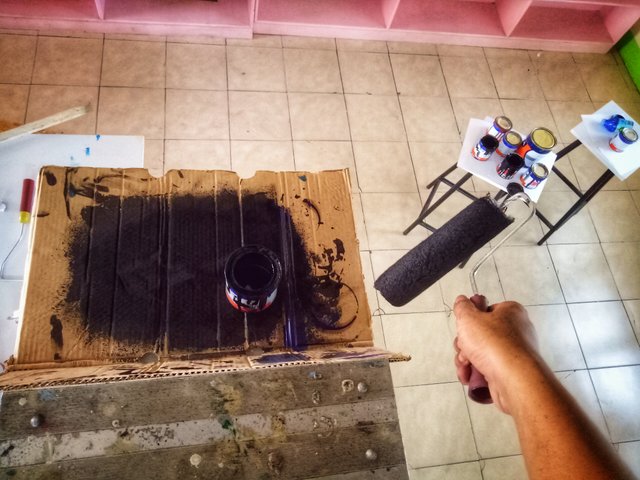
black for the base, black for galaxy, black is poetic!

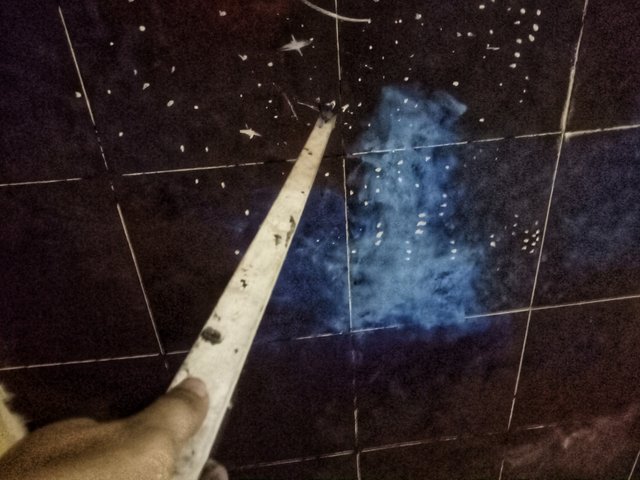
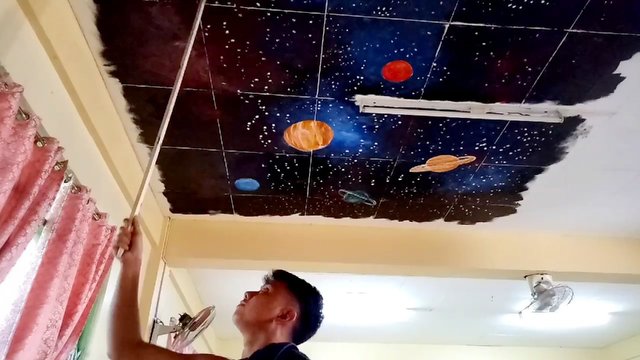
So i started applying black paint to the edge of the ceiling. I used a stick and a roller attached to it. I am really afraid of heights thats why lol
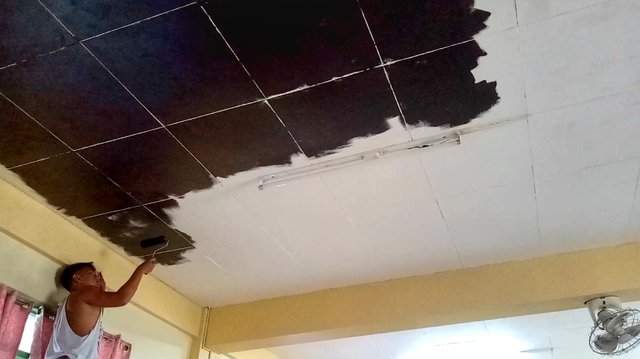
I continued it up to the middle part of the ceiling but this time, I did reached it by myself. I conquered my fear that time (no choice) the stick didnt last long enough 😂
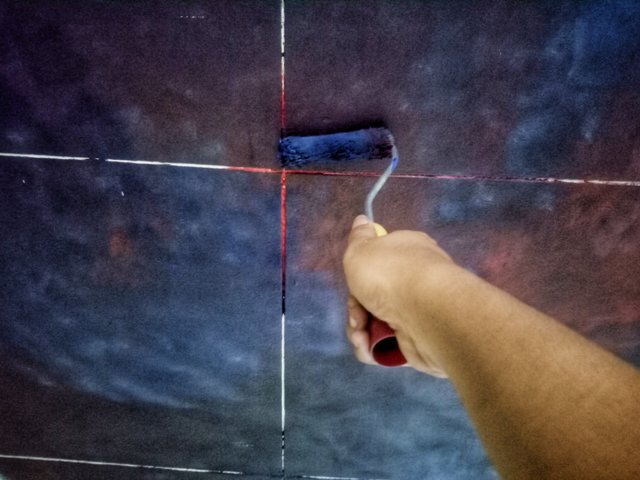
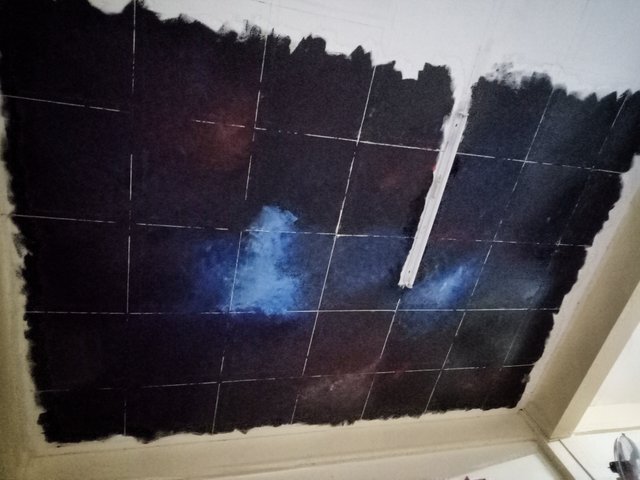
I stopped there for a while, and decided to add the second layer of colors which are the colors of the galaxy (blue, red, violet, etc) well, its up to the artist on how hes going to make a galaxy painting though.
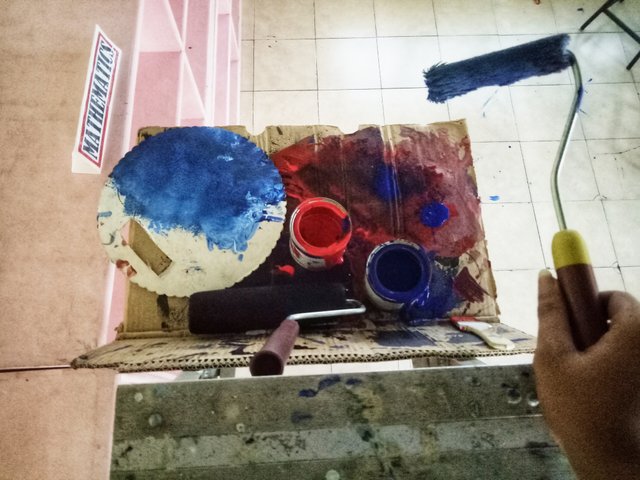

Second layer ; blue, sky blue
Second layer ; red, violet
And then I added red, scattered it and a bit of it were mixed wt blue to achieve color violet. It was really fun to do and I was just experimenting it. Try, try and try, until I earned the satisfaction that my eyes wanted.

Second layer done ; sky blue, blue, red, violet
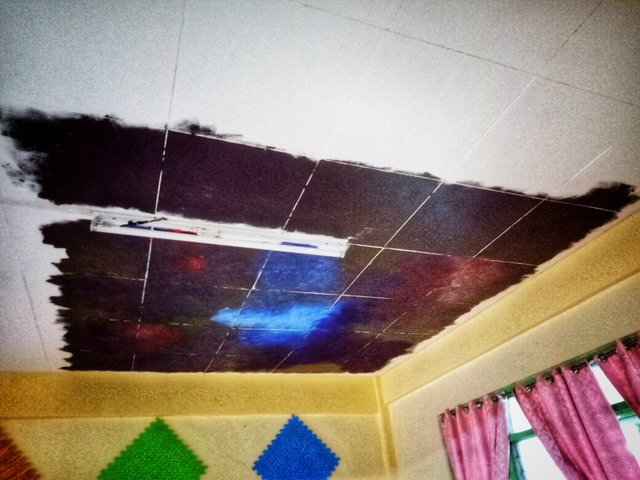
30% done!
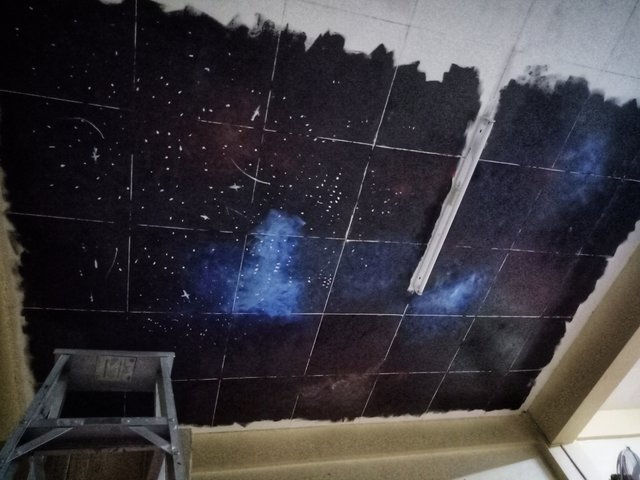
 Painted remaining part
I then I started applying black paint again to the unpainted part of the ceiling.
40% done
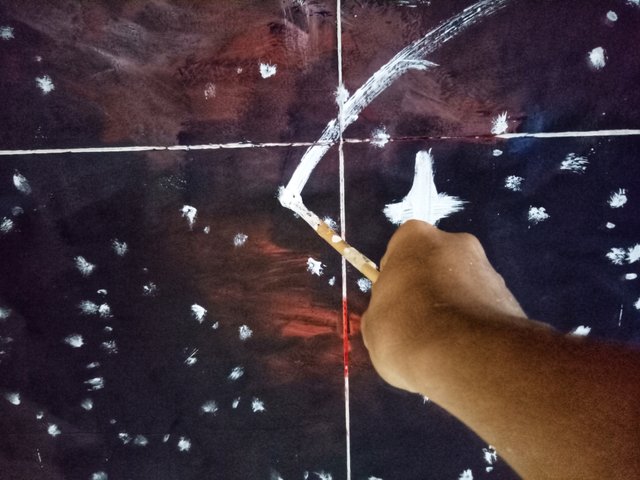 Drawing my own star
I took a quick break and then proceeded to the best part, dotting stars Iml
I even used a stick and attached 3 brushes to make my life easier ha ha ha. Yes it was really heard, you cant imagine what was my neck had gone through lol
Reach for the staaaars!
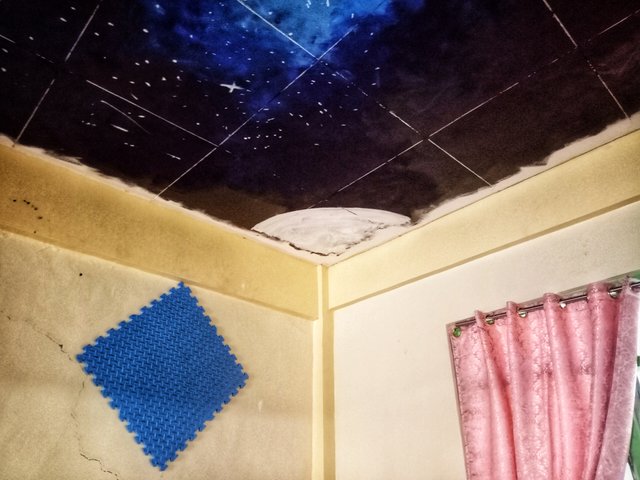
50% done
End of day 1
...
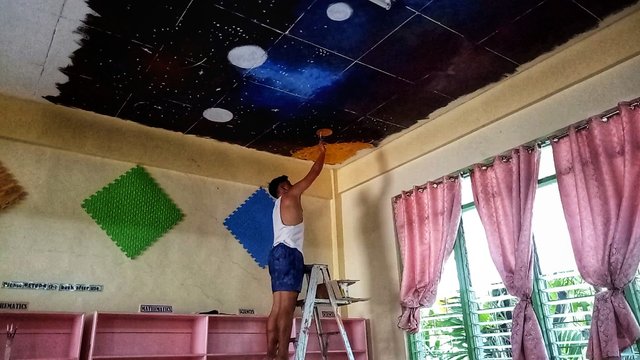
Day 2
The night before day 2, I took a lot of sleep and rest, ate a lot just to regain my energy that i spent almost 1 day doing this crazy project lol.
I woke up early and got my stuff ready since my home is quite far from the school. So, I came very early ro start early, and to end early as well. Gosh i really wanted this thing to be done as soon as possible because it was killin' me softly lmao
So I started adding white layer of paint to the sun and planets'place. In order to add the sun and the planets, i needed to add an overlay to the 2nd layer with white paint. I started with the sun.
 Sun and planets making 5%
 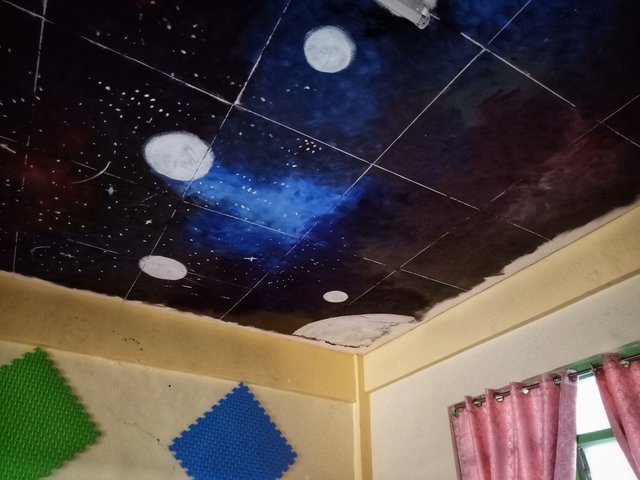 Sun and planets making 50%
 So i started giving colors to the sun and planets(starting wt mercury).
I started coloring the sun then applied a plain yellow as the first layer. Then mixing some red and yellow to attain orange and to achieve sun's real color (with texture).
And here comes the hot, flaming sun! Let me give you a short trivia about it:
The Sun contains 99.86% of the mass in the Solar System.
Yo mama so fat? No sun is heavier and fatter too lol
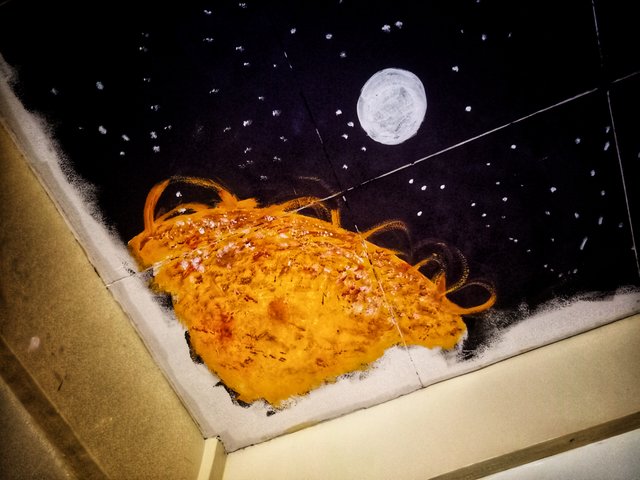
The ball of fire, sun
And then i finished this little mercury up! The closest planet to the sun.
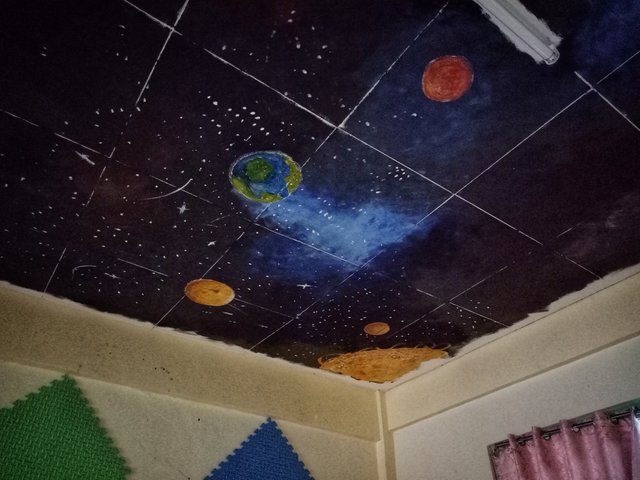
Followed by Venus, Earth(home), and Mars.
As what have shown on the time-lapse, It took me quite more time in doing venus than on earth lol, yeah even though it has only 1 dominant color, its texture and minimal features are very notable. Well, let me give you a short venus trivia,
Venus is the second brightest object in the night sky.
Have you seen venus?
...
While Earth has 2 dominant colors which are blue and green (the land and the bodies of water), its still easy since we spent almost our life trying to draw earth lol. And okay here's an earthly trivia,
Earth is still the only discovered life-sustaining planet in the universe so stop destroying her!
Im chill.
...
And Mars, that has 1 dominant color which is red. And,
Mars was named after the Roman god of war
70% done
After a short break, I immediately proceeded to coloring the rest of the planets.
Also, as what have shown in the video, I started from the largest planet on the solar system. There's really no secret that jupiter is huge. It has distinct physical features since it has a lot of stripes and has the traces of the oldest super typhoon and others. Well just for you to know,
Jupiter is made primarily of gases and is therefore known as a “gas giant”.
Thats a huge ball gas!
...
Then it was followed by the planet with so much rings around it, Saturn. Well you can easily detetmine this planet among others because of the rings right? Yeah,
Saturn just have 30 rings surrounding itself.
...
After that was the coldest planet in the solar system, Uranus! Its dominant color is blue. Also,
Uranus orbits the sun on it side!
Isn't that lit? i mean cool!
...
Next was the farthest planet from the sun, Neptune since pluto is out the game already. And whether you think pluto is a planet or not, neptune is still the farthest though lol. Well, fo your information...
Uranus is made of layers of hydrogen, helium, and methane gases.
Yes, too much gases!
80% done
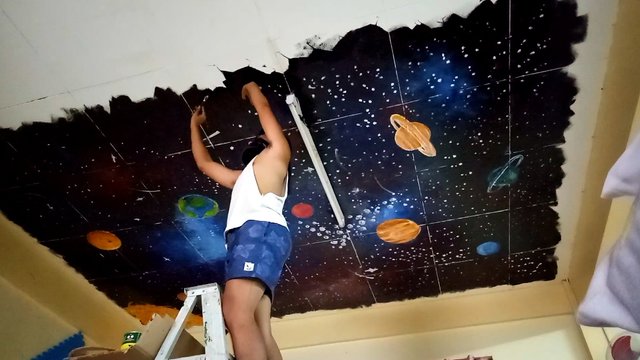
After finishing the planets, I continued drawing some stars above.
As what you've seen above on the time-lapse, i used the stick with brushes attached (again) to create dots for the stars.
And then I drew some bunch of asteroids scattering around the space together with the planets.
 Drawing asteroids
 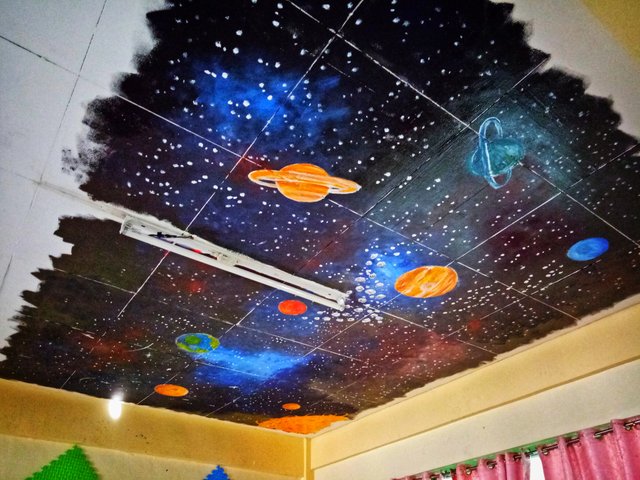 90% done
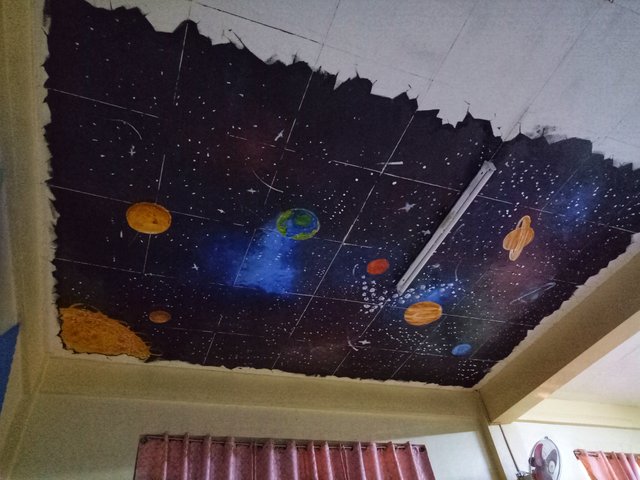
 The edge of the mural was a bit messy so the concept I thought that would solve my problem is make it like a broken ceiling (3d) and has a direct view up above.
So I drew cracks, sharp edges, emphasized breaks, and cracks again lol
Does it have the 3d cracks effect now? Haha im no pro :3
This supposed to be done already, but my client asked me to add some labels since this is for the library. Yes, it needs to be informative and is conducive to learning.
So I started labelling the sun first, and used a not so funky text.
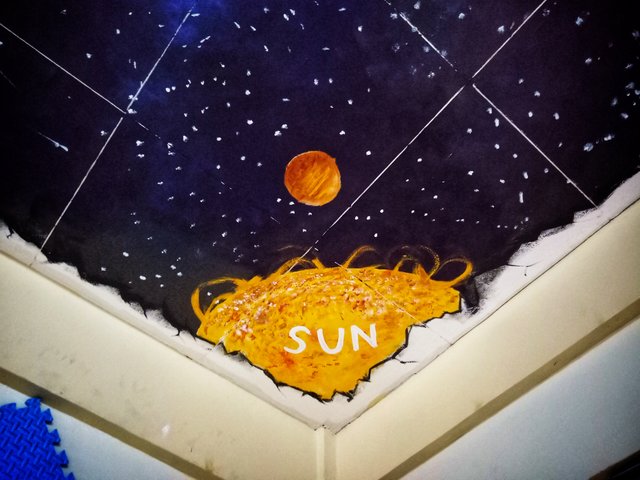
I was a little satisfied with it and my client said okay so i continued and proceeded to the planets.
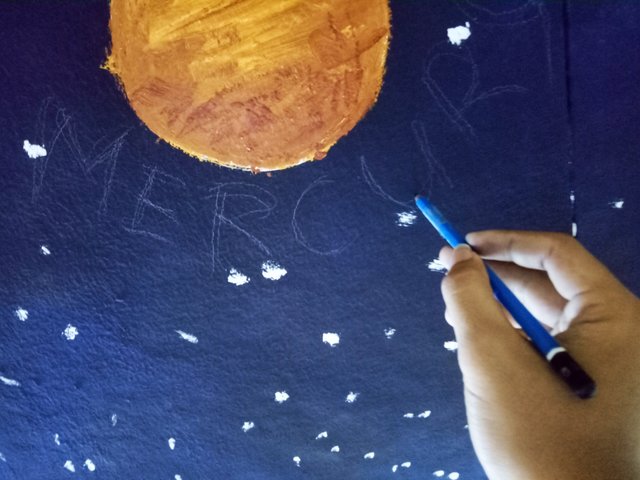
I first sketched their labels, then applied whiye paint to it. I started wt mercury.
And then followed by the rest of the planets, with the same process applied.
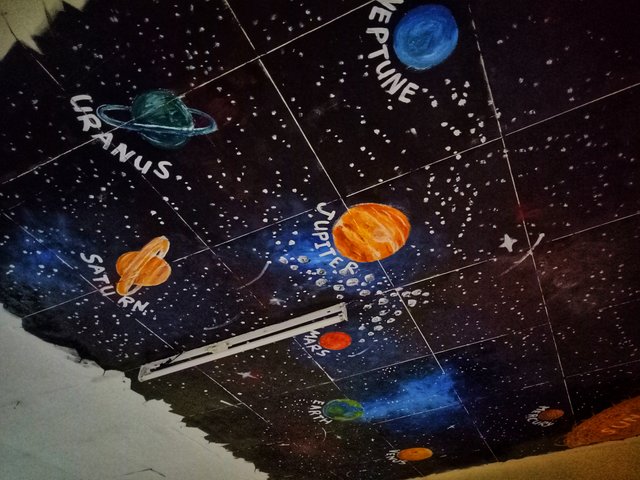
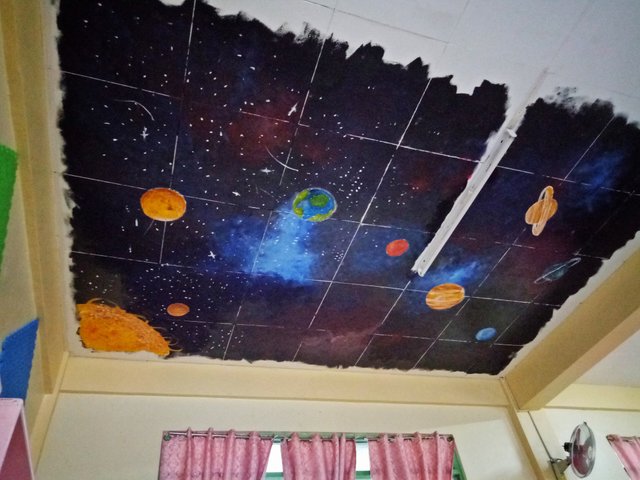
And then its done!
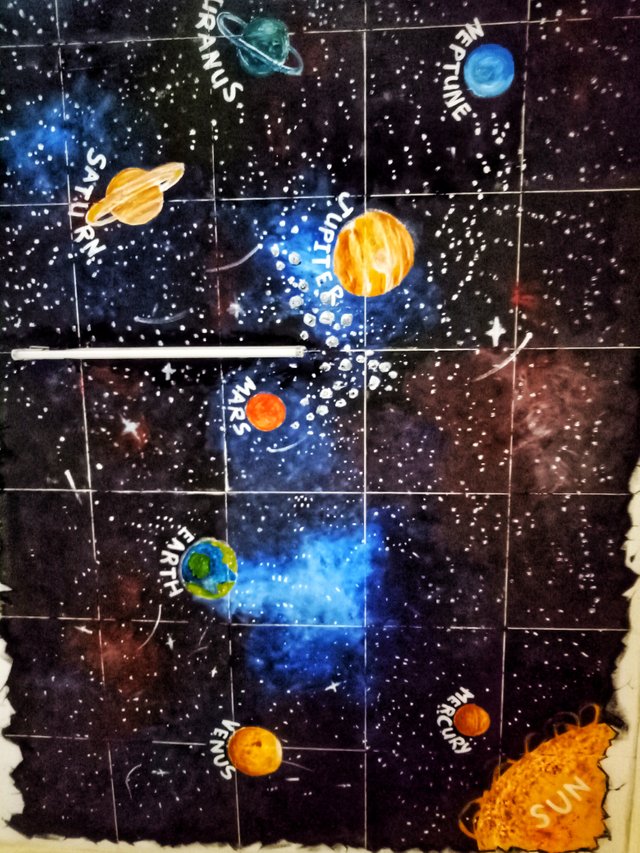 100% done!
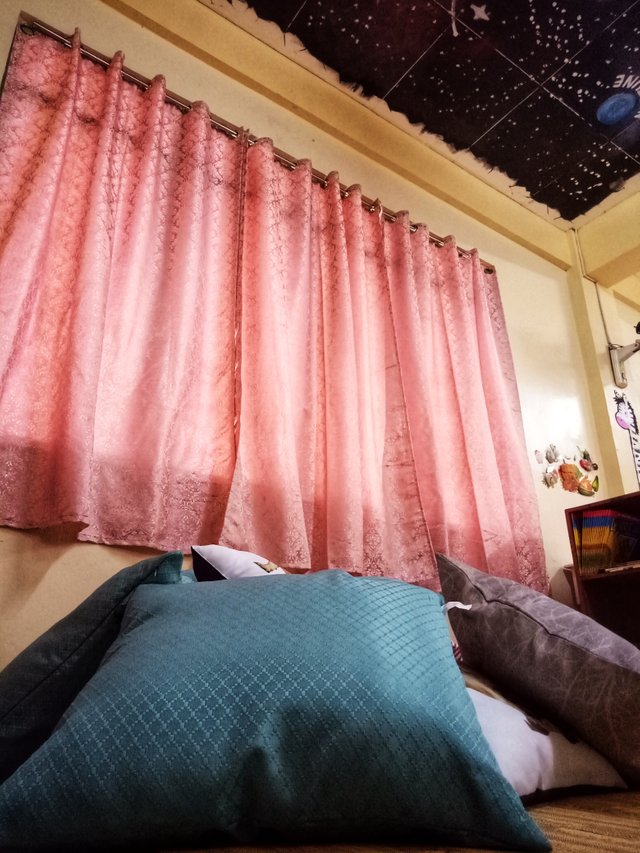
Pillows and a mat below the this would be awesome and is really conducive for learning! Enjoy students!
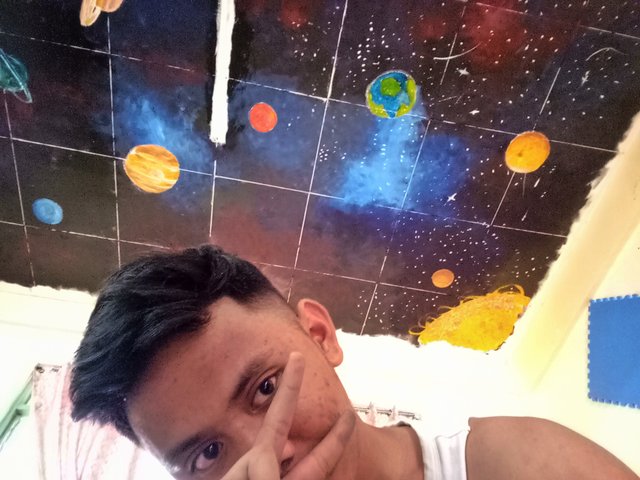
I thought I can't do this actually but after all the hardships and challenges that I had encountered for this, at last I made it! My second try of mural painting (CEILING!).
Thanks for spending your time guys! Peace y'all!


.gif)
This post was made from https://ulogs.org
Hi ligarayk,
Visit curiesteem.com or join the Curie Discord community to learn more.
Aweee curieee thanks a loooot 💕💓
A M A Z I N G
amazing work, flowaaaaaars !!!
i would love for my local library to have such a ceiling mural ! it would have been super awesome <3 the details and colours that you worked into this mural are simply great, and i love the expansive step by step also <3
additionally, congrats for curie \o/ well deserved \o/ !!!!!!
Yeeey! Thanks spudieee! 🙏😁 yeah you should make too and i would be very happy to propose that for curie haha 😁 anyway, thanks for the appreciation spudieee
oh gosh, no, i dont think i will actually do anything like this in real ! i'm too .... uh ... unmotivated....
i like smaller pieces of canvas to work with because i have very limited stamina. hahaha.
love your murals, though ! keep up the good work, flowaaaars!!!
Amazing! Classrooms and libraries should be like this rather than a plain boring one.. This brings out the creativity in the students and let their imaginations run wild! I'm pretty sure the children will love this! Amazing work of art.
Wow, I was incredibly stunned with your amazing mural, really amazing, I love the technique you use and how all the colors come together to form a beautiful solar system, I congratulate you, your art is extremely incredible, this is the best I've seen today.