#ULOG 028: INFINITY CARD (How to make) | My first Arts and Craft Post
Hello Steemians!
So yesterday, me and my girlfriend had a really big and terrible fight that almost ended our relationship. Luckily, everything went fine after a long and deep talk. Well, that is one tip I can share to everyone in a relationship. Arguments can never be avoided and ending your relationship after a few fights or so is never the answer.
Later that day we decided to have some dinner and I decided to make something special for her. I have known how to make this card already because of a video tutorial I saw on youtube. This kind of card is not that expensive (what I mean is you don't need that much materials and the materials you'll only need is also not expensive) and does not require any special skill of some sort.
It is called an infinity card because as you can see from the video above, it is in a some kind of loop. I personally think that the concept of the card is awesome and cute at the same time. Perfect for sparking up some love back into your relationship after a terrible fight.
Want to know how to make it?
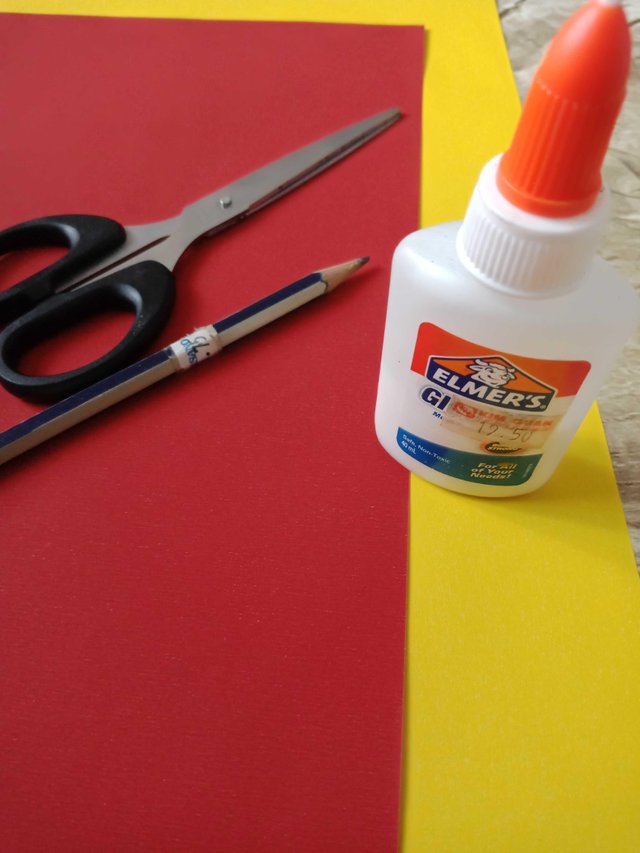
Well to start off, you'll need the materials. As stated earlier, you don't need that much materials. The things you'll mostly need to do to make this card is cutting, folding and gluing everything together.
Materials Used:
- Construction Papers
- Pencil
- Ruler
- Scissors
- Glue
Now let's make an Infinity Card!
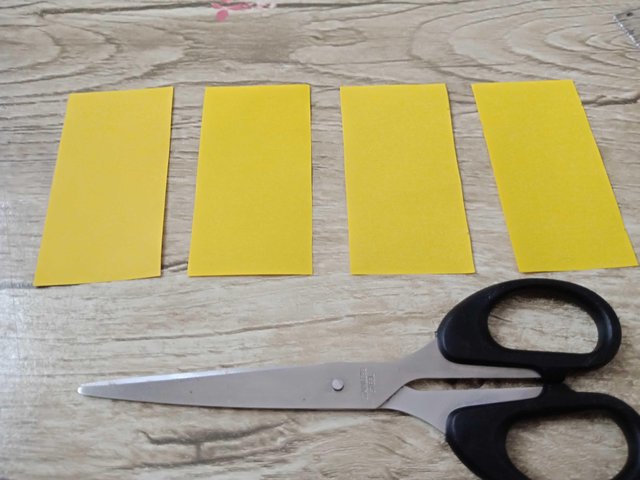
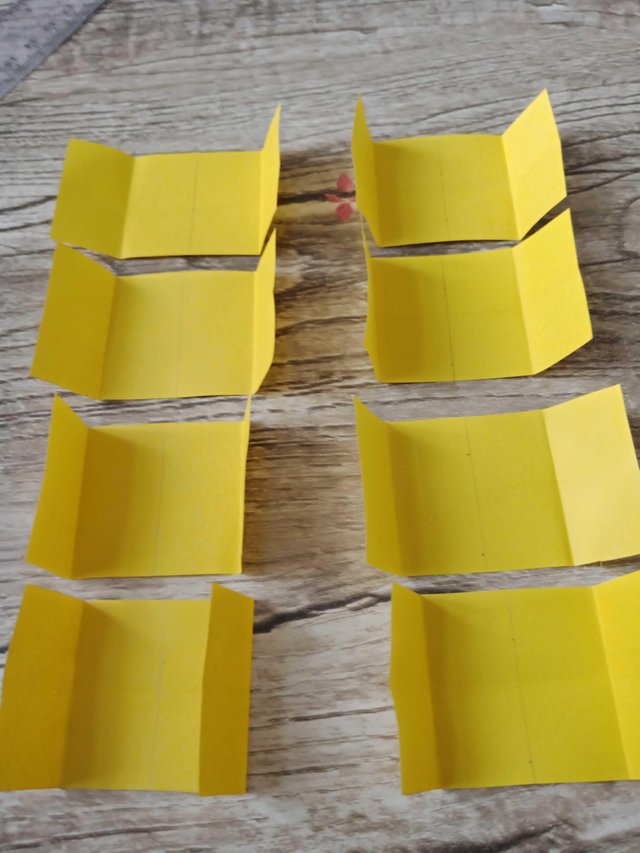
- First, measure out on the contruction paper of your choice eight (8cm x 4cm) rectangles.
Well, I know there are only four (8cm x 4cm) rectangles on this photo. At first I forgot I needed eight, it was later on that I remembered it was supposed to be eight of it.
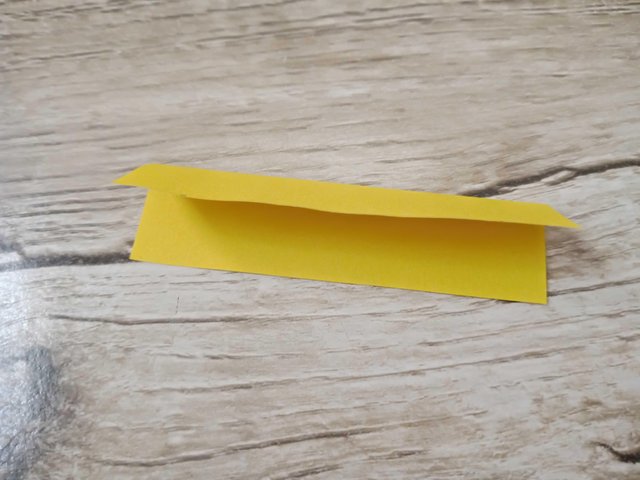
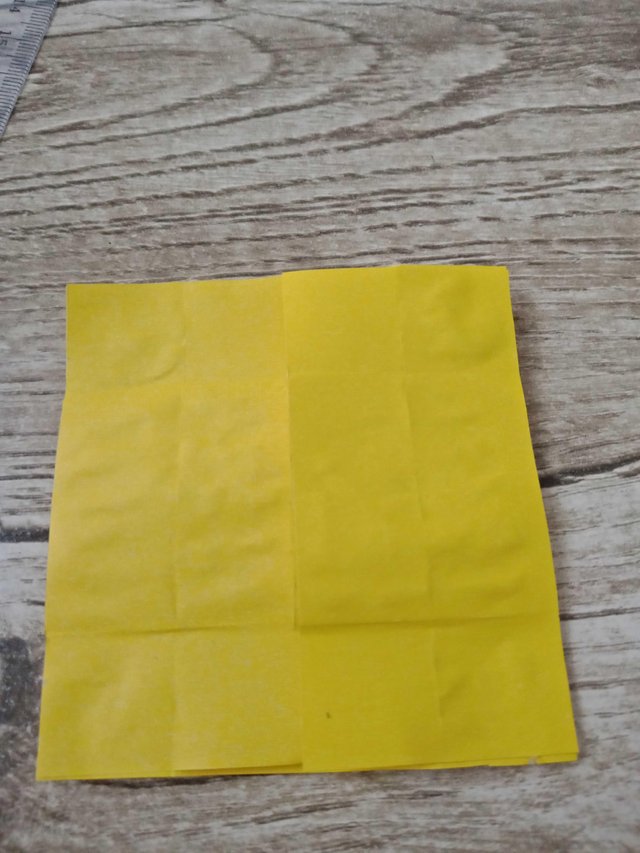
- Next, take one piece and fold it lengthwise. Just like in the photo below. Remember that you'll need to repeat these steps for the rest of the rectangle pieces.
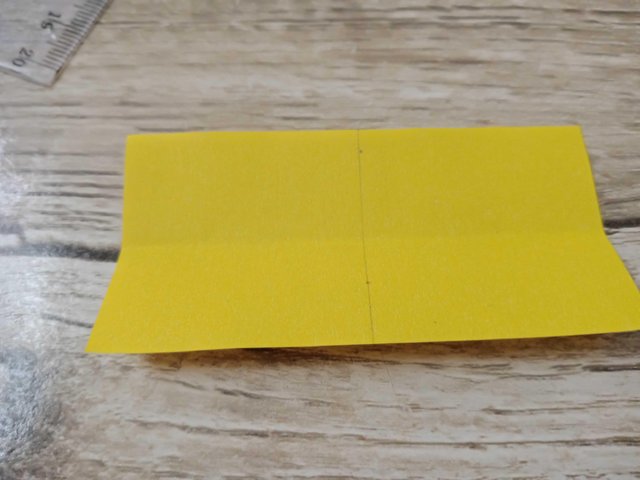
- After folding it lengthwise, make a mark at the center of the piece like so...
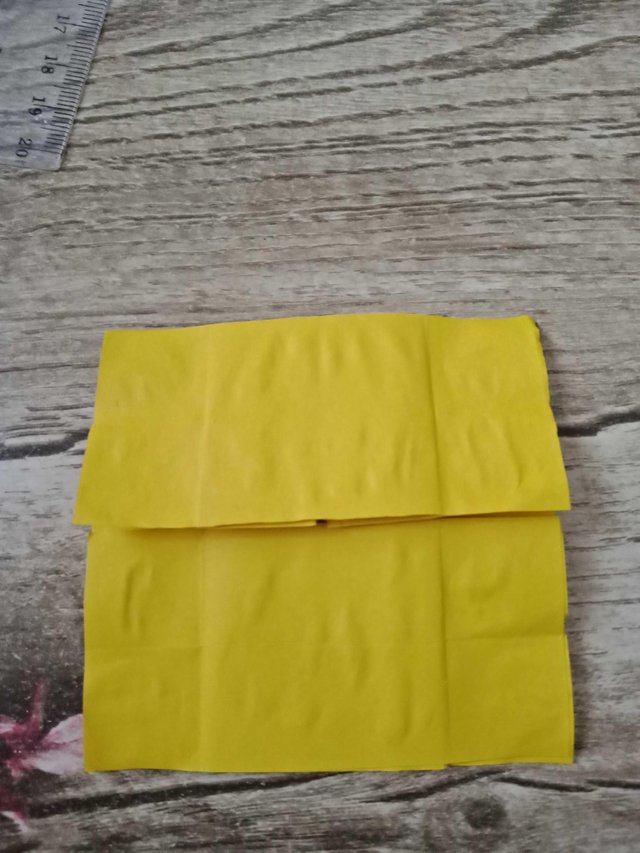
- Now, fold the edges and make sure the folded edges meet at the center.
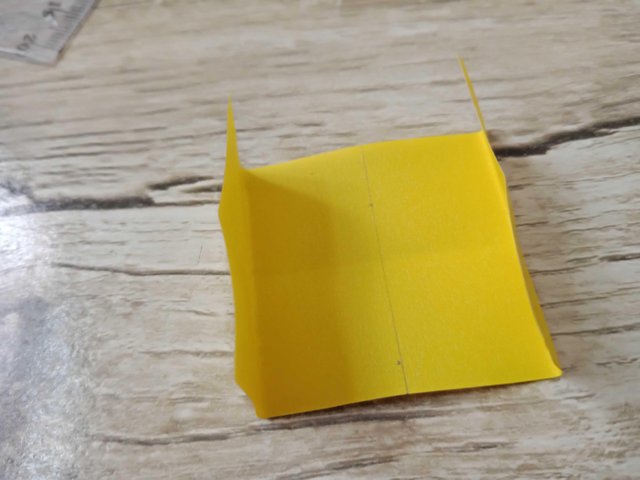
- After repeating it all on the rest of the pieces, we'll proceed to the actual construction of the card and gluing the pieces together.
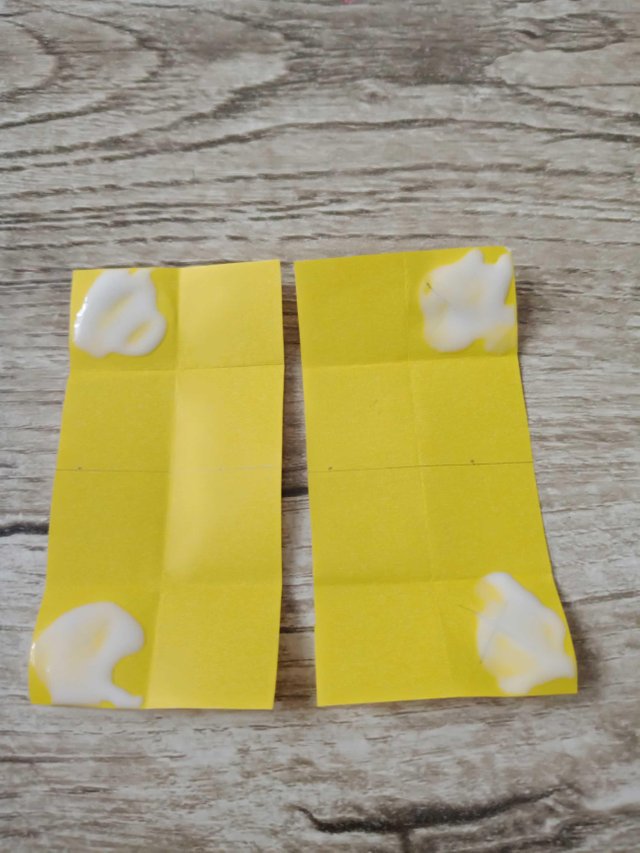
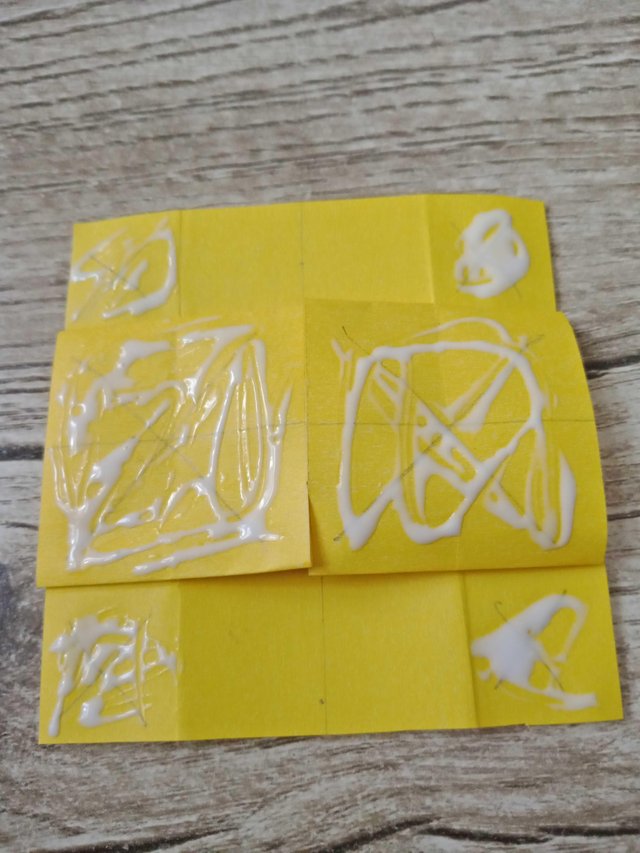
- Get two cards and set it together side-by-side, vertically. I marked up the boxes you'll need to put glue on.

- Then put on some glue on the marked boxes. It is important that you only put glue on the marked boxes otherwise the card won't work.
- Get another pair of the rectangle pieces and put it on top of the glued up rectangle pieces. Put the pair horizontally. It should be on a different orientation with the previous pair.
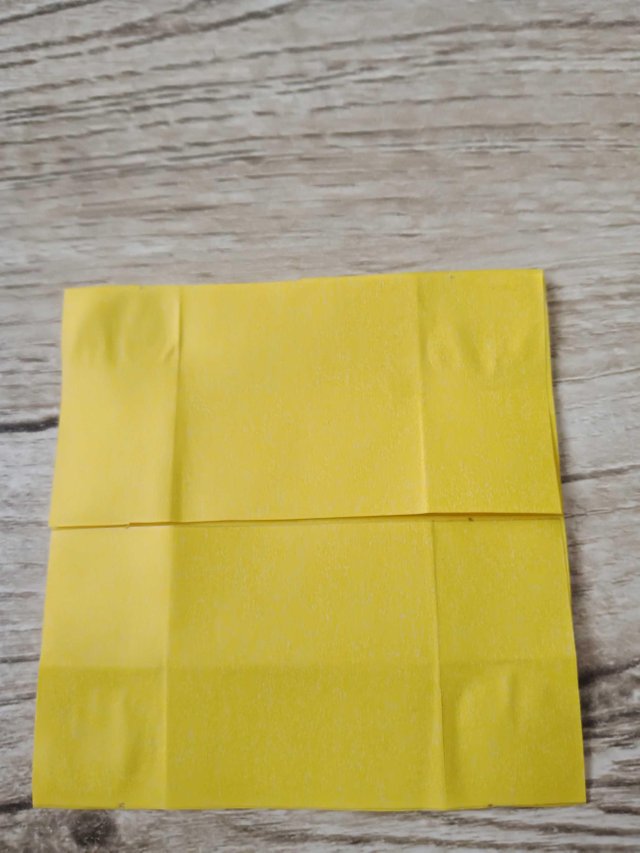
- Flip/Open the card and it should look like this.
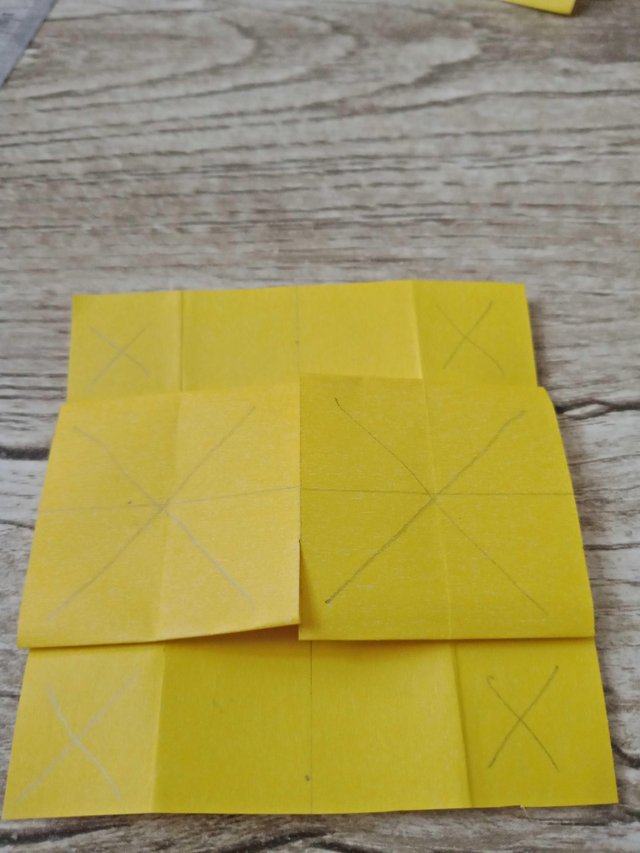
- Again, put on some glue on the marked up boxes.
- Put on another pair vertically. Always on a different orientation than the previous pair.
- Flip/Open again and it should look like this. Put on some glue on the marked boxes.
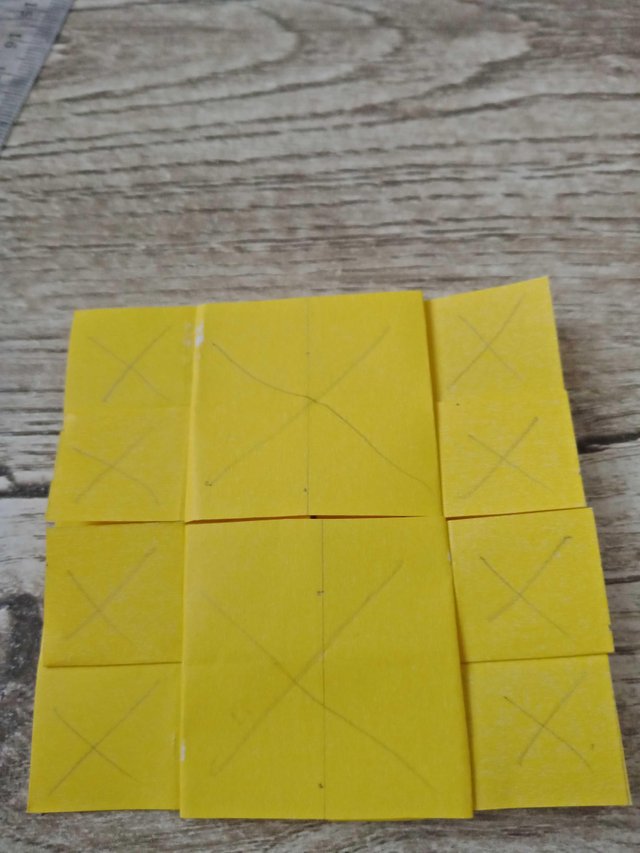
- Put the last pair of rectangle pieces on top and let the glue dry. Don't forget to check everything by flipping it to make sure the card works before letting it all dry.
The card is now done and all you'll need to do is personalize it and make it as special as your special someone. Or you can try and make it look like mine. The only thing you'll need to do is write/make the decorations for your card then cutting it in half before gluing it on the card.
All rights reserved ✔
@lemareg
And remember...

This post was made from https://ulogs.org
Nice blog
Thank you!
Congratulations @lemareg! You have completed the following achievement on Steemit and have been rewarded with new badge(s) :
Click on the badge to view your Board of Honor.
If you no longer want to receive notifications, reply to this comment with the word
STOPDo not miss the last post from @steemitboard:
SteemitBoard and the Veterans on Steemit - The First Community Badge.