Water drop tutorial 💦 Collision of milk droplets
"The secret is here"
It took some "sweat and tears" to make it, but here we are. My first tutorial, filled with beautiful photos. 🤗 So sit back, relax and enjoy the tour, through water drop photography 💧 Collisions 💥
Introduction into the art of 💧water drop photography 📷
In water drop photography, you can never really know, what kind of sculpture will the droplet create. You could say, it's a "gambling photography," because there are so many things, that you have no influence on. Not only that you need to practice, you have to have patience! This is the most important thing, because this kind of photography, is very time consuming. Sometimes, you need hours and hours (Sometimes day or two), to get the photo, that you want... Maybe you have already try some water drop photography, but the results didn't look anything like this. This is because, I use a special gear Trigger & Valve, to control the water drops. Without gear, this kind of photography becomes mission impossible....
So, let's talk about the gear you need!
Beside camera you also need:
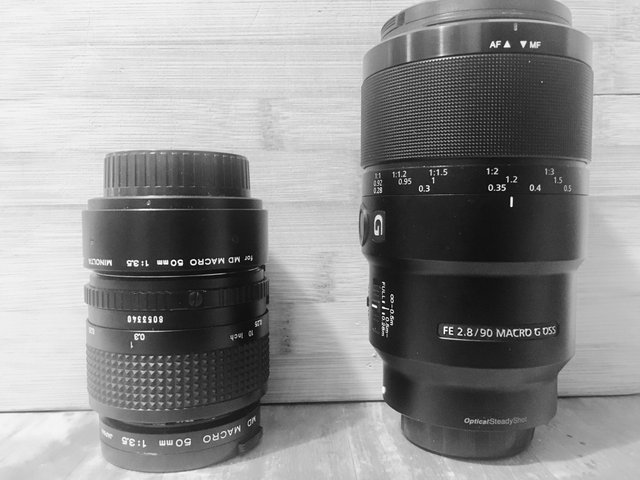
Macro Lens / I use Sony 90mm Macro 1:1
Any kind of macro lens will do. Not to get your lens totally wet, I recommend 90mm, you can go farther away. With that, you have a safe distance of water drops or any liquid, you are working with.
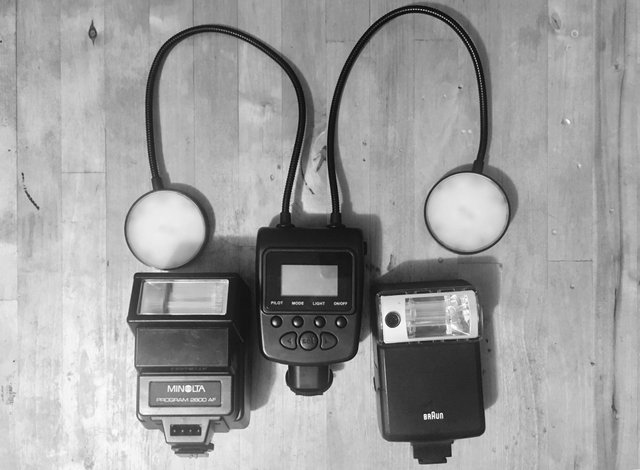
External flash / Not necessary
The flash is the most important thing at this kind of photography. Why you ask, because it freezes the whole moment. It's good to use an external flash, but as I broke my shoe adapter ( where the ex. flash come on the camera), so I will have toimprovise, with internal camera flash.
+TIP, THAT WILL SAVE YOU A QUITE A LOT OF MONEY
Don't buy stuff / gear, which you can make it yourself! DO IT YOURSELF or DIY
Some gadgets in photography you can easily make it yourself. You don't need to run into the first photo store and buy all the expensive gear. NO.
Look up some tutorials about DIY photography.
Make them and use them!
Then, if you decided, that this is what you need for your photography, you go and buy it.
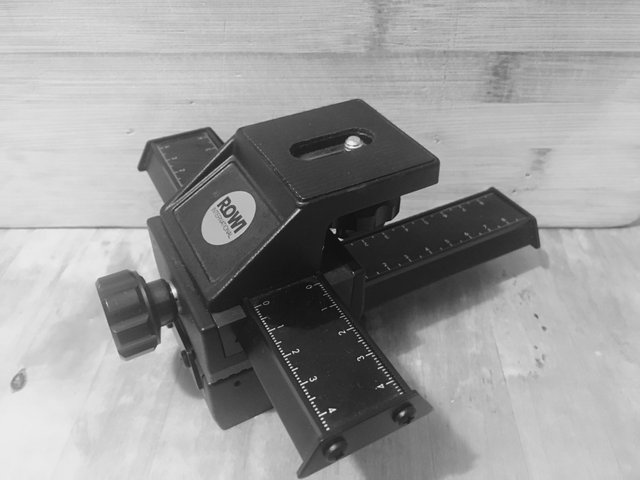
Macro slider / Not necessary
I just love macro sliders. It allows you to move your camera very precisely. From forward and backwards to left to right.
It's a very useful gadget, when you doing macro photography or focus stacking ( tutorial will come in winter ).
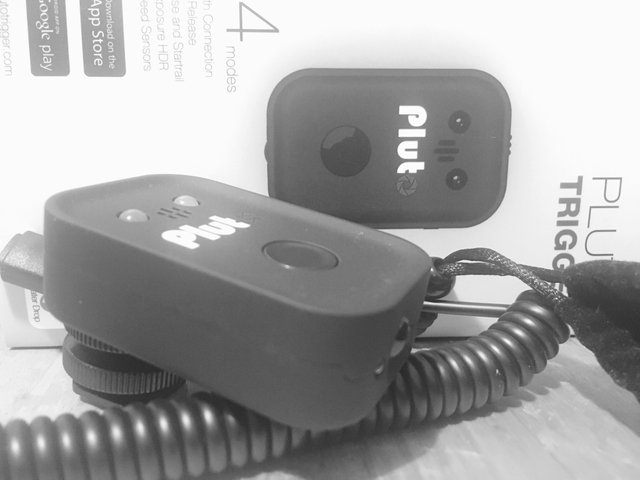
Some kind of trigger / I use Pluto trigger
The best thing about Pluto trigger is, that is affordable to everyone. It's about 130$.
It's a small device, that triggers your camera for you! Trigger is a high-speed smart camera trigger, that's controlled by a free iPhone/Android app over Bluetooth.
Functions:
+STILLS +TIMELAPSE +STARTRAIL +HDR
+VIDEO +SOUND +LASER +LIGHTNING
+PROXIMITY +DROPLET +SHAKE +MOTION
The Pluto Trigger supports Canon, Nikon, Sony, Minolta, Panasonic, Olympus, Pentax and more.
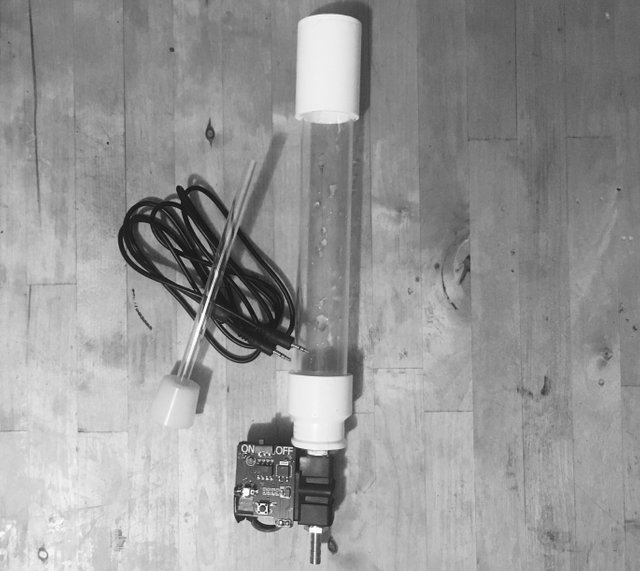
A Valve / I use Pluto Valve
This device is, what makes the whole water droplet photography work. It's a special mechanism, that allows you to control, the size and the rate of the water drops. Combining it, with the Pluto Trigger enables us, to take photos of water drops, colliding in mid air! It's controlled by a free iPhone/Android app over Bluetooth.
Such devices as this Pluto valve, cost over 400$, but this one is only 40$ 😱
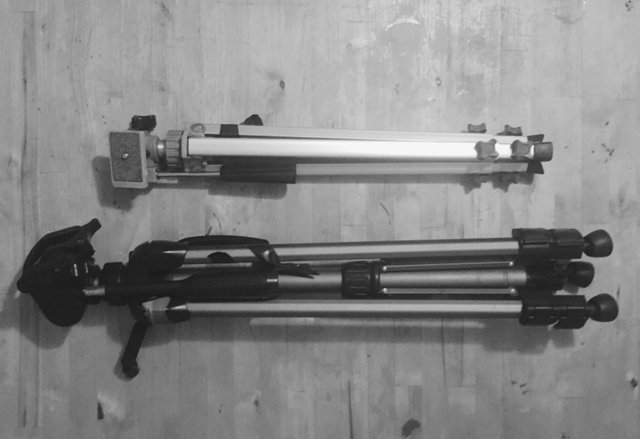
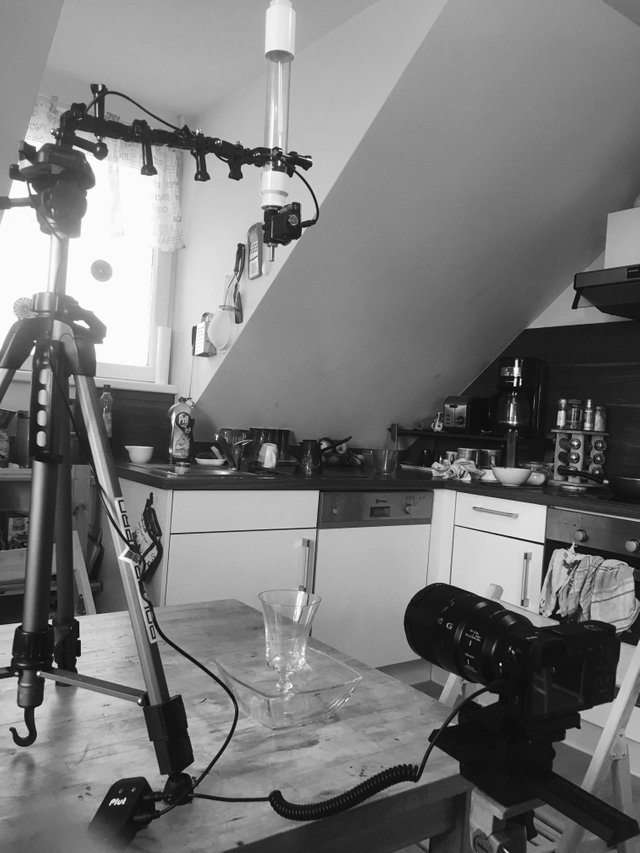
2x tripod
Too many choices, but you need two of them. One for your camera and one for the Pluto Valve.
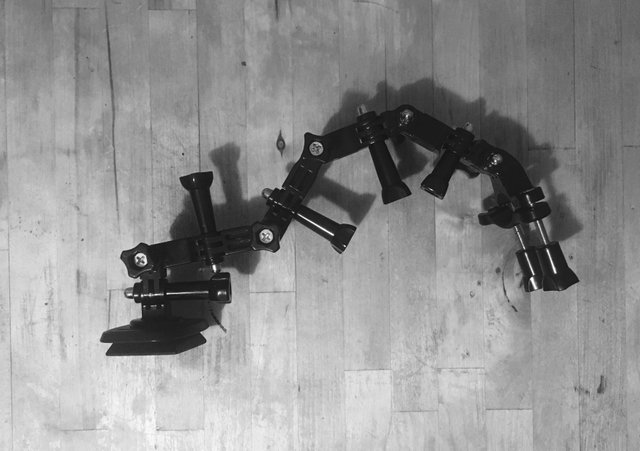
Something to hold a Pluto Valve / I made a GoPro hand
Improvise or you can buy a tripod hand.
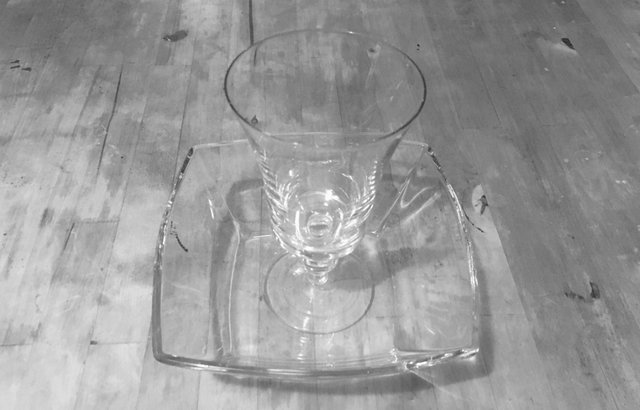
Glass bowl, cup glass
The choice is yours, but you need to put one into the other, so your liquid will gather and not be all over the place.
Flash light / phone light is ok too
Because you will shot in total darkness, you need to see the collision, when it occurs. That is important, so you can make the right adjustments on the Pluto app.
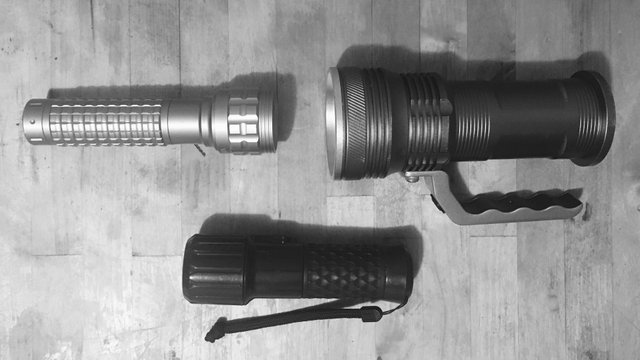
Now we know what gear we have to use and a better understanding how this thing should work.
Now we have to put it all together.
As you will see, you don't need a special photo studio... because you can do it just almost everywhere.😋 I did it on the kitchen table. 😁
CONNECT IT
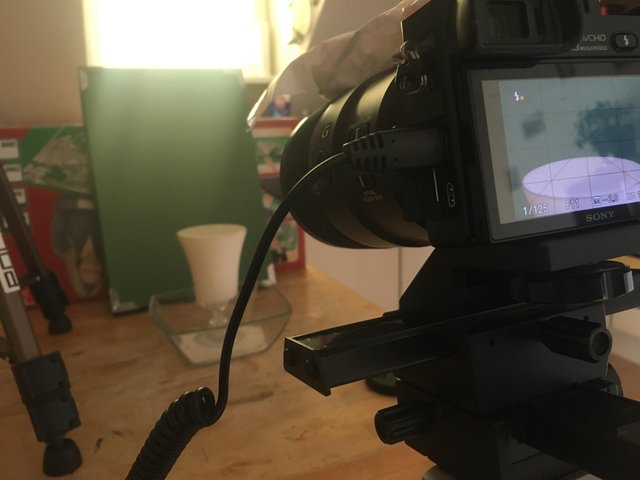
First you need to connect the Pluto Valve to the Pluto trigger. I painted a little drop, so you can see, where exactly will the drop come out.😋
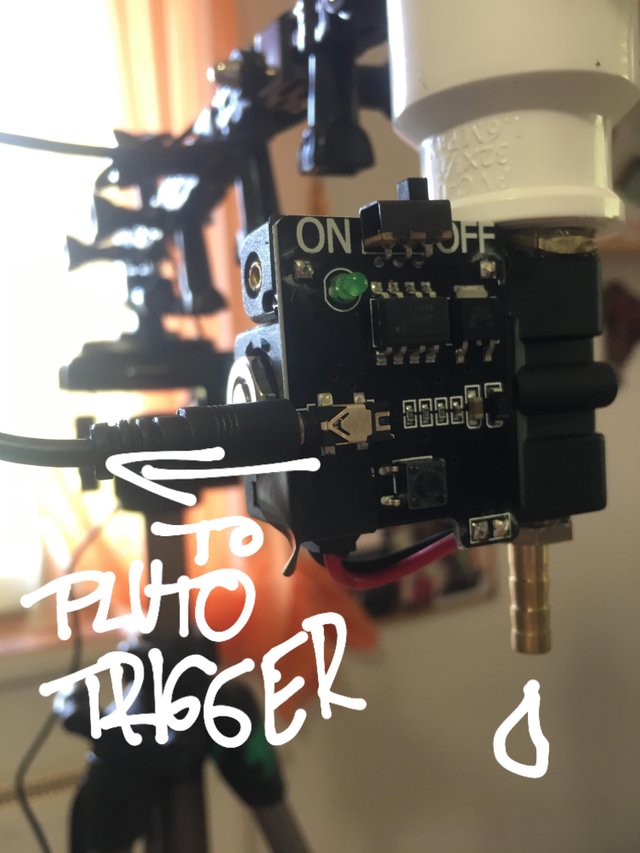
NEXT
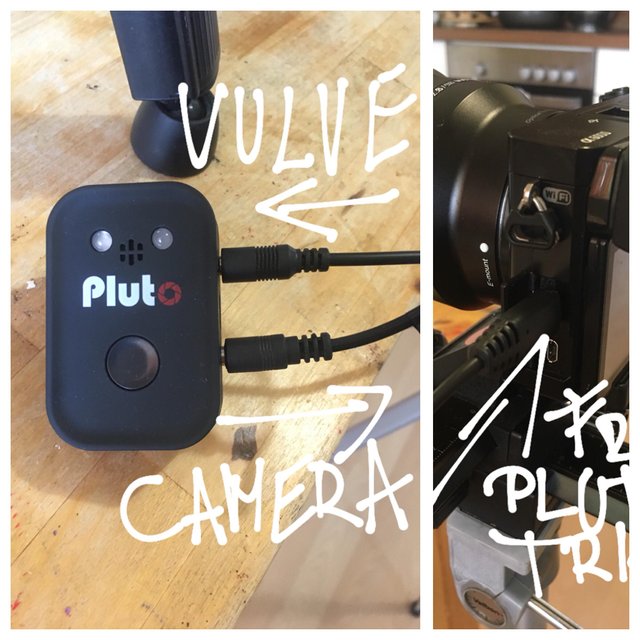
Contact the Pluto Valve to the Pluto trigger. Next is, to connect Pluto trigger with your camera. Basically, that's all. The setup is complete and don't forget to check your batteries 😂
All we need to do now is, to make a background and choose the liquid. For start, I have chosen a green background, because we will work with milk. In the process, we will see, what color of background should be better. I think, white background will work the best, but let's try first with green.
NOW, THE MAGIC
Turn on your camera. A sweet spot to start.
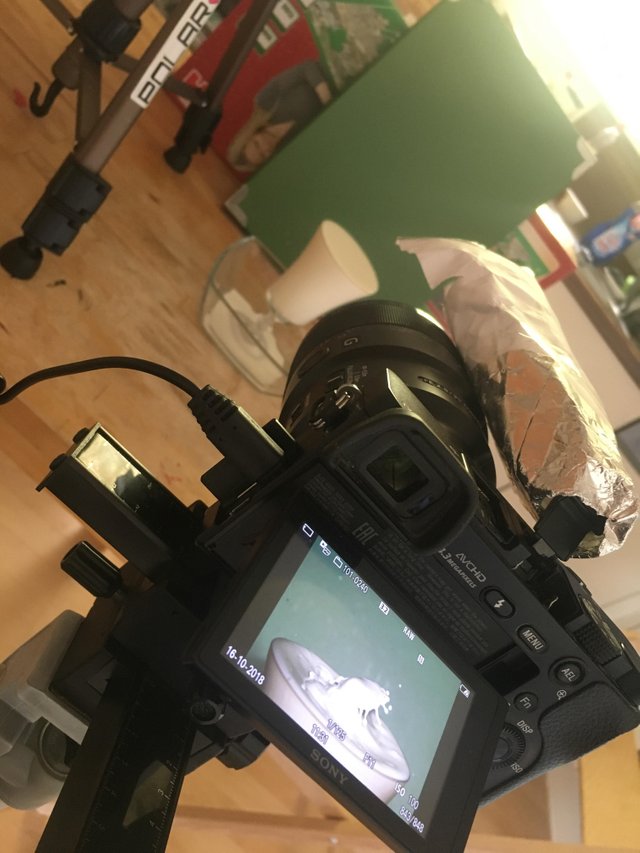
Let's go quick throw the settings of the camera.
- F/11
- Shutter 1/125
- Iso 100
- Internal flash - max power
Now turn on the Pluto trigger and then Pluto vavle. You don't need to do anything, those things connect itself.
All you need to do now, is it to download a Pluto Trigger app to your phone or tablet. Turn on the bluetooth on the phone and open the app.
You must choose the droplet...
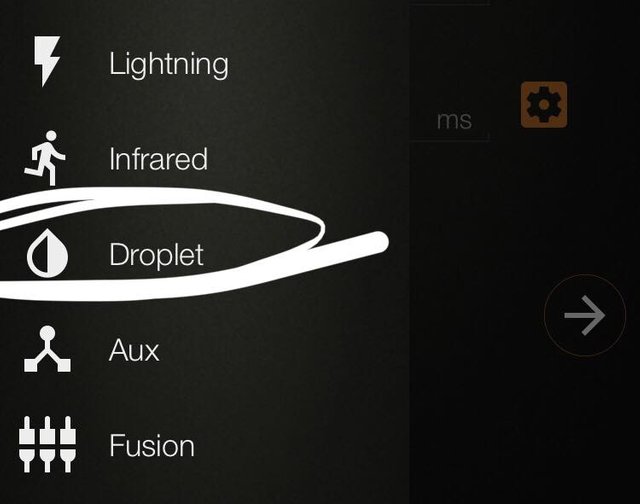
...then the water drop menu opens. THIS IS THE MAGIC MENU 😍
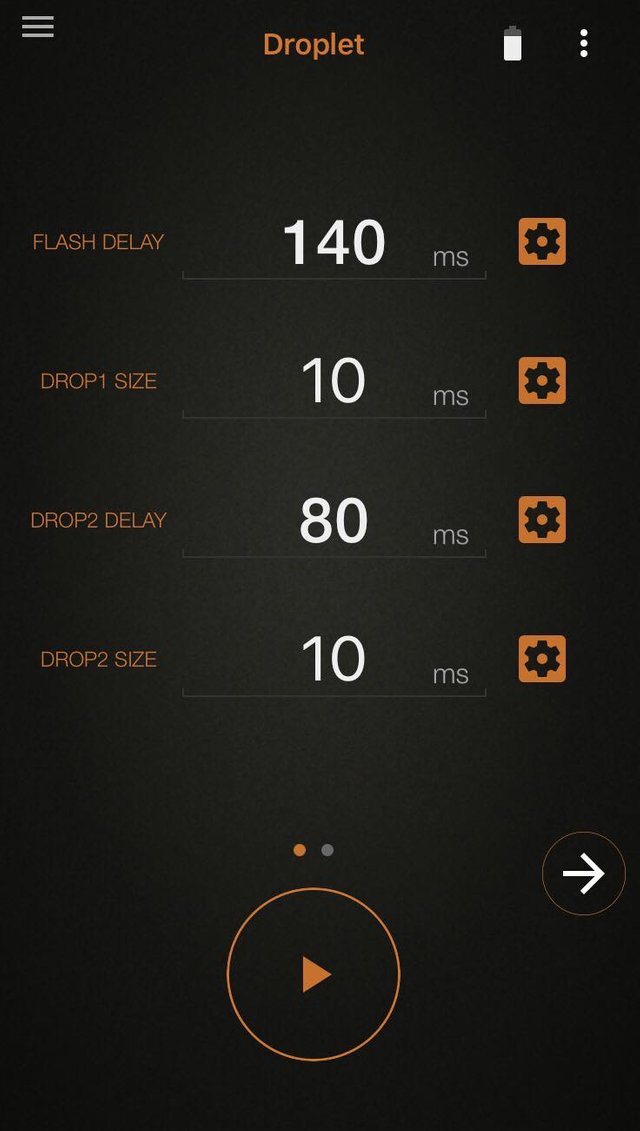
First, I will explain the menu, but it's quite simple made.
You can see, all timing is in m/s. ( meters per second) Jap, this is fast.
- Flash delay
Precise time, when should the camera take the photo. In other words, when the valve releases the first droplet, how much time should pass until we take a shot. Because the event happens so fast, the easiest way to correctly measure it, is in meter per second. - Drop size 1
How long should be the Pluto valve opened and this will create how big will be the droplet. So, longer the time means bigger droplet. I usually start with 10 m/s. This gives me a nice round droplet from start. - Drop2 delay
Precise time, when should the Pluto valve opened and release the second droplet. - Drop2 size
How long should be the Pluto valve opened and this will create how big will be the droplet. So, longer the time means bigger droplet. I usually start with 10 m/s. This will make the job a little bit easier. For start, it should match the first droplet, because it's the same size, that also means, the speed of falling is the same.
WE ARE ALMOST READY! ALL WE HAVE TO DO NOW, IS TO FIND THE RIGHT FOCUS. WE DO THAT WITH RELEASING A FEW DROPS, FROM THE PLUTO VALVE.
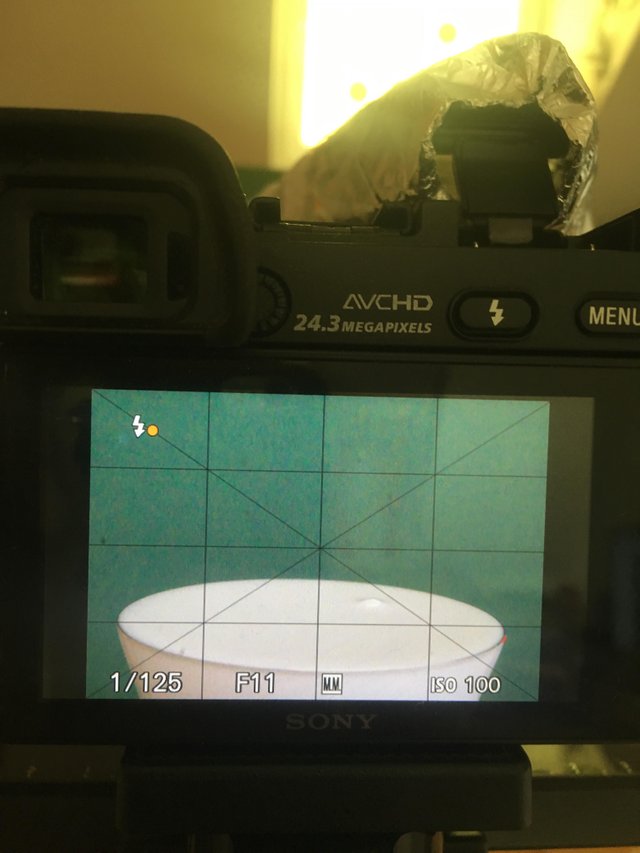
Where the droplet makes an impact, I put in a pencil, and focus on that. That way, I can get the best focus. ( Yes, your lens must be in manual focus mode)
NOW WE ARE FINALLY READY, TO DO MAGIC
We just push the play button on the Pluto app and observe the magic happen. Automatically the Pluto Valve will release the droplets and the camera will capture.
So where is the point, of such photography, when the machines do it all for you?
Here is the catch. 😯
Every moment, every breed of air, every vibration has effect of the outcome of the photo. In other words, you never know what are the right settings. 😮 You start with something that has worked in the past and you trying to adapt to it, because every droplet, will fall slightly differently in the cup. And the volume of the liquid in the cup, will never be exactly the same... 😦 "PLAYING WITH THE SETTINGS," COULD BE THE NAME OF THE GAME.
Oh and one more thing. The best photos are made in total darkness.
Do you see, where I'm going with this... 🤔
Love the green background, but let's change it up.
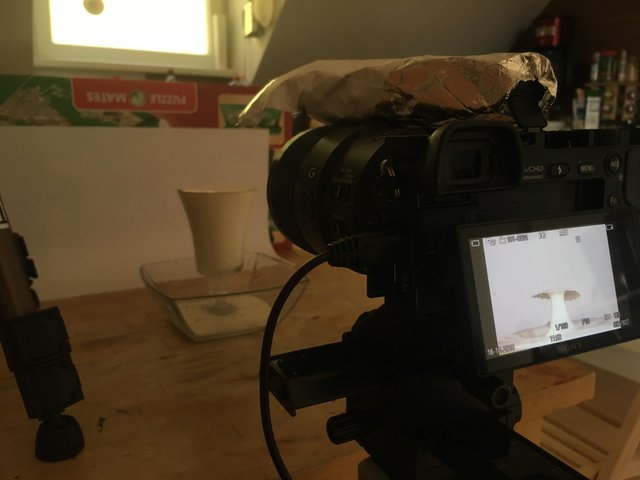
Little out of focus, but it works. 👍
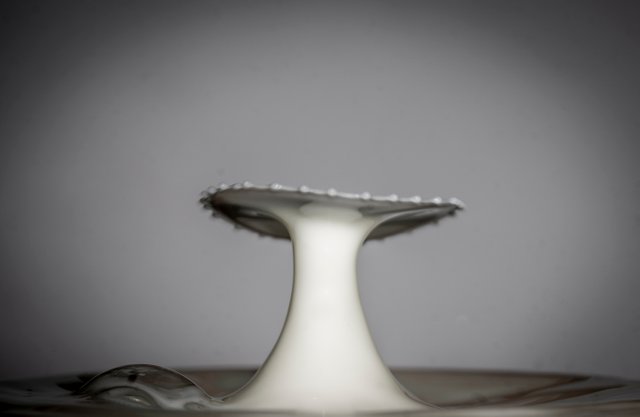
AT THE END OF THE DAY...
So, you need experience to calculate all the factors, that are influencing the event. Just two drops change the whole setup, just enough, so you must again predict what settings will you use in the next shot. Patient and persistent are the keys, but most off all, It's about having fun and creating something new and different.
And if you are persistent enough and you try try try... Then eventually, that one photo will come, that "one of a thousands!"
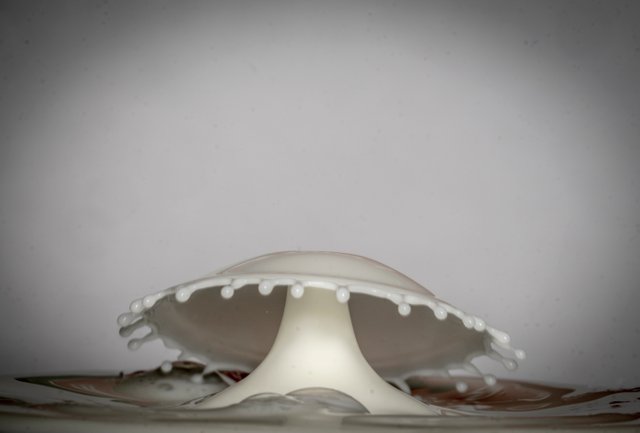
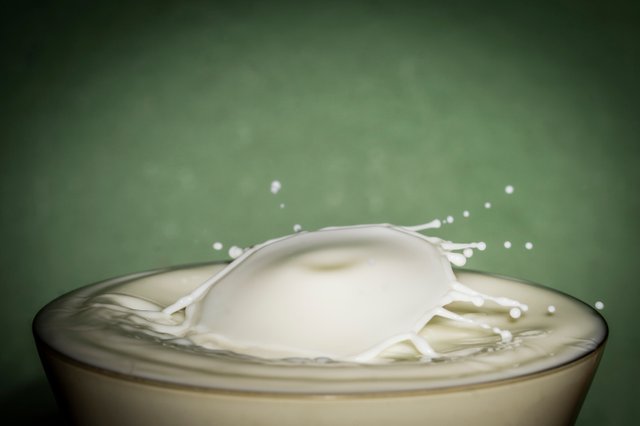
With this photo, I'm ending my tutorial. It's more like a photo tutorial... doesn't really matter... 😁
I hope youhave enjoyed it and learned something. Also, if you want to see more amazing footage, don't forget to follow me👍
Till next time...
Yours truly, @marjanko 🍀
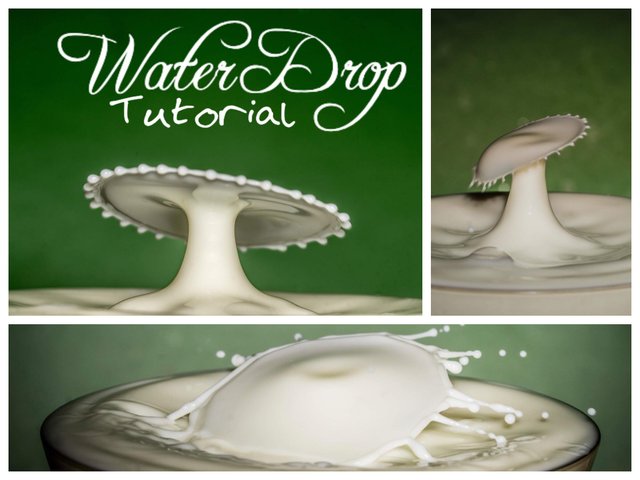
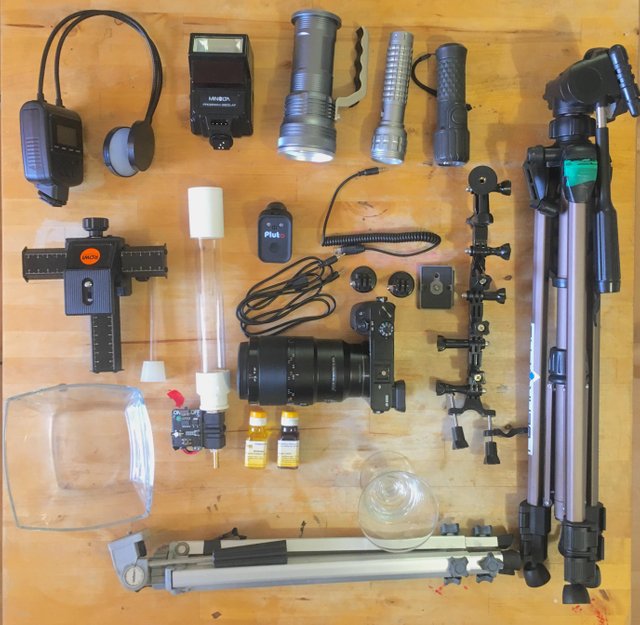
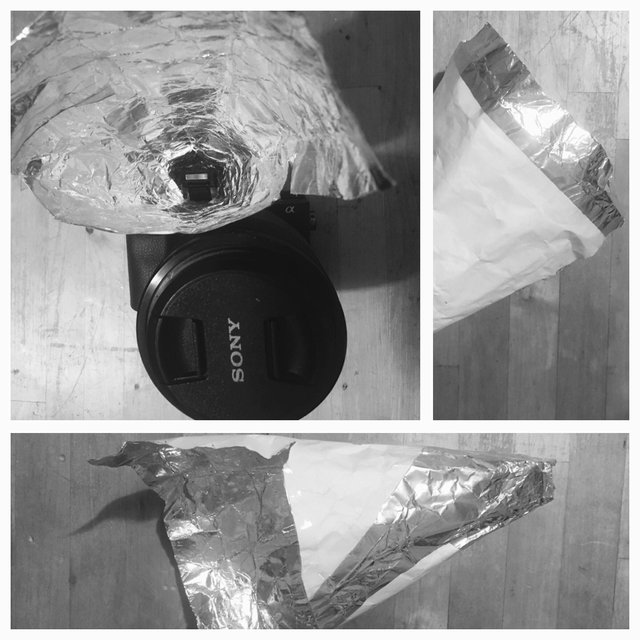
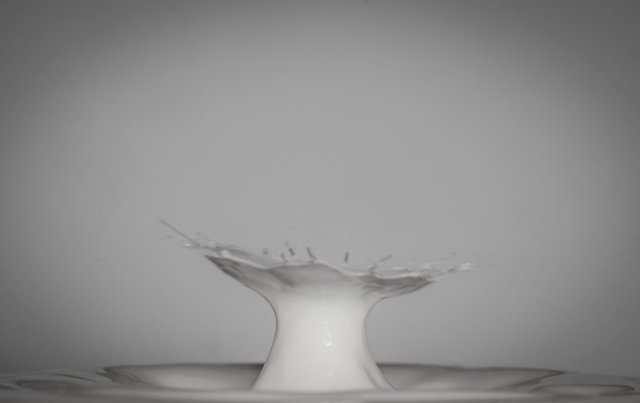
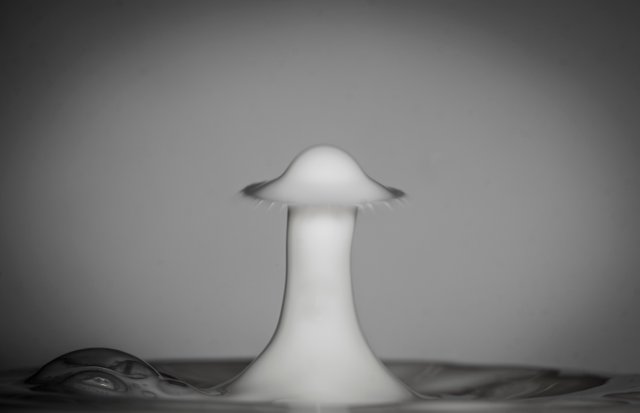
Pure awesomeness! Keep it up!
@qurator Thank you very much for the support! I appreciate it!
What a brilliant idea! Thanks @markanko.
You are welcome. Happy, that you like it @dandays.
Very awesome to see how this is done!!
They look like little milk mushrooms :-)
Thank you for this informative post and
wonderful photographs @marjanko!!
Awesome work man
Thank you @kid4life 🍀 I'm glad, you like it and
I really appreciate the support ✌️
They look awesome! Cool idea and tutorial, resteemed👍
@bronkong Thank you. Huge thanks, for the support!
very well explained but complicated for me.
I tried it in the window and it came out but not well hehe
Thank you @txatxy
So nice of you to stop by 🤗
That kind of photography always fascinated me...
It's not that complicated, its just a lot of new infos and also new exquipment 👌 it needs time... ✌️
eh eh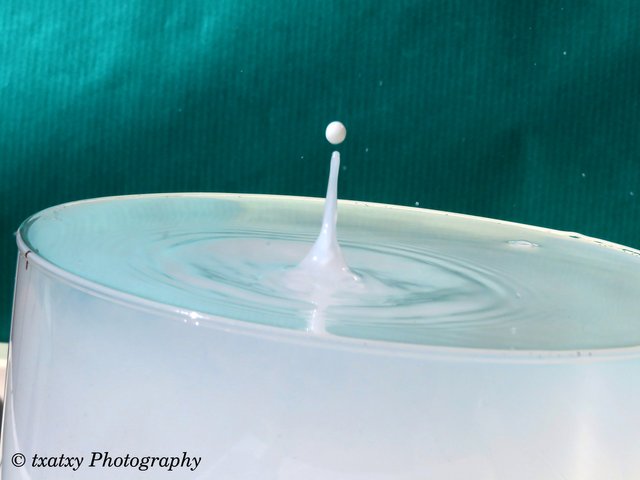
☺️ Not bad, not bad at all👌
🤗😂😘
Full upvote. That's the high quality content everybody talks about. 👍
I bet this gets an upvote by @curie.
@direwolf Thank you. Thank you so much for you huge support.
Wow amazing ! What a great and detailed set up - awesome information here😀 lots goes into getting these beautiful shots!
The look like mushrooms 😀 🍄
@sunsethunter Thank you for the kind words. I'm happy that you like my work.
Greetings from Graz, Austra
wow nice article on slow motion capture..
you must need 300fps camera for capture this slowmotion...
@tussar11 Thank you.
I had something better the 300fps :) more like 1200fps in 4K and we can go to 2200fps in HD.
Check it out
This post has been voted on by the SteemSTEM curation team and voting trail in collaboration with @utopian-io and @curie.
If you appreciate the work we are doing then consider voting all three projects for witness by selecting stem.witness, utopian-io and curie!
For additional information please join us on the SteemSTEM discord and to get to know the rest of the community!
@steemstem Thank you.