Simple Cutting technique in Photoshop Using The Pen Tool and How I Use Photoshop To Edit My Clients Work (PART TWO)
Hey guys, following up on my last post on Simple cutting technique in Photoshop Using the Pen Tool and How I Use Photoshop To Edit My Clients Work (PART ONE)
Here is the second one focusing mainly on how I edit my clients work. I will take it step by step.
STEP 1
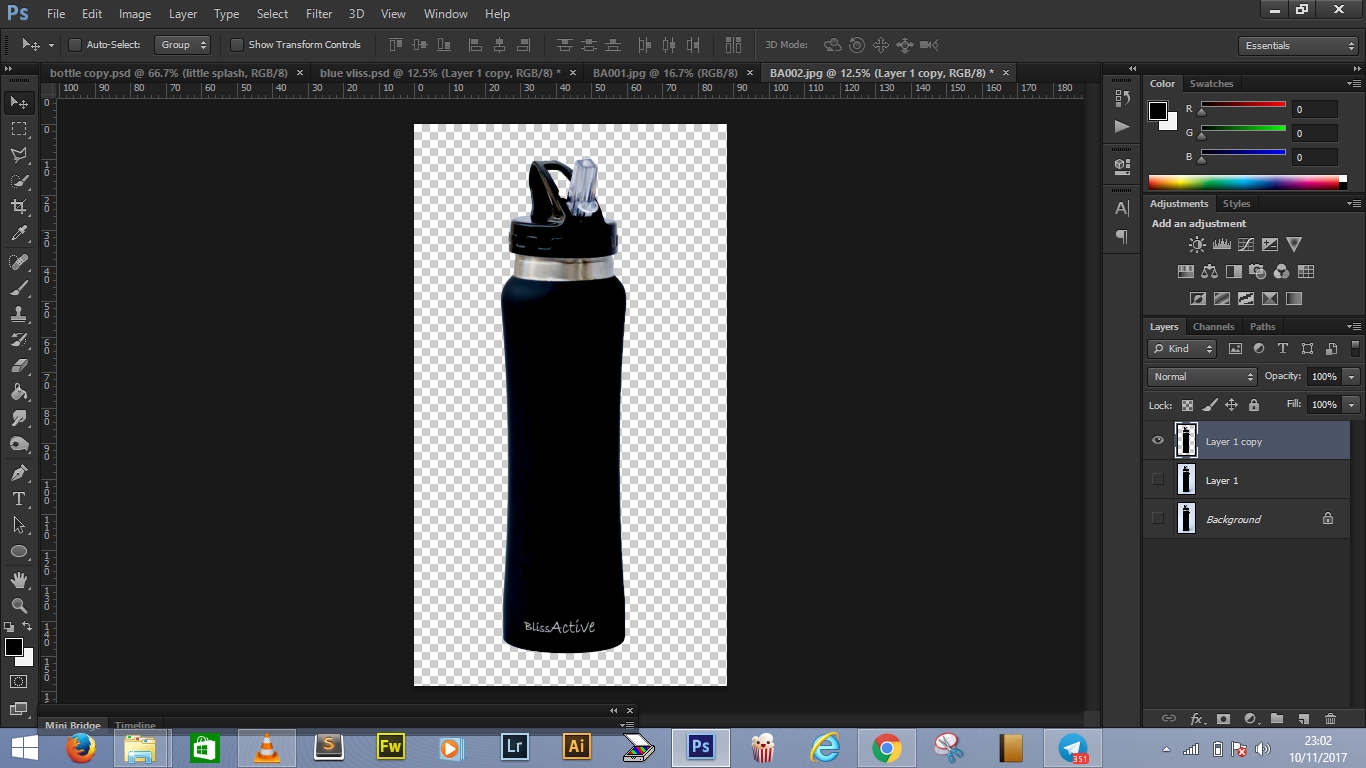
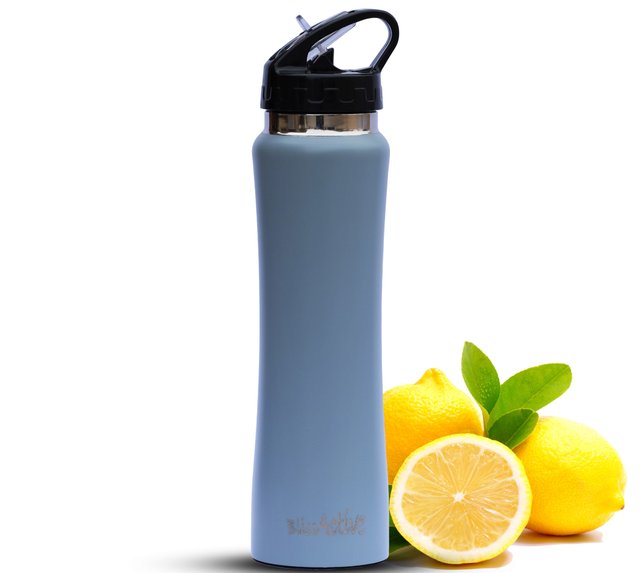
From the last tutorial the bottle was cut successfully and can be moved around.
.png)
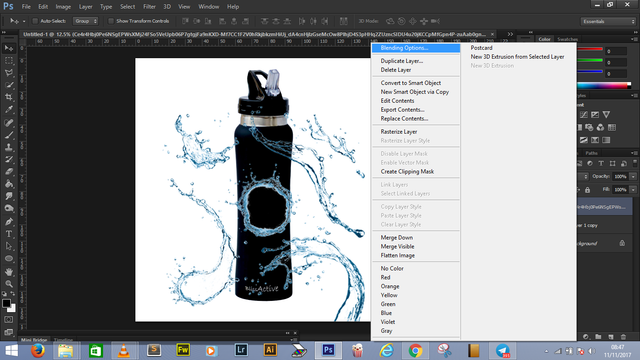
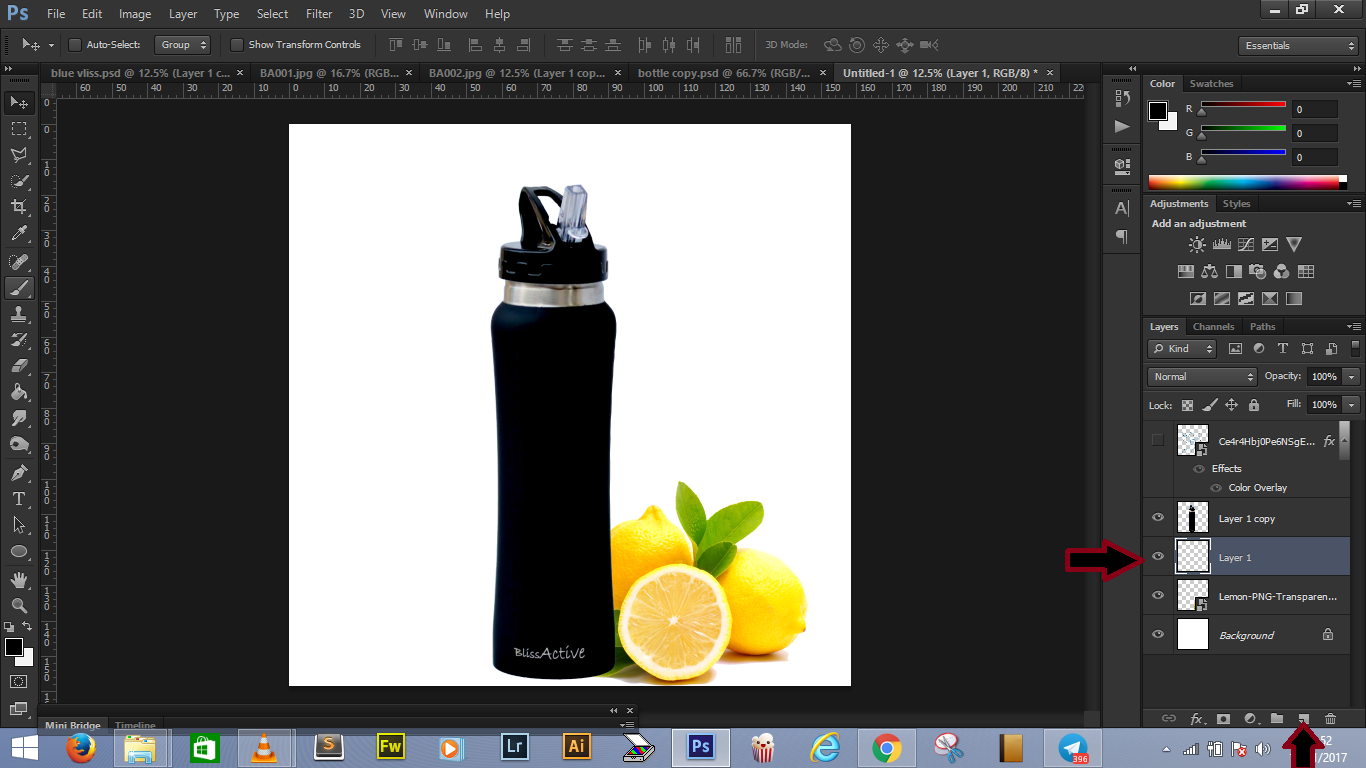
Notice in the image below that there is a green circle. That's right. when you click on it with your mouse or the move tool {Short-cut key for move tool is V}, you can toggle the underlying layer on and off. For this purpose you will have to turn it off as I have already done to focus on the top layer . Don't be scare lol, just turn of the eye.
.png)
STEP 2
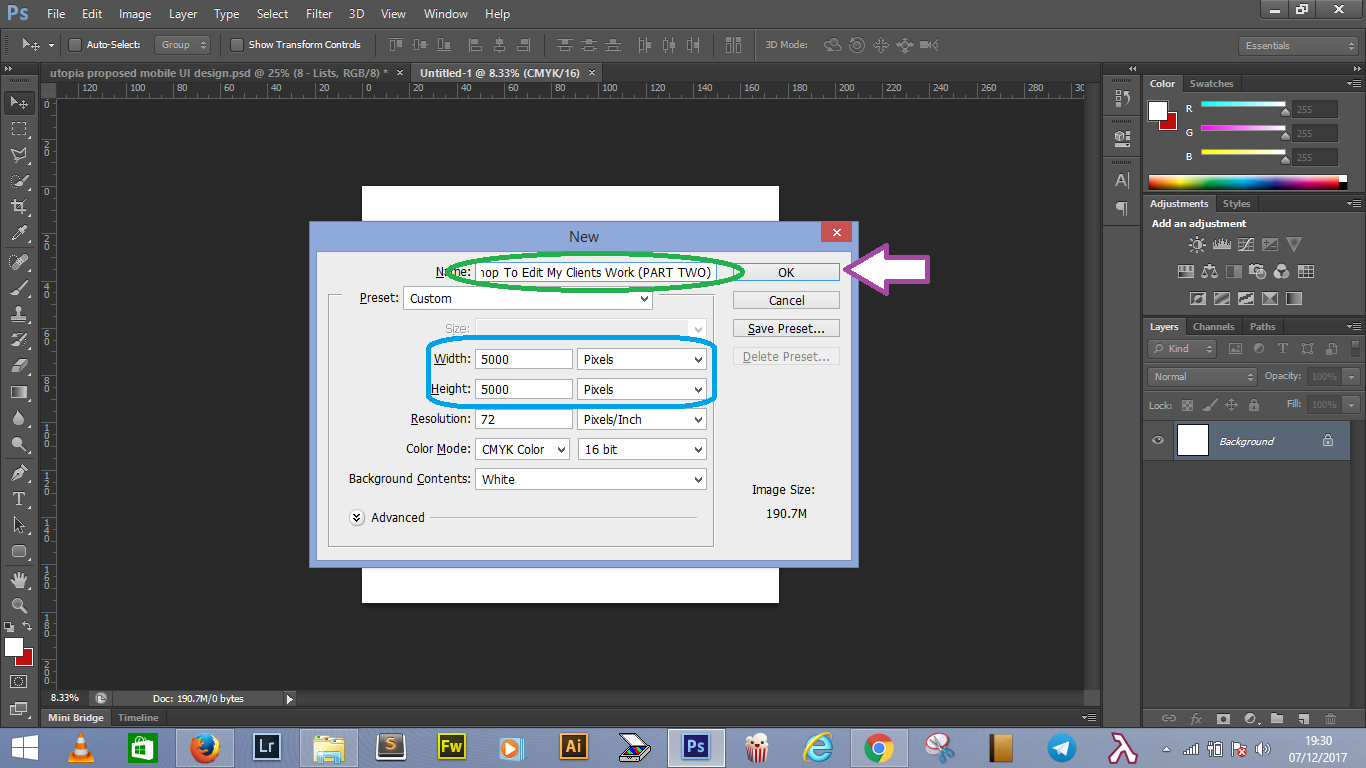
This is pretty easy and straight forward. Let's use Short cut. Open a new project. set the pixel to 900 x 900 or 1000 x 1000.
All depends on the size of the image. You can decide to go higher than the actual image size or go lower. Provide you know how to modify the image without distorting its appearance or shape. Anyway for my image. I set it 5000 x 5000 pixels
the green oval shape indicates where you can rename your file or you can leave it default as Untitled
the blue shape is where you adjust the size (pixel, inches, centimeters etc)
then click okay as the icon as arrow icon shows
CTRL + N
.png)
STEP 3
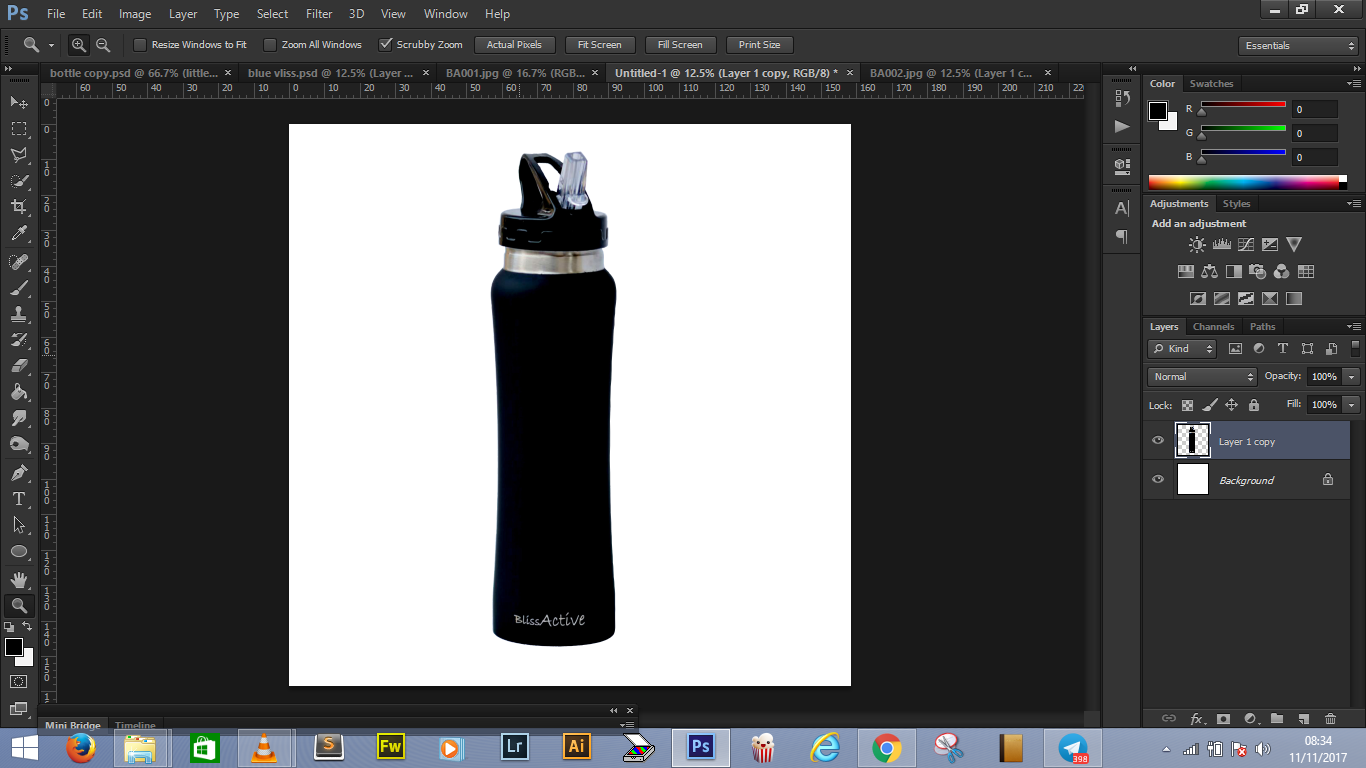
Remember we have aready saved the .png file of the bottle. So you can drag and drop it from where it is saved on your PC or you can go to the other tab in your photoshop then hold & click on the tab then drag it out and down a bit.Once this is achieved achieved, proceed to drag the image to the new project background already created.
.png)
Then you have this
.png)
STEP 4
Here is the fun part. I will list the sources or where you can get materials to do a neat job with no stress.
PNGMART you can get clear quality png images for free here.
I can create my own water splash or ice effect depending on what i set out to achieve.However, this tutorial is just to make it easy for you if you want to do something similar. When you get tour png image i.e with a transparent background except of course you want to cut the image out as the Part One of this tutorial as shown.
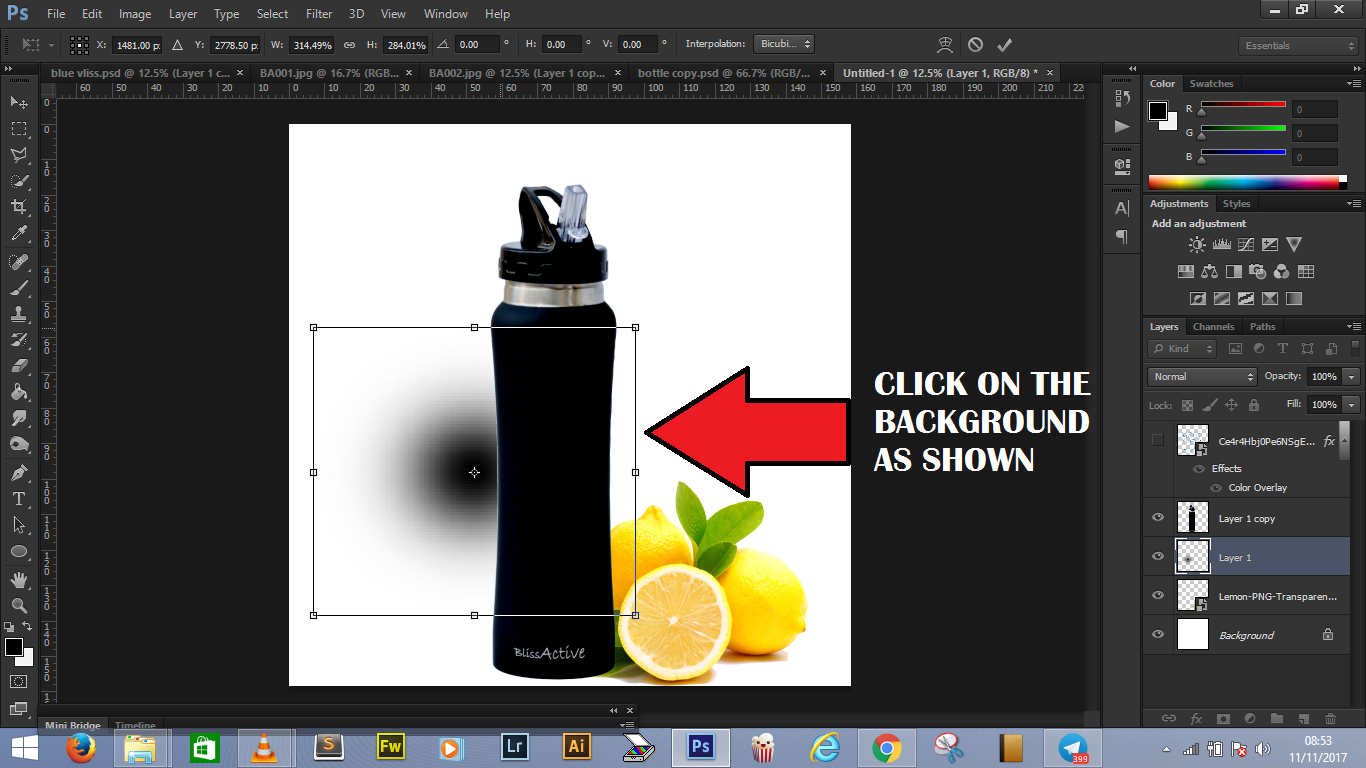
NOTE when adjusting any image on photoshop. Click
CTRL + T this will create a scaling selection
Hold SHIFT + Drag your mouse or the move tool at the edges of your image to adjust it properly
As shown below.This can be done on any item.
.png)
Step 5
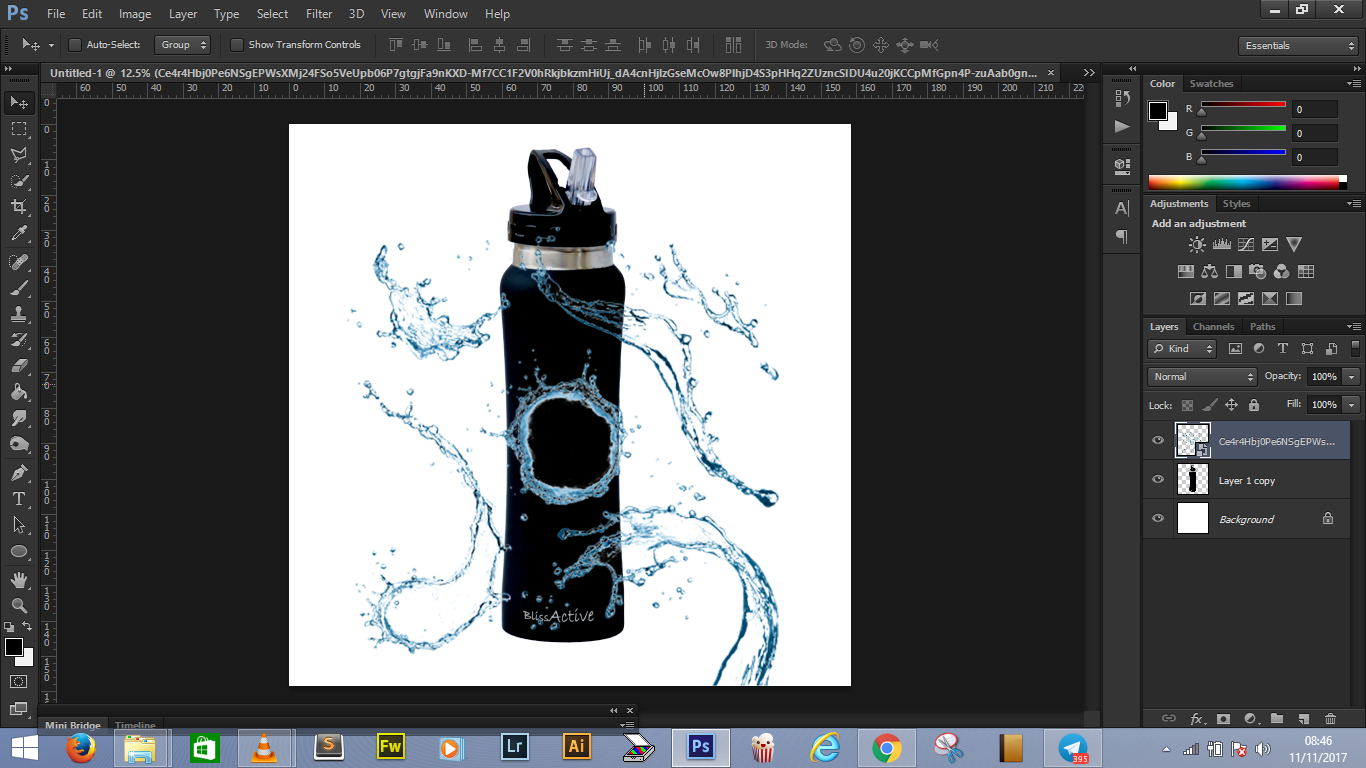
After acquiring your water splash or preferred fruits or item of choice. Next insert the item in the new project we are working on. Adjust if you must as described in Step 4 above.
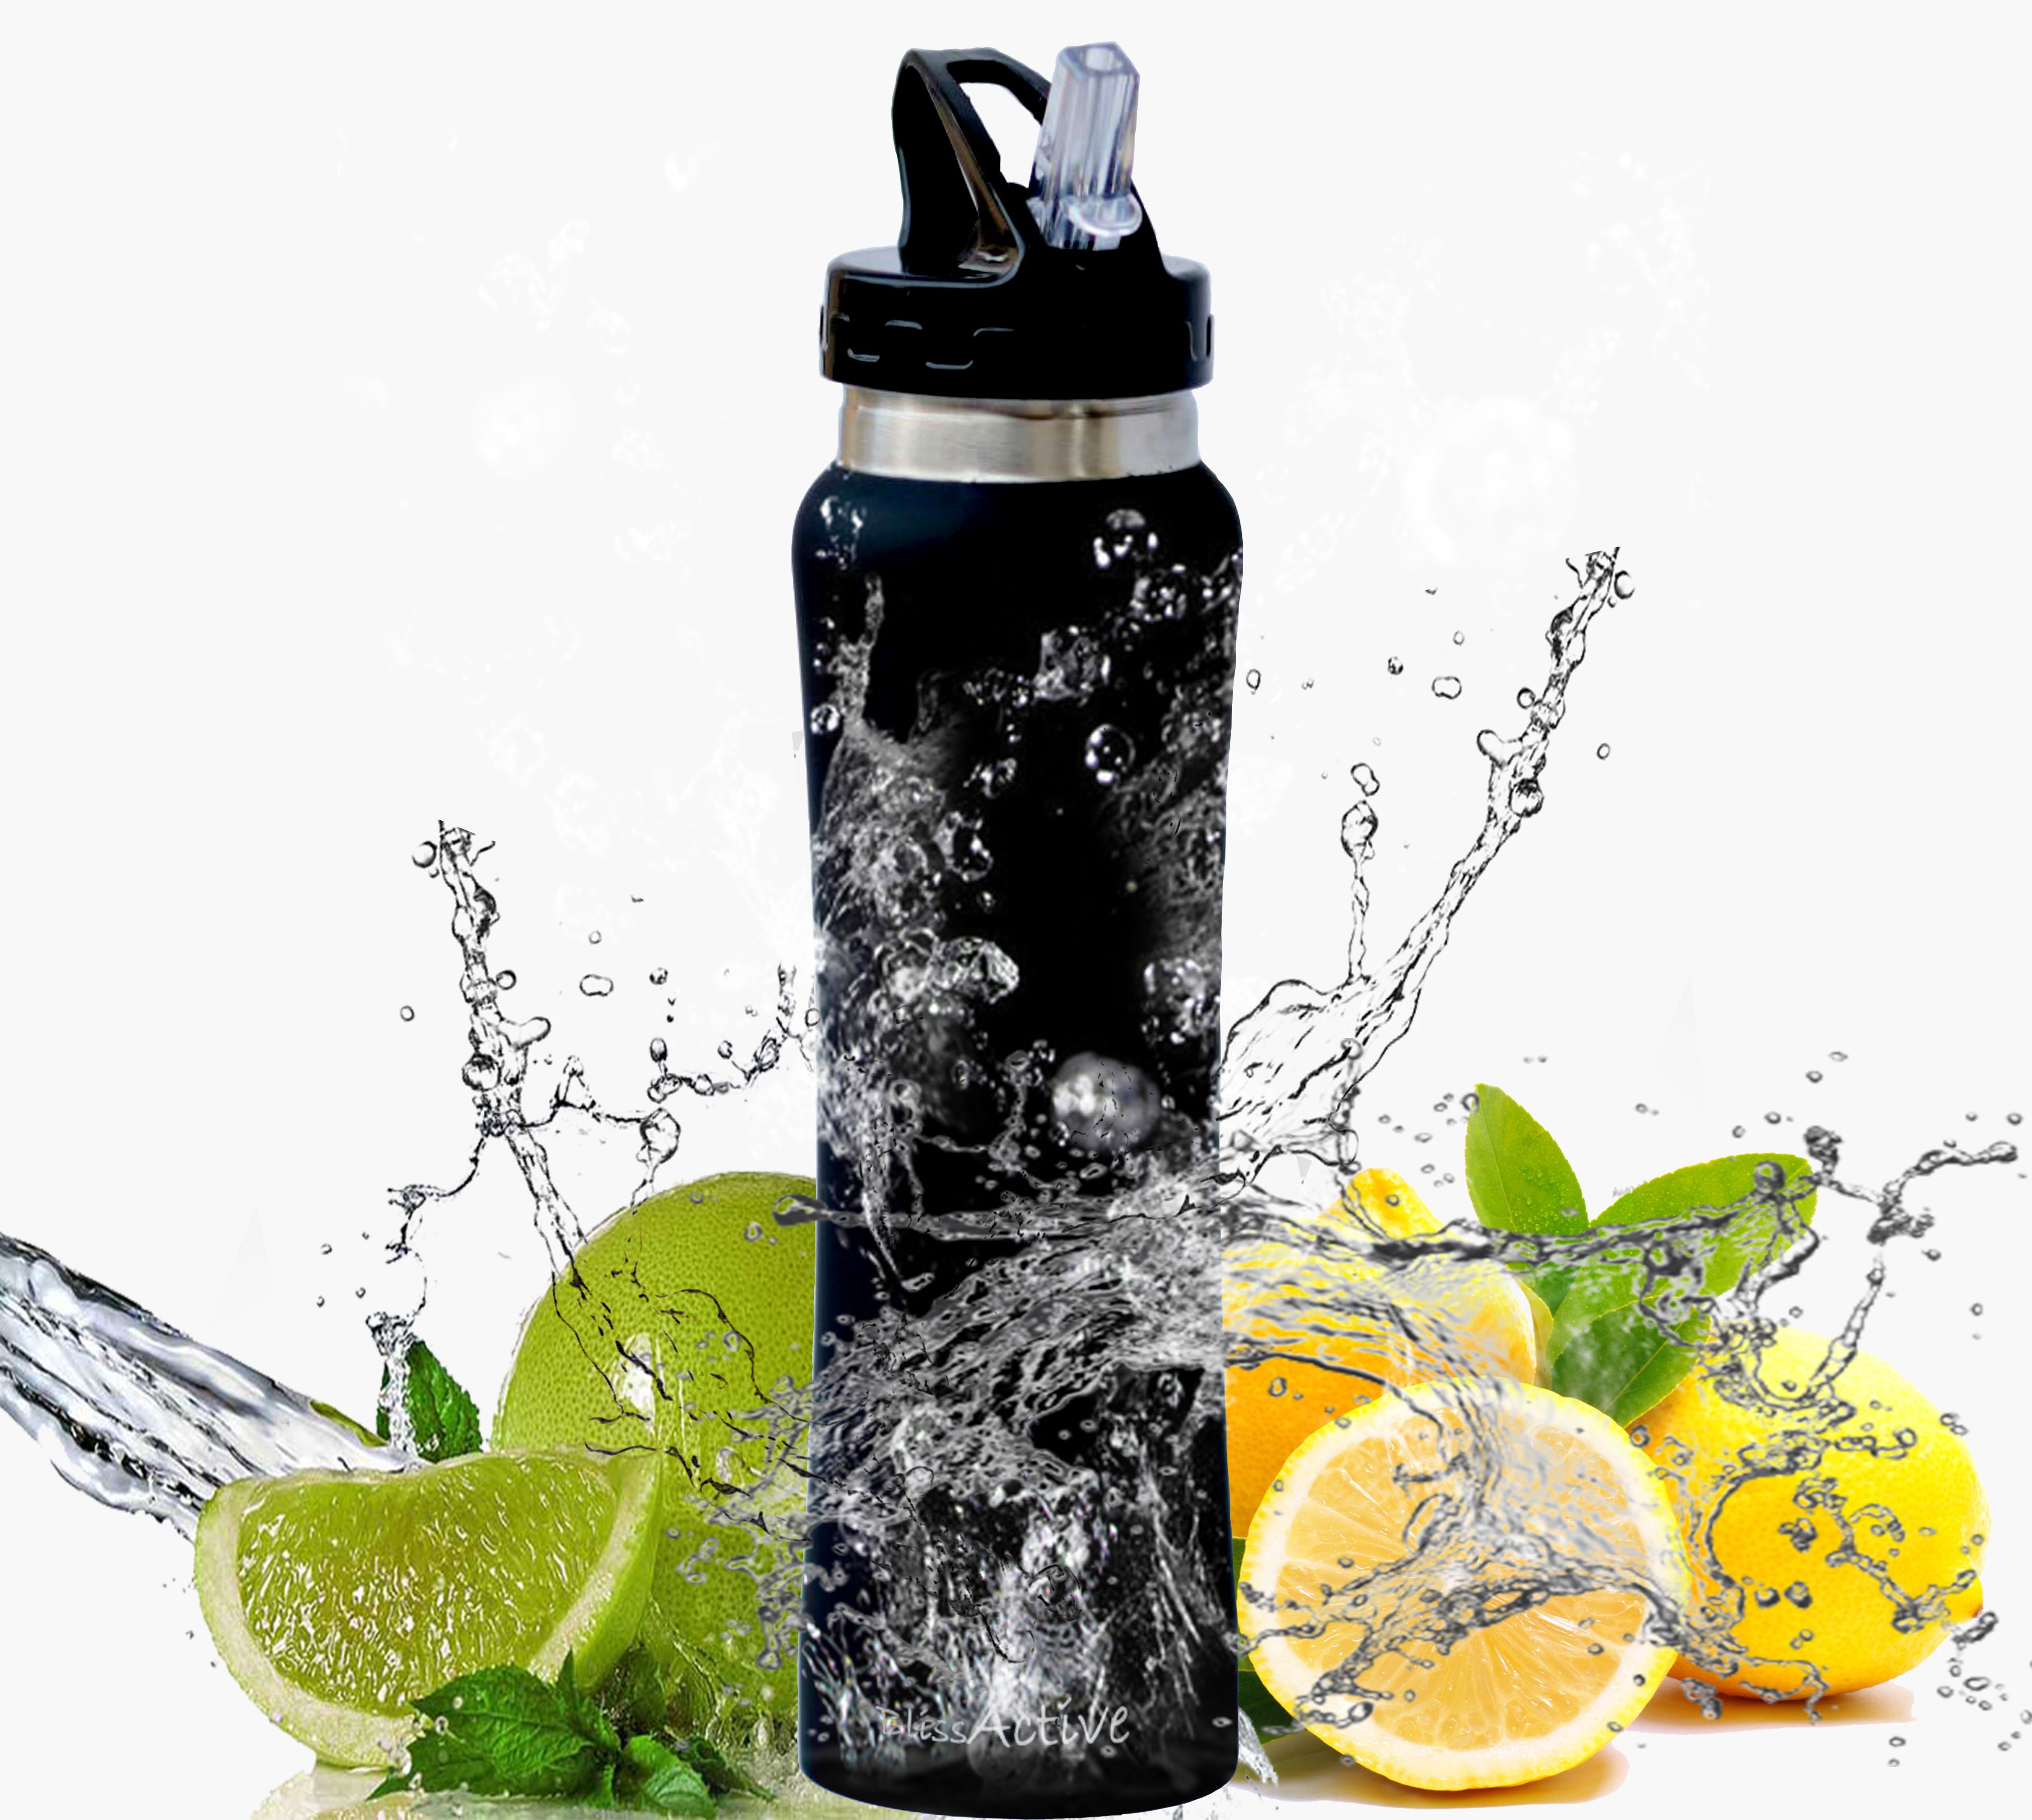
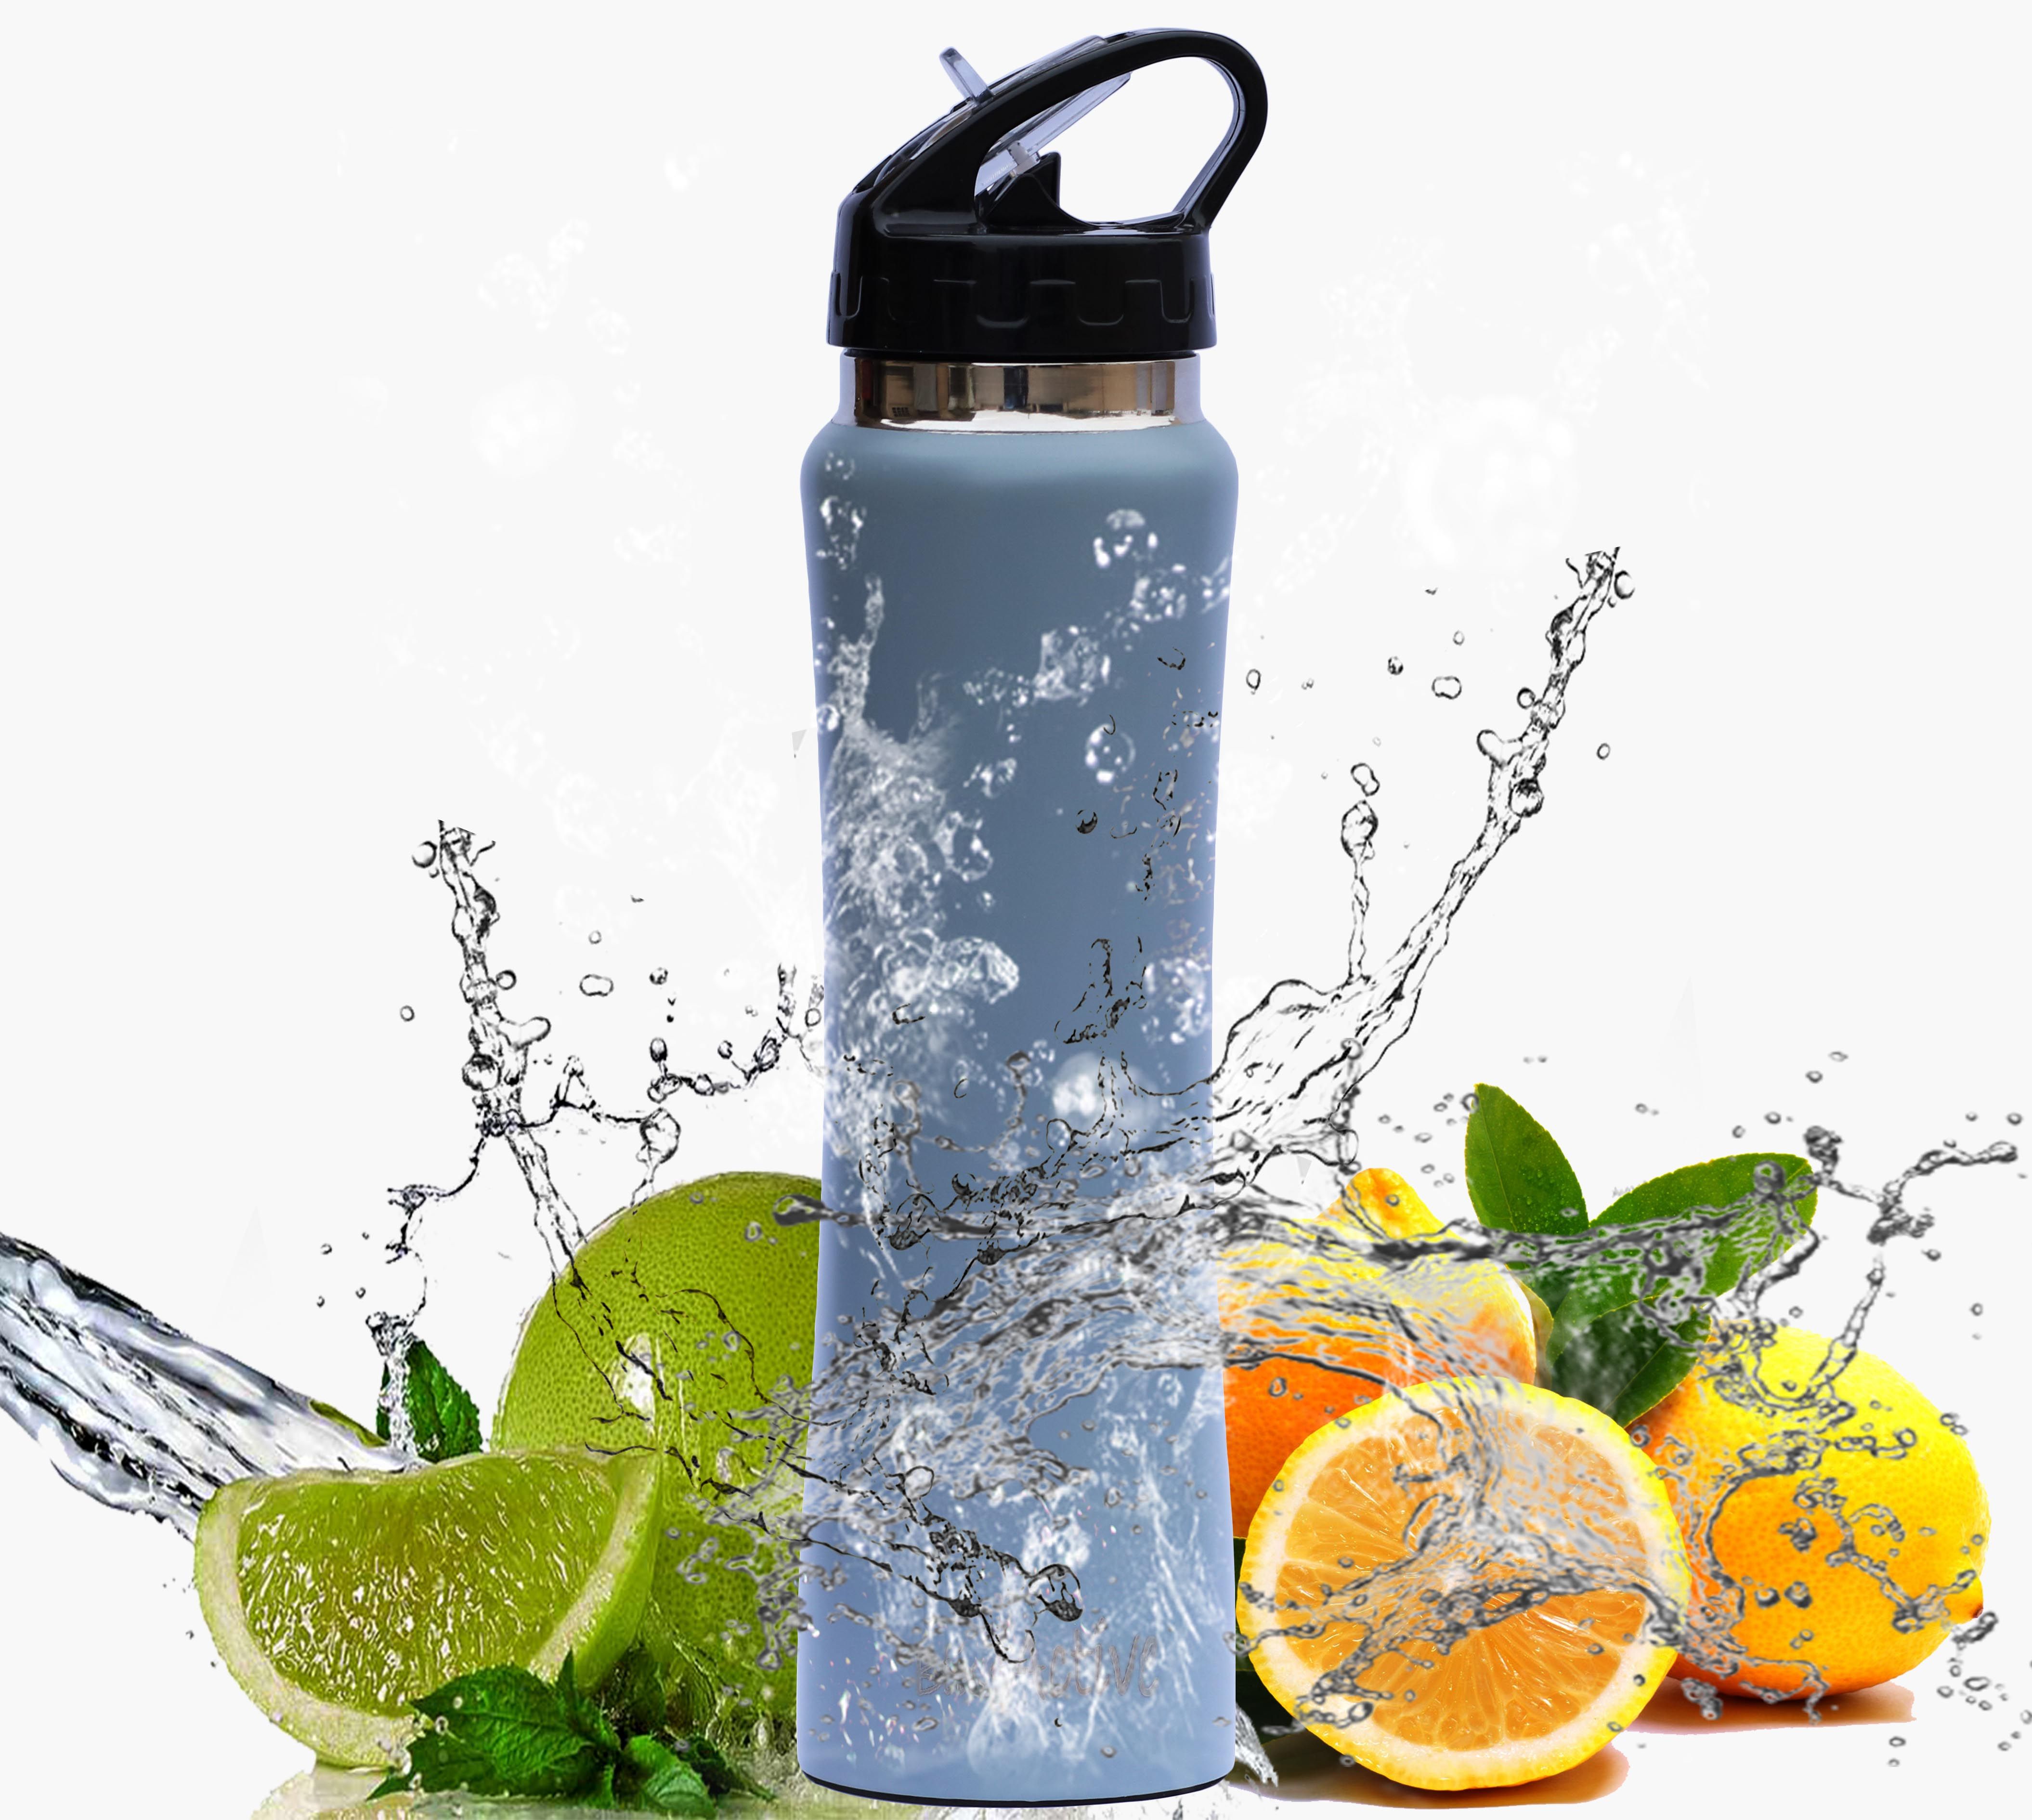
So real quick I add a water splash.
.png)
To make it look real. Follow the image steps below
.png)
Next
.png)
Next
.png)
Then you can go on to export it or save it as you like ;)
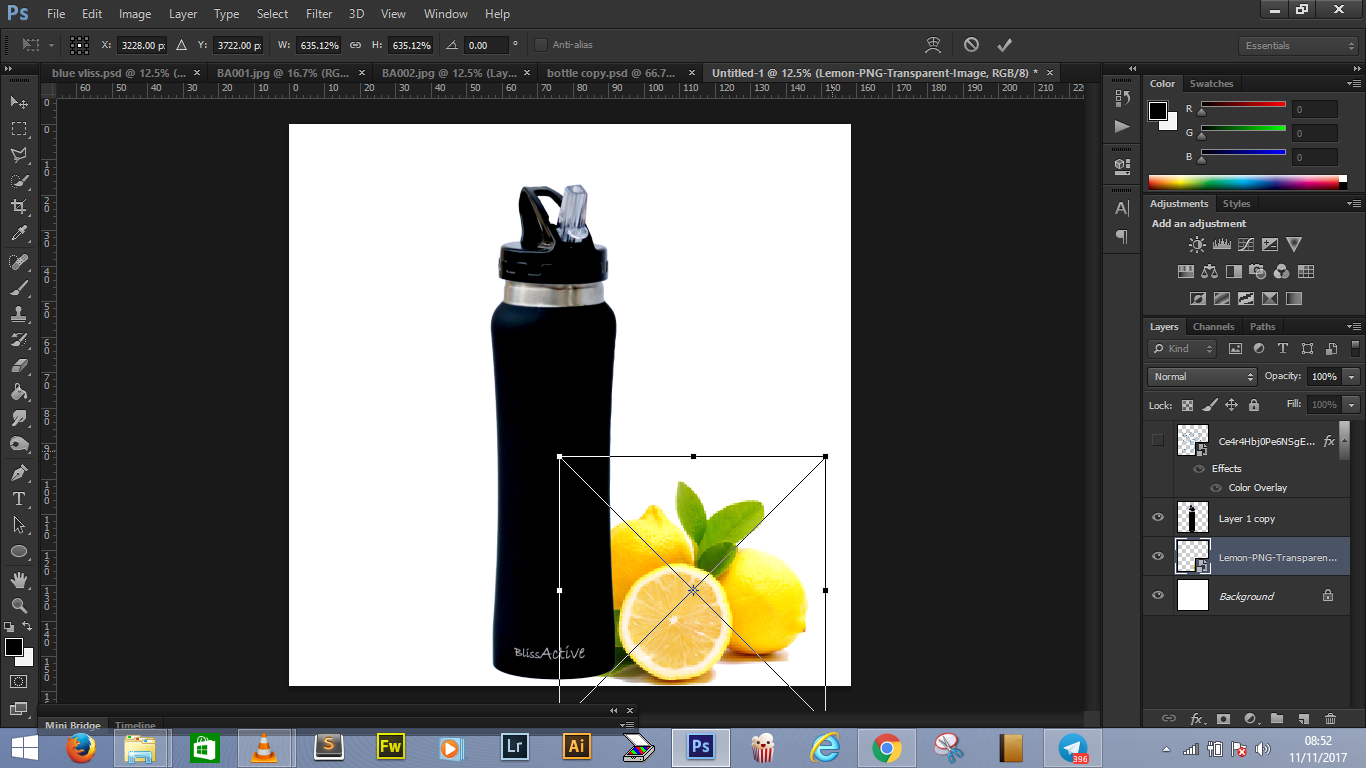
For the fruit image, this is how it is done, still using Step 4 protocols
.png)
Drag and drop fruit as it is shown in the image above. The size looks good already so click the ENTER button. Also ensure that it is behind the bottle as it is shown in the layer panel on the right hand side
.png)
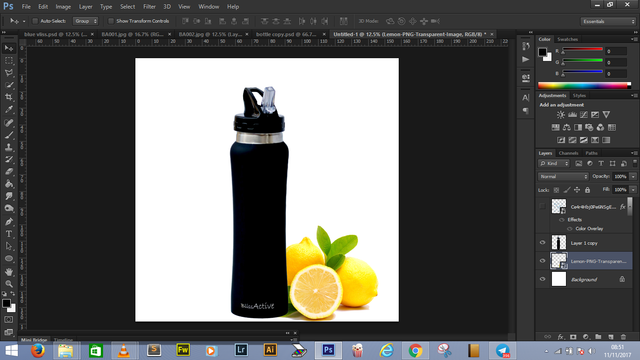
This looks good right. Let's make it better by adding some shadows under the bottle
Create a new layer by following the arrows or
CTRL + SHIFT + N
.png)
Next Follow the image illustration below
.png)
Remember to put the new layer where the brush tool will be below the images or below the other layers but on top of the background
.png)
I toggled the bottle off this time to see clearly.
Don't be afraid to close the eye to see further
.png)
Note You can right click on any layer to rename it
.png)
Here is what you can achieve

Thanks for the insights, I was looking for useful info about photo editors.
you are welcome. I hope you found something useful.
Thanks for dropping by
As a photographer this would be very useful to me, thank you.
You are welcome. If i am motivated i will do some tutorial for photography as well.
Thanks for dropping by
Here's the motivation you need bro! I'm right behind you, supporting! 😎
thanks fam
MOTIVATED