Montando mi Raspberry PI 3 - Setting up my Raspberry Pi 3
Siempre me han gustado los ordenadores, estudié Ingeniería Informática porque me gustaban mucho. Y como ya escribí en un post (https://steemit.com/technology/@malonmar/ayer-fui-de-compras-i-went-shopping-yesterday) compré una Raspberry para diversos proyectos que tengo en mente, como por ejemplo hacer Proof of Stake de alguna criptomoneda, así que hoy voy a hacer un post de como he montado todo el hardware y he puesto a funcionar mi Raspberry PI 3.
I have always liked computers, I studied Computer Engineering because I liked them a lot. And as I wrote in a post (https://steemit.com/technology/@malonmar/ayer-fui-de-compras-i-went-shopping-yesterday) I bought a Raspberry for various projects that I have in mind, such as example make Proof of Stake of some cryptocurrency, so today I am going to make a post of as I mounted all the hardware and I put to work my Raspberry PI 3.
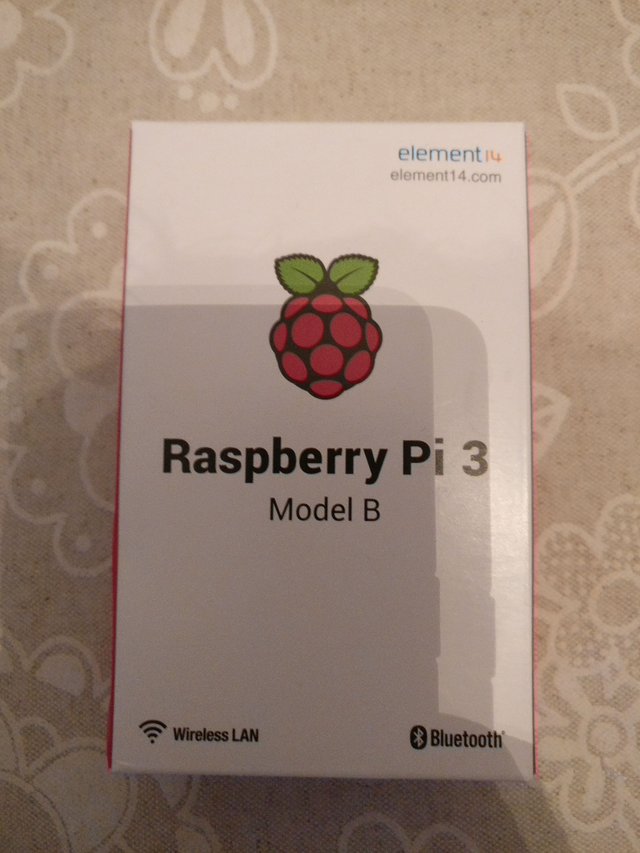
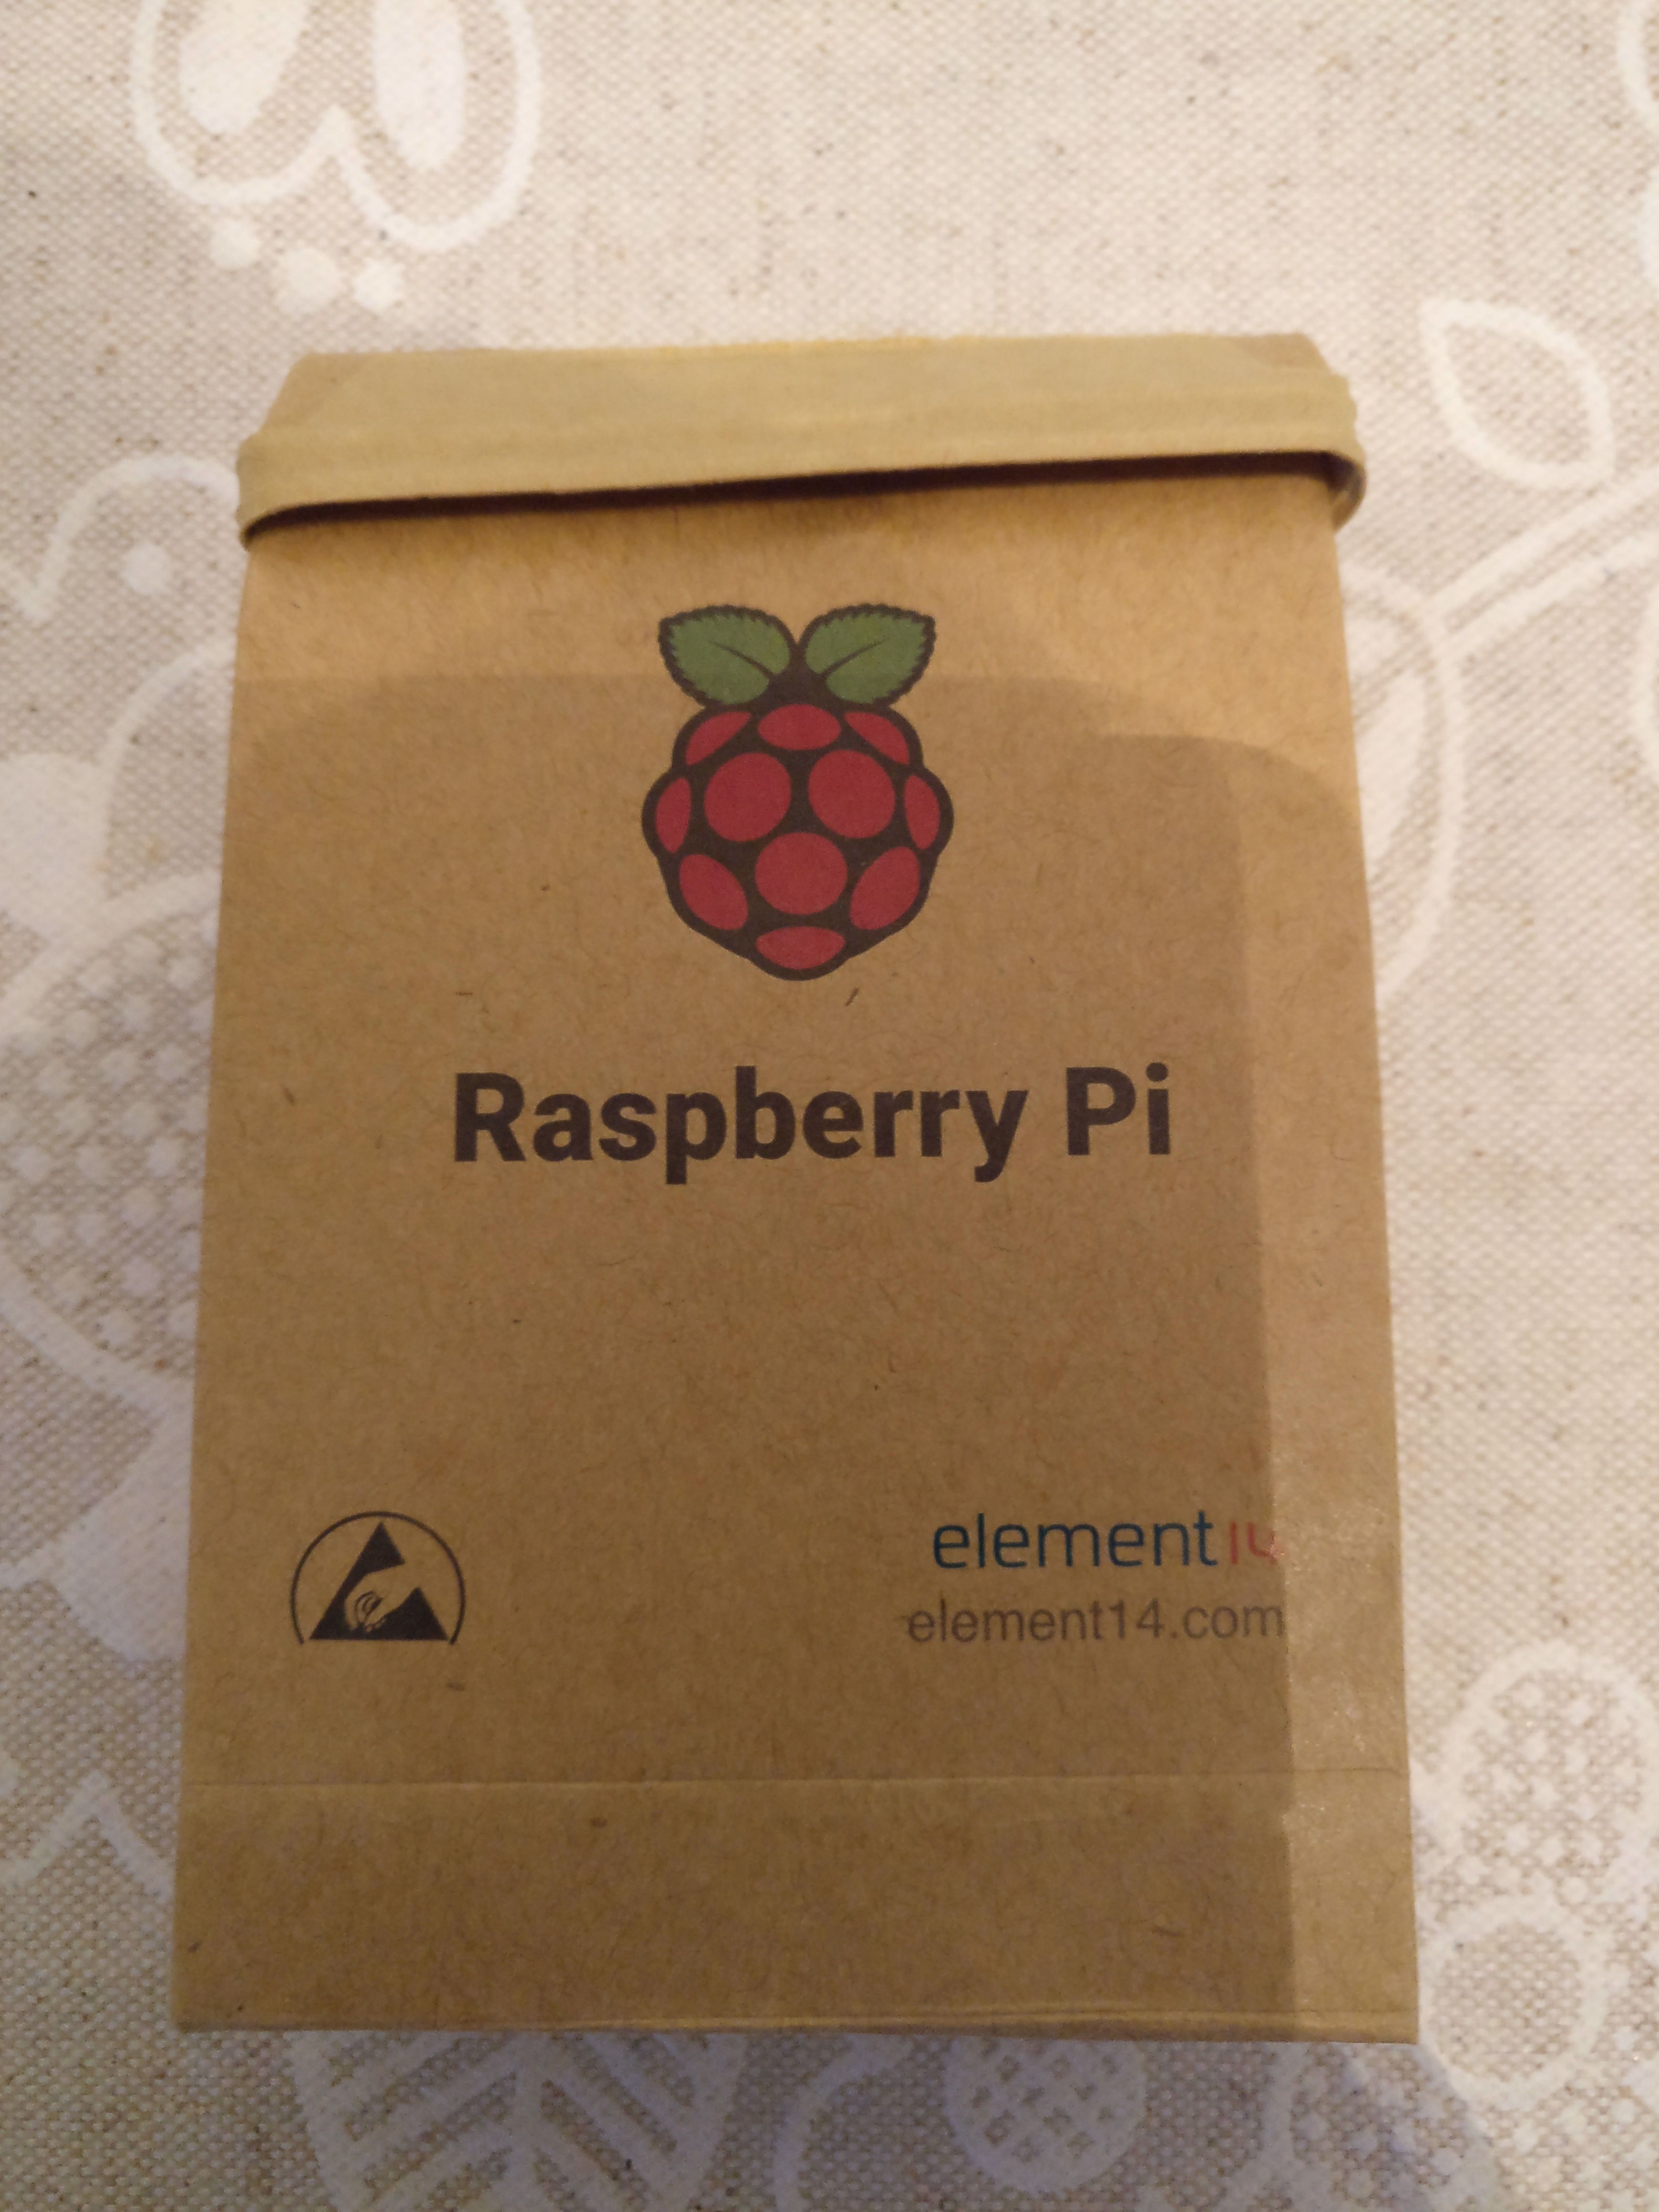
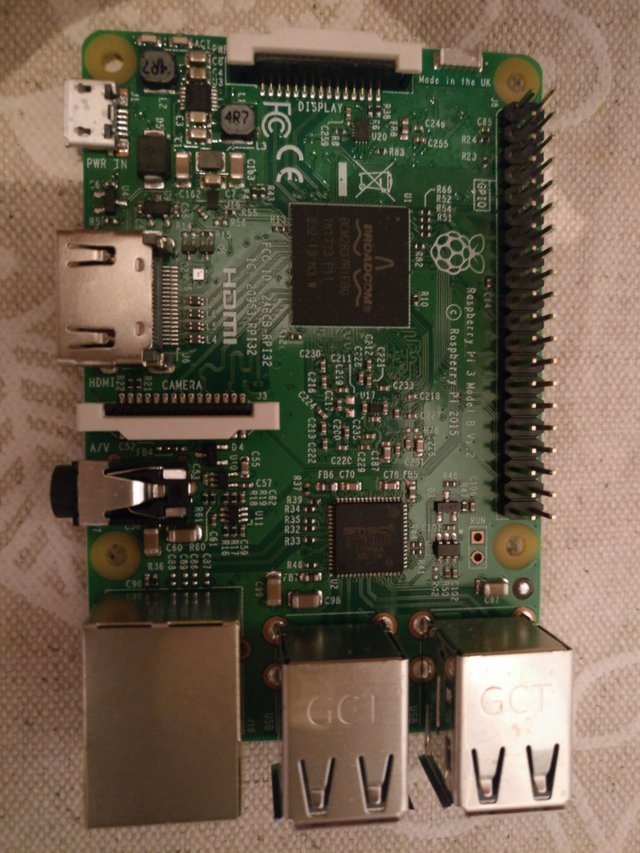
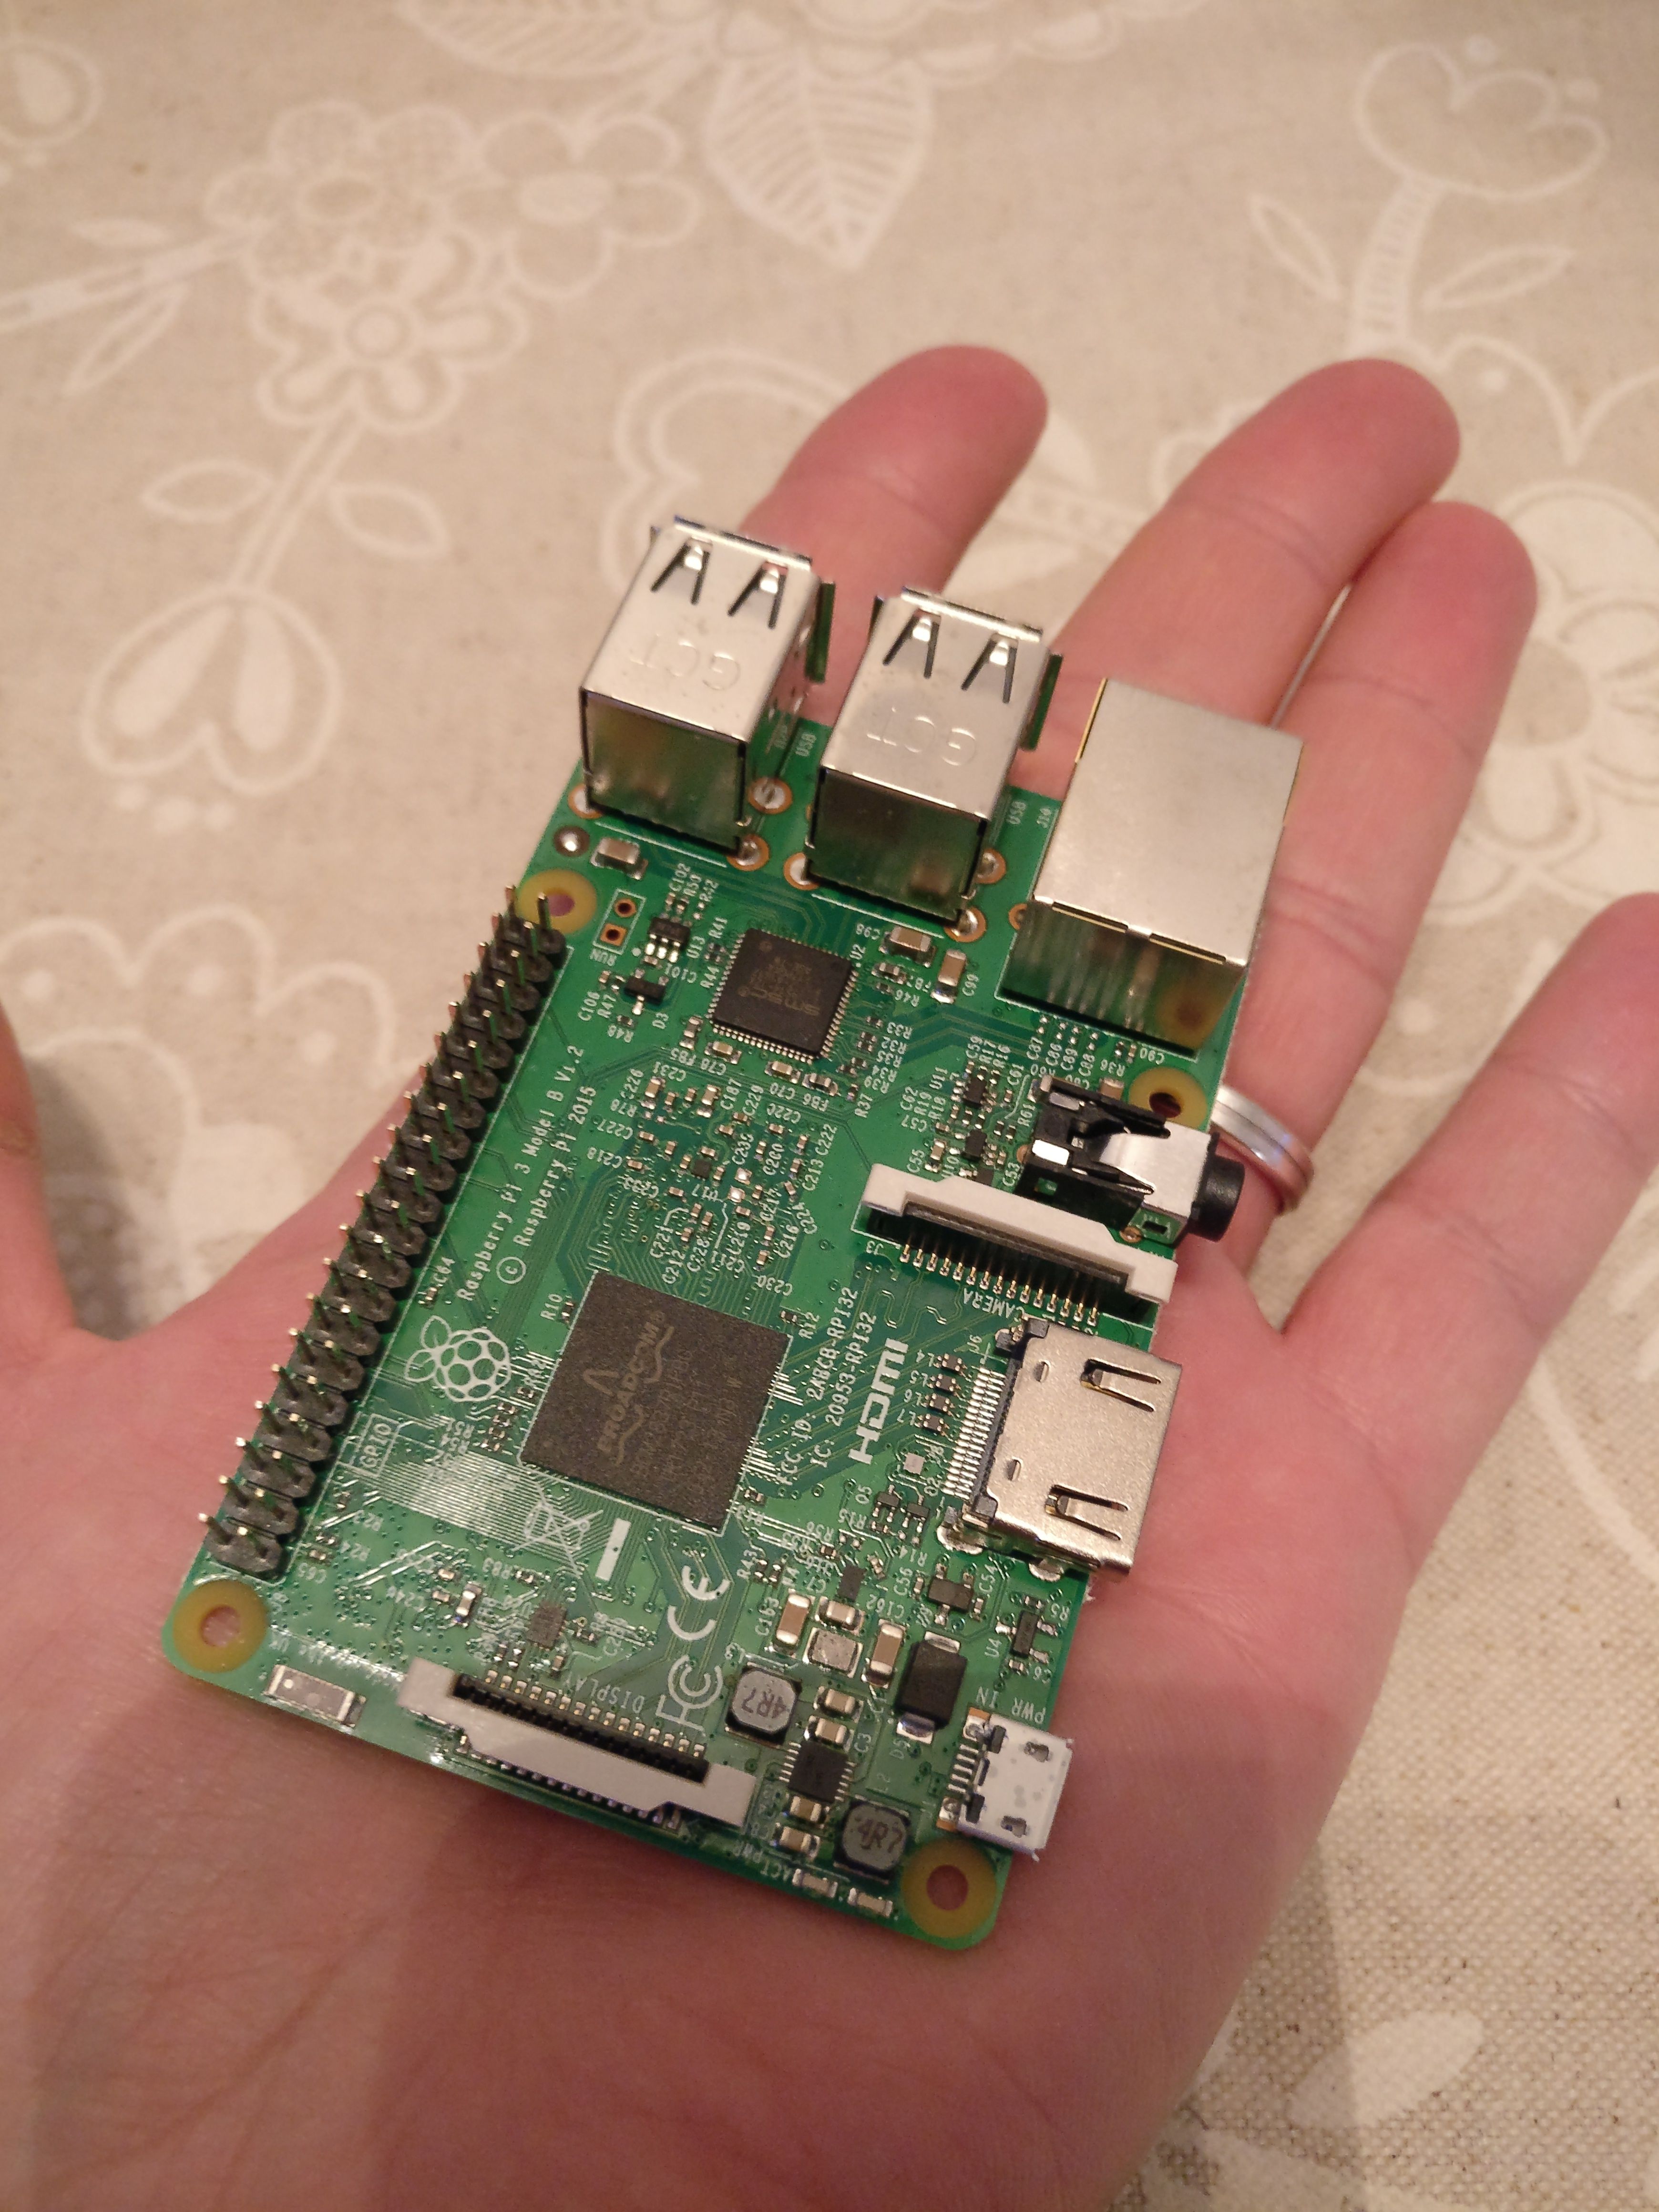
Lo primero es sacar de las cajas la Raspberry. Está muy bien empaquetada y de forma muy elegante, parece una bolsa de golosinas :D Tiene un tamaño muy pequeño. Se aprecia perfectamente lo que ocupa en la foto con mi mano.
The first thing is to get the Raspberry from the box. It is very well packaged and very elegant, looks like a bag of goodies: D It has a very small size. You perfectly appreciate what it occupies in the photo with my hand.
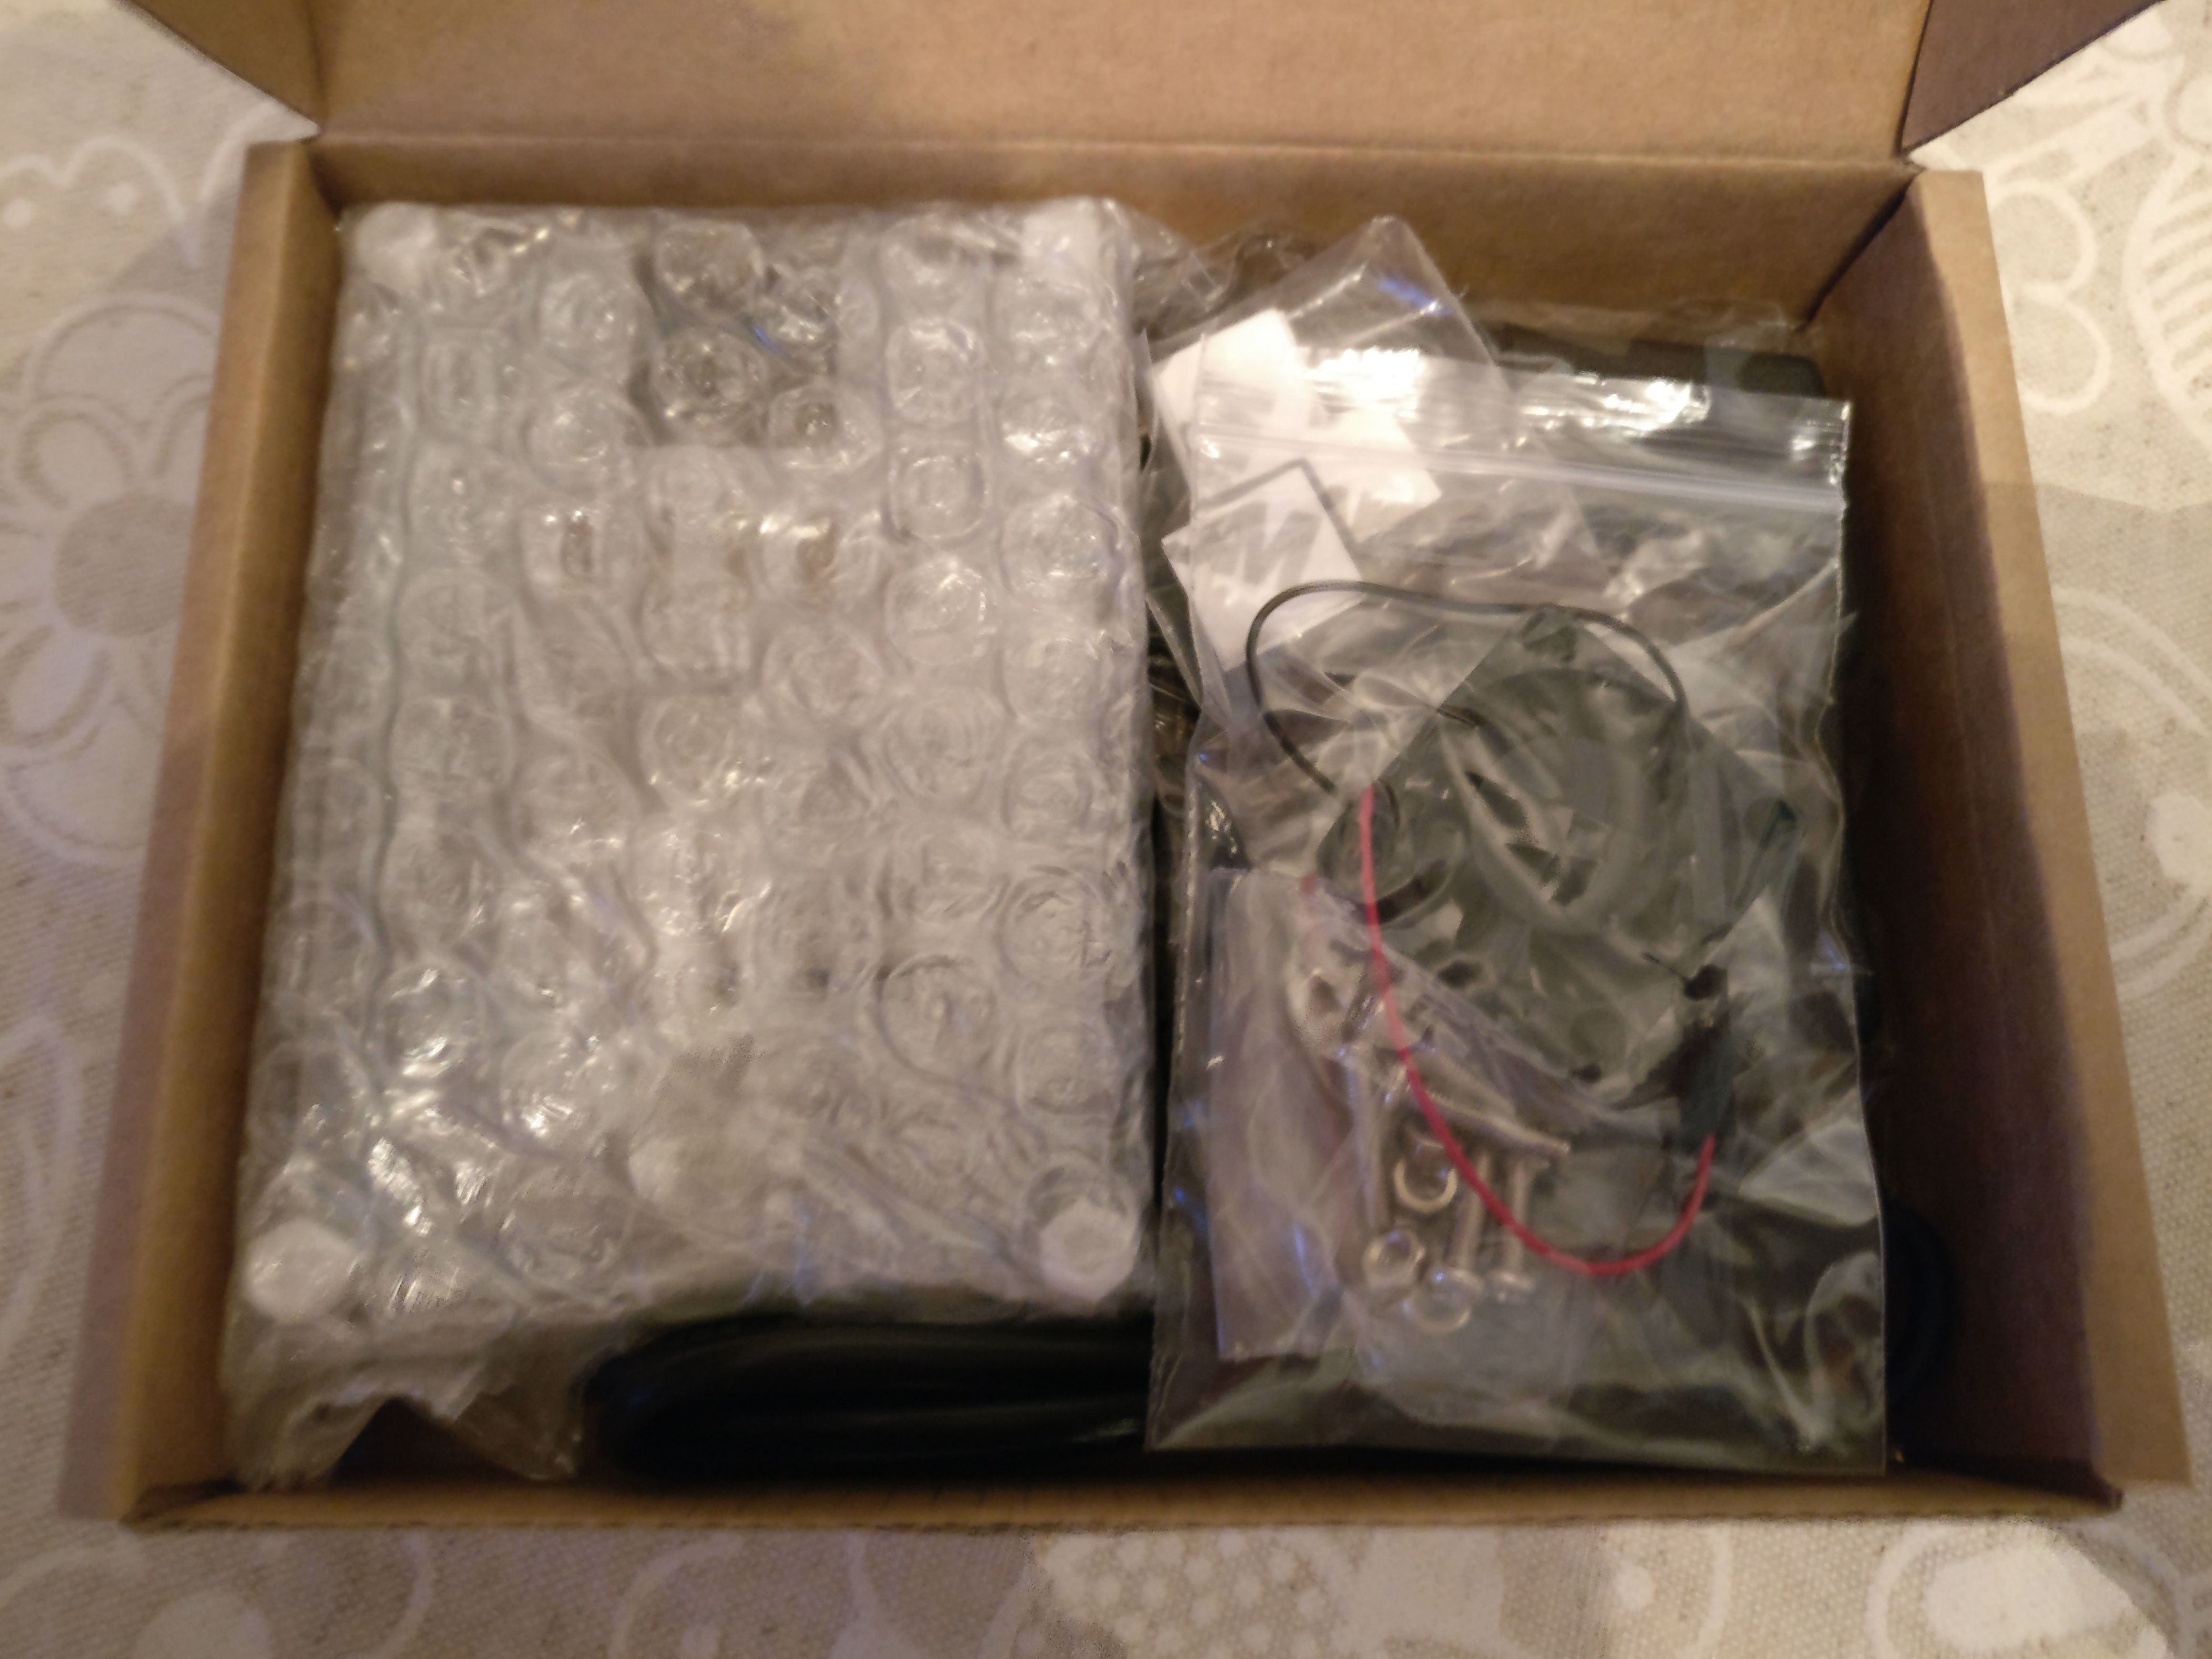
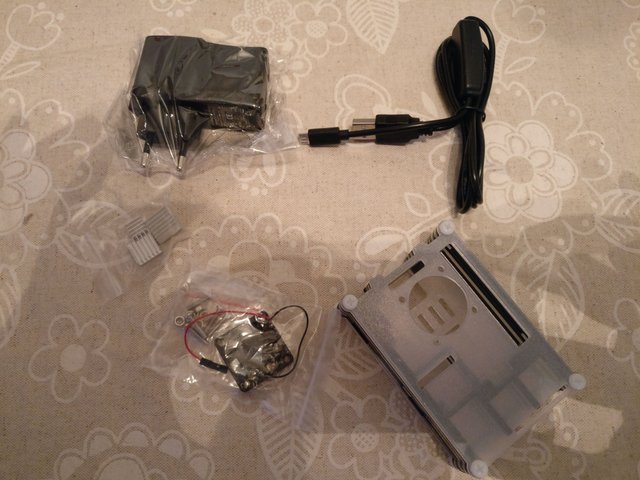
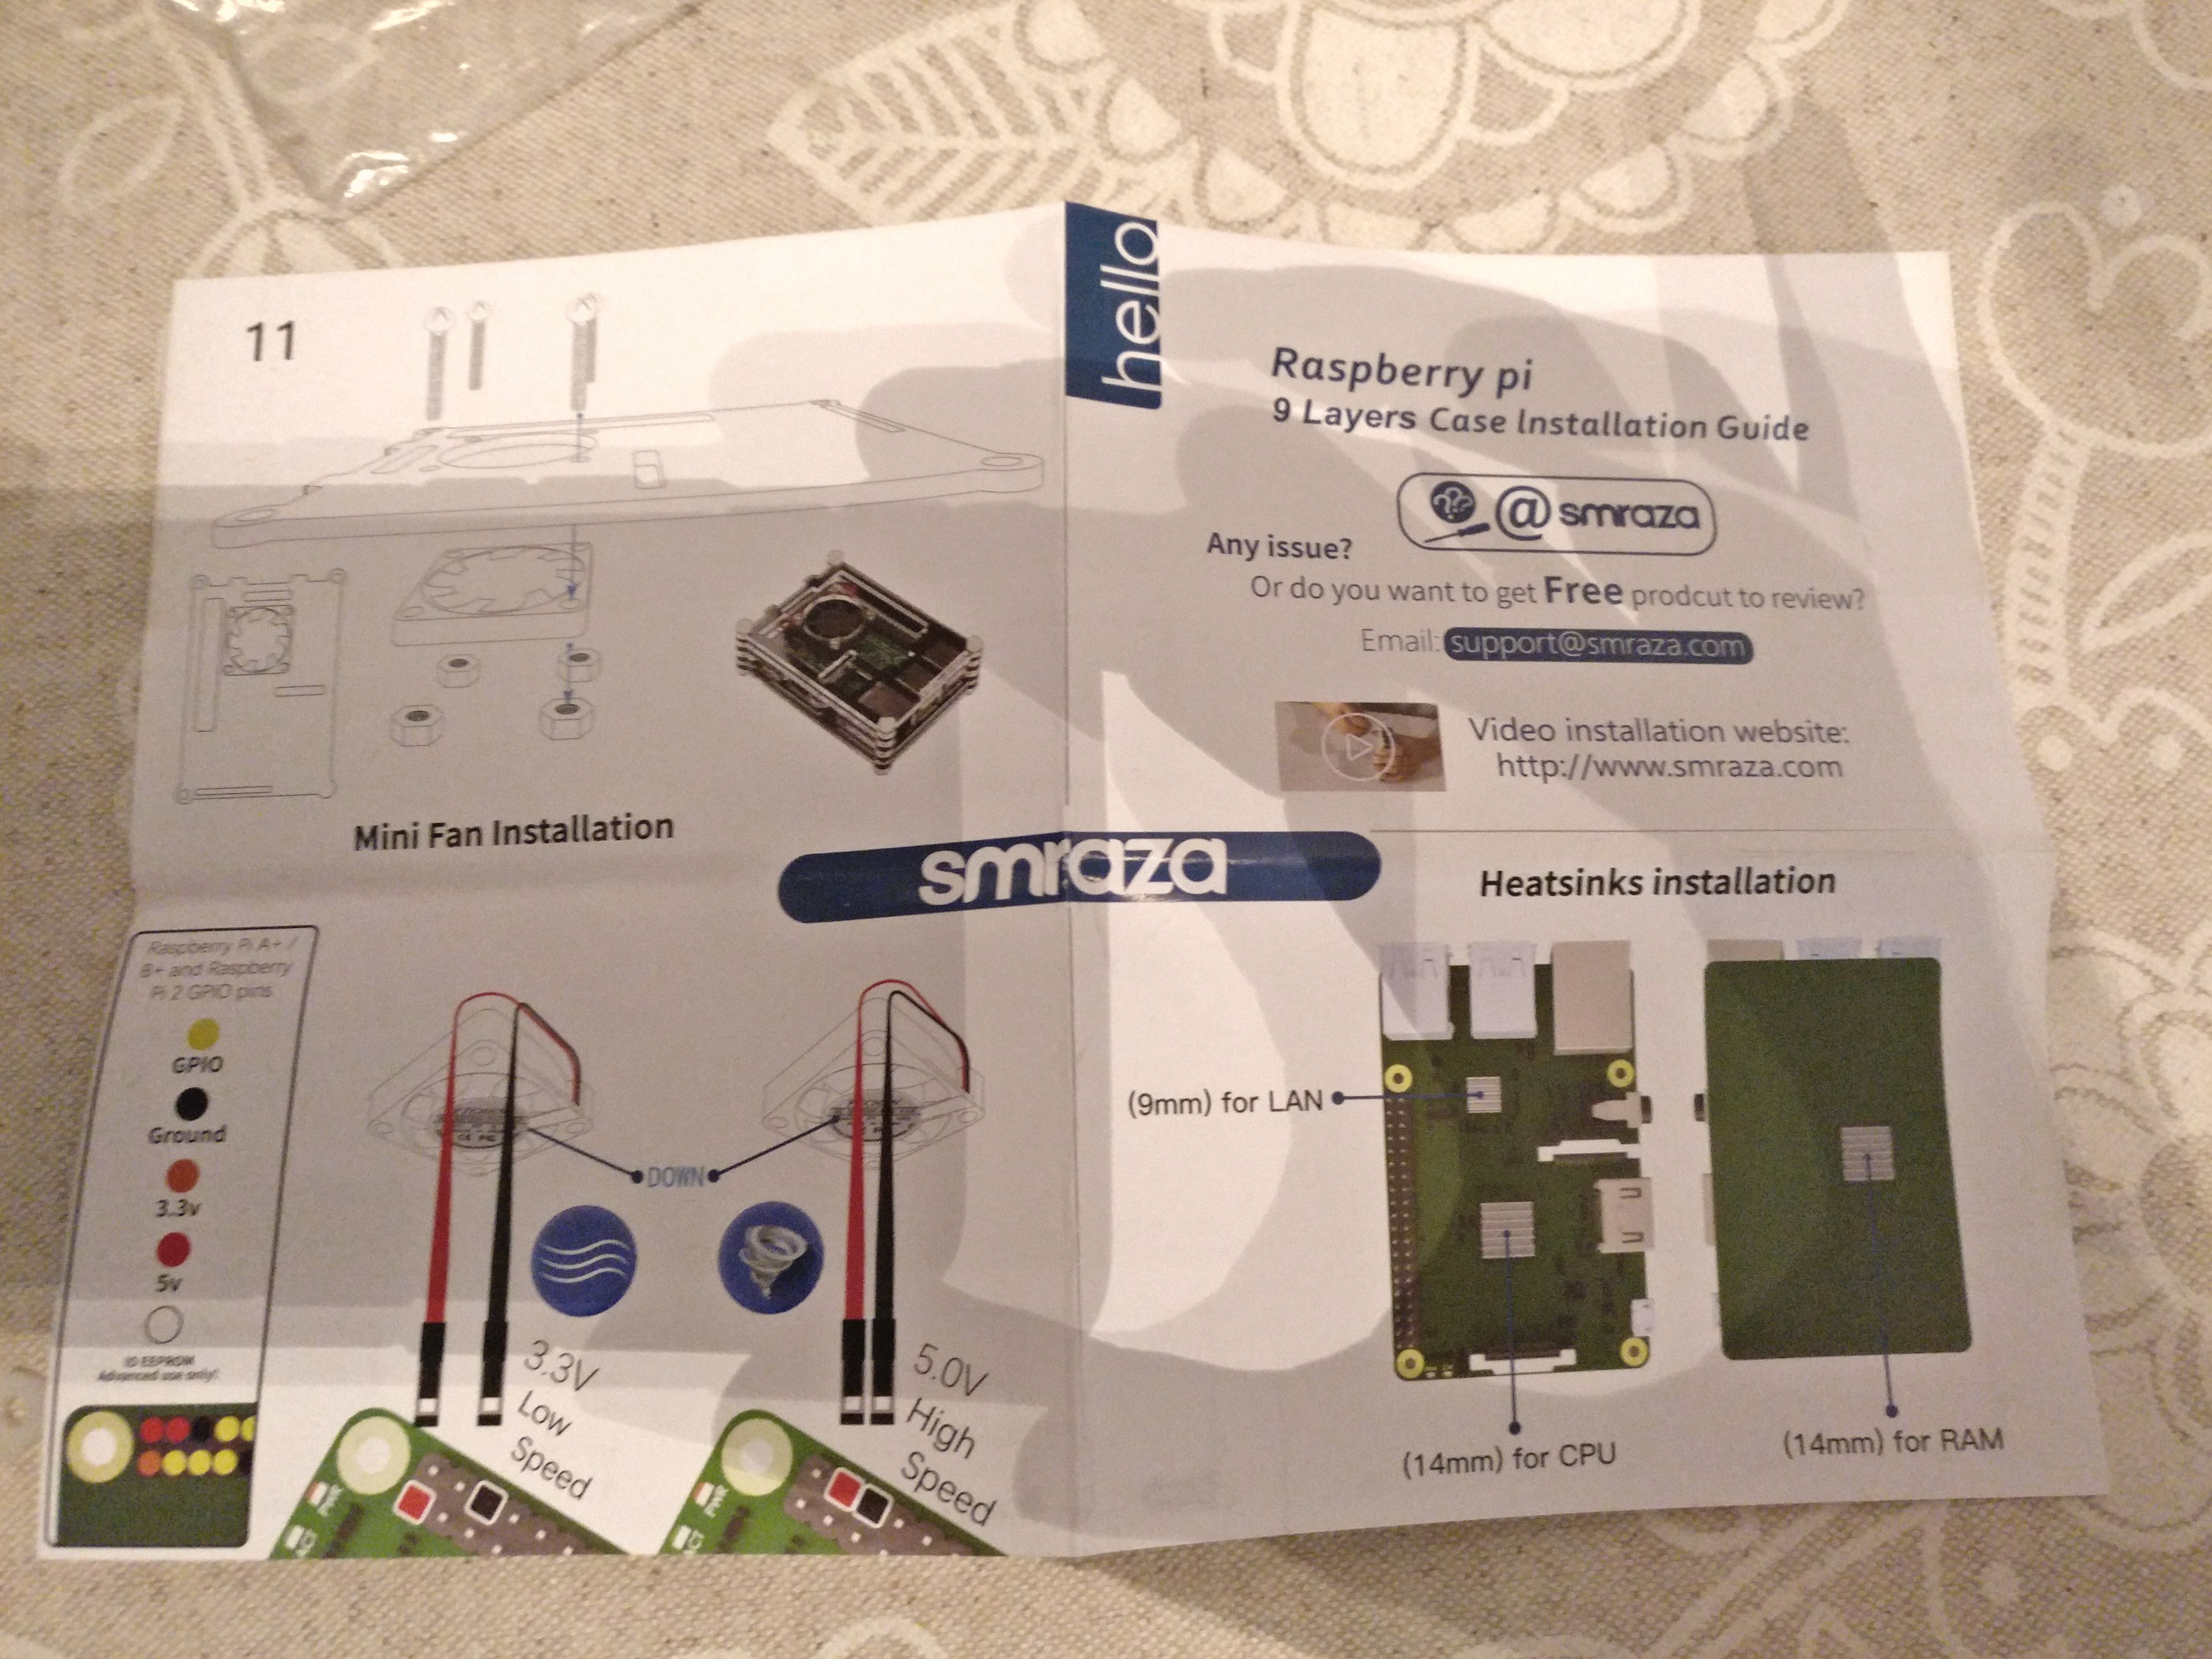
Para la caja, los disipadores y la fuente de alimentación, yo compré el pack de Smraza y lo recomiendo, viene todo perfectamente embalado, y con unas instrucciones muy sencillas para montar todo. También incluye un ventilador para enfriar su pequeño microprocesador.
For the box, the heat sinks and the power supply, I bought the Smraza pack and recommend it, it comes perfectly packed, and with very simple instructions to mount everything. It also includes a fan to cool your little microprocessor.

Despliego las instrucciones y empiezo el montaje del pequeño ordenador.
I open the instructions and I begin with assembly of the small computer assembly.
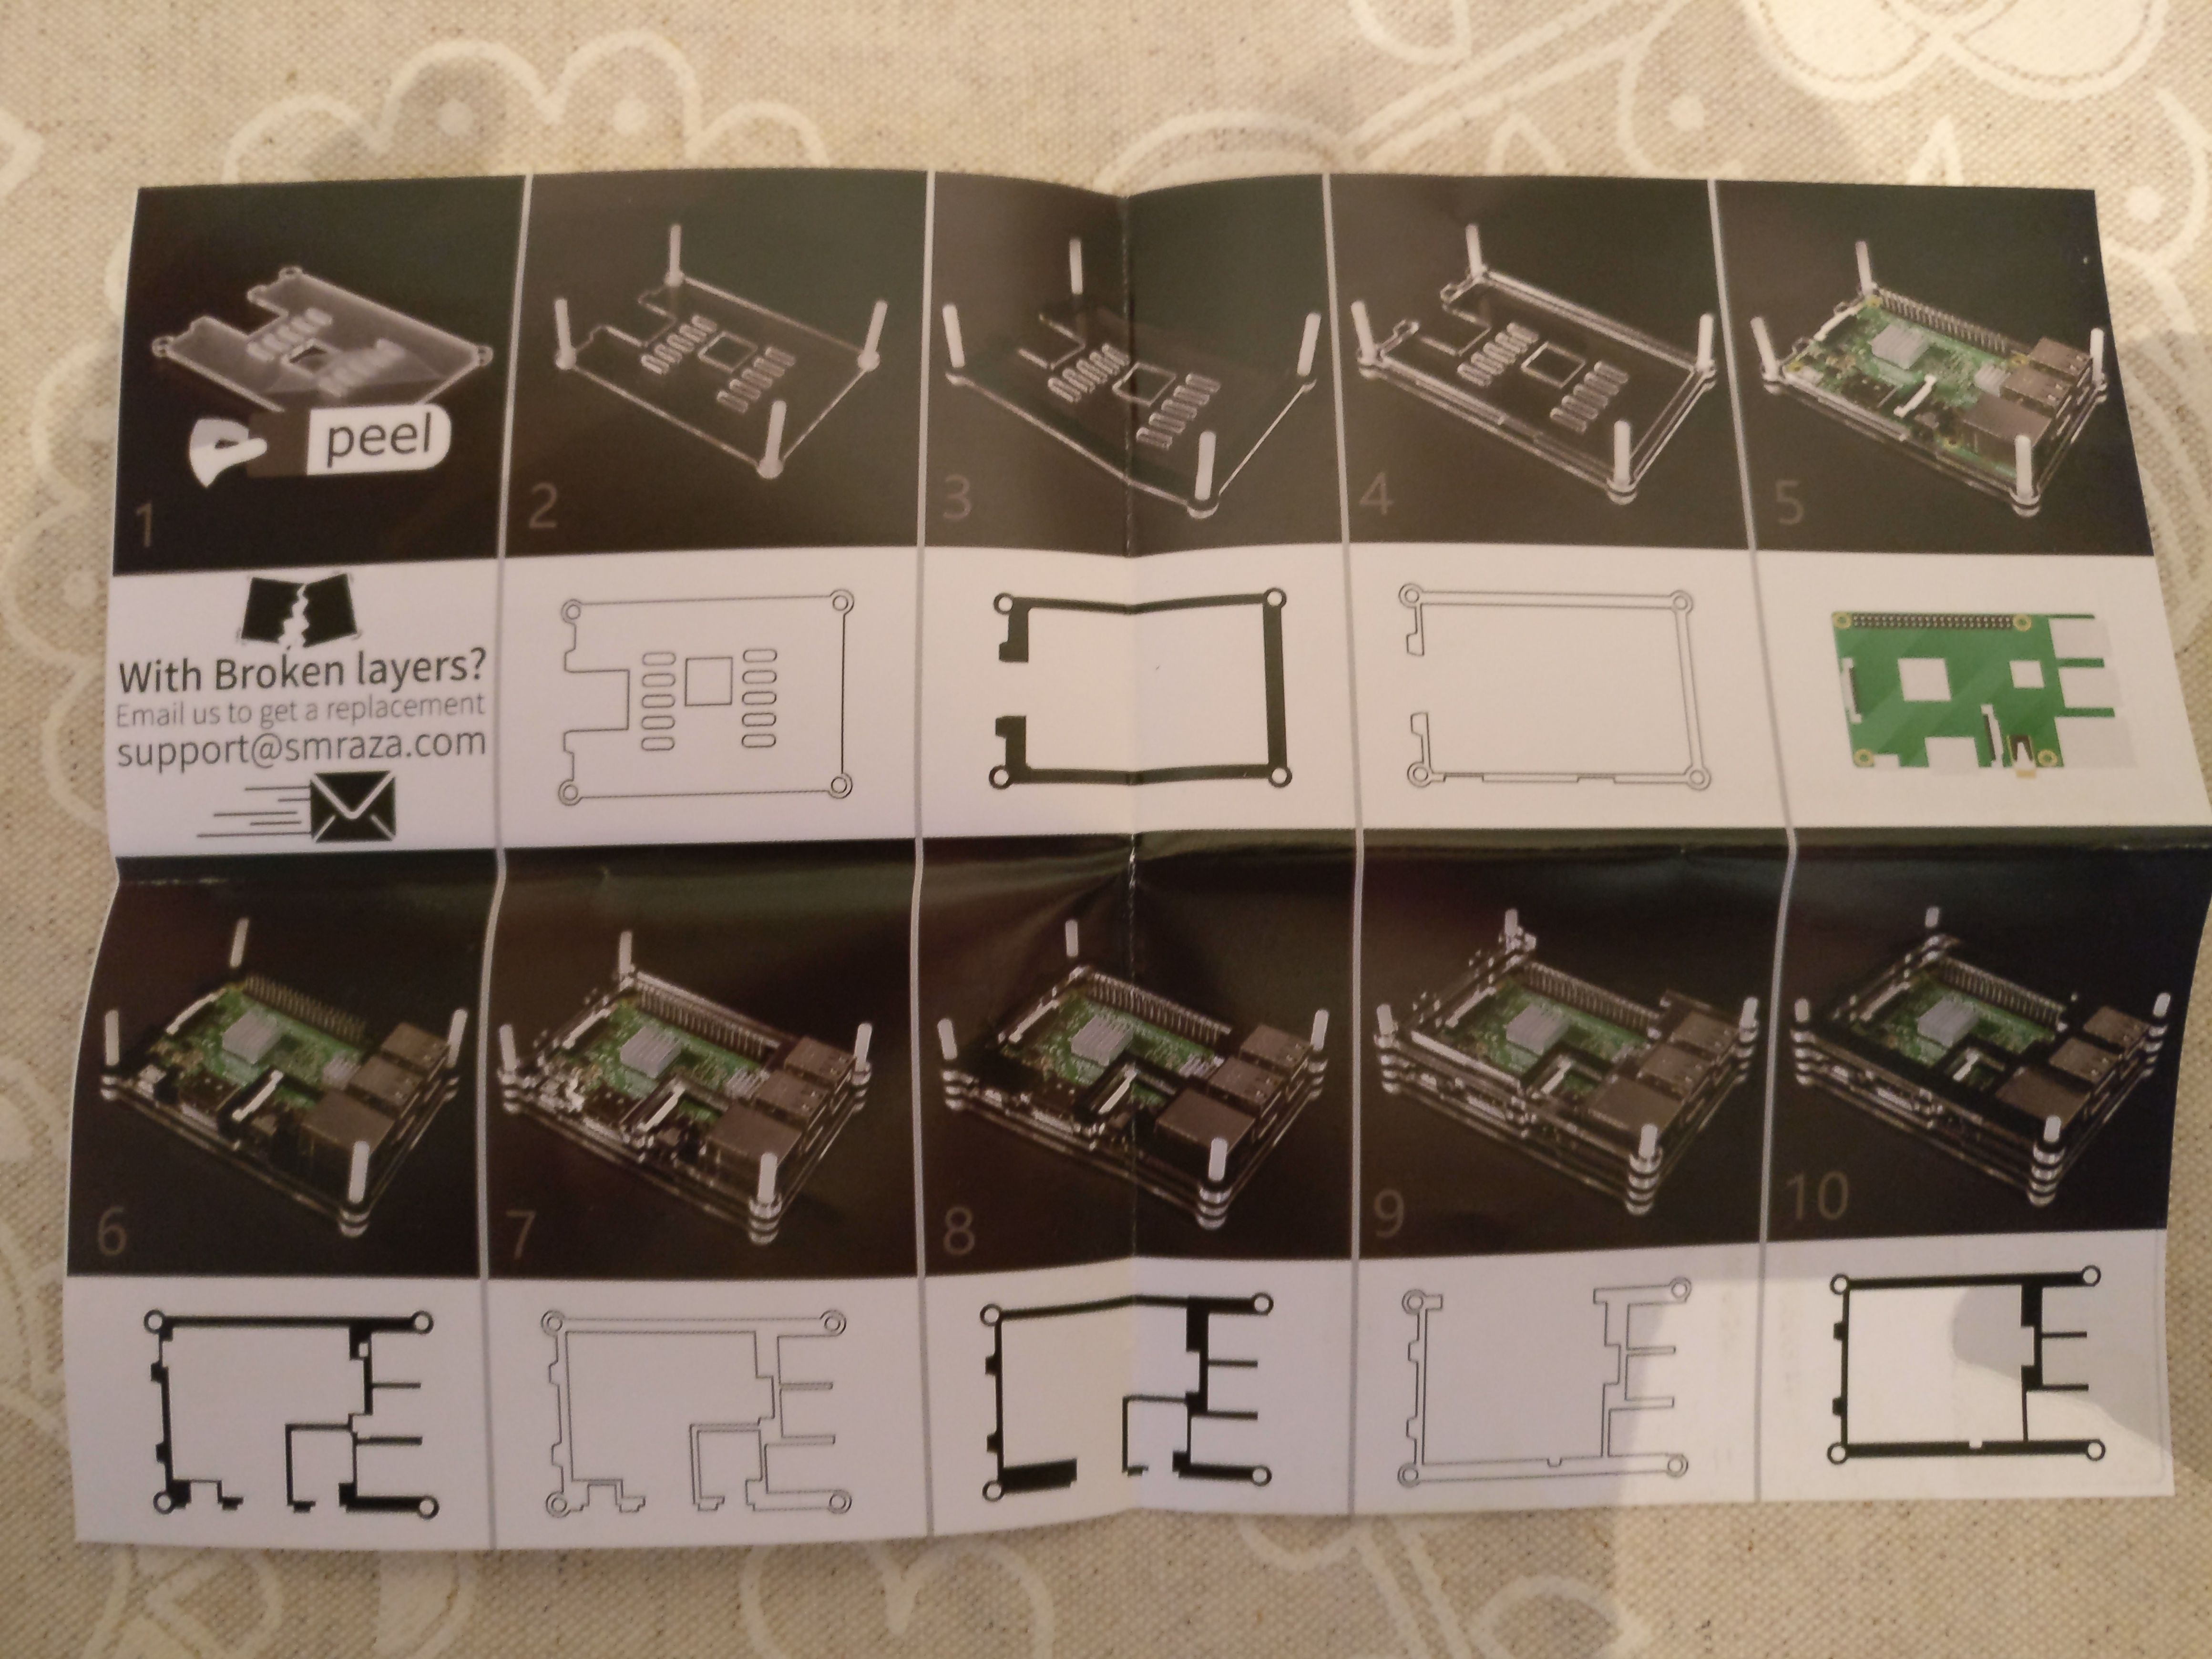
Lo primero es montar la base de la caja con las tres primeras capas. Hay que colocarlas de la misma forma que pone en las instrucciones.
The first thing is to mount the base of the box with the first three layers. You have to place them in the same way you put in the instructions.
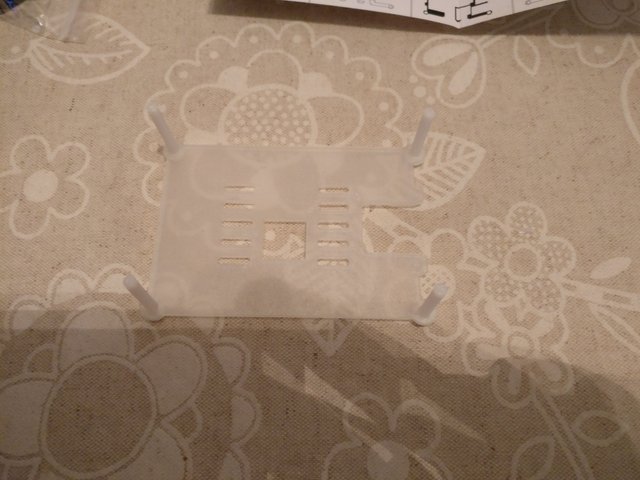
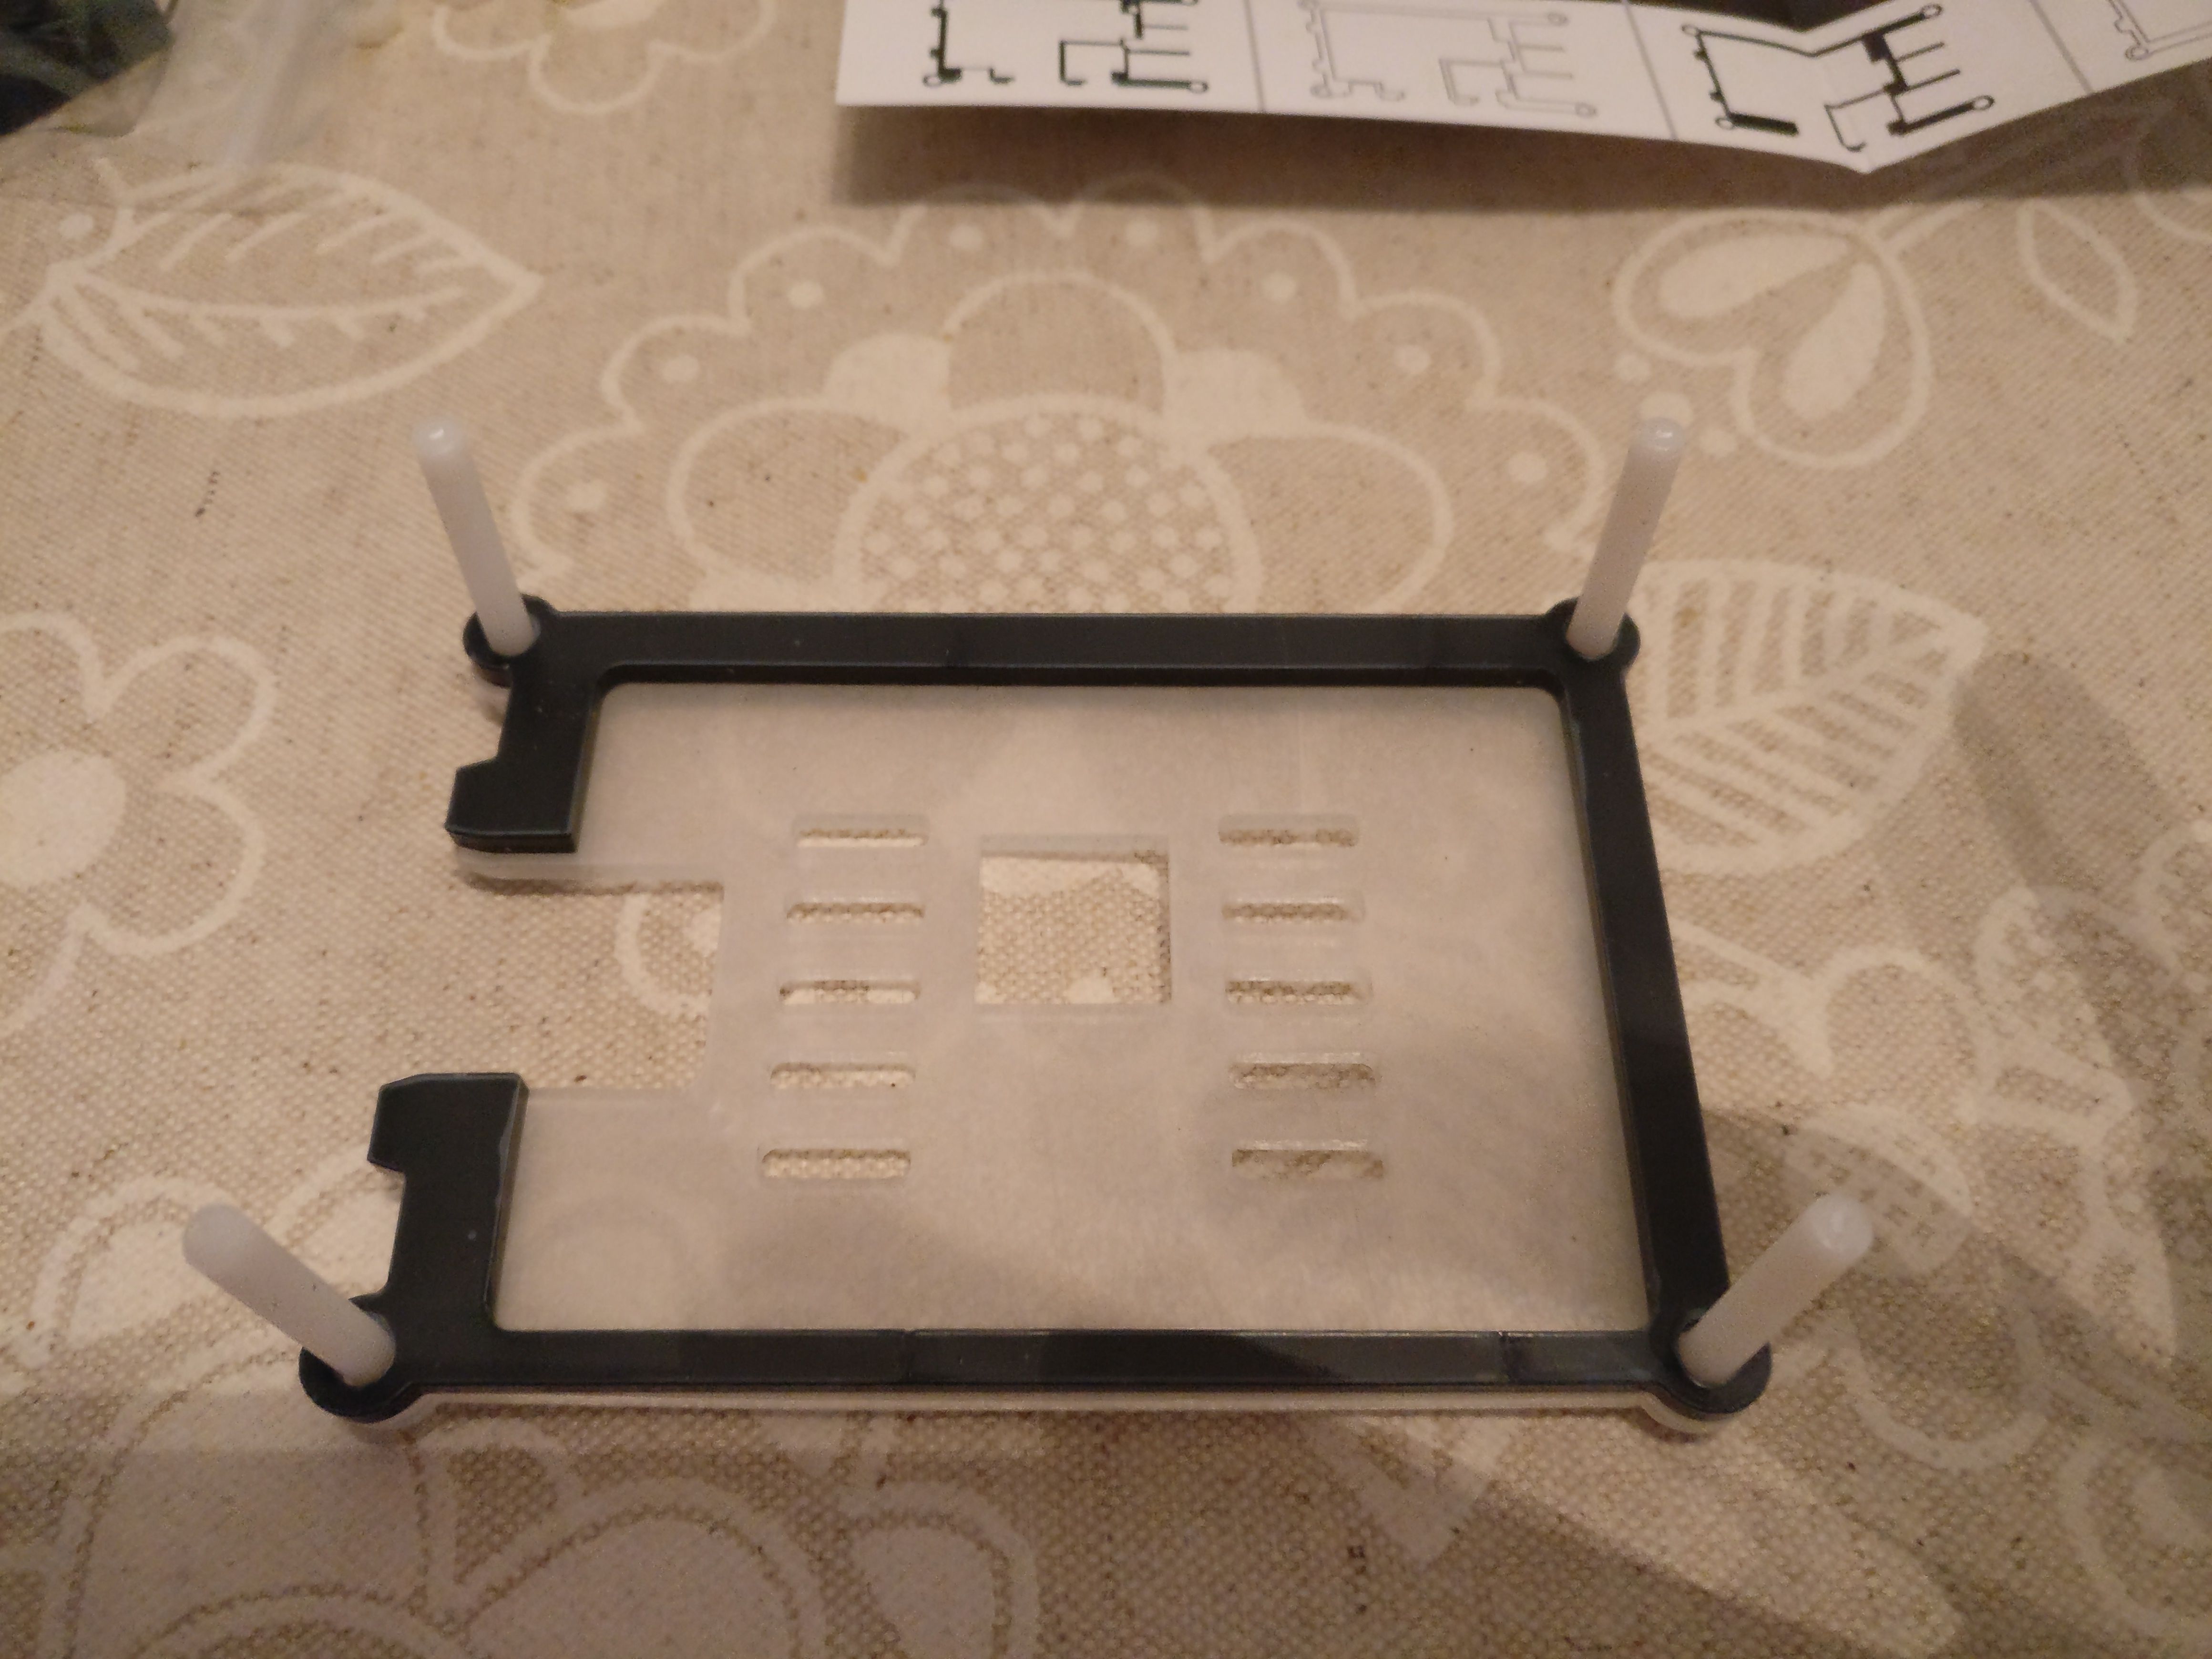
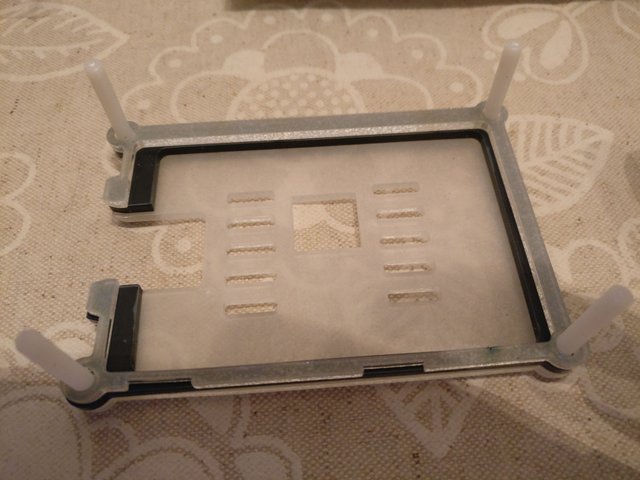
Comprobamos que la placa encaja perfectamente y después le ponemos los disipadores a cada uno de los chips: microprocesador, memoria y ethernet. Ahora colocamos la placa en la base montada.
Check that the plate fits perfectly and then we put the heat sinks to each of the chips: microprocessor, memory and ethernet. Now place the plate on the assembled base.
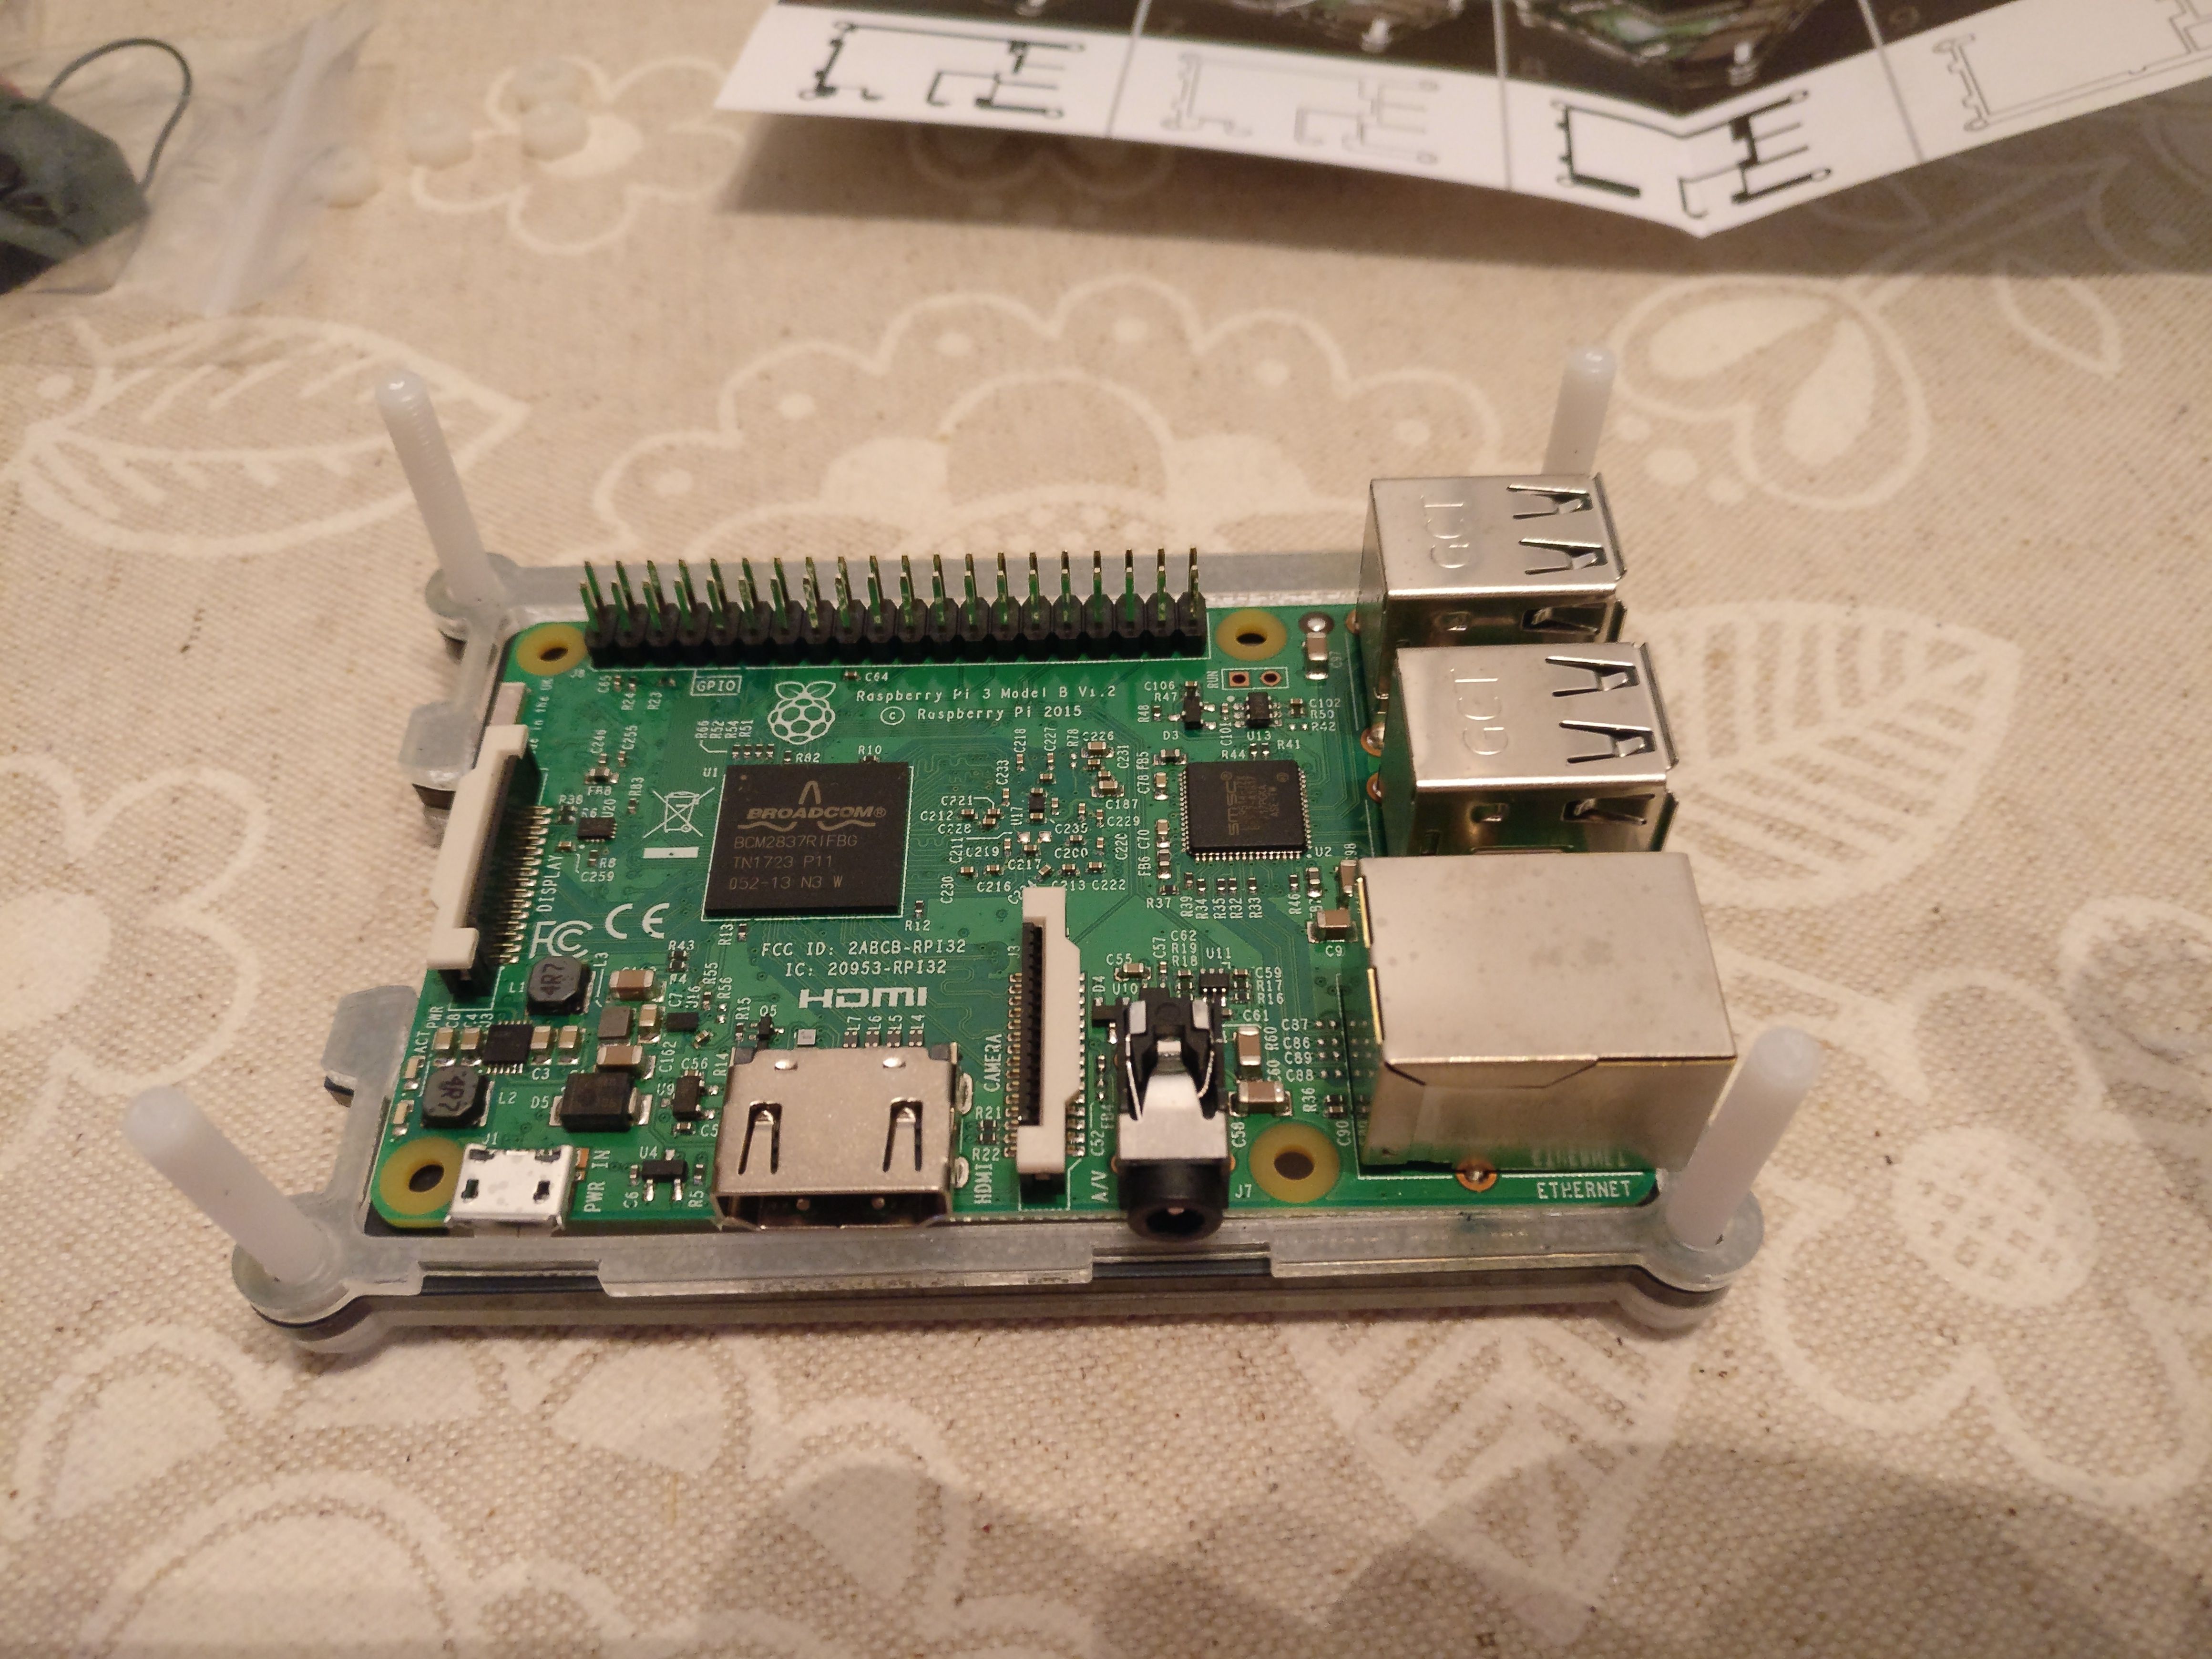
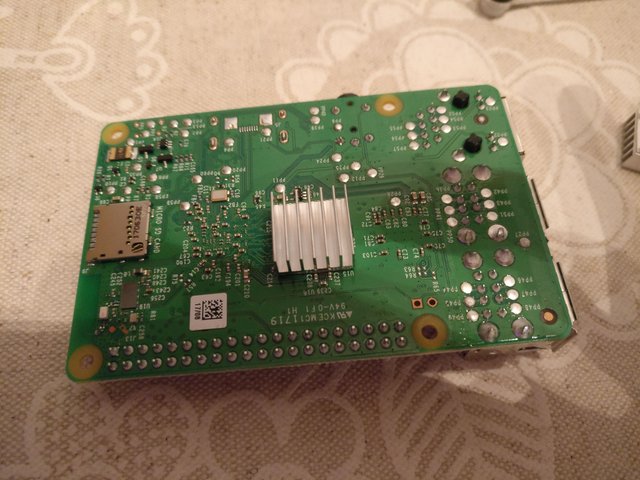
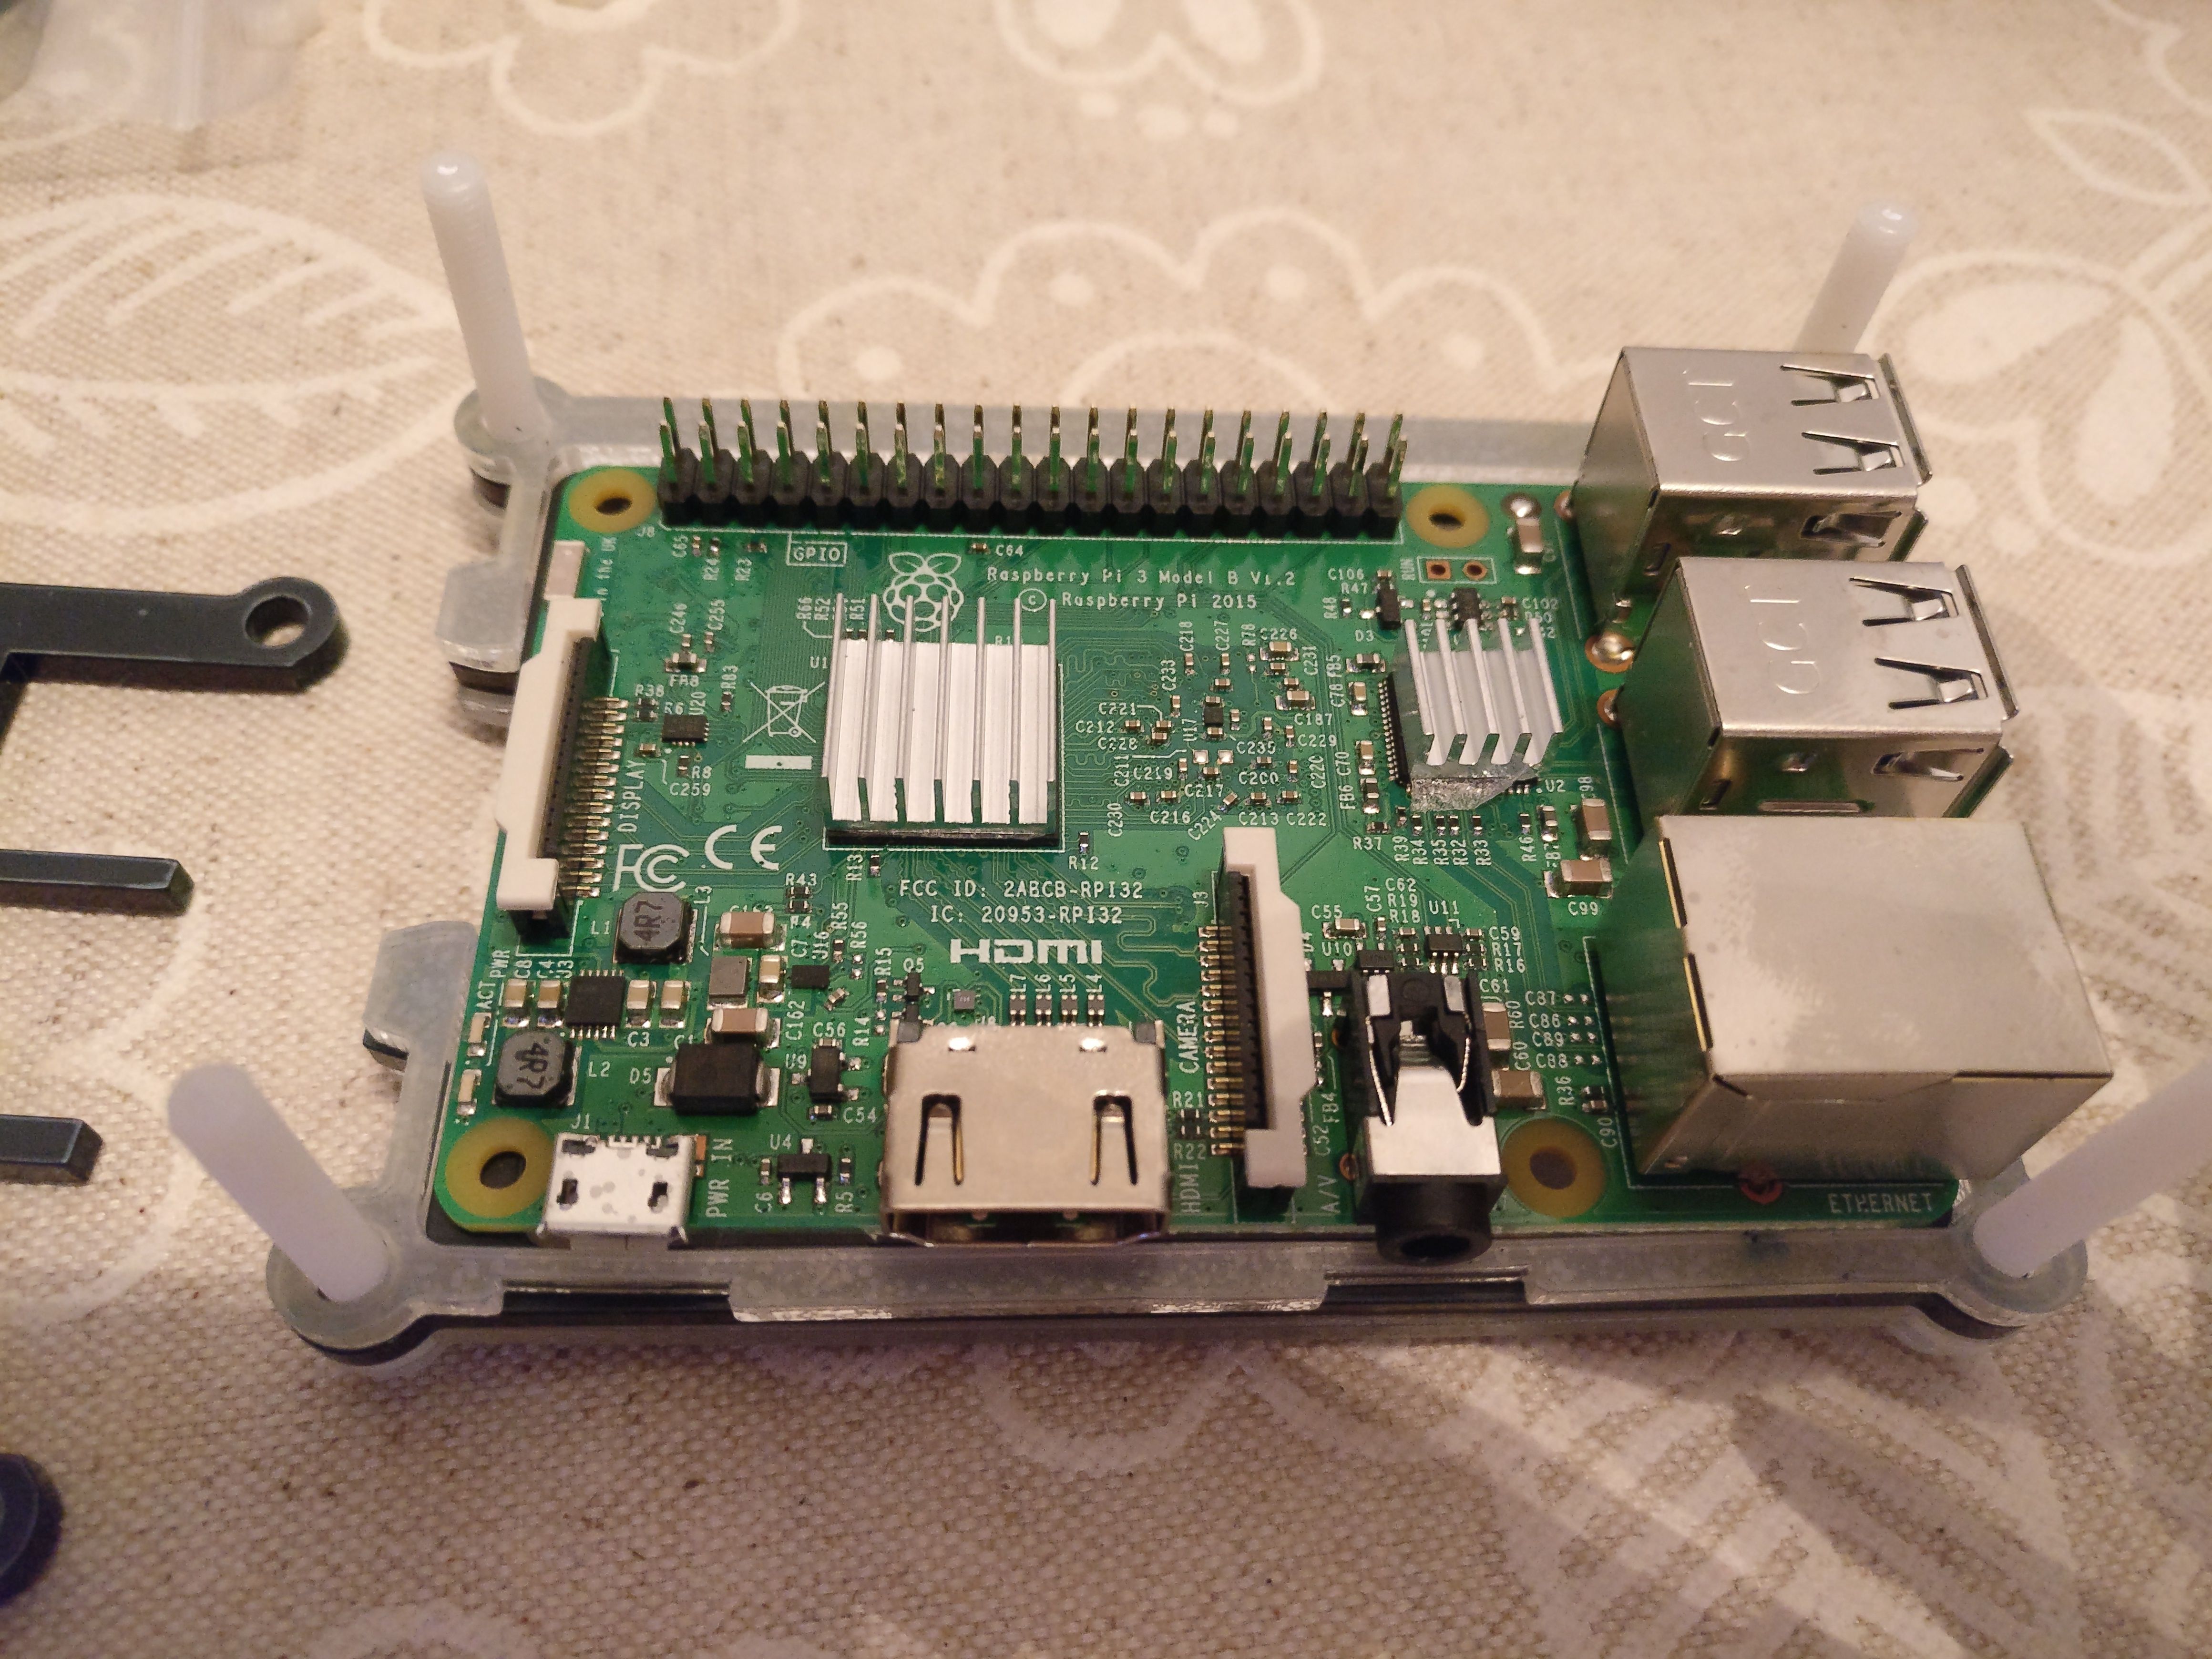
Ahora vamos a colocar todas las capas excepto la última.
Now let's place all the layers except the last one.
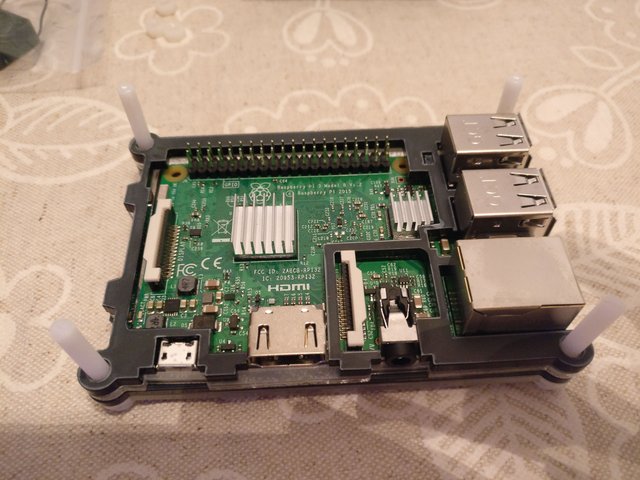
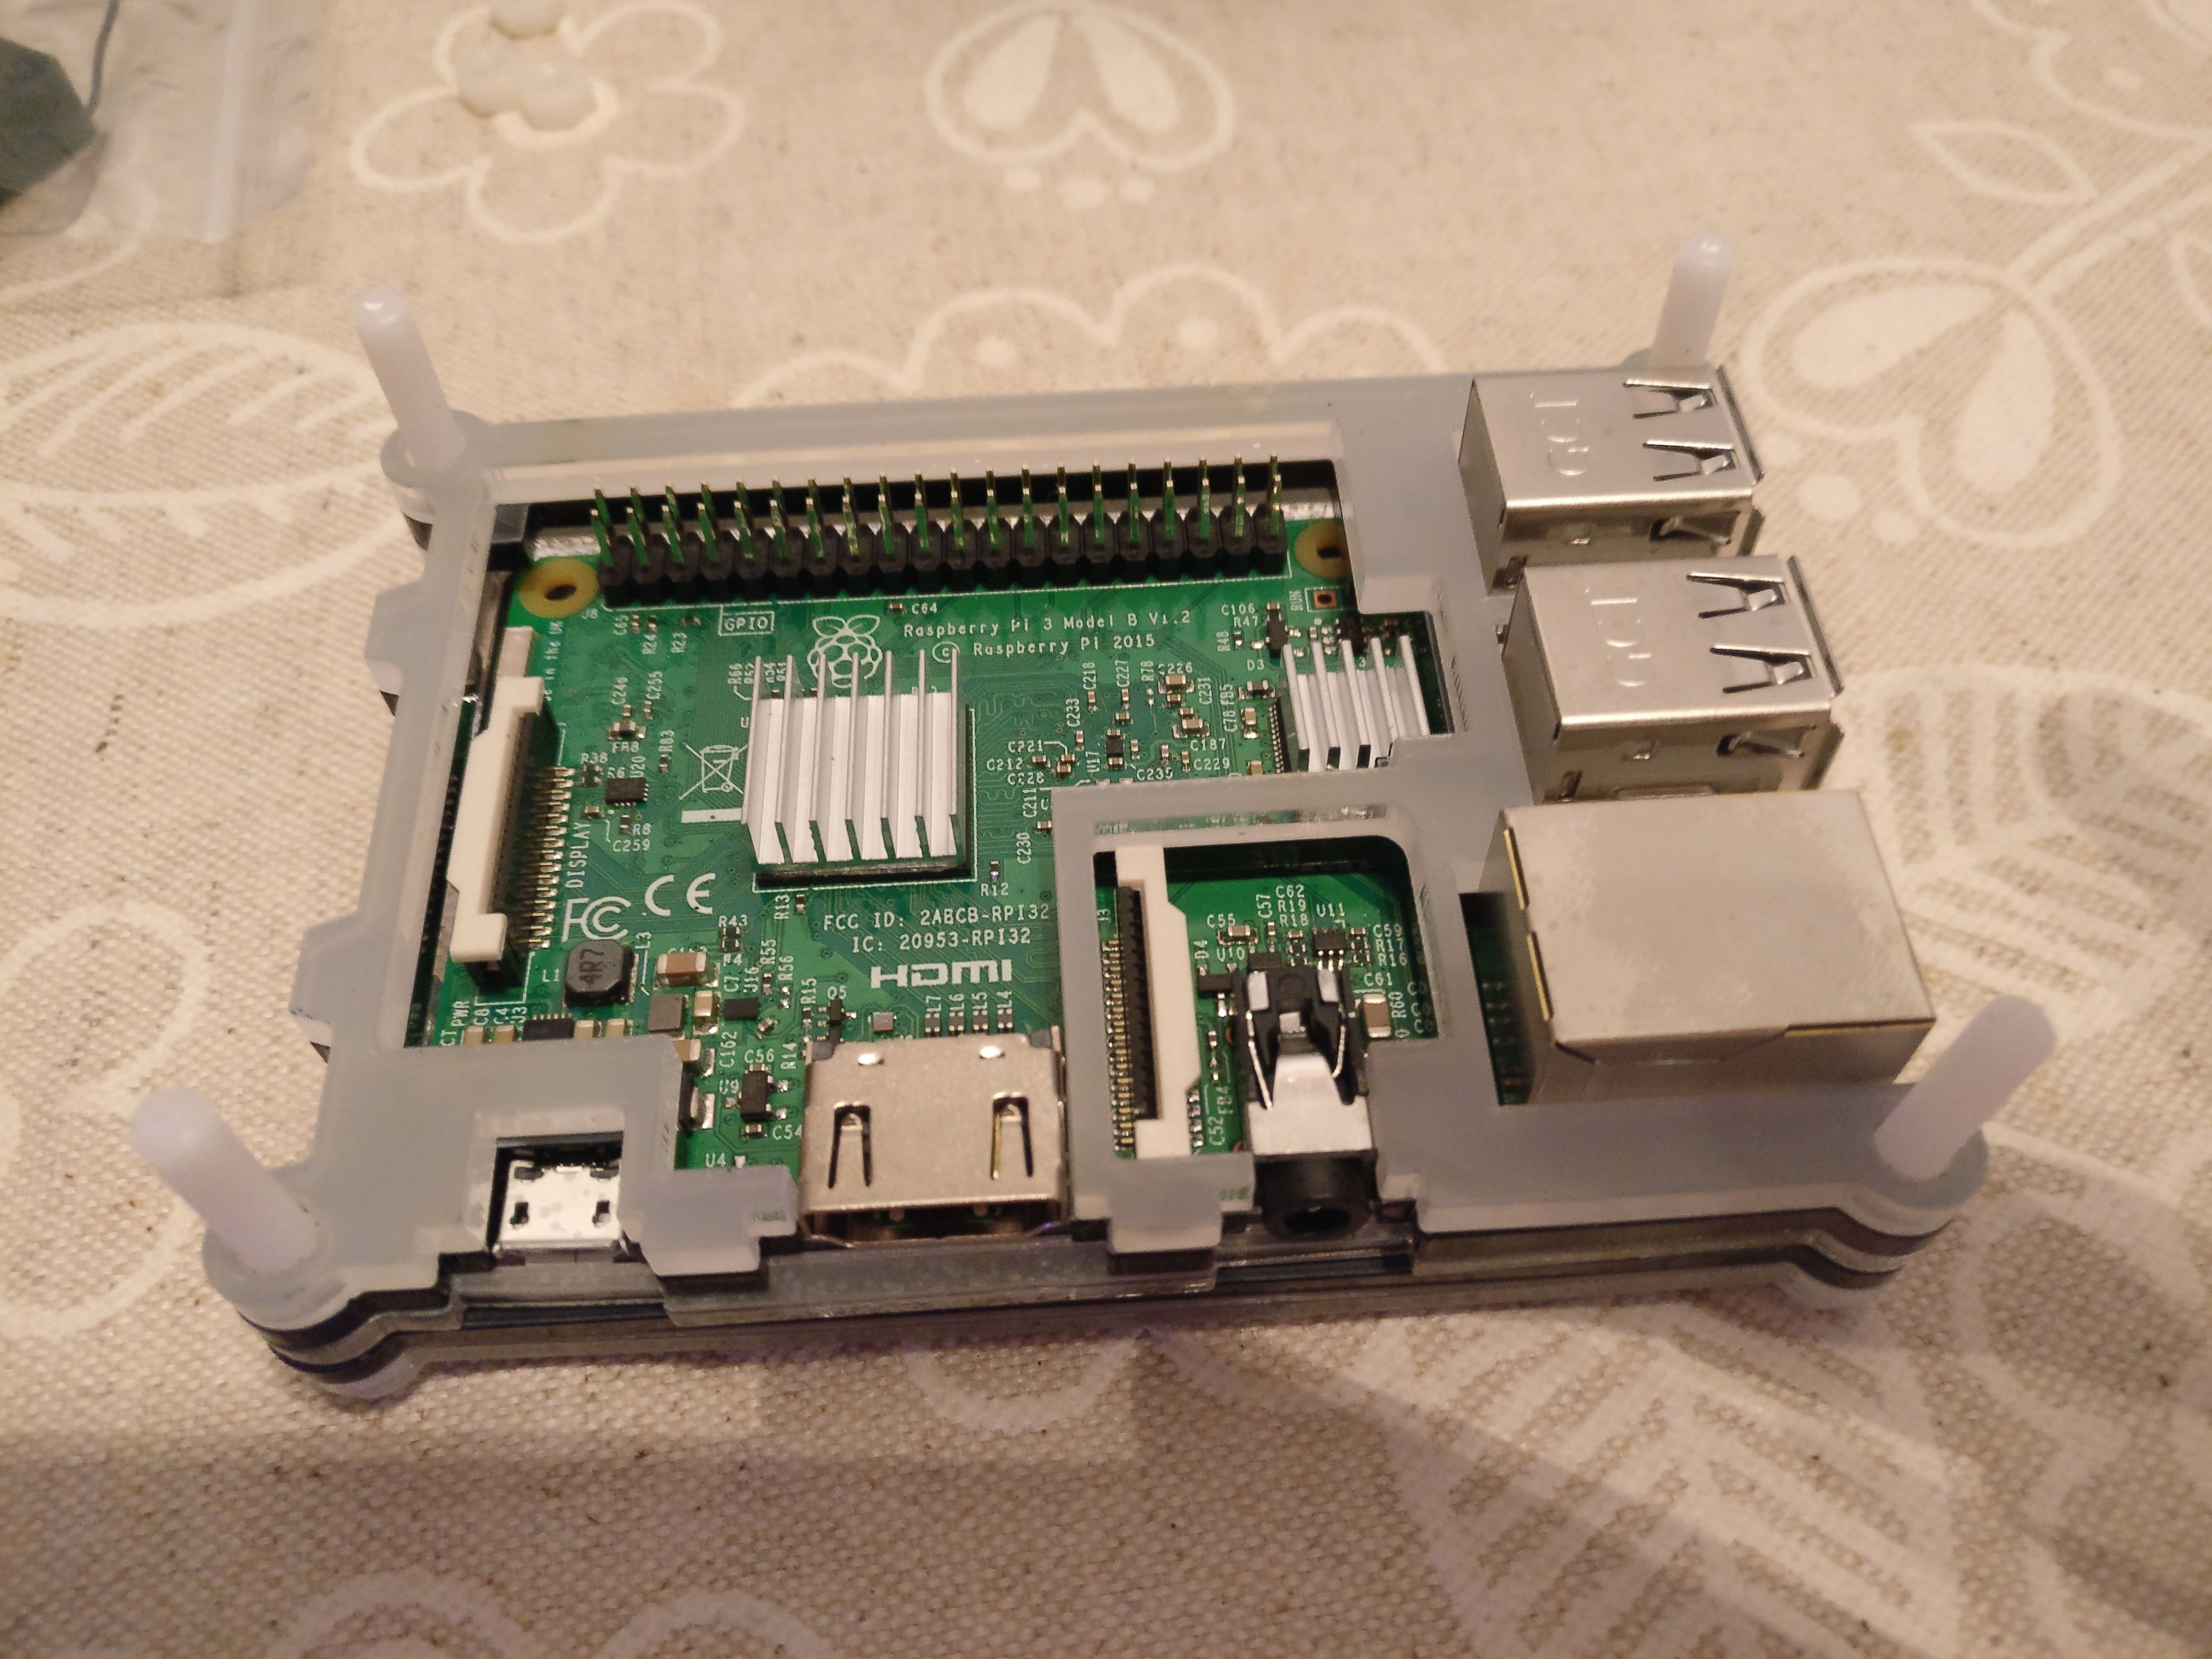
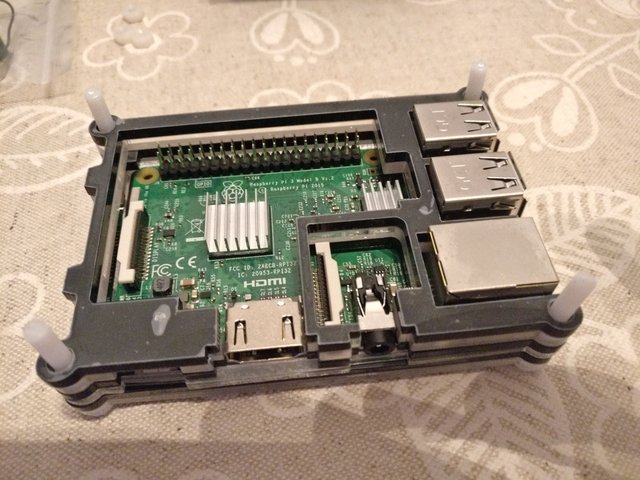
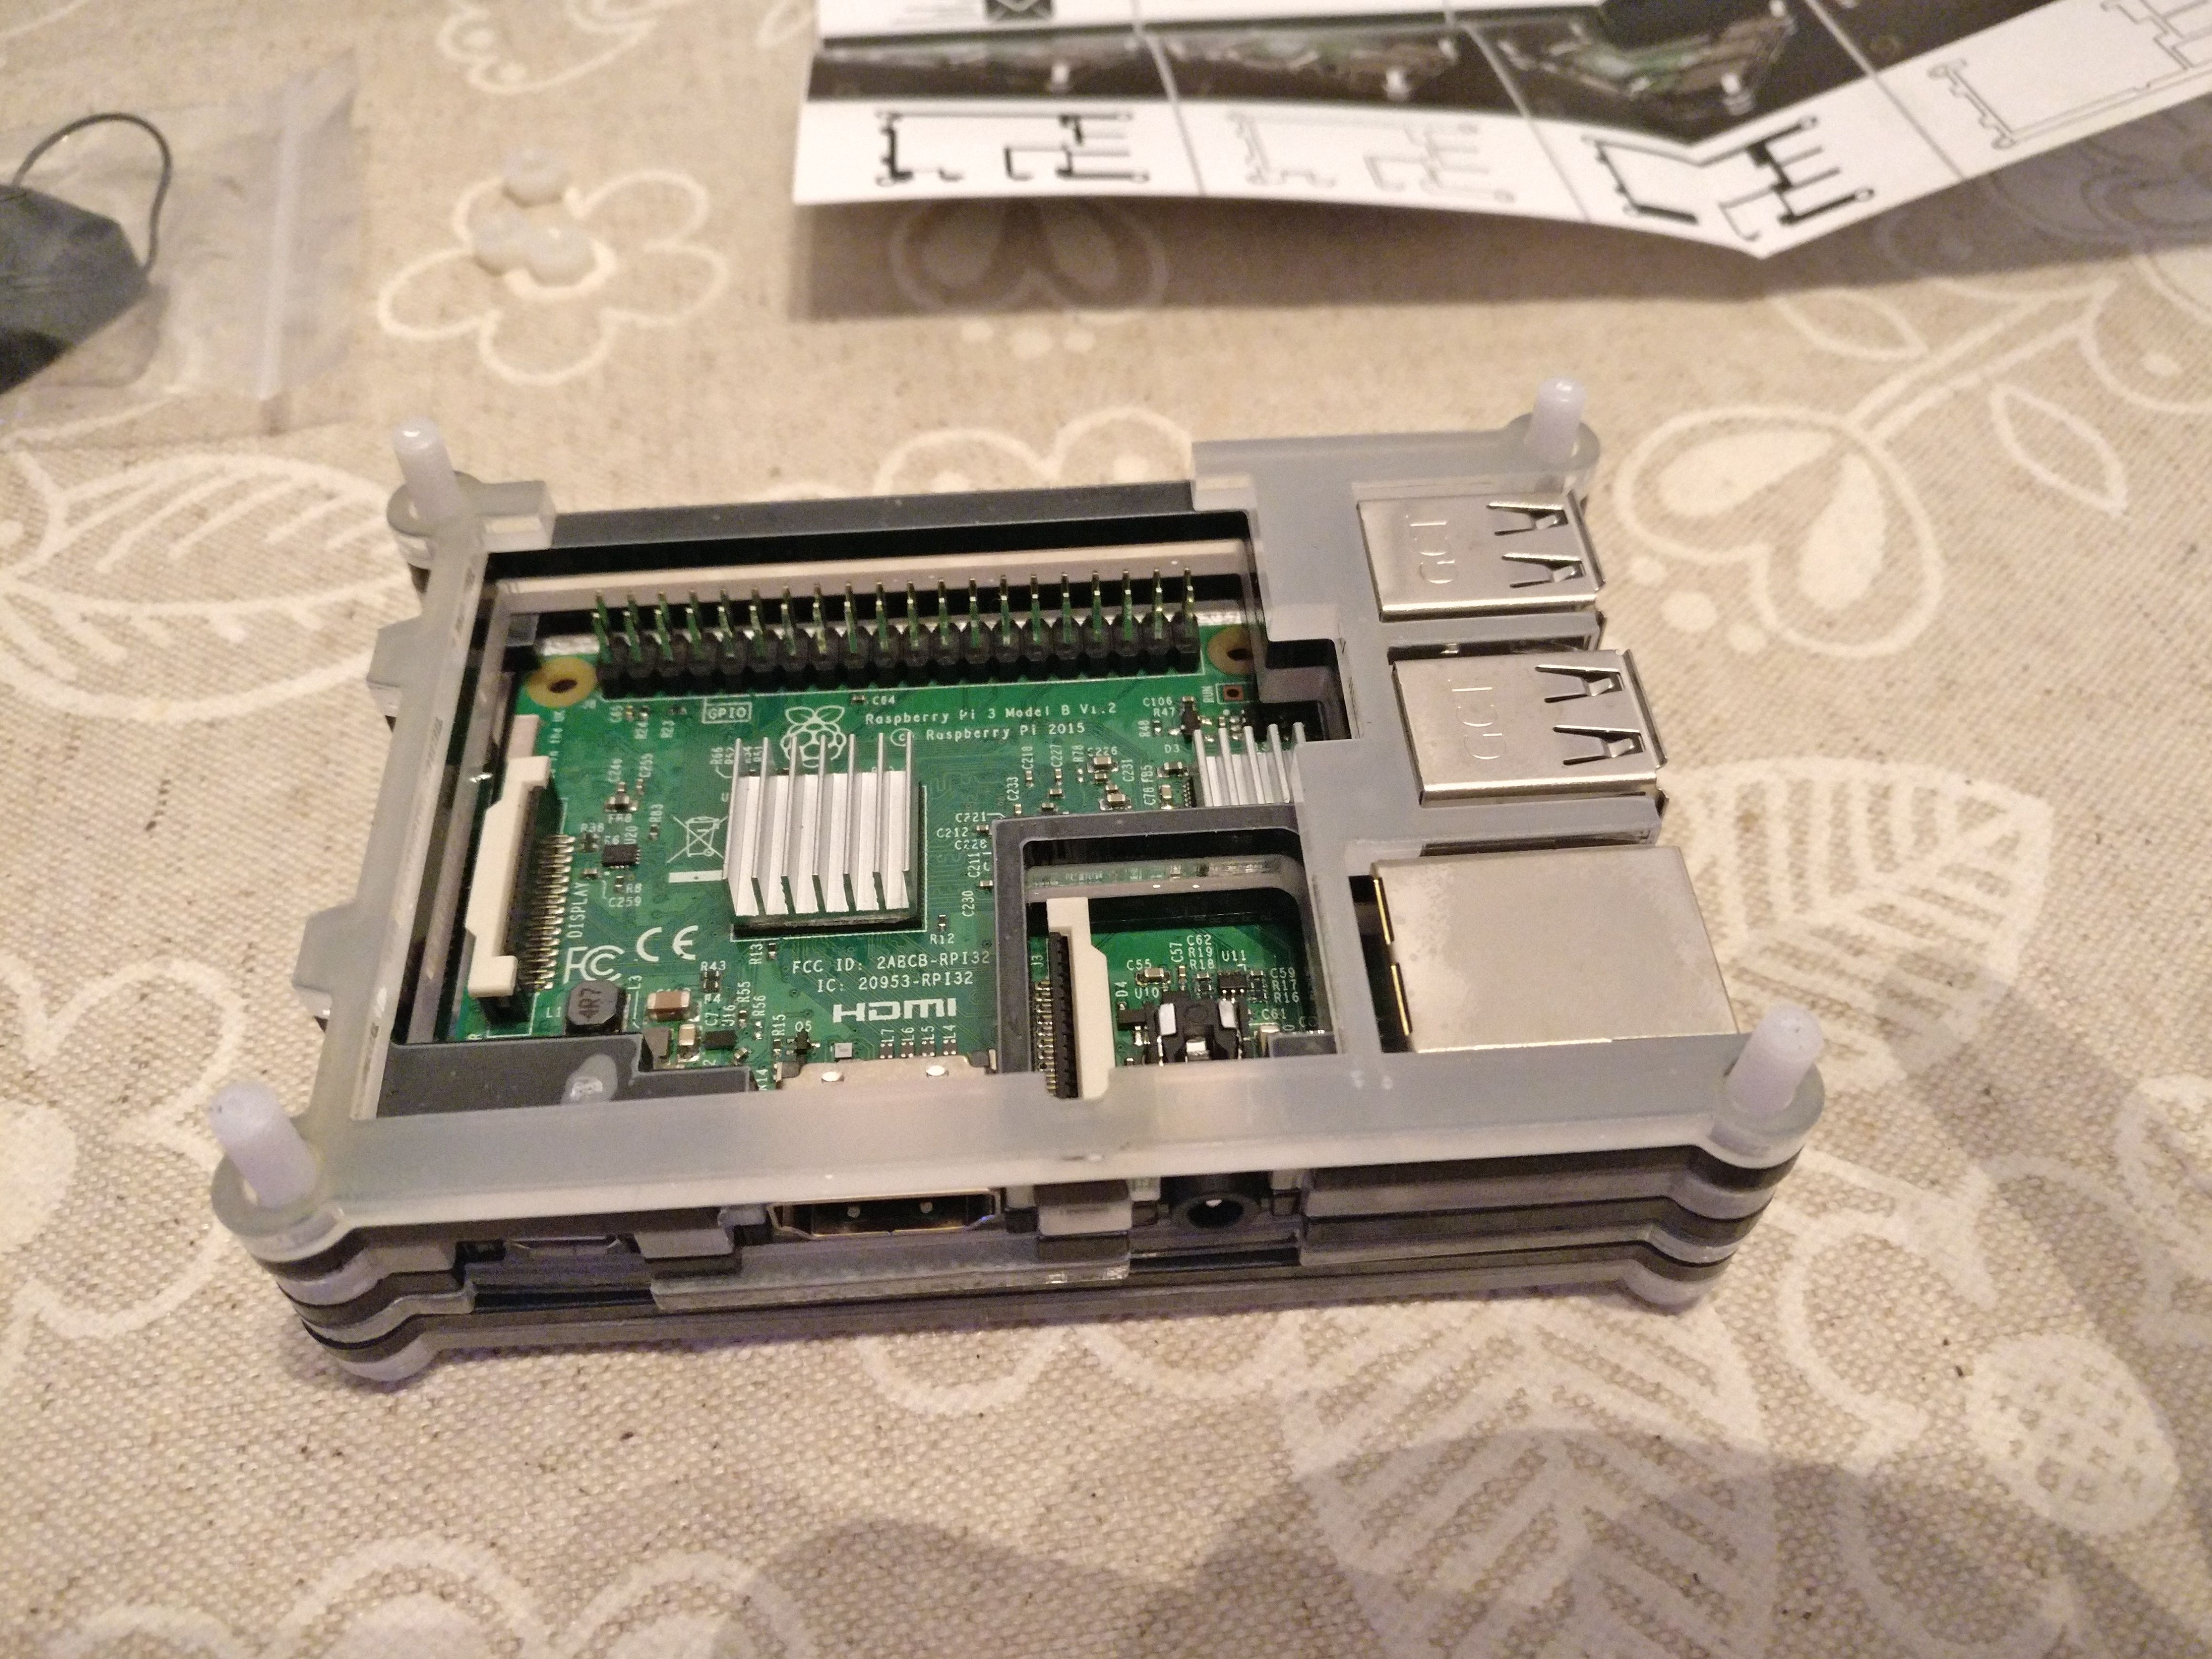
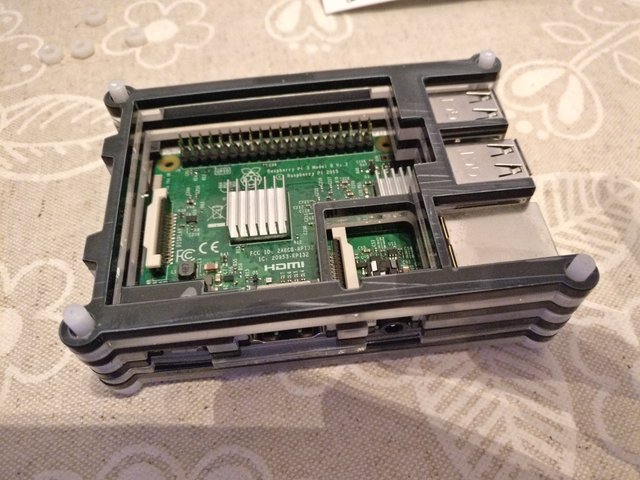
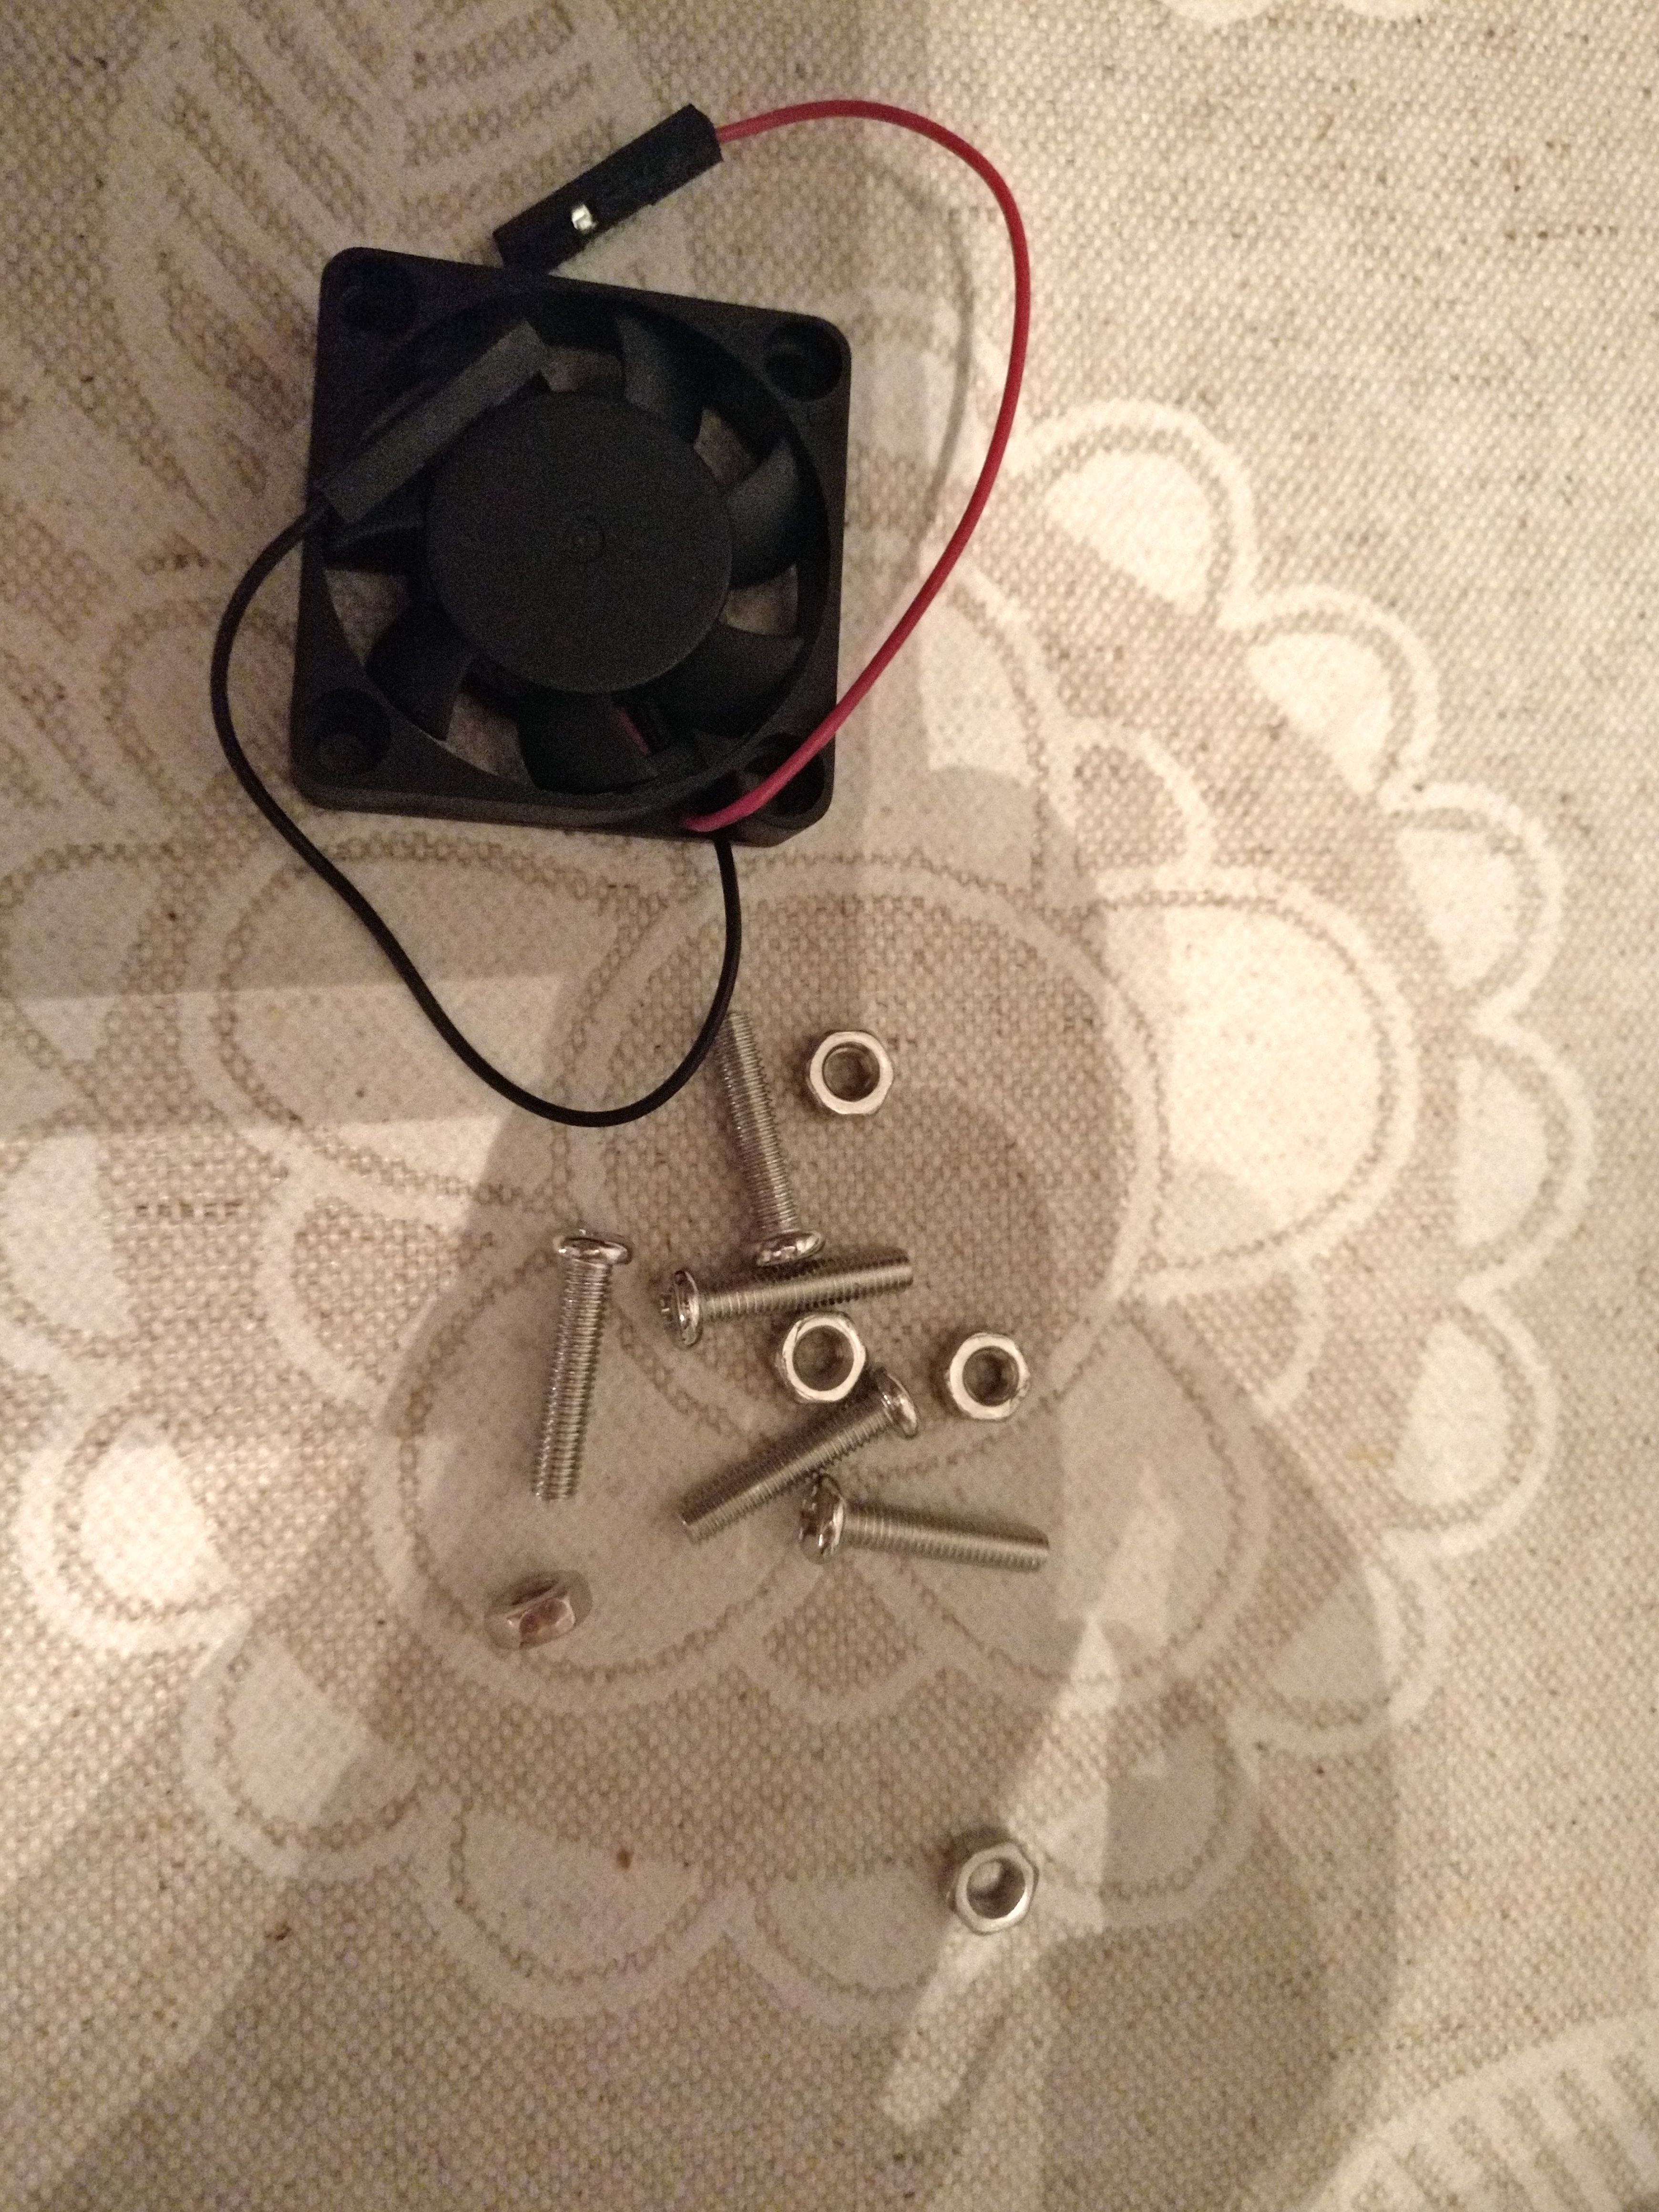
En la última capa que cierra la caja, vamos a instalar el ventilador. Siguiendo las instrucciones es muy sencillo. También se indica en que pines de la placa hay que conectar los cables, para que consuma 3,3V o 5V, según la potencia que queramos darle al ventilador. Yo opté por la opción de 5V.
In the last layer that closes the box, we will install the fan. Following the instructions is very simple. It is also indicated in which pin of the plate you have to connect the cables, to consume 3.3V or 5V, depending on the power we want to give the fan. I opted for the 5V option.
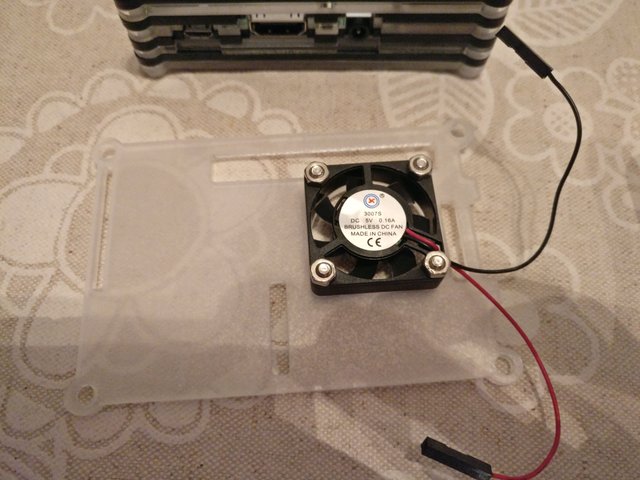
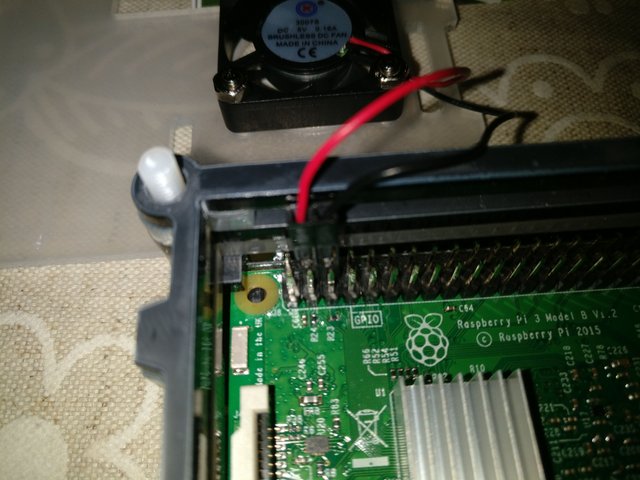
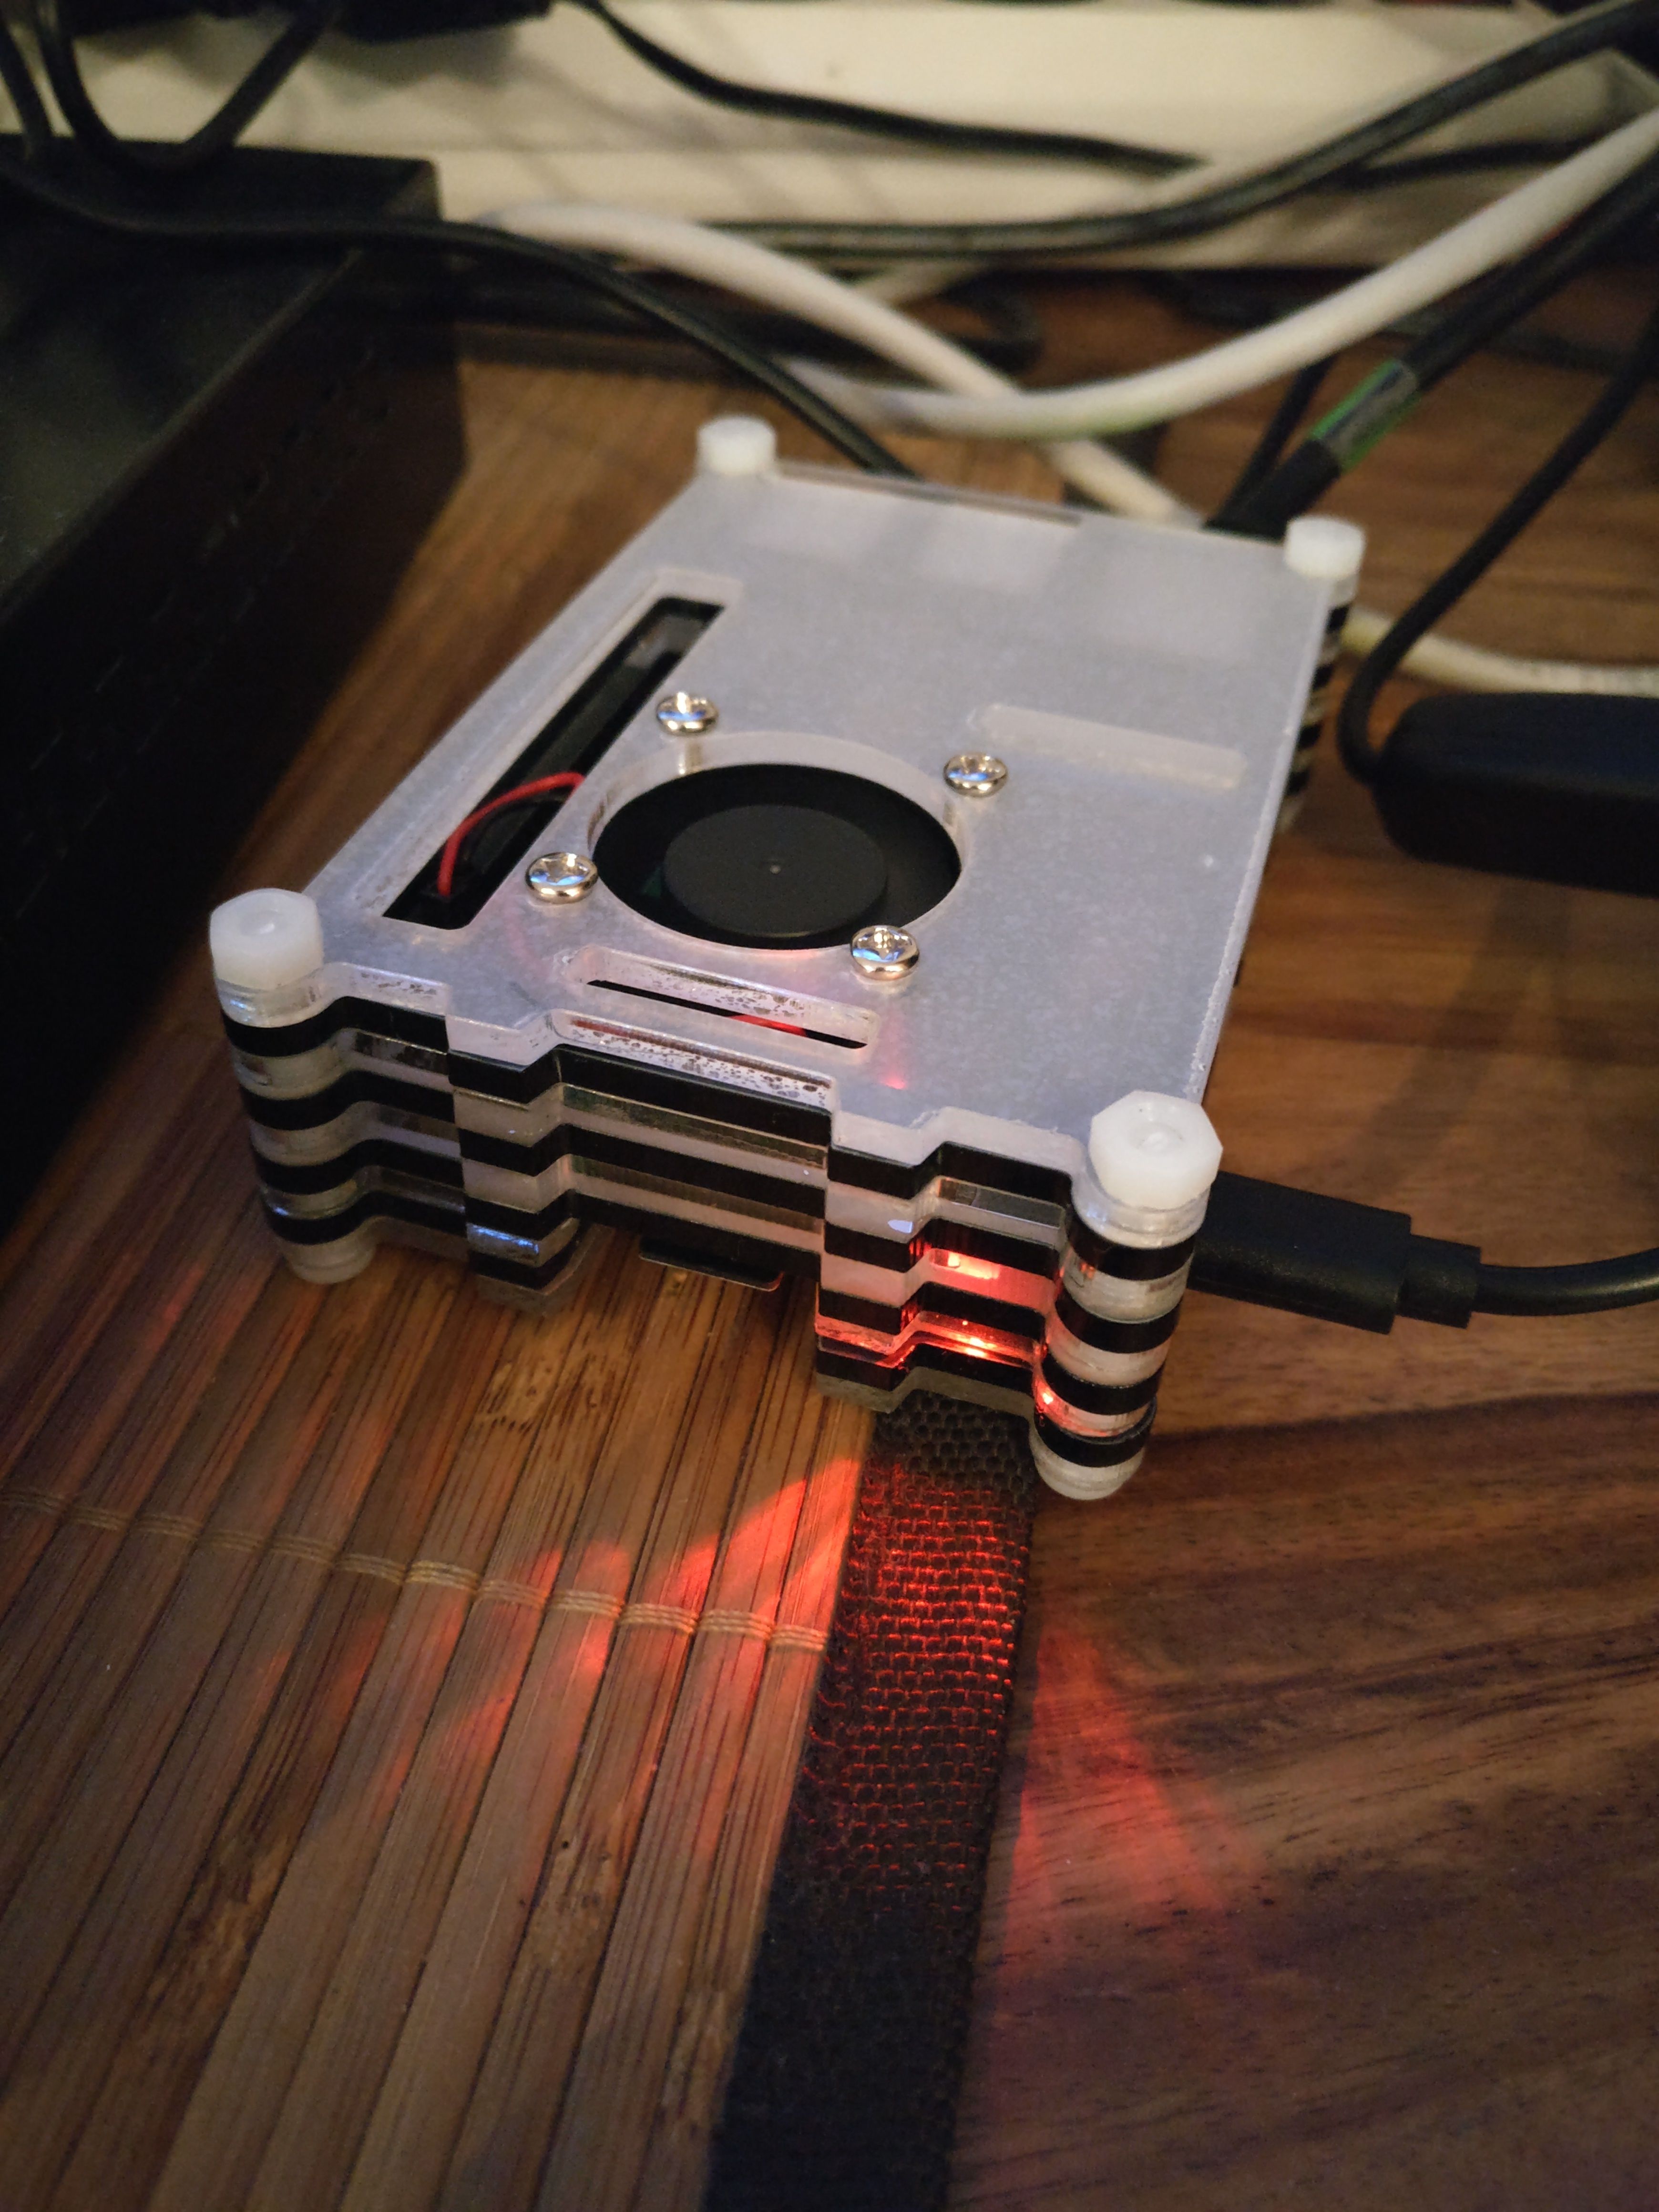
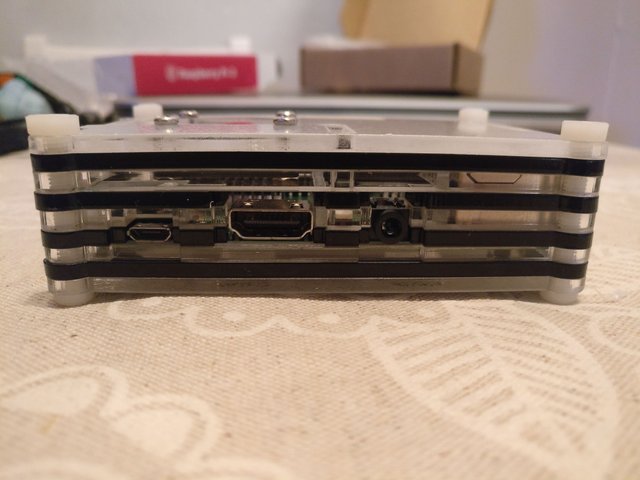
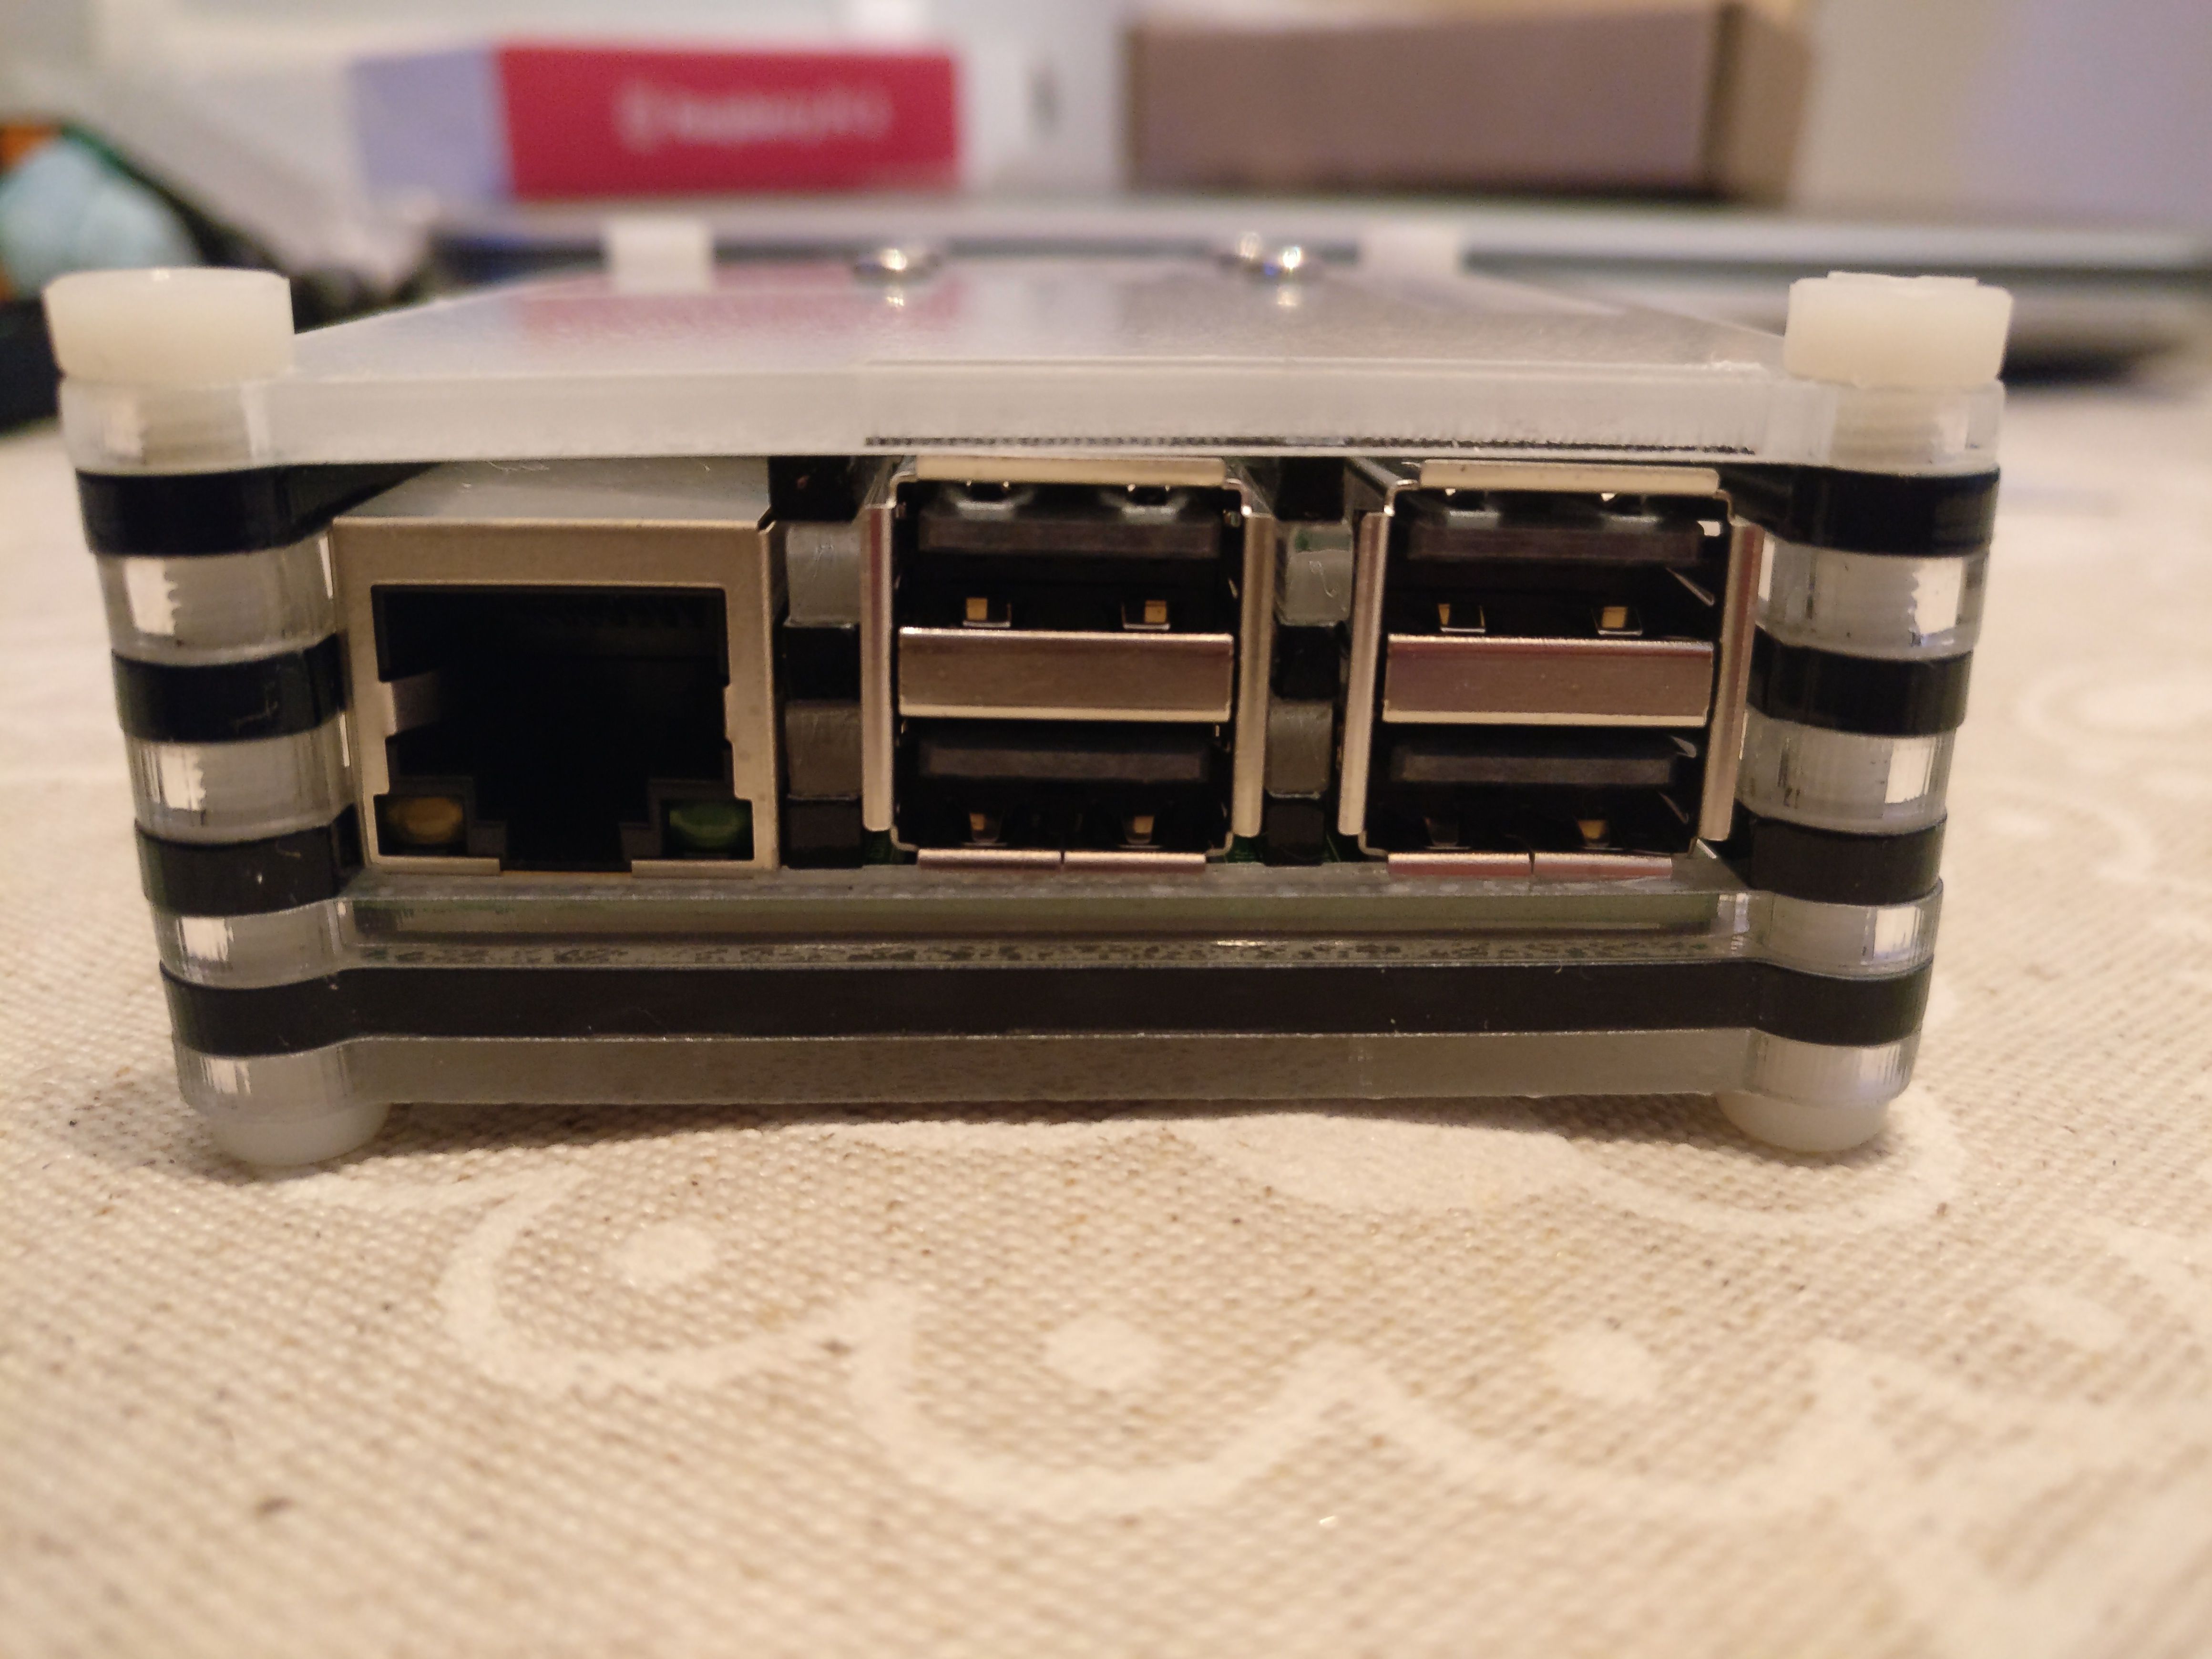
Pues ya tenemos la Raspberry PI 3 montada, ha quedado así:
Well we already have the Raspberry PI 3 assembled, it looks like this:
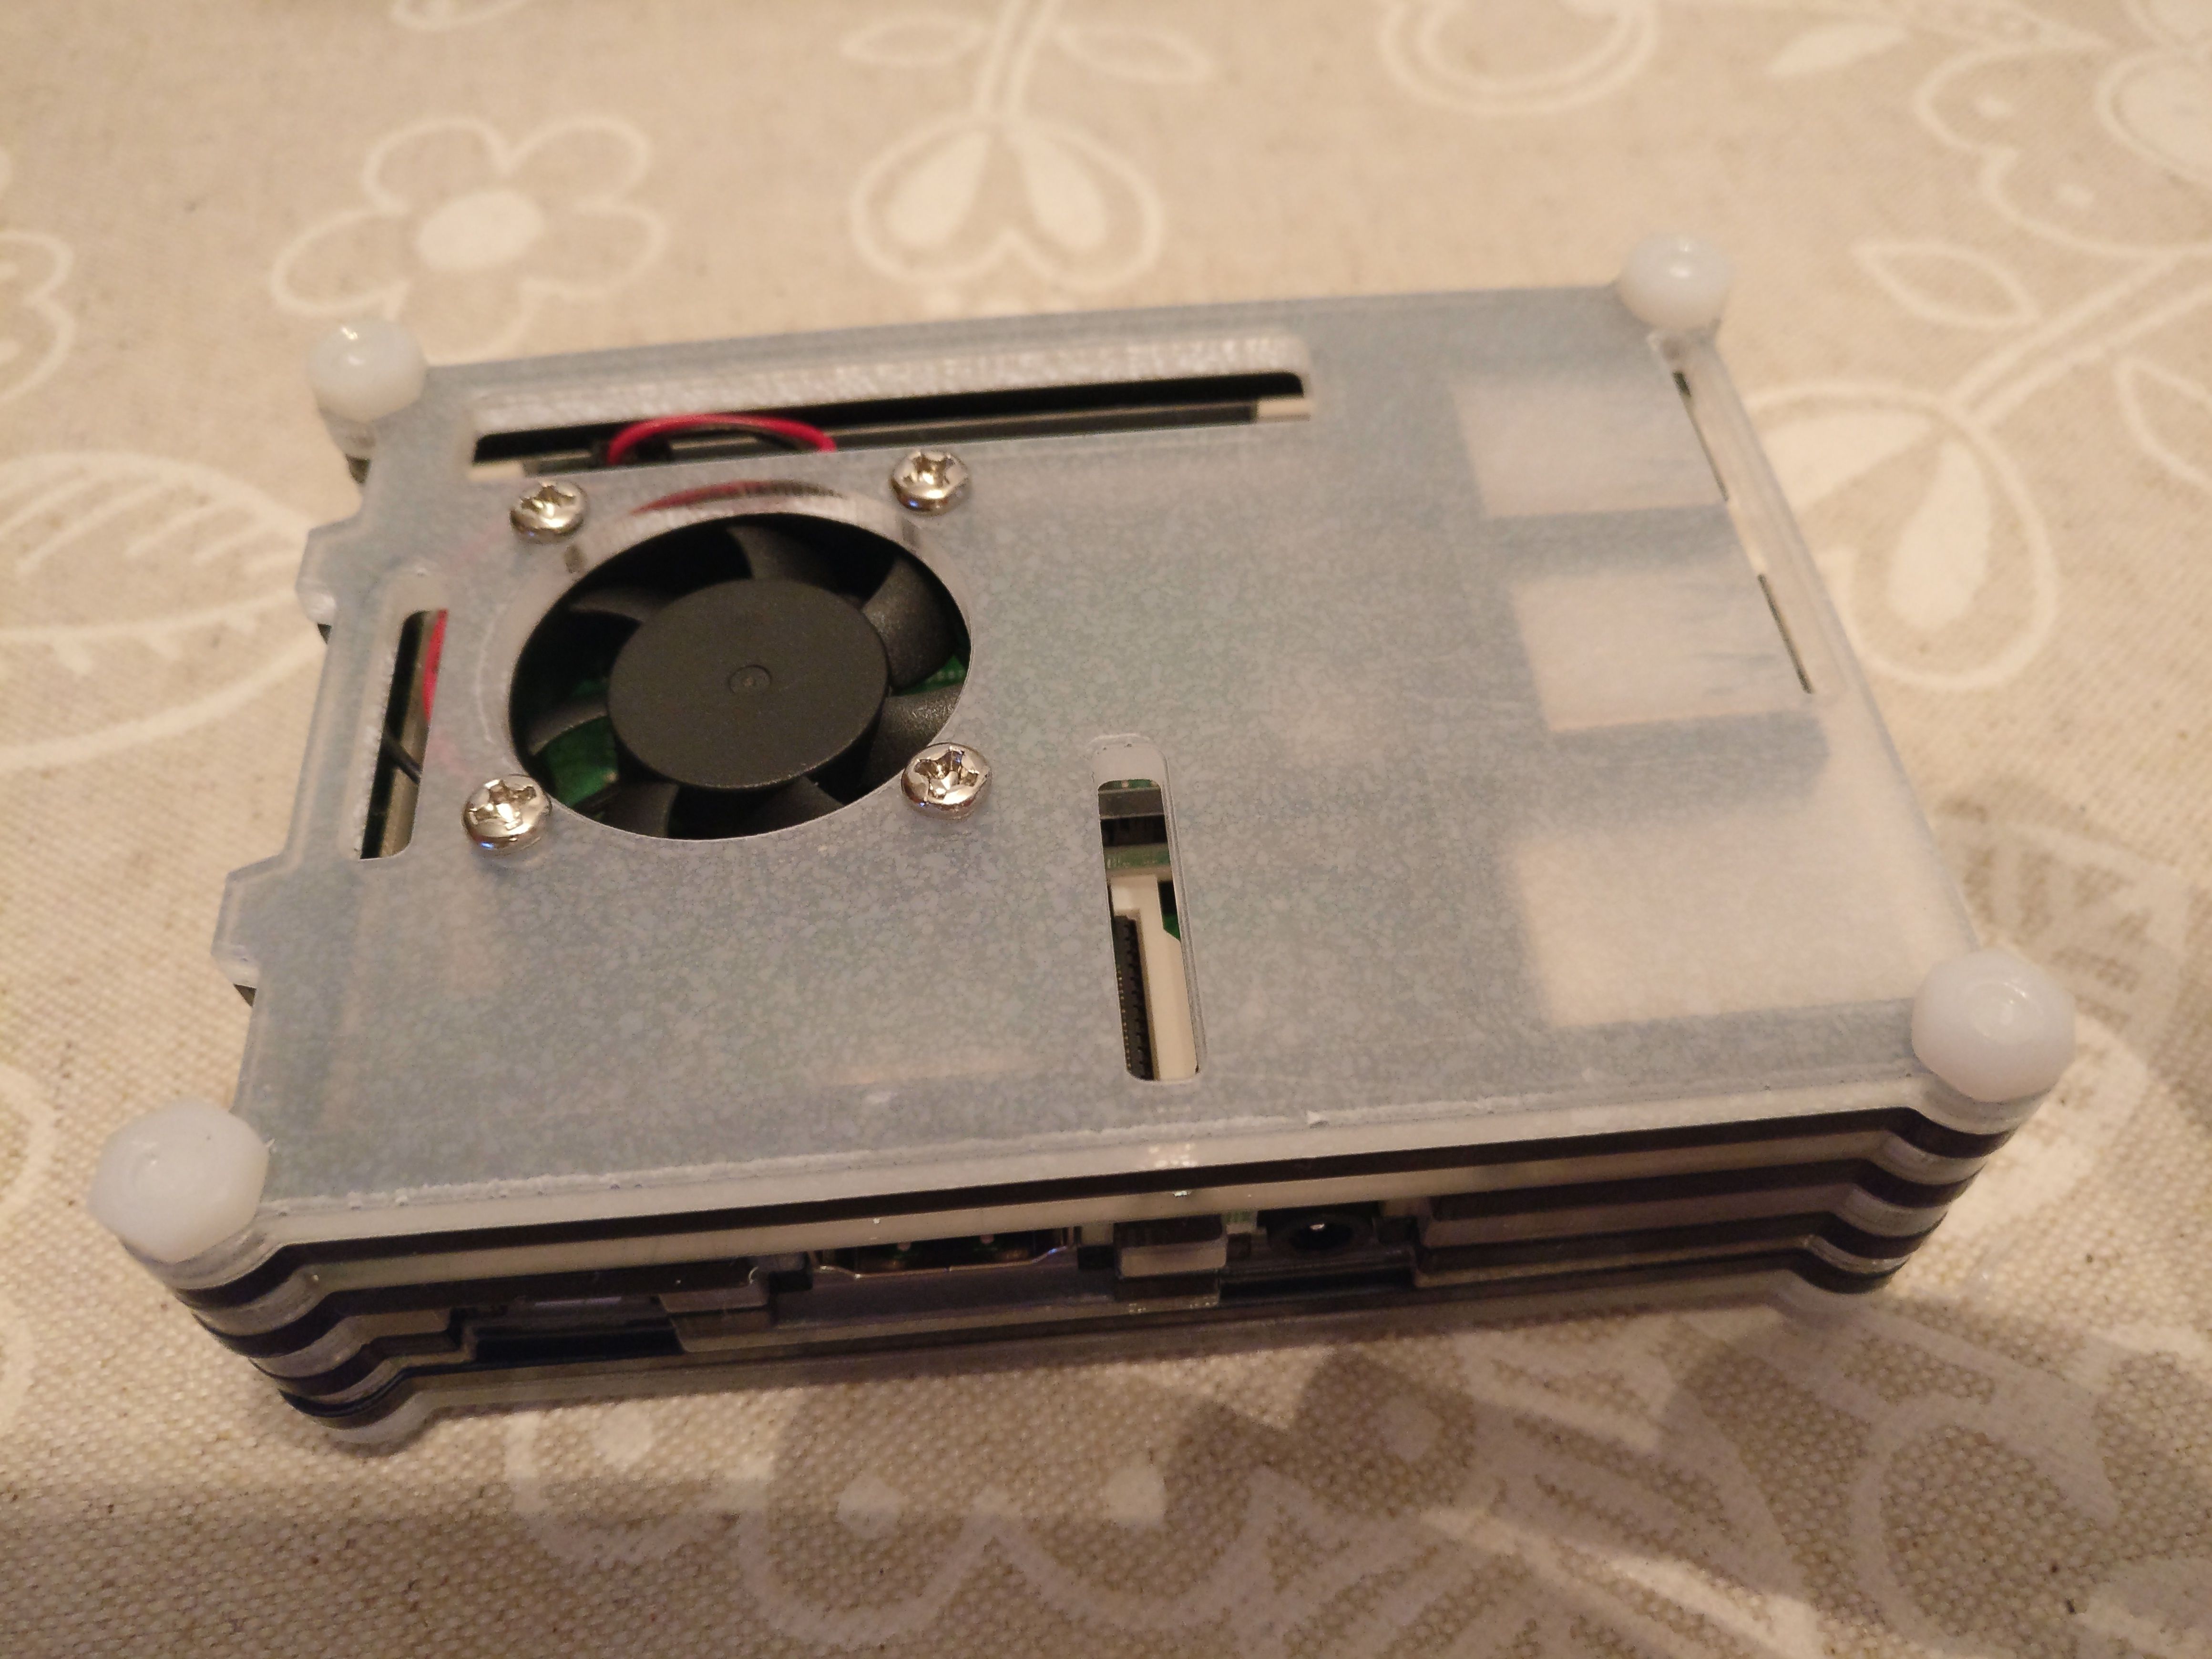
Finalmente, vamos a conectarla para ver que funciona bien, aunque no tiene nada instalado aún.
Finally, we will connect it to see that it works well, although it has nothing installed yet.
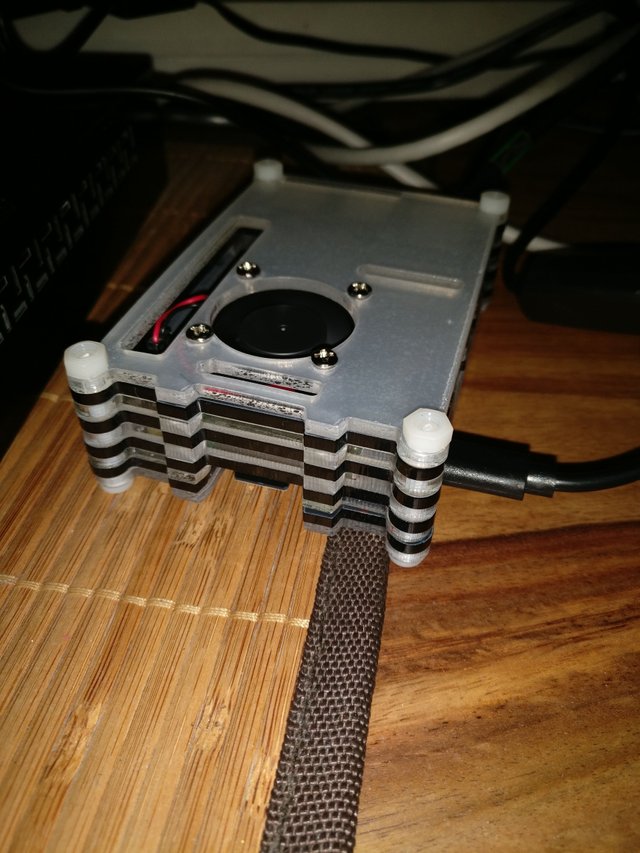
Pues ya está todo perfectamente, próximamente veremos como instalamos el sistema operativo a este "gran" ordenador.
Well everything is perfectly, we will soon see how we installed the operating system to this "big" computer.

Que crypto vas a hacer POS con la Rasberry? Qtum? Algun otro?
En principio mi idea era ZCoin, pero tengo que mirar y estudiarlo todo bien.
Excelente aporte. ✍️👍
Muchísimas gracias
Good post
:) The acrylic transparant sheets of the case would probably light up leds in the case in a nice way.
Thank you very much my friend :-)
Algún día igual quiero armar con una Raspberry al menos una consola para juegos emulados... Si resulta no darme buenas ganancias minando, obviamente.
Monero creo esta fuera de discusión a ser minado con raspberry, pues con el nivel actual de dificultad... minar por varias semanas completas para no haber ganado ni 3 dolares.
La opción viable parecen ser las monedas emergentes, de bajo poder de minado por CPU. Por ejemplo la Pre-COIN JSEcoin en su canal de Discordapp hay comentarios sobre el poder usar Raspberry para minar esa moneda, pues de un procesador por ejemplo AMD FX-4300 de 4 núcleos, solo consume máximo del 30% del CPU con un tope de 2700 HS/s (en ese CPU), pero esos HS te pueden dar hasta 1.8 o más JSE coins por día (la paridad comparativa actual es de 1.00 a 1.00 JSE a USD) Y esto es así porque se sortean 50 ganadores de 0.005 o 0.01 JSE cada 30 segundos, por lo que se evitan a los acaparadores. Aunque obviamente esto seria solo una inversión a futuro, pues aun no pasa a fase de ICO. El precio establecido actual no esta planeado para ser fijo (como es el caso del SBD), este dependerá de la oferta y demanda del mercado cuando se encuentre disponible para comercial la moneda.
Si quieres ganancias inmediatas lo que queda es minar una moneda emergente que ya este en circulación, pero tendrás que hacer tu tarea para ver cual de todas te brinda mejores dividendos.
Gracias por compartir @malonmar
Salu2.
Hola, yo creo que la Raspberry no vale para minar ni por CPU, lo suyo es hacer POS, que hay monedas que te pagan un 5% solo por mantenerlas en su wallet, como por ejemplo NAVCoin. Aunque si surge una nueva, aunque la Raspberry tenga poca potencia, algo se podría sacar.
Como la dichosa BitConnect, aunque a mi se me hacia demasiado bello para ser verdad lo que ofrecen de intereses solo por tener sus monedas guardadas, supongo que ya desconfió automáticamente de cualquiera que ofrezca altos intereses...
Gracias por la explicación.
Salu2.
Lo de bitconnect es digno de estudio, porque no hace nada más que subir.
Un saludo!