Fabricated Laboratory Scale Leaching Tanks
Fabricated Laboratory Scale Leaching Tanks
Hello my co-steemians, good day!
Today I'm going to share with you one of my recent works related to engineering drawing and technology.
I am a metallurgical engineering student in the Mindanao State University, Iligan Institute of Technology. Earlier this year we had our thesis on Gold extraction through ultrafine grinding by means of leaching. In metallurgical processes tank leaching is a hydrometallurgical method of extracting valuable material (usually metals) from ore.
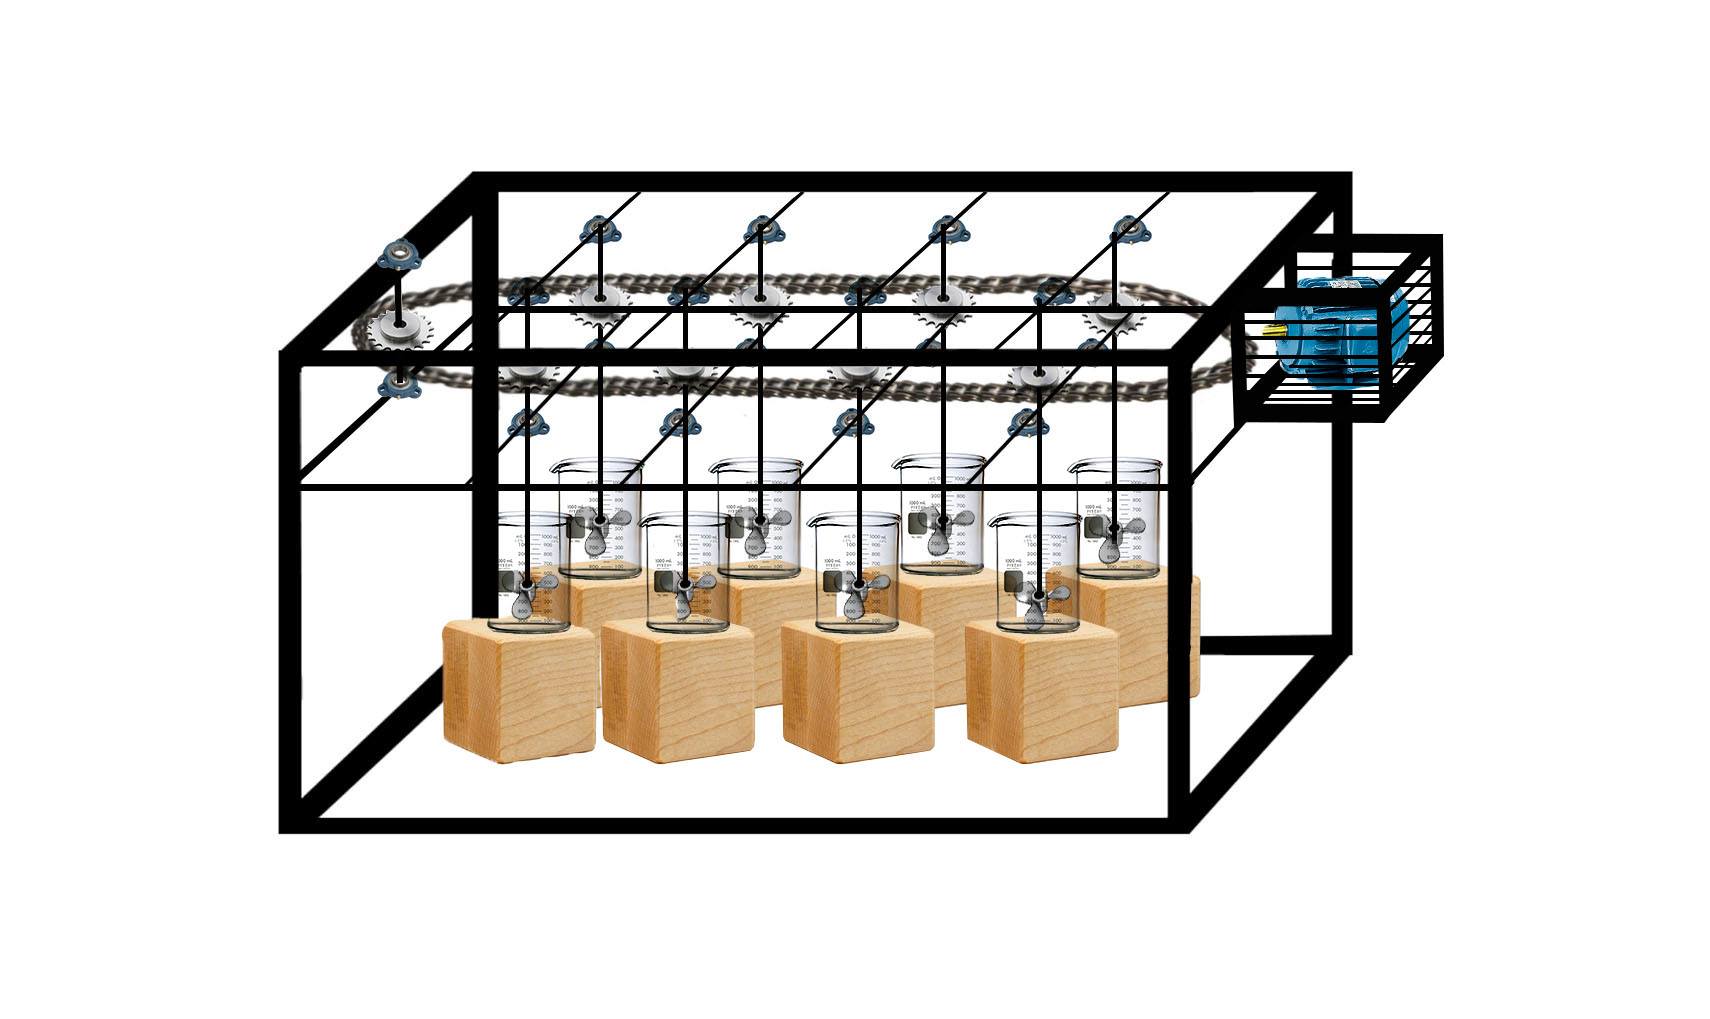
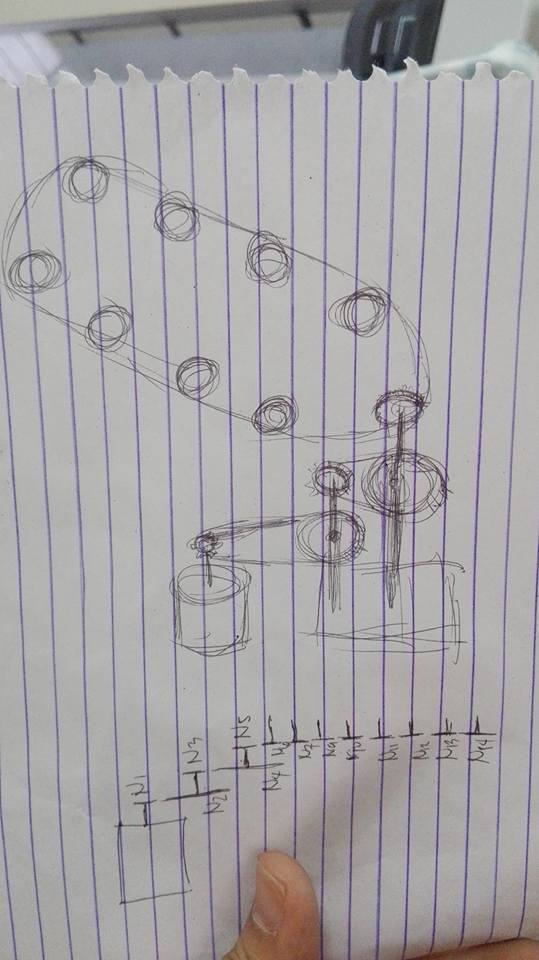
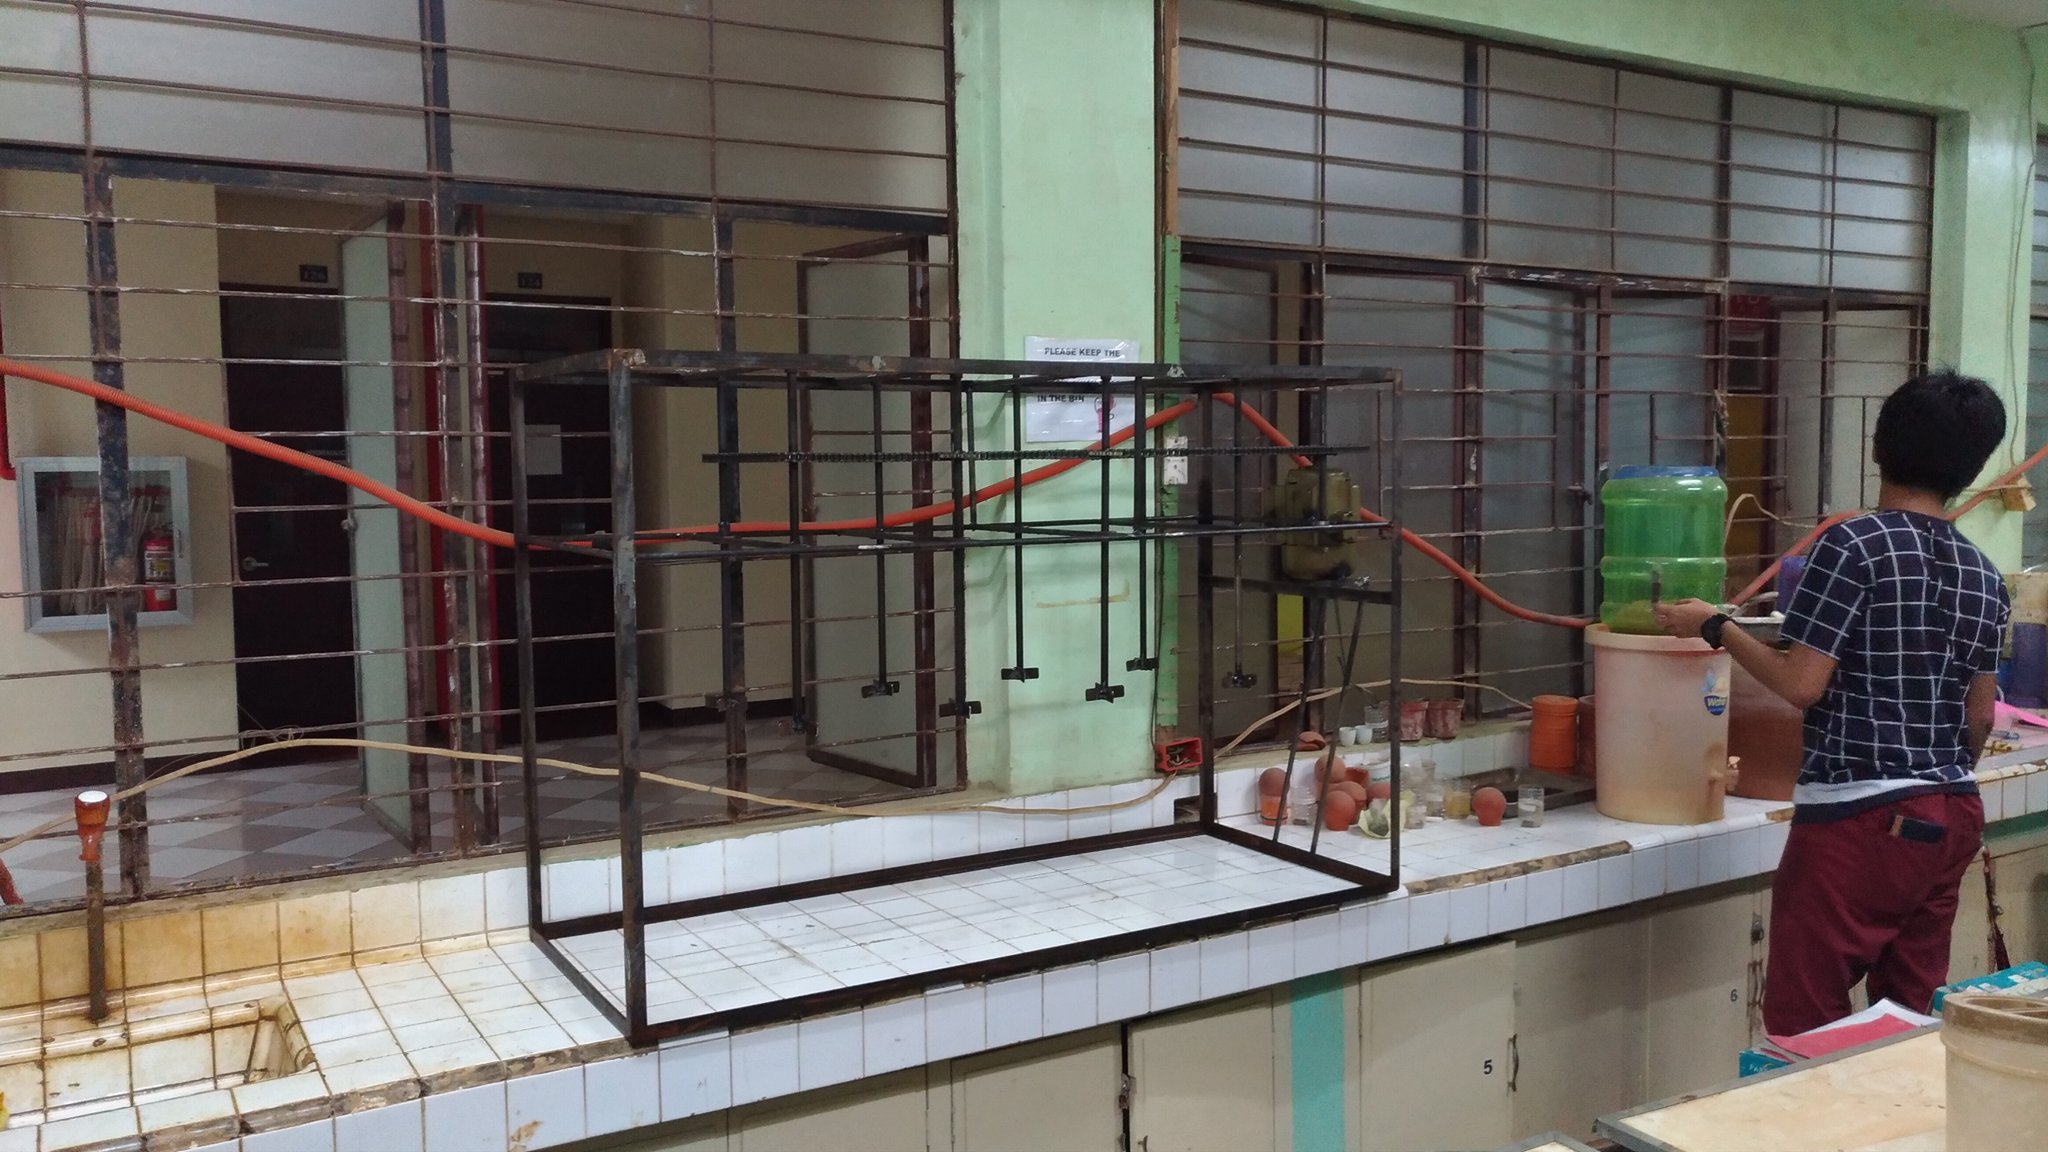
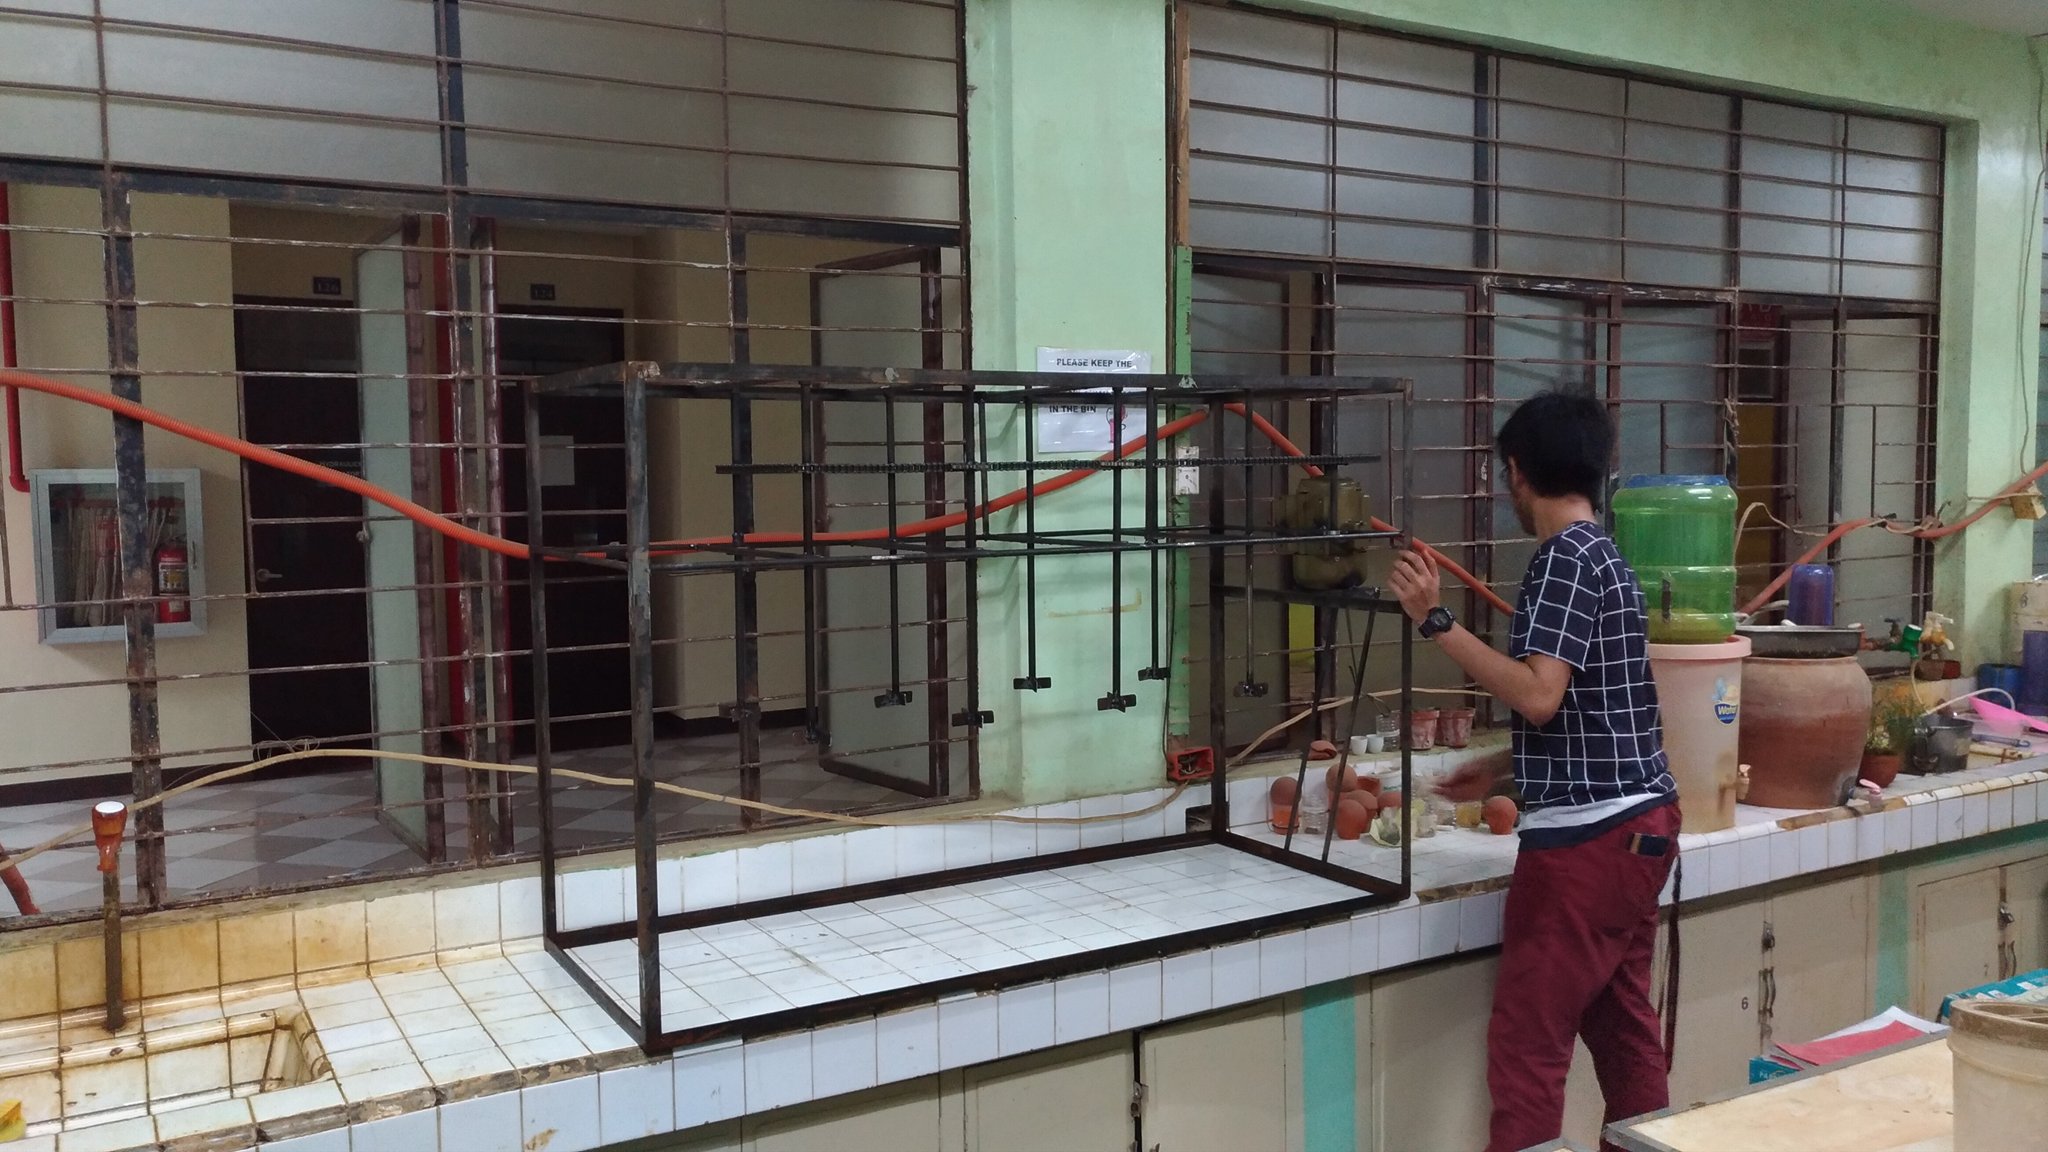
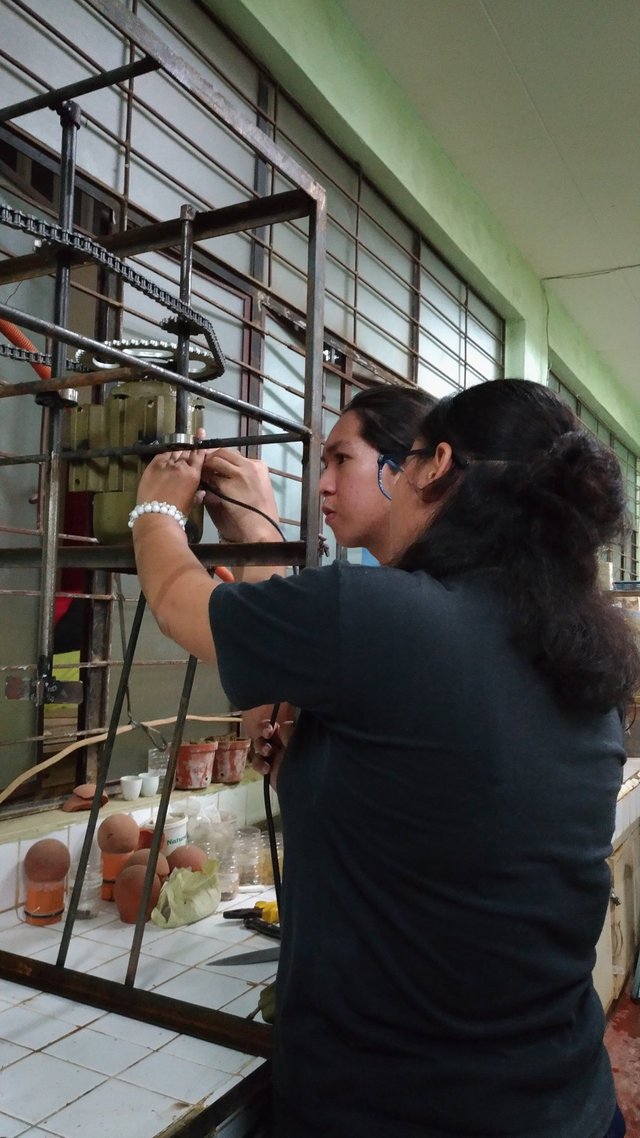
The leaching column set up was prepared and designed to operate on a laboratory scale. The agitators for this leaching tank were connected with a link from a single motor to have a uniform rotation with every single agitator, much like that of the set up for roasting a chicken. The motor’s power is ¼ HP and makes the agitators move at 120 rpm. The setup is 1.5m in length, 0.6m in width and has a height of 1m. The rotational motion for every agitator will be uniform since they will be connected with a single link through sprockets.
PLANNING
Materials to be used:
*motor 1/4 HP (40 USD)
*angle bar
*stainless metal rod 8 pcs.
*pillowblock 1'D (2.90 USD each) 18pcs.
*sprockets (bicycle parts) 9 pcs for agitators and 2-3 pcs. for motor adjustment.
*propeller (less than the beakers diameter which is 12cm) 8 pcs.
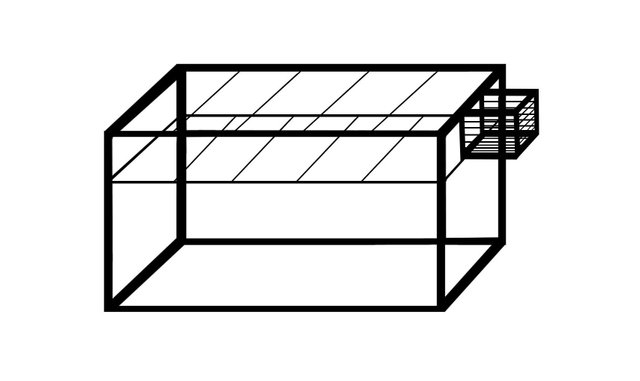
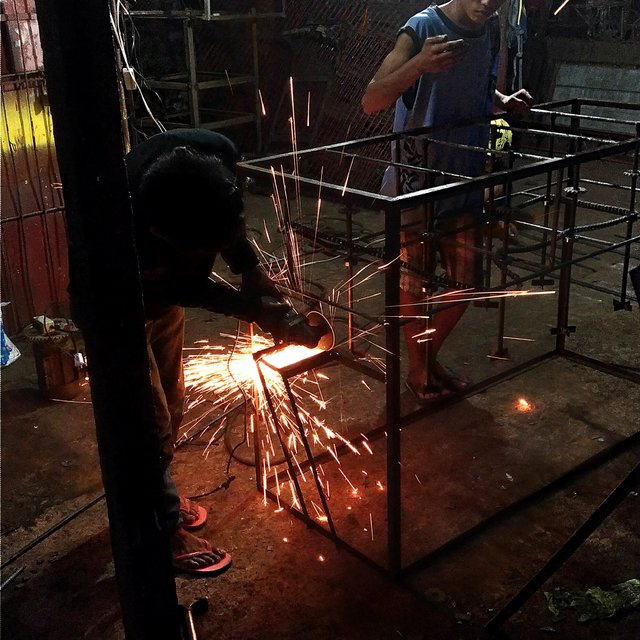
- main frame - to be welded with a contractor using angle bars for better support.
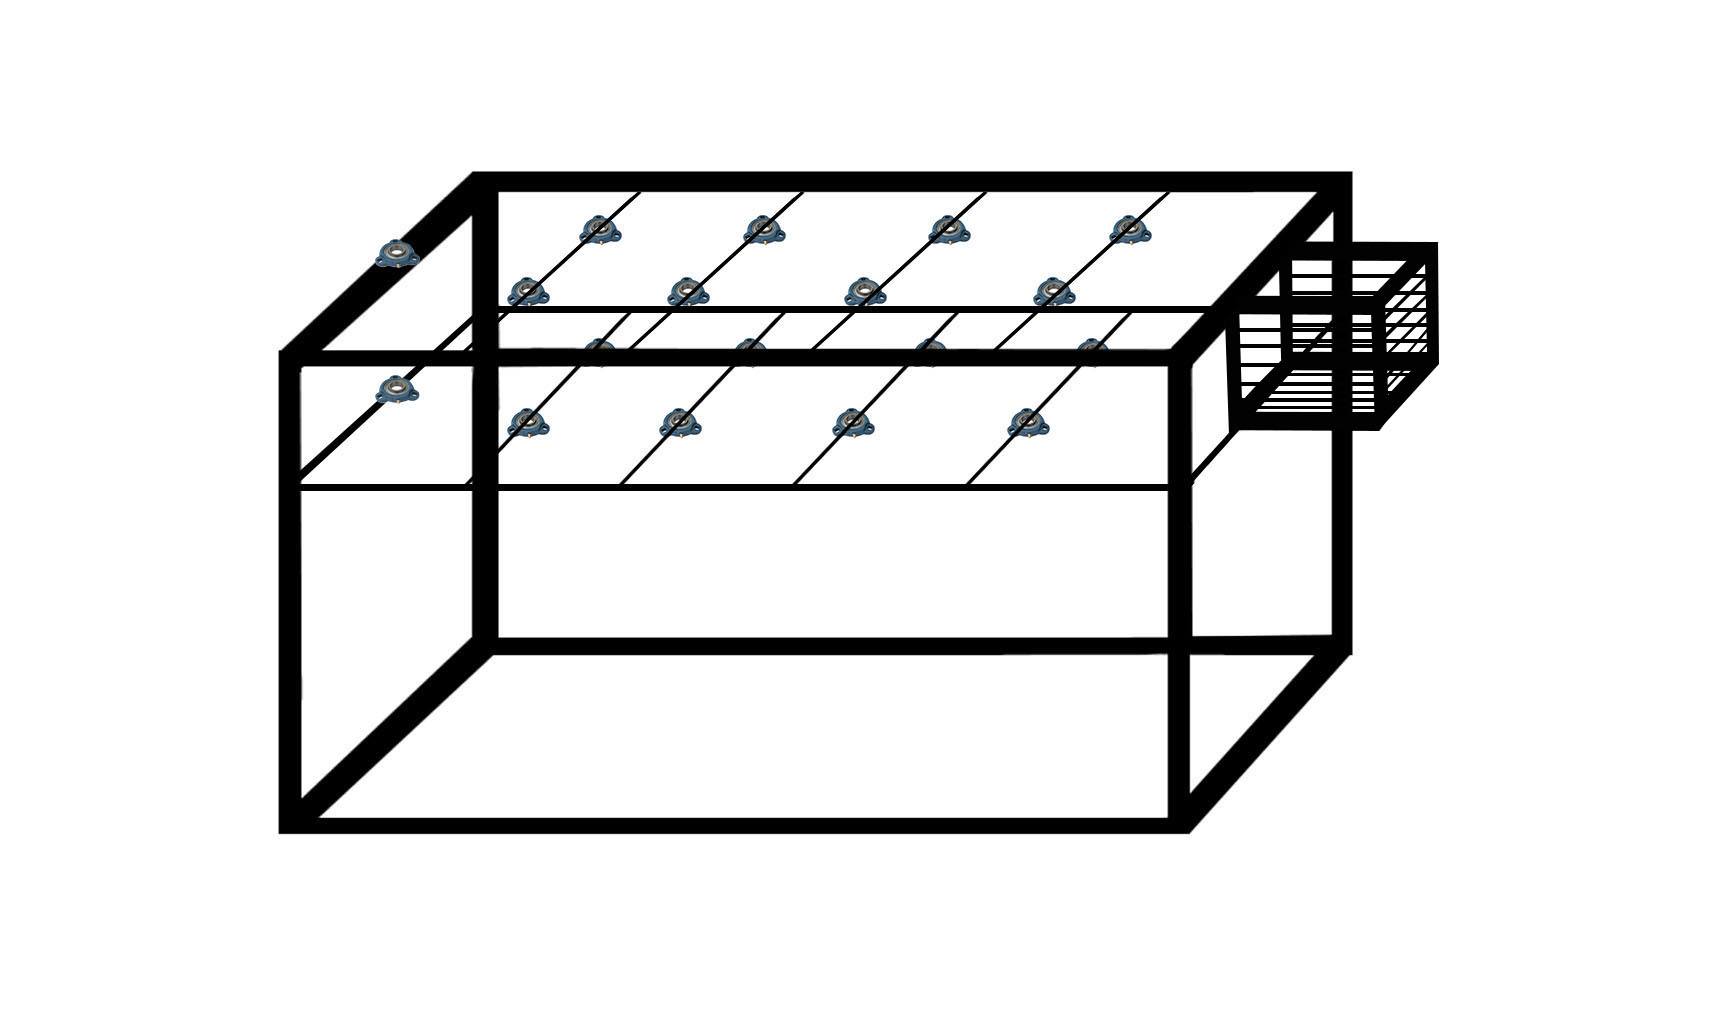
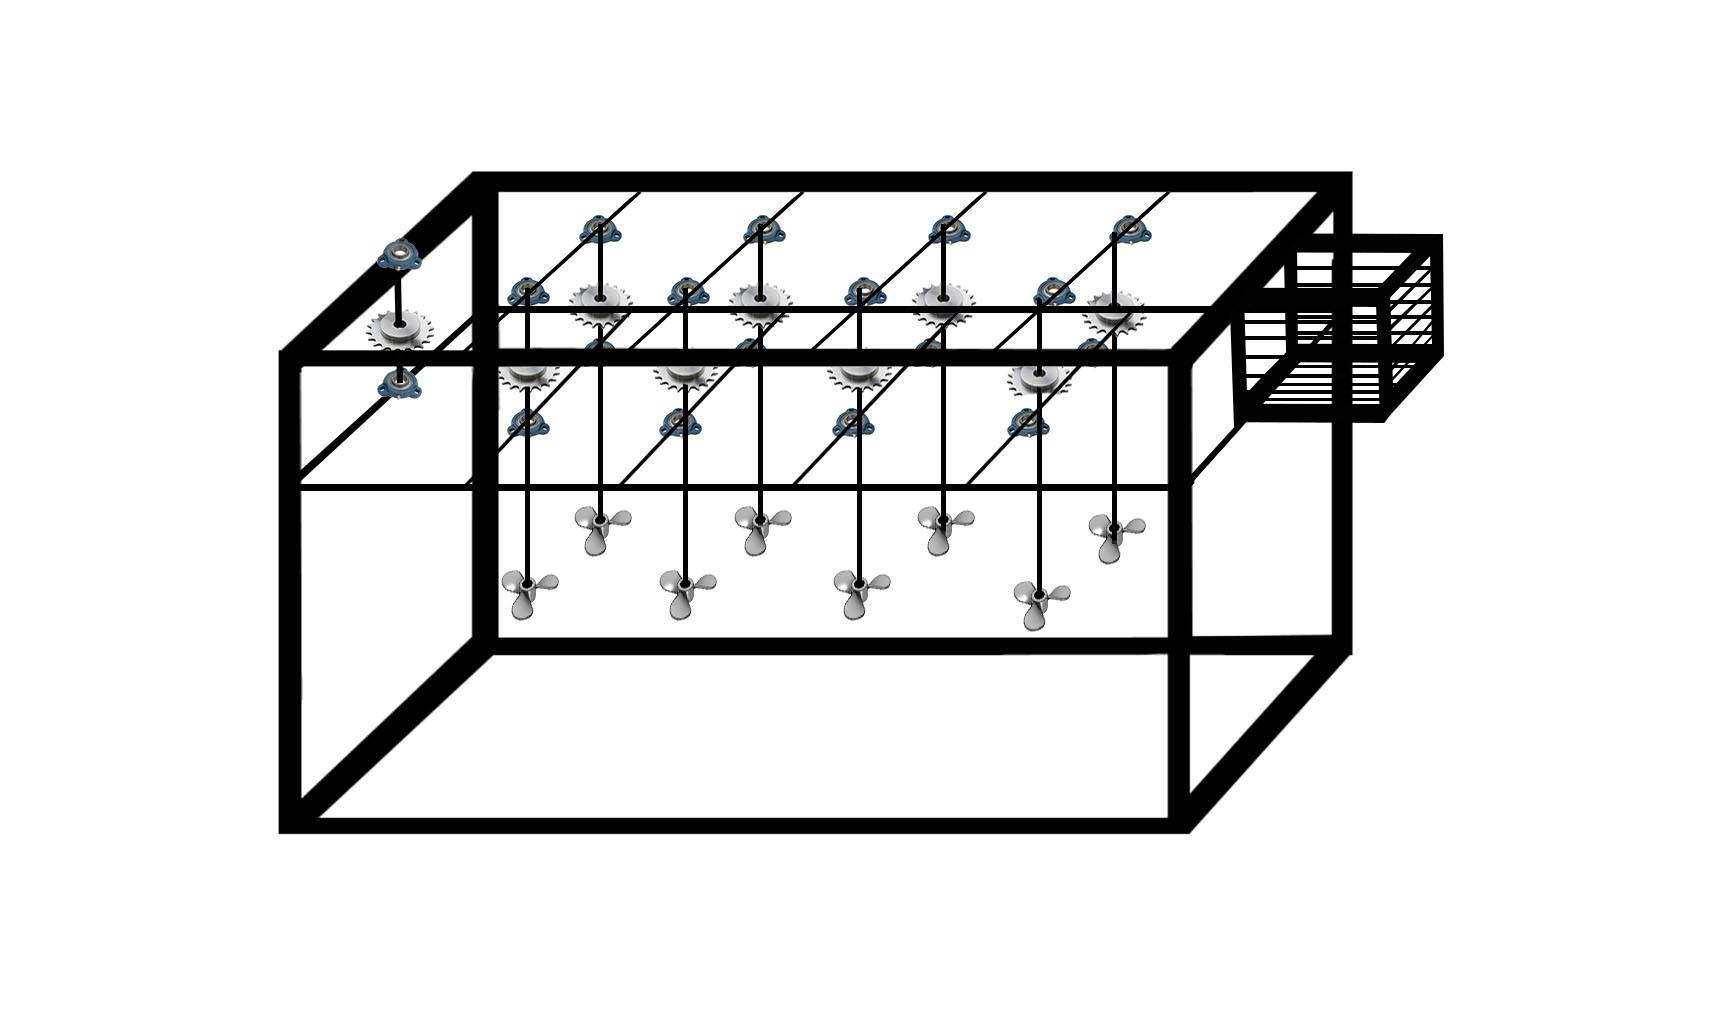
- pillowblocks - this is where the pillowblocks should be placed. The metal rods should be anchored in the two strategic points to avoid wobbling.
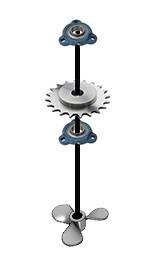
- agitator - this is how the stainless rod should be attached to the pillowblocks. at the center of the pillowblocks is the sprocket and at the other end of the rod is the propeller.
- frame with agitator set-up
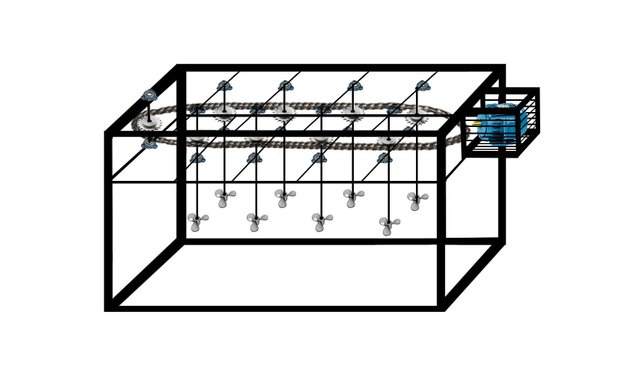
- set-up with motor and links. - this is how the links are supposed to be attached from the motor to the sprockets. speed should be 40-50 rpm. since we cant adjust the motor's rpm (though it's power is known to be 1/4HP), then we have to use another sprocket to adjust the resultant rpm.
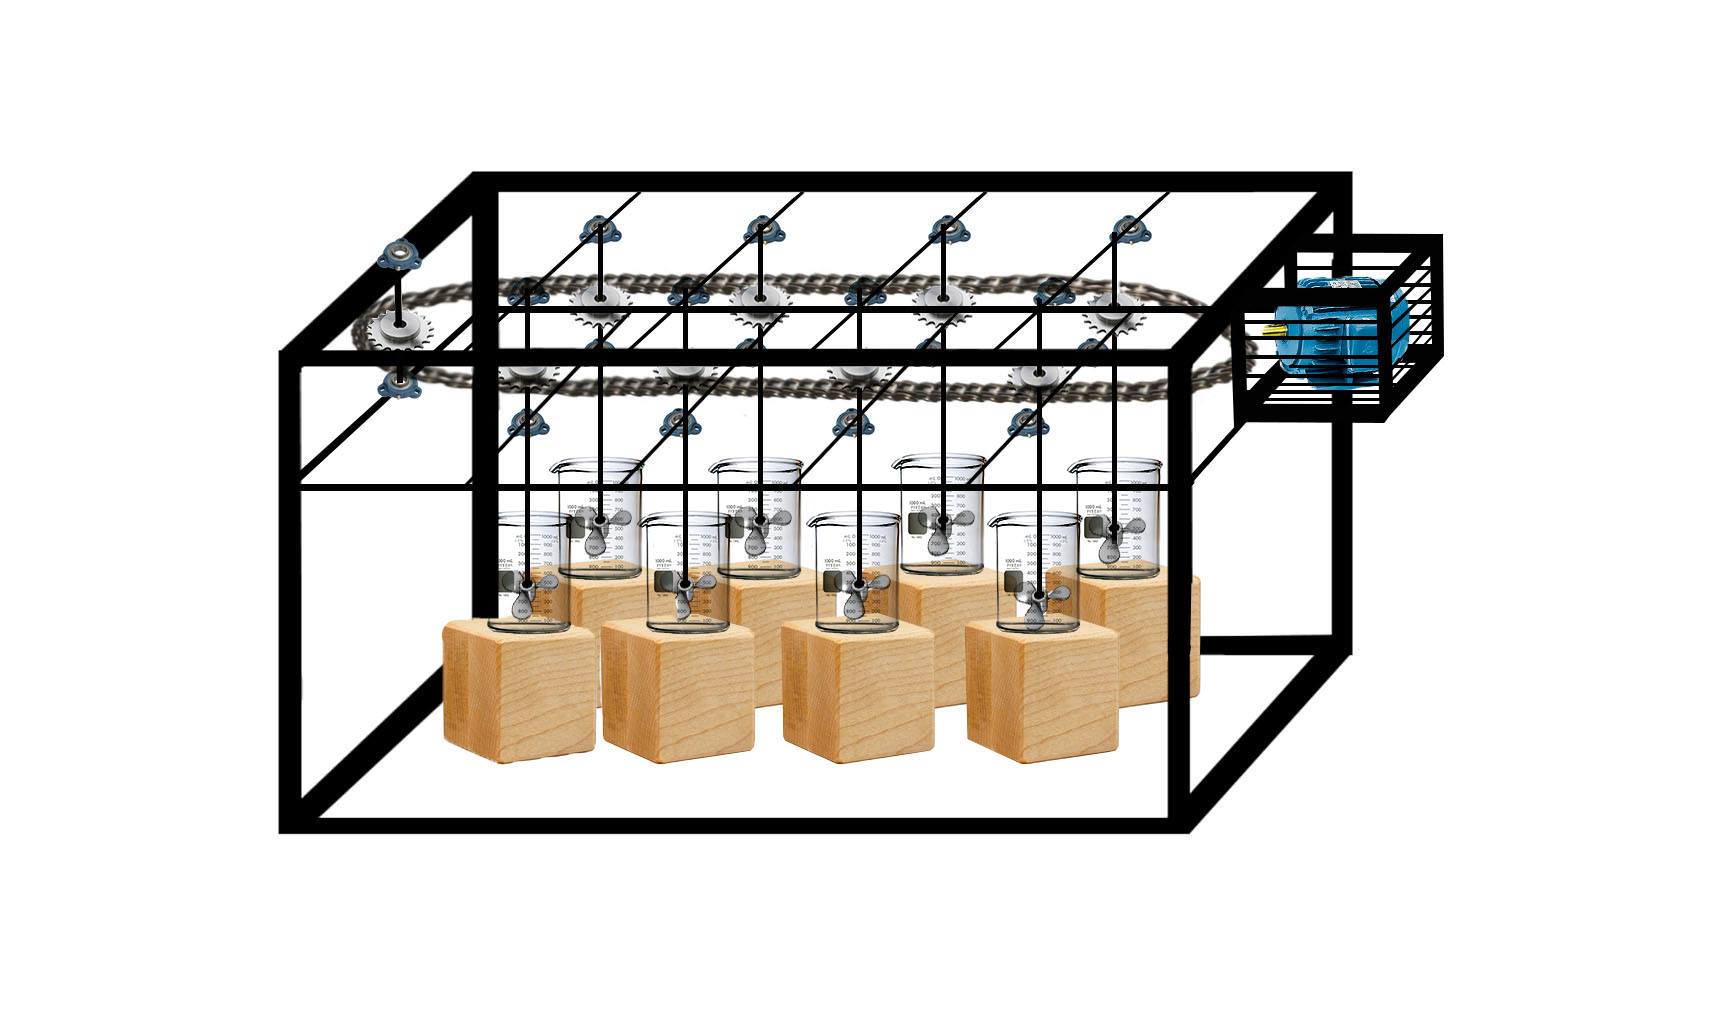
- final set-up - we have to use adjustable elevation for the beakers since its more difficult to adjust the agitator itself than to adjust the beaker below. so this is the better option.
ADJUSTMENTS
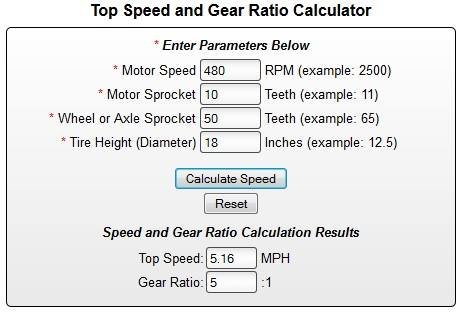
online calculator for motor to sprocket rpm conversion
Proposed adjustment for reducing rpm.
Fabrication
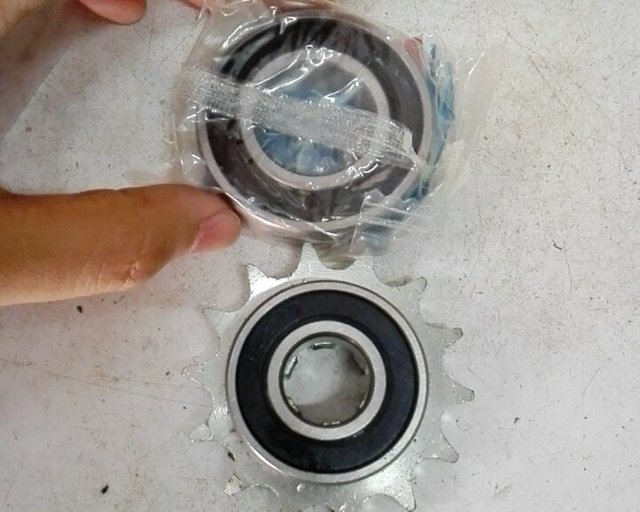
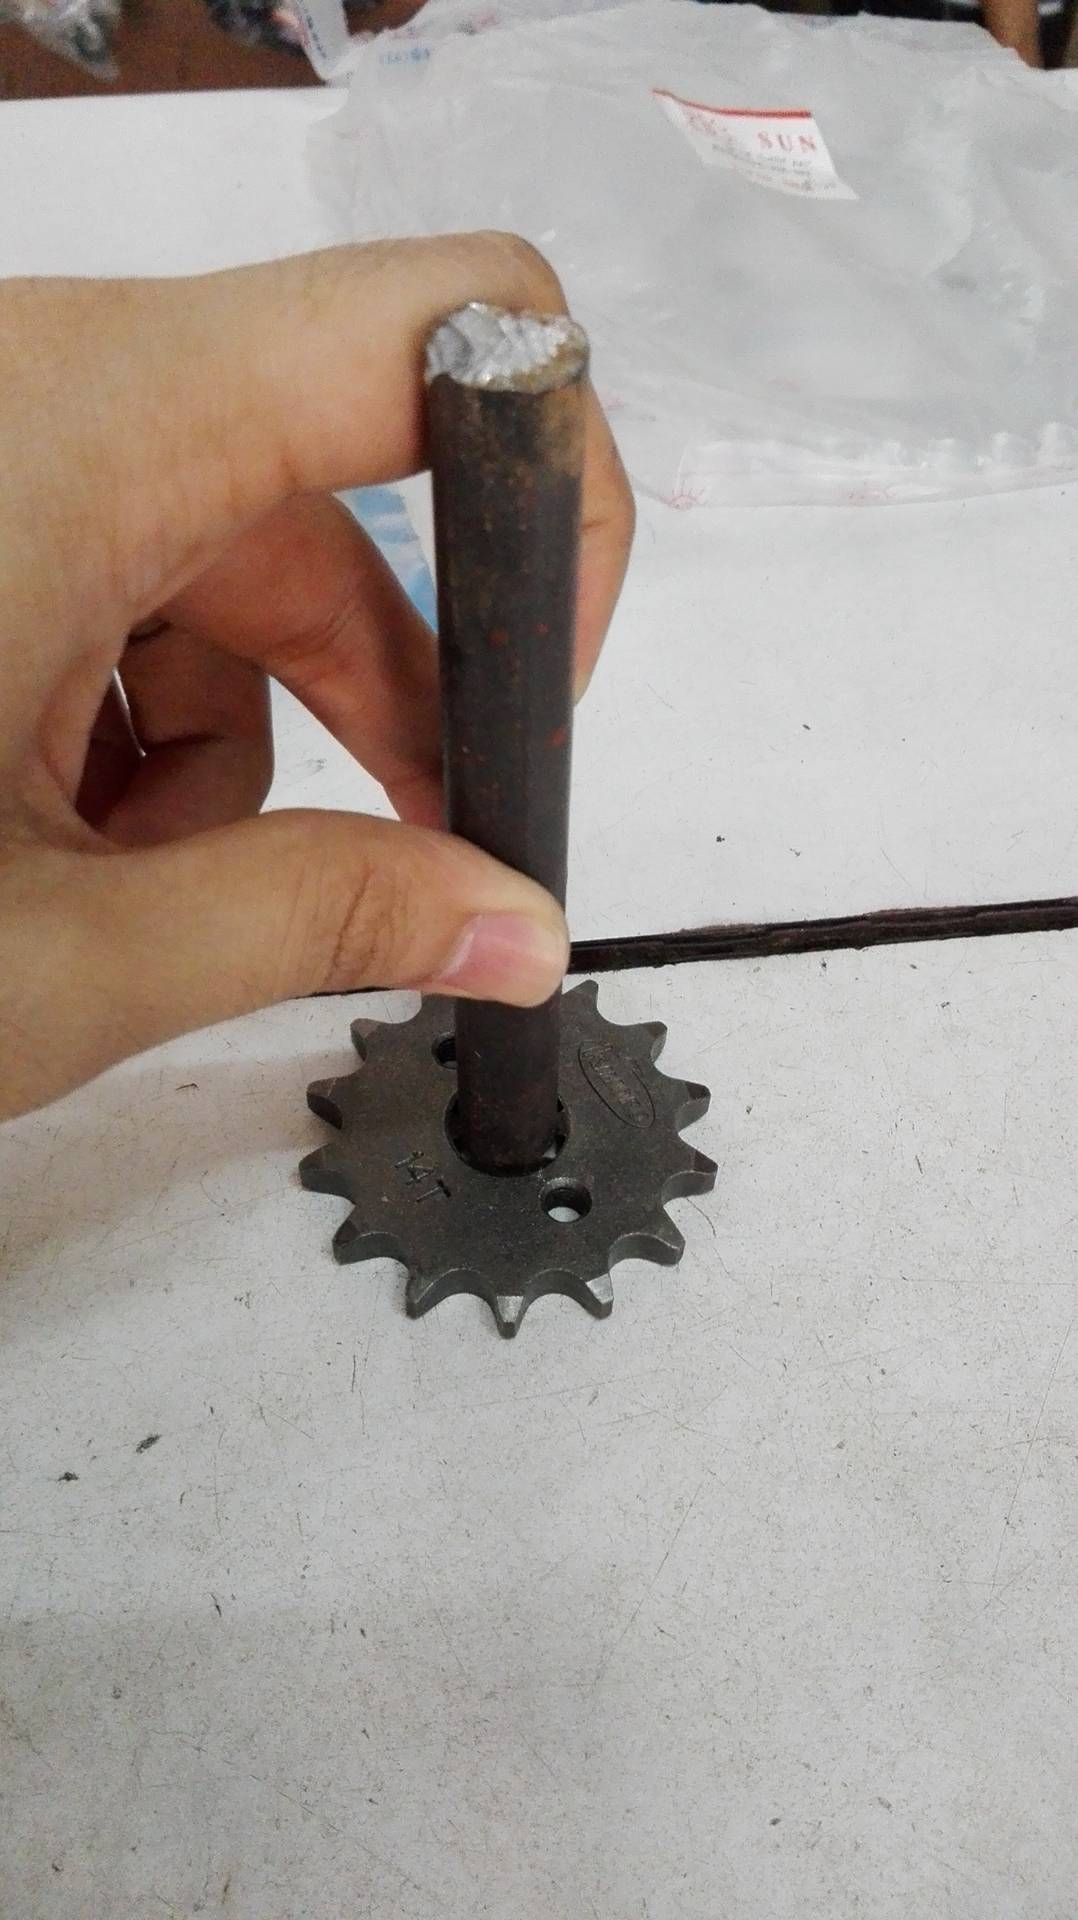
Purchasing and choosing the sprockets
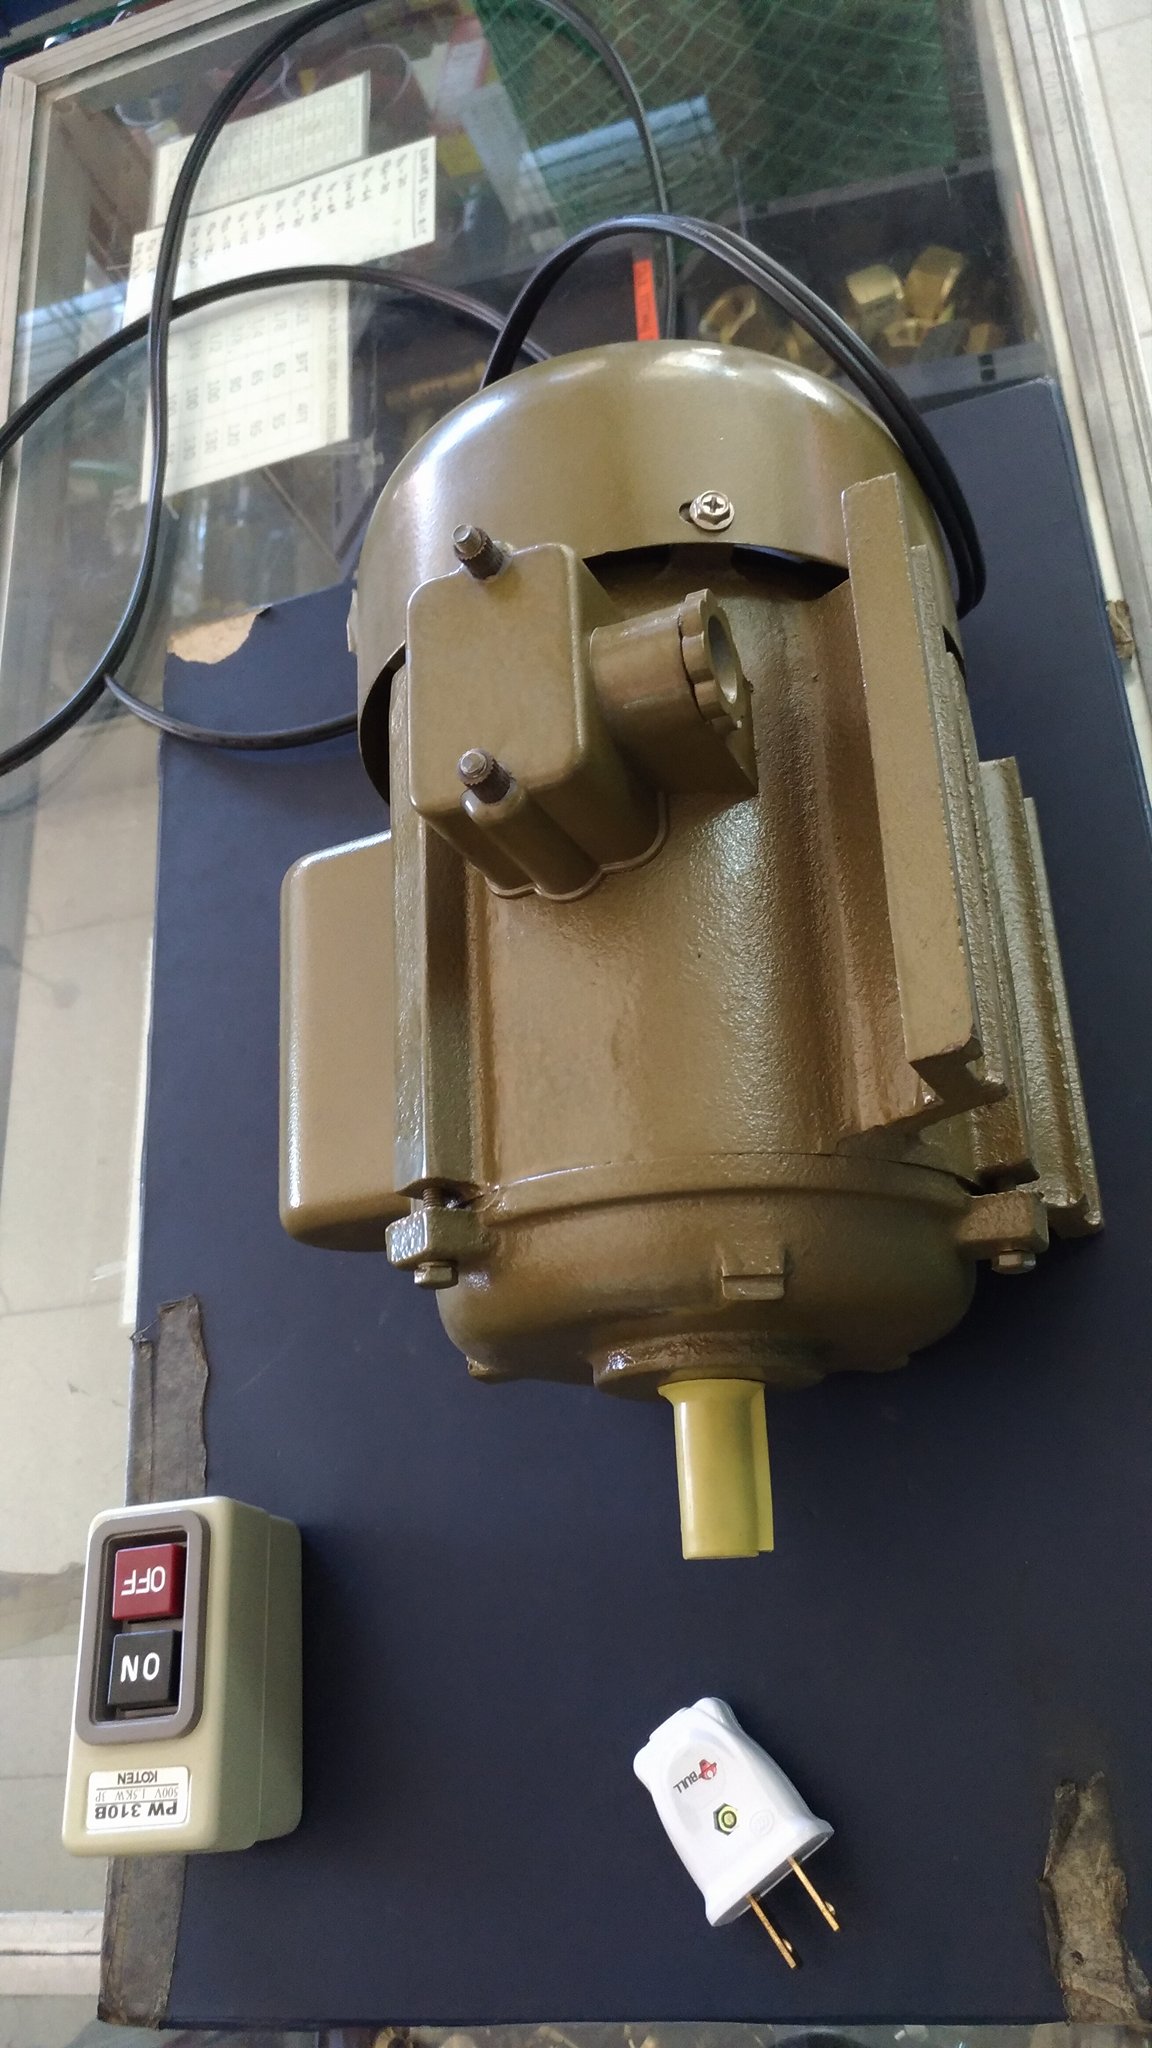
Purcahasing and setting up of motor
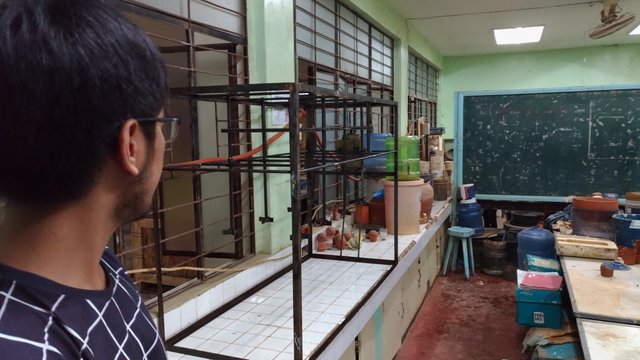
Setting up of the leaching column on the laboratory and final ouput
ASSESSMENT
If I have to assess my work, I would give it a 9 out of 10. I gave it that because I really like the output since it worked so well for us and helped us a lot in the research. We had to run it for 24 hours for days and it didn't fail us. As for the 1 missing, I guess it is for the room for improvement on the side of the fabrication and material choice. We also had little time and a lot of pressure on this one because we had to meet the deadline for our research. All in all I estimated the cost to be 300 USD. The idea was alos original so I am very proud of this.
Currently, this is being utilized as the laboratory leaching tank for the College of Engineering, Metallurgical laboratory at the Mindanao State University - Iligan Institute of Technology.
I hope you guys appreciated our work!
Thank you for passing by!
.jpg)
.jpg)
Wow.. This is detailed. I never had an Idea of what a leaching tank was. But with this information provided. I have gotten a full grasp of what it is.
@ufxpression, thank you very much! this was very difficult to do so I thought I had to share it. :) thanks for appreciating it.
sir @surpassinggoogle, please have a look at my work :) I hope you appreciate it and I hope you help me publicize it. thank you sir
hello @minnowhelper and minnowhelperteam. I hope you could pass by and look at my work. :) I'd really appreciate it if you help me with my post. :) Thank you very much.
This post has received a 0.41% upvote from thanks to: @ivanusaur.
For more information, click here!!!!
Try the new Minnowhelper Bots for more information here
Help support @minnowhelper and the bot tracker by voting for @yabapmatt for Steem witness! To vote, click the button below or go to https://steemit.com/~witnesses and find @yabapmatt in the list and click the upvote icon. Thank you.
Voting for @yabapmatt