ULOG #02 My First Diorama Completion Art-Process Part I
Good day Steemit Universe, and Good day Steemians!!!
Hello guys I'm back, and I have something to share and you can't do anything about it.😝😝
I'm on my second #ULOG post created by non other than @surpassinggoogle thank you again for this great opportunity good Sir.
( Introductory music plays 🧙♂🎶🎶🎶 )
I started collecting Gunpla (Gundam Plastic Model) way back early 2017 when my friend @ianceaz invites me to their house for a cup of coffee and also to chit-chat. When I enter the door, this shelve full of gundams caught my attention and I was blown away by it's form, but the very reason I started to "build" (term for assembling Gundams) Gundams is, you have to cut, sand paper edges, panel line ( with a special pen),and assemble over 500 pcs small articulated plastic that perfectly fits one onother to be able to create a single Gundam model, building a single model can take you 2 to 3 days to build depending on your speed.
My girlfriend @arielleroque sent me a link to this Diorama and Cosplay competition (very supportive girlfriend), and I got interested right away since it's all about gunpla and also for the sexy gals with sexy cosplay school uniform (i'm just messing around babe).

Actual image of our finished entry " Left Behind Enemy Lines"
I decided to contact my gunpla guru @ianceaz for a collaboration project and we'll split the cash prize evenly if there's any, so my good friend approves to my conditions and immediately start conceptualizing. I decided to use my Sazabi Ver. ka model scaled 1/100 for the said project, I suggested to create a scenery where the gundam was left behind after a massive war, and the remain of the gundam was recovered years later with battle scars, moss, rust and destroyed metal parts, my good friend liked it and suggested to literal burn and torn my gundam into pieces. Yaaahh I know , he's so confident coz it's my collection that'll be burned and demolished not his.
By the way, it was just a short notice before we finally decided to join the gunpla competition, due to a busy schedule on work and other priorities.
On creating the scenery of the diorama,
You'll be needing the following items:
📌Old News papers
📌Tissue papers
📌Glue or any type of paste
📌Styrofoams (any size)
📌Wooden Platform
📌Paint Brushes #2 or #3
📌Skim coat powder
📌masking tape
📌Acrylic Paint
📌Set of Artist Brush
📌synthetic grass and trees
Step I: Crumple the old news paper into different size and shapes as many as you can, depending on what kind of scenery you're going to create.

Group of crumpled paper for massing.
Step II: Attach all of the crumpled paper and use masking tape to fix it to its final position. this is called "massing", were you create the inside part of your scenery like mountains, cliffs, buildings etc.
Step III: Mix 1 part glue and 3 parts water in a container, then mix thoroughly . Use your #2 or #3 (for fast paintbrush depending on the scale of the diorama your working on, cut the old news paper into small workable pieces and then place them into your crumpled paper untill you cover the whole thing. Use tissue paper to make a more finer contour for the diorama.


Image of the Finished molding when it's still wet.
Step IV: Mix water and Skim Coat powder to create a sticky substance, get a spoon or what ever metallic object you'd prefer to cover the whole thing with the skim coat/water mixture or you can use your hand. keep on covering your base untill you're satisfied with its form, coz you can't mold it again once it get's dry.
Step V: Let it dry overnight to to achieve a durable, and cement like texture.

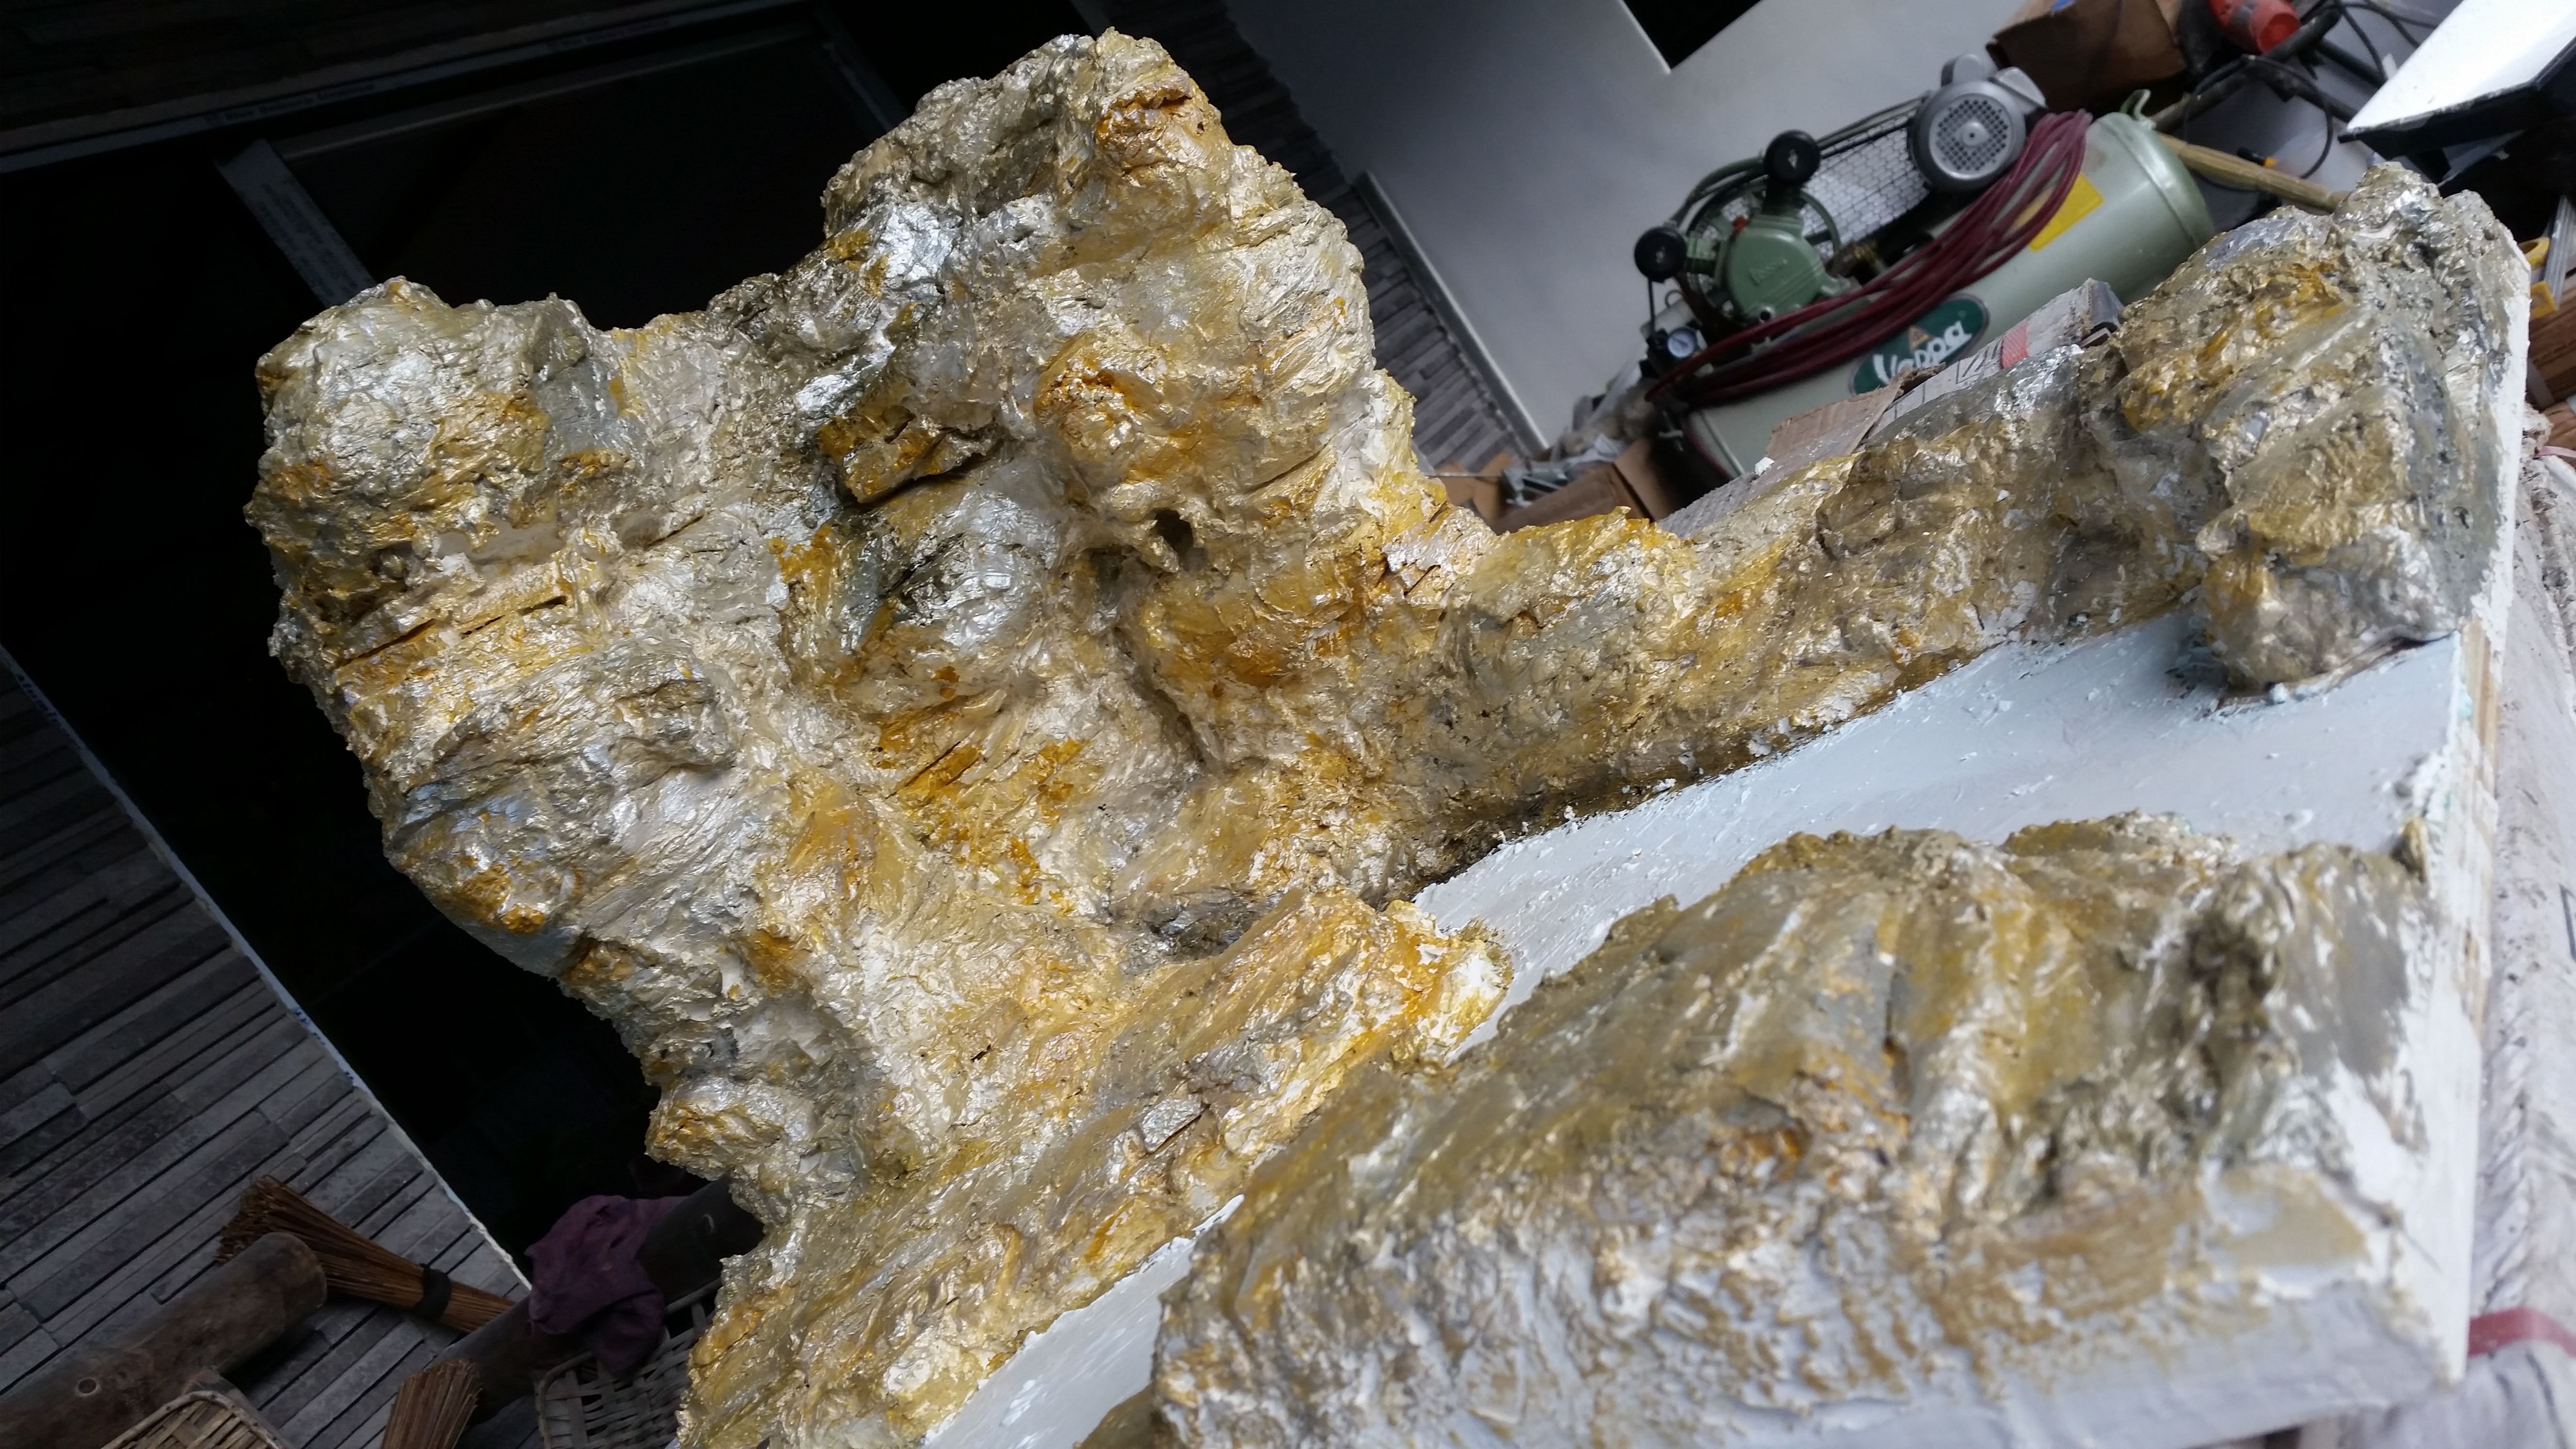
It will look something like this when it dries, rock hard and very realistic.

Step VI: Your painting skills comes in handy on this step, you can first apply the base color of the rock, let it dry and apply the top color for better details, you can use any color for the rock depending on your theme like canyon, forest rocks and even icy mountain, just let your imagination let your hand move.

Acrylic Paints ready for some painting job

First failure on painting, It wasn't the color I was looking for

Finally got it right✍✊
Step VII: Randomly put some glue or paste on your composition and sprinkle some synthetic vegetation, you can also place them in groups to achieve a more realistic forest effect.

Diorama with some dry vegetation effect.
Step IV: Randomly Drill some holes on the different parts of your Diorama, use a Glue or Paste to fix your trees on place. You can also cluster some trees for dramatic purposes and to add volume to your composition. By the way, you can buy this plastic trees and vegetation from malls and other toy stores.
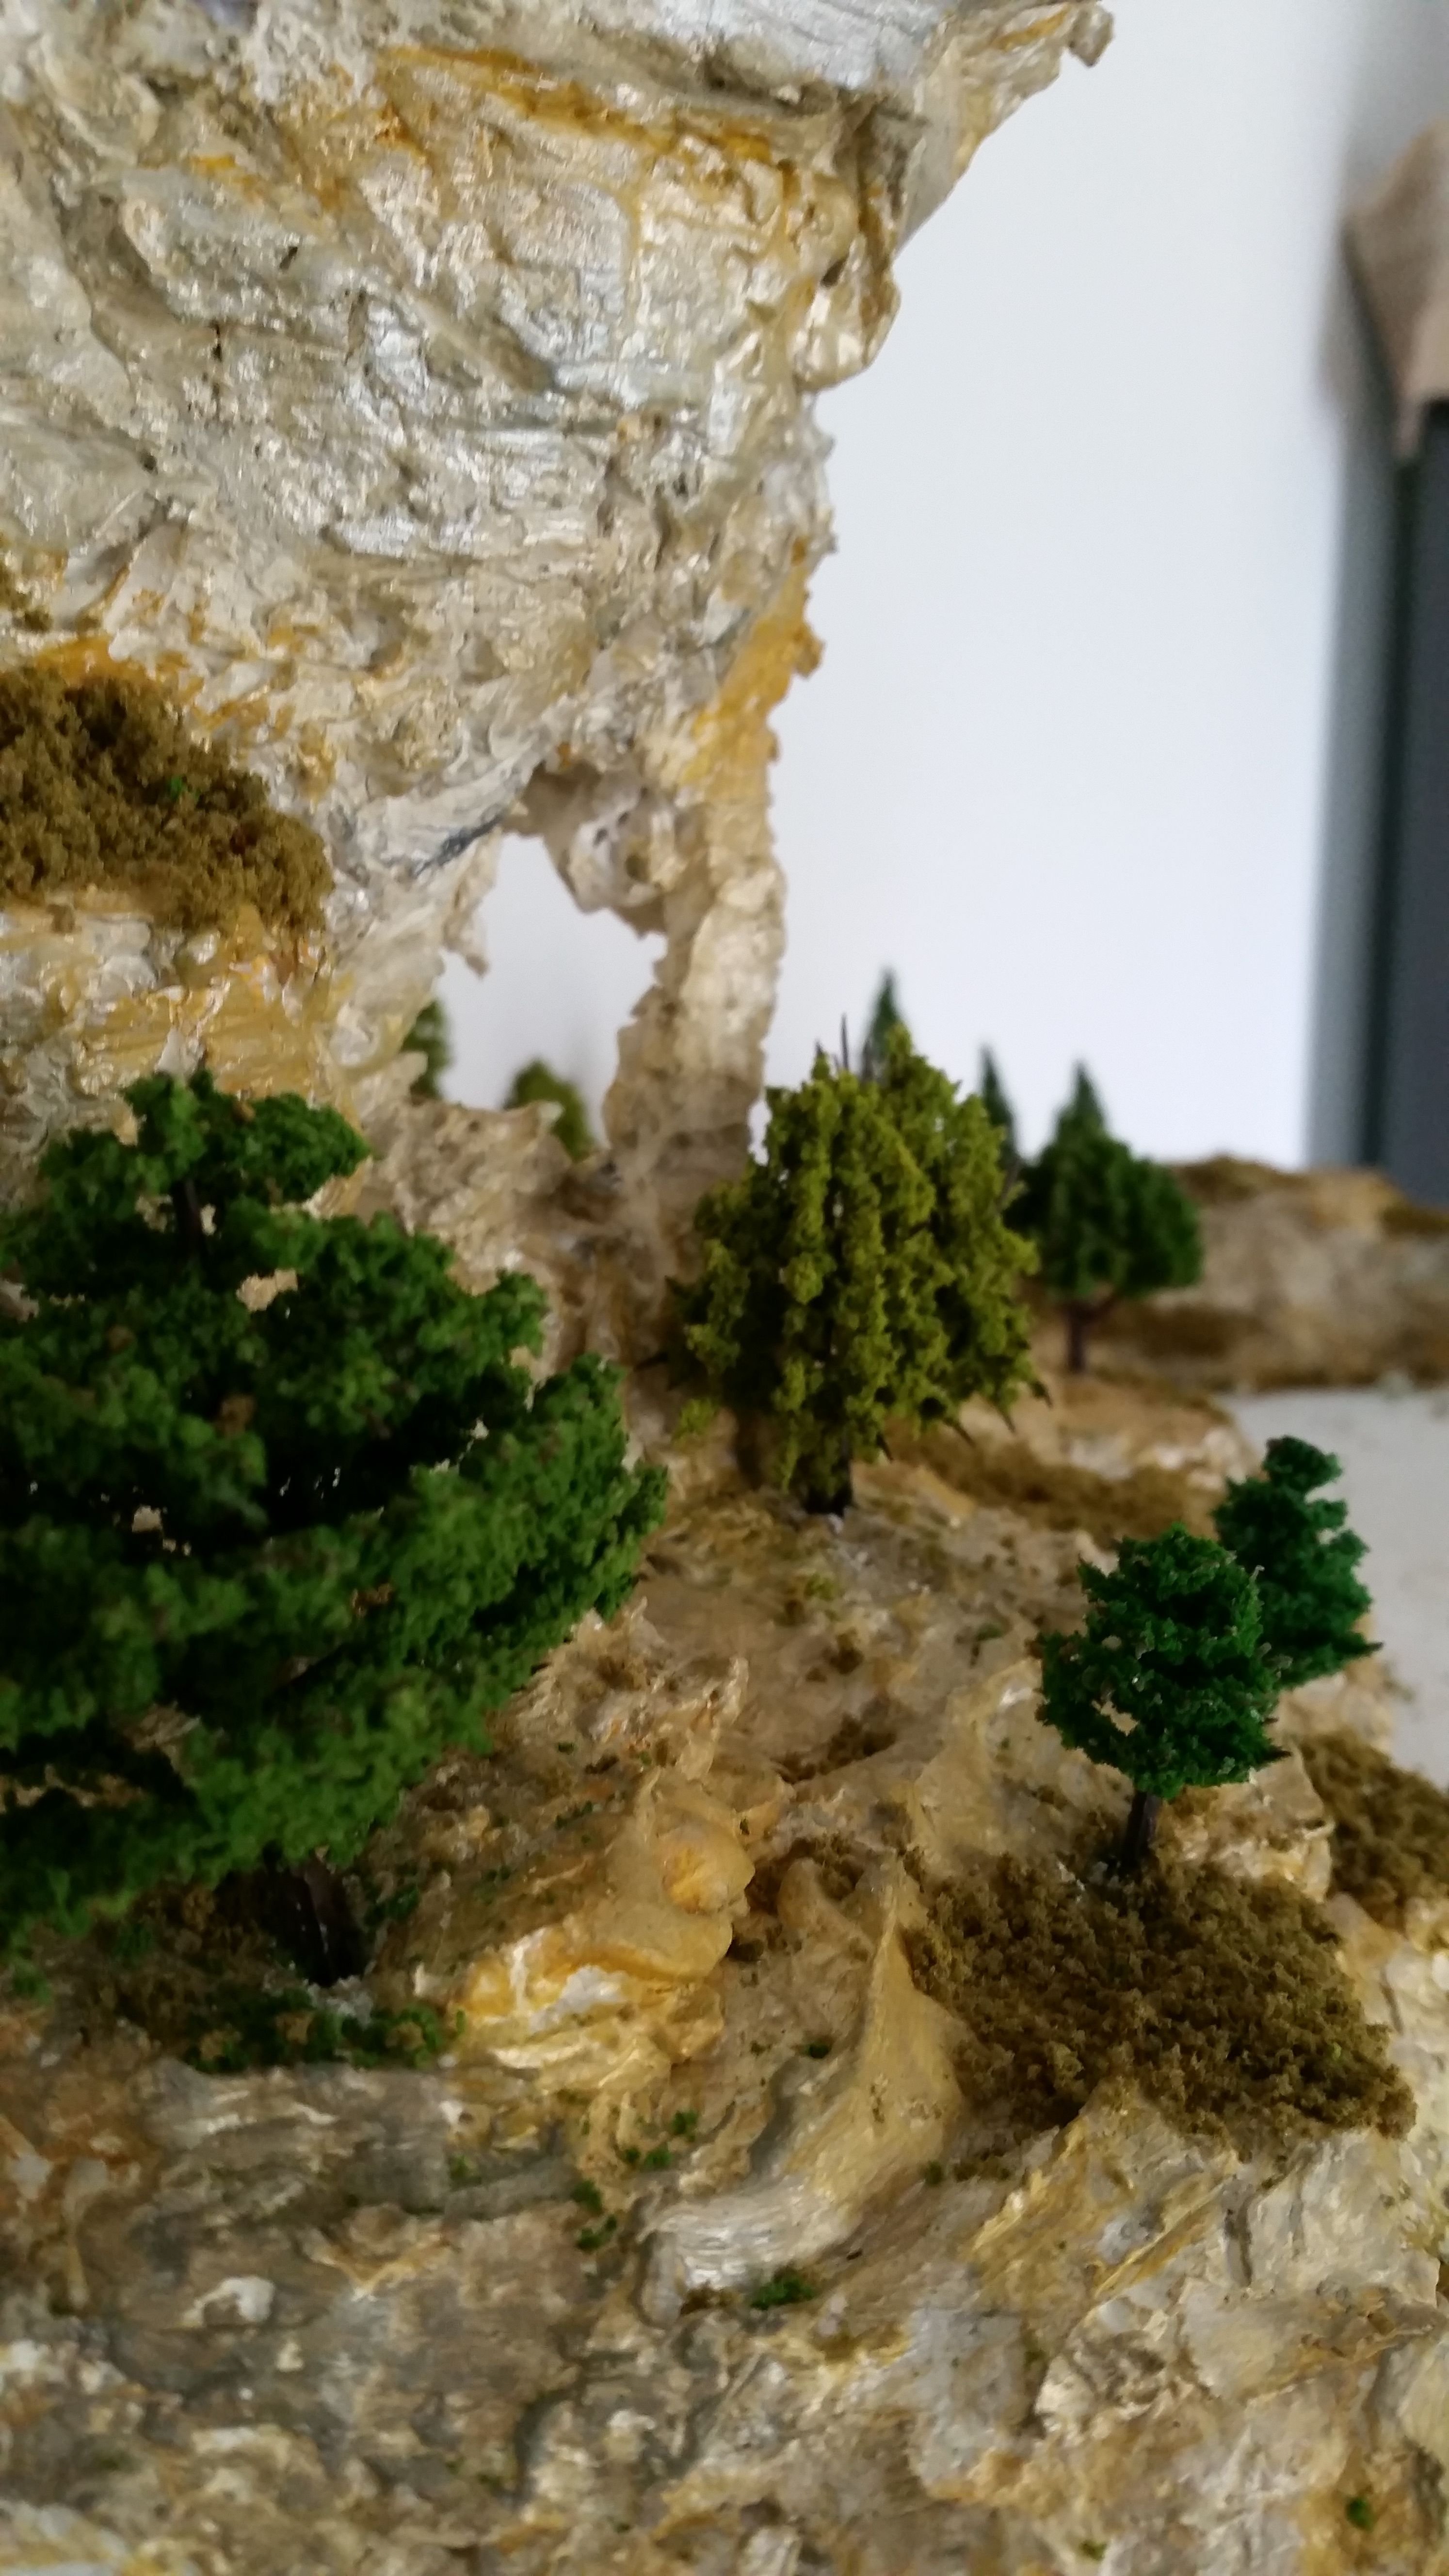

Shaazzaaaaamm!! Our Diorama Scenery is done.
I'll continue my diorama step by step process on my third post, on how we turned our regular plastic Gundpla into a realistic, destroyed gundam with complete battle scars and rust effect.
![]()
This work is licensed under a Creative Commons @creativecommons Attribution 4.0 International License.
I hope I was able to contribute even just a bit to this community.
Peace Ya'll
Christian
Congratulations! Your post has been featured by @bayanihan and will receive 100%.
https://steemit.com/philippines/@bayanihan/welcome-to-bayanihan-s-daily-feature-of-posts-and-authors-17
like OMG😭😭😭 thank you @bayanihan for noticing my works... you don’t know how much it means to me.. thank you and Godbless @bayanihan keep rock’n steemit.
Let's go rock it!😁
You've received an upvote from @slothicorn! Click Here to Read our New Curation Policy And Updated Rules
(@justatouchfey) ((.)ω(.))
Wow!!! Thank you @slothicorn for the upvote!!😬😬😬 and for the undying support to artist all over the world... I’ve read your new policy keep RoCk’n
Yeheeey congrats @criz1404! ❤️