Steemit Tutorial - Creating A Steemit Android In Photoshop - Part 1 Model Isolation
It's fairly obvious that Sci-Fi is very popular here on Steemit as many of our great authors have shown time and again. Some very incredible work is being done in the genre and my aim with this Photoshop Tutorial is to help Steemit creators learn some great Photoshop skills, as well as produce some awesome Sci-Fi art.
This particular photo manipulation can be done a few different ways. I've seen it done cyborg-like, also horror-esque with bones and skin, but I'm going to be doing our Steemit Android in more of a realism type android where her body part are segmented, but subtly. The gaps will be Steem Blue of course, but primary objective will be to maintain her beauty while making her into an obviously man-made being.
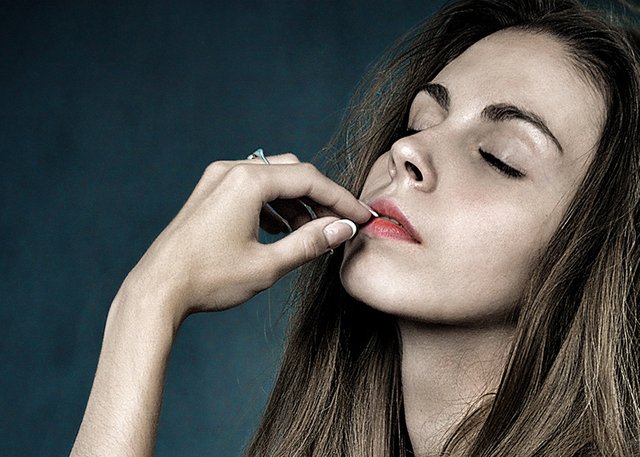
The original picture was acquired via our great friends at Pixabay. I chose this particular one because the image provides plenty of "canvas". meaning her skin. The effect works best when there's a lot of body to turn into android parts and this particular image accomplishes that. Even though it doesn't display her entire body, this one provides ample opportunity to focus on arms, hands and face, with a bit of torso. All are pretty great android creation opportunities.
This tutorial will focus on removing the background from the photograph, thereby isolating the model and allowing us to paste her onto a blank white canvas.
Steemit Android Creation In Photoshop - Part 1 Model Isolation
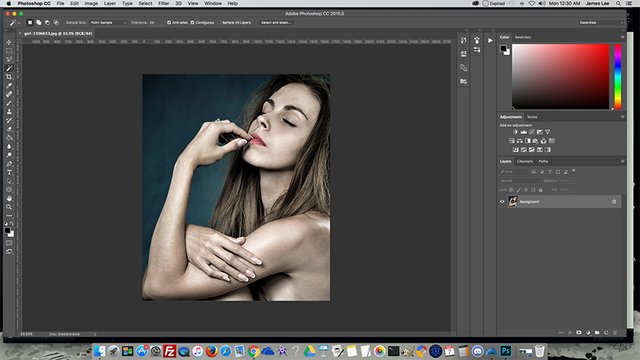
Step 1: Open your image in Photoshop.
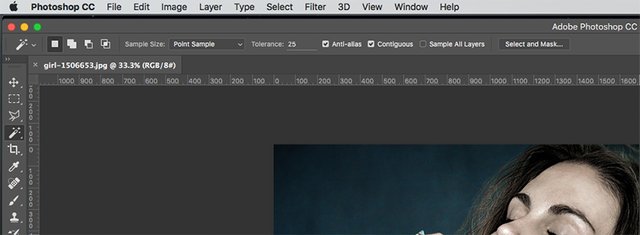
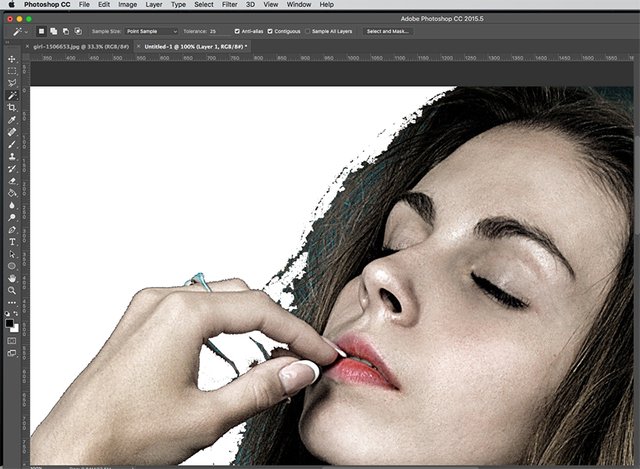
Step 2: Select the Magic Wand Tool, (4th from the top - Left Side Tools Menu) You'll have to play around with the tolerance to match up to what works best with your particular image. In my case, 25 worked best.
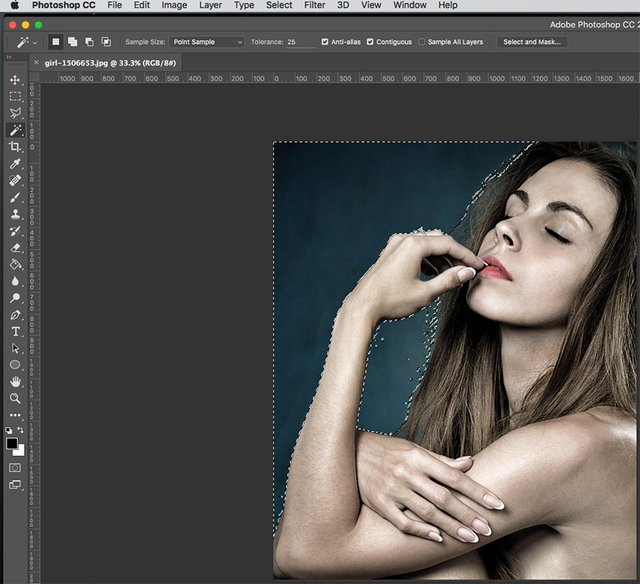
Step 3: Click in the open area of your image that you want to remove from the photo. The Photoshop Magic Wand Tool will do it's best job of isolating segments of the photo for selection based on what it's able to interpret. Usually, solid colors are easiest for the program to recognize. In this photo I was lucky to have a large area with mostly the same color. You can adjust the tolerance to compensate in your image though.

Step 4: There's a trick with the Magic Wand Tool. if you hold down the SHIFT and click again, Photoshop will continue "pushing" your selected area more into the area you want to isolate. If your move your mouse closer in, and SHIFT + CLICK, you can continue refining the selection area. If you go a little too far and end up selecting the wrong part or too much, just click EDIT - UNDO, or EDIT - STEP BACKWARD till you get back to the previous point.
Step 5: Continue with SHIFT - CLICK and the Magic Wand Tool in the other ares of the photo you want to isolate and repeat the process till you have the parts you want to isolate as close as you can possibly get. I want to point a few things out:
- Hair is very tricky with isolation. The wand tool will only get it so close. I opted to get it as best I could, clean in up in the next few steps and I'll try to match her hair color and follicles in a later tutorial and paint it in. But make no mistake, hair is a very import thing.
- I tried and tried to use the Magic Wand Tool to get that part of her left hand to isolate her fingers just right, but couldn't do it precise enough. I opted to remove it all and leave that part cut out. In later screenshots, it actually looks OK the way it is, but I feel this is an integral part of the scene. The joints of our Steemit Android are going to glow Steem Blue, and I want that darkened area of her hand to have a couple glowing knuckles. i think it will look great and I'm going to crop that part of the picture and edit it independently. Then add it one of the final tutorials.

Step 6: Once you've selected everything you want to isolate, click SELECT - INVERSE.
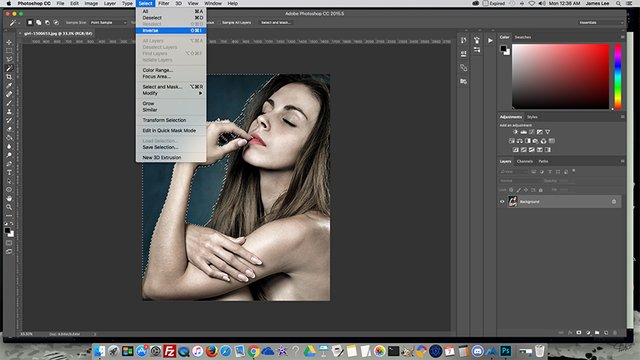
Step 7: Photoshop will select only the inner parts of our selection now.

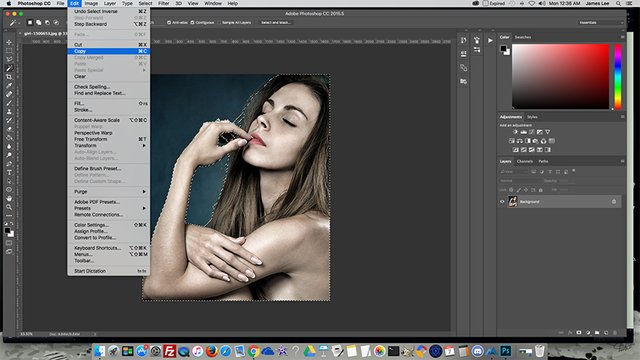
Step 8: Click EDIT - COPY
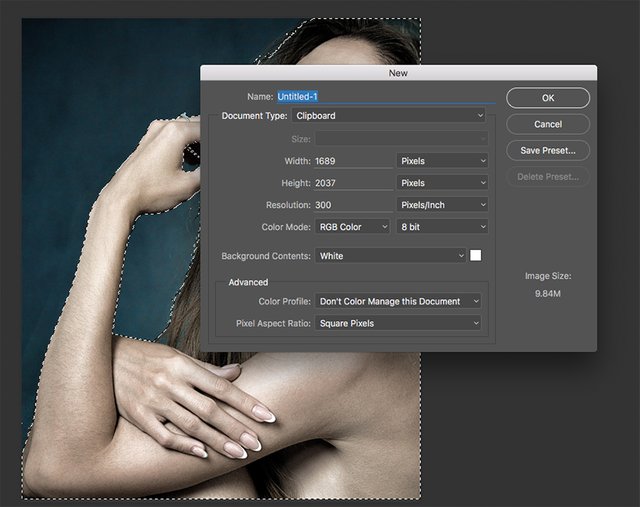
Step 9: Click FILE - NEW Photoshop opens the New File Dialogue Box and auto-inserts a fcanvas dimension matching to fit what you selected. I chose a 300 resolution and White Background. Click OK.
Step 10: Your blank, white canvas will open. Click EDIT - PASTE and your isolated model will be inserted into the new canvas.
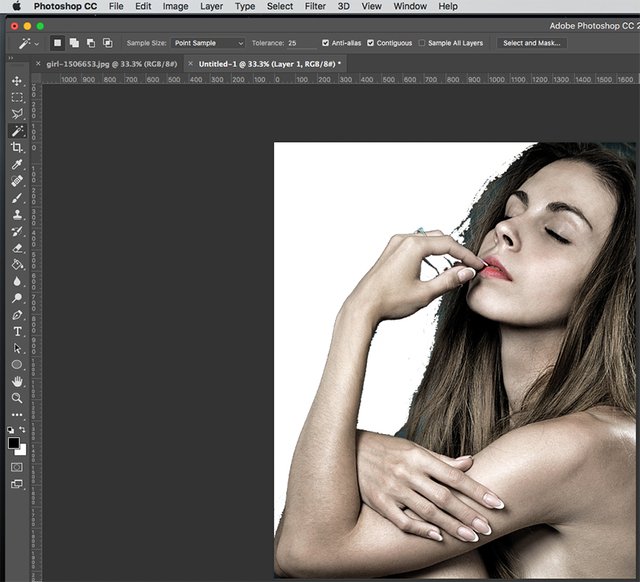
Step 11: You'll now notice a lot of rough areas with your pasted image. this is easily cleaned up with the Eraser Tool.
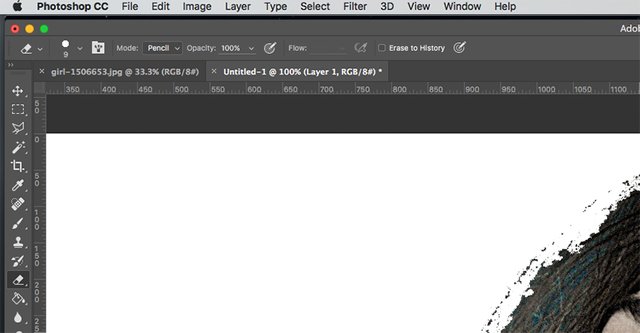
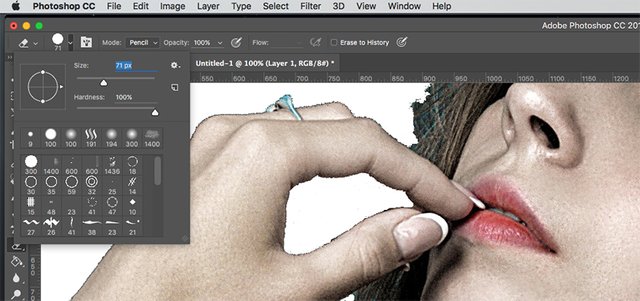
Step 12: Click the Eraser Tool, (11th from the top) on the Left Tools Menu. One tip on this I should mention. There are multiple tools in the individual items in the Left Tools menu. You'll notice a small arrow on each one that does. Click and hold the tool, and the other tool options will display and you can select the one you want. You might have to do this if the particular tool you want isn't the one that's active. With the eraser tool selected, you can change the size of the tip, (the dot with 9 under it) if you want. larger is best for erasing large areas, smaller works best when you're in close.
Step 13: Changing the size of the Eraser Tool. What you do with the Eraser Tool, is CLICK and "brush" over the spots you want to get rid of. The Eraser Tool will remove foreground materials and leave only the background color. You could use the Paint Tool with white, but that will add a layer and confuse things later. not what we really want to do with this particular work.
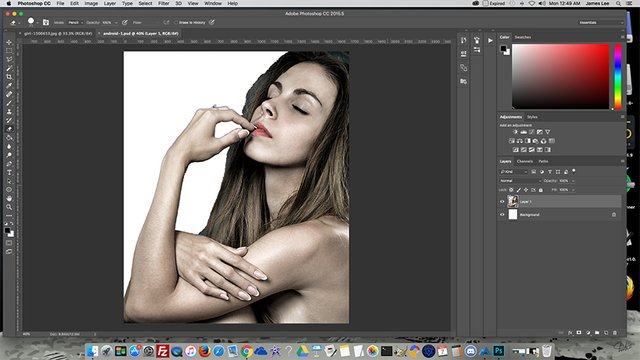
Step 14: After you've finished erasing everything you don't want, zoom out by changing the % number way down in the bottom left of Photoshop to 100%. We can now see a clearer image without any imperfections.
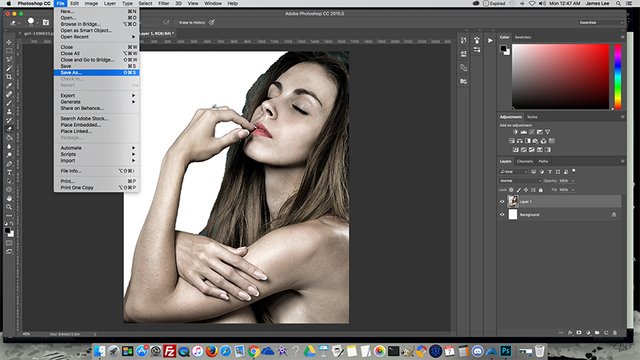
Step 15: Always remember to save your work. Click FILE - SAVE AS and you'll be able to save your image as PSD format, which is Photoshop's native file format. FILE - EXPORT AS would be for converting a PSD image into JPG or PNG.
When it's all said and done, creating our Steemit Android is going to require about seven tutorials to do it just right. I want to include detailed steps, so breaking it up is necessary. Also, we're going to have to remember, the rest of the internet is going to eventually find some of this we create. Anyone searching Google for "photoshop android tutorial", will hopefully end up at this page someday ... maybe tomorrow :)
What's Up Next: Skin Smoothing and Clearing Up Imperfections.
Thank you Vega upvoted back
I appreciate the thanks of a true artist.
Great tutorial. Looking forwart to seeing the next part.
I had an idea when doing the images for this first one. I would hold off posting my final android, and let anyone else post their that was following along. Let them have the "Ta Da" moment. Have to wait and see if anyone else is going to though.
Very cool idea, I would potentially do. Although I'm attending steemfest and perhaps will not have much time for this from friday to sunday.
Love it, buddy! Lookig forward to the next part.
Thanks, cutting screenshots now :)
This post has been linked to from another place on Steem.
Learn more about and upvote to support linkback bot v0.5. Flag this comment if you don't want the bot to continue posting linkbacks for your posts.
Built by @ontofractal