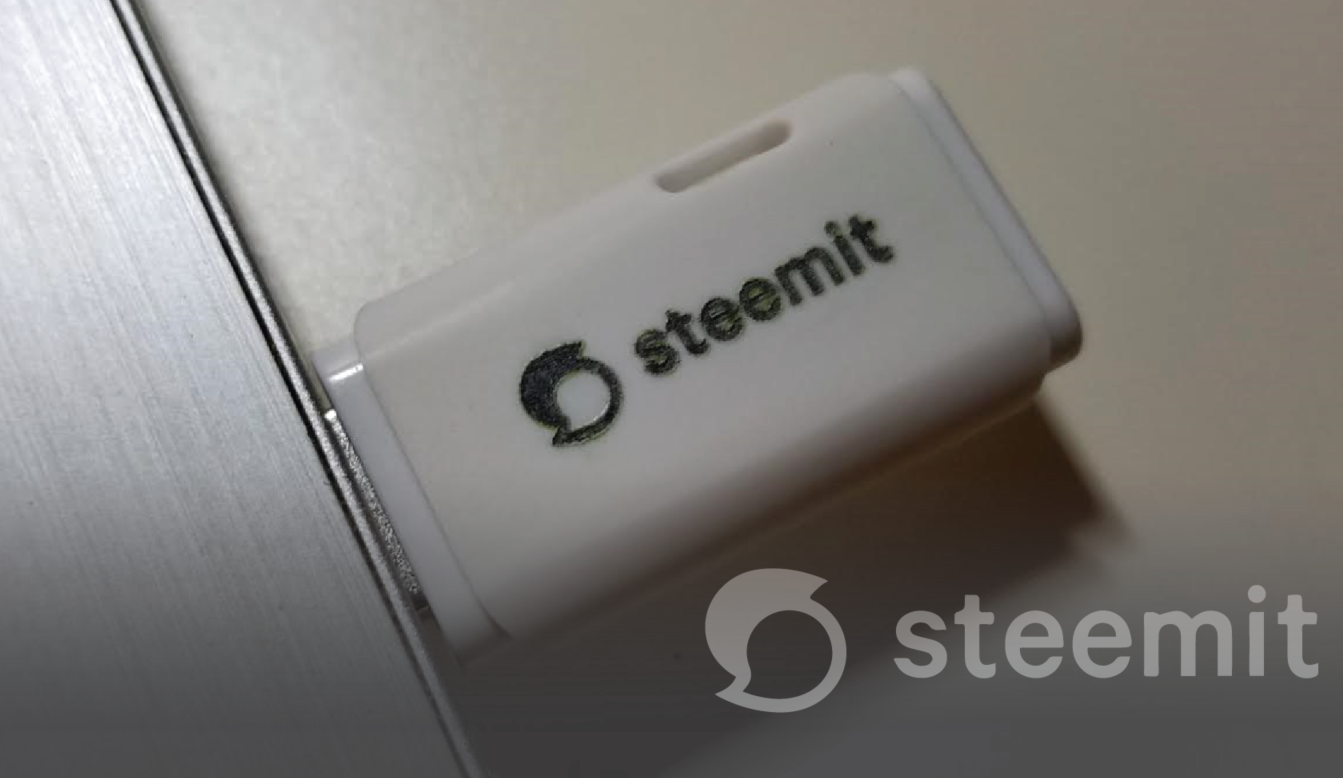
Laser engraving the new Steemit logo onto a private key USB stick
Today i bought a USB stick to backup my private key, the other goal was to laser engrave the USB stick with the new Steemit logo.
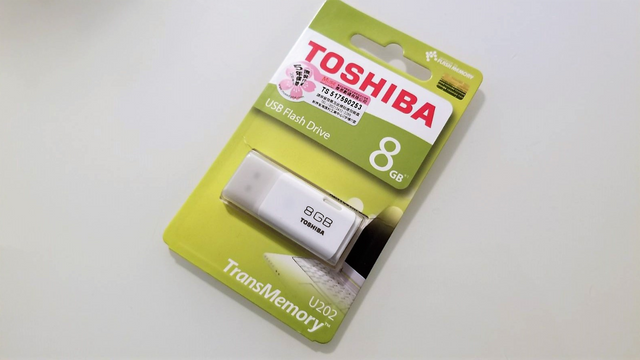
The USB stick i bought to back up my private key
Removing the Toshiba logo
When back home i openend the package, and both sides had a silkprinted logos on them. On the front the Toshiba logo and on the back the compliance logos, a way to remove those silkprints on products is to use a rubbing alcohol, which i didnt have. ( or to try to remove it with nailpolish remover but the last bit was needed for dissolving left over plastic in the nozzle from my now fixed 3d printer).
A other option to remove those logos is to use a sugar cube to scrub the logo off the product but that will not always result in a scratch free surface. (and i didn't have any as well).
Not wanting to wait until the next day to buy any of the above, i tried the most fine sand paper i have, first a bit on the backside of the USB stick to see if it left any unwanted results, but it worked very well.
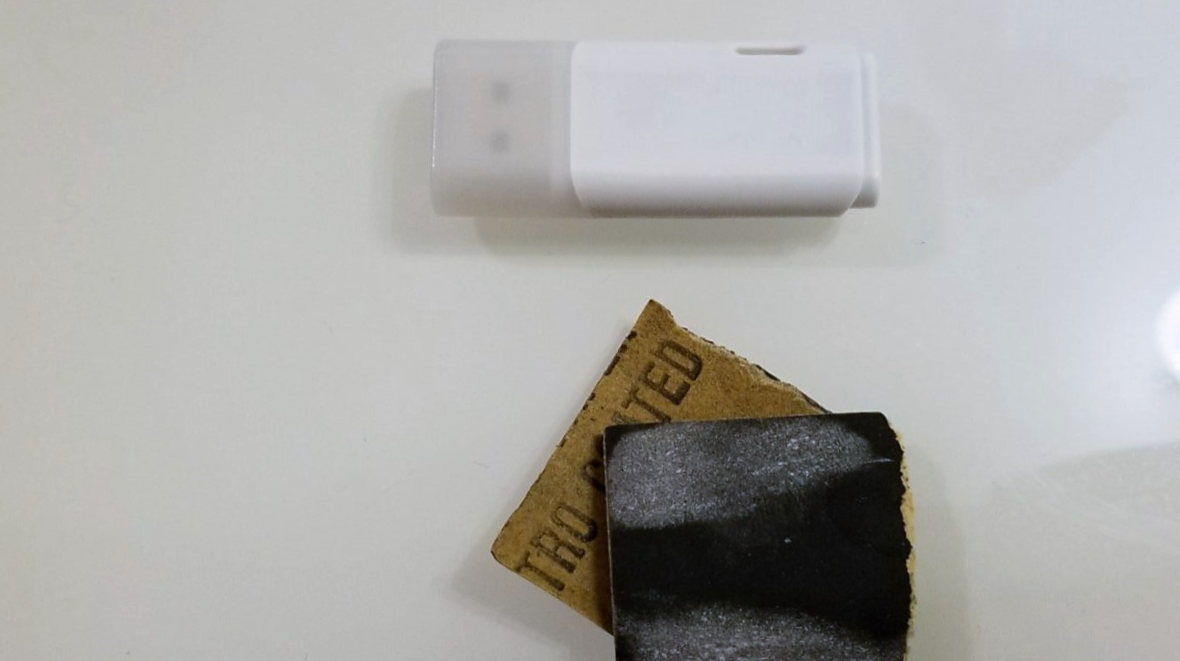
Removing the Toshiba logo from the USB Stick
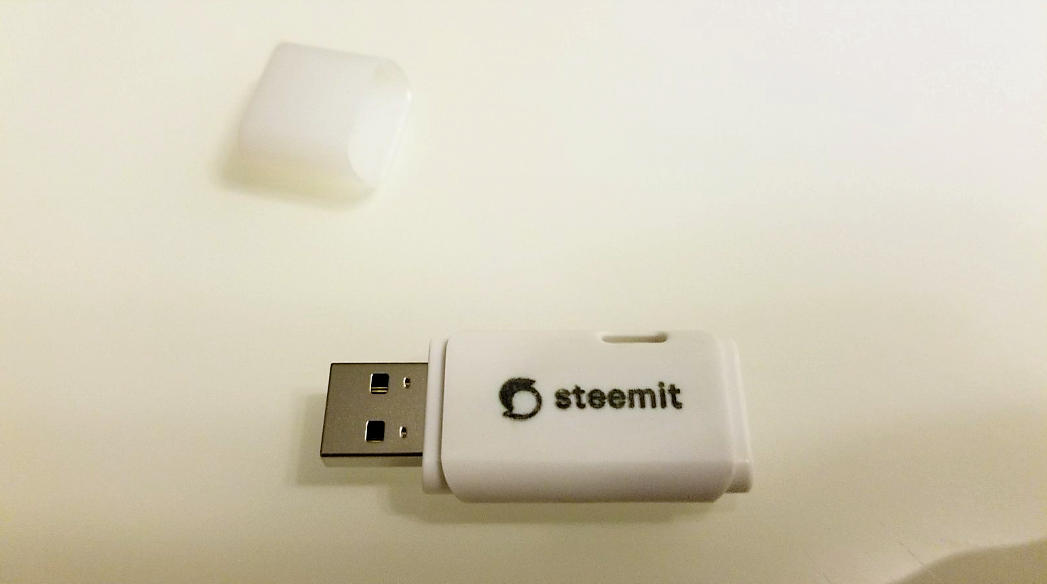
Laser engraving the new Steemit logo on the USB stick
After sanding i positioned it under the laser engraver, the next step was to focus the laser and uploaded the new Steemit logo to the machine and position where the engraving is going to be.
With laser engraving it is possible to use a filler, to give colour to the engraving. The filler can be a simple whiteboard marker, i first tried a green marker (not a whiteboard marker) but that didn't leave any green in the engraving and the laser probably just burned away the inkt.
I only had a black whiteboard marker left to try (used it before with no problem), i carefully scrubbed away the green marker without moving the USB stick and after that gave it a layer of black, and set the burning time around 30% less and started the processes again and the engraving was done in around 6 min.
When it was done i removed the remaining filler and check the results. and luckily the two overlapping engravings worked out oké. (Next time i will try to make the logo bigger, straight and will want to try to find a green whiteboard marker.)
Overall happy with the results, and the USB stick is now a backup drive for my private key.
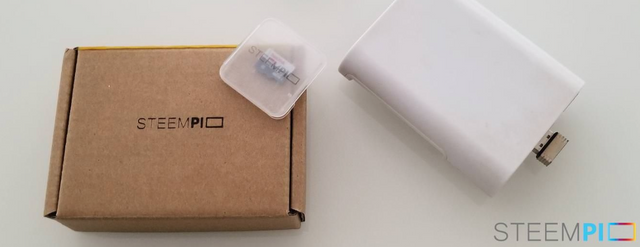
In my previous post i write about making the first engravings for the SteemPi project. And also write about sending SteemPi to SteemFest, and the first SteemPi mini meetup.
jeah man, endless possibilities. Does it smell when the laser is engraving?
Not much, just a little bit with plastic materials, with paper there is a bit of a "baking" smell.
Hmmmm...circuit cookies
Perfect for christmas time :D
oh so nice! btw sorry to ask that, do you know Chinese? XDD
Thanks, :) i can speak just a few words Chinese, and with the words i can make some short sentences.
haha 你好!
Wi ! :)
img credz: pixabay.com
Nice, you got a 21.0% @peaceandlove upgoat, thanks to @techtek
Want a boost? Minnowbooster's got your back!
The @OriginalWorks bot has determined this post by @techtek to be original material and upvoted(1.5%) it!
To call @OriginalWorks, simply reply to any post with @originalworks or !originalworks in your message!
Looks really nice!
Thank you :)
This post has received a 0.26 % upvote from @drotto thanks to: @banjo.
This post has received a 12.41 % upvote from @boomerang thanks to: @techtek
@boomerang distributes 100% of the SBD and up to 80% of the Curation Rewards to STEEM POWER Delegators. If you want to bid for votes or want to delegate SP please read the @boomerang whitepaper.
This post has received a 7.57 % upvote from @booster thanks to: @techtek.