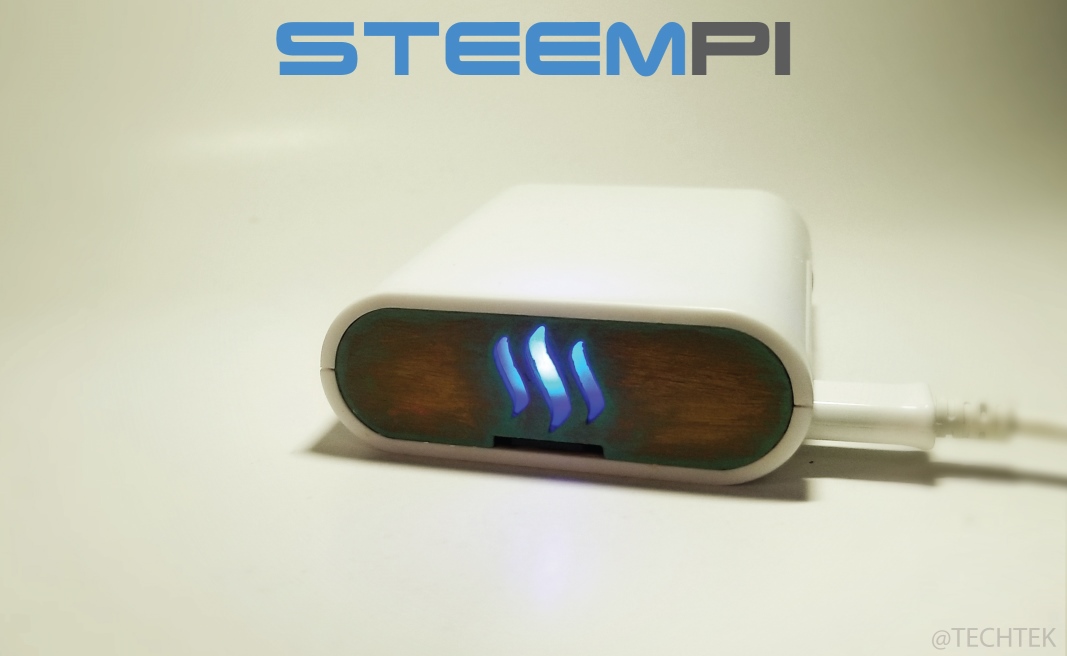
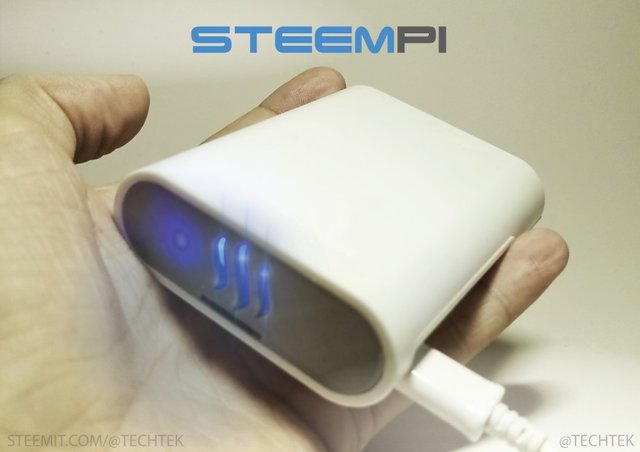
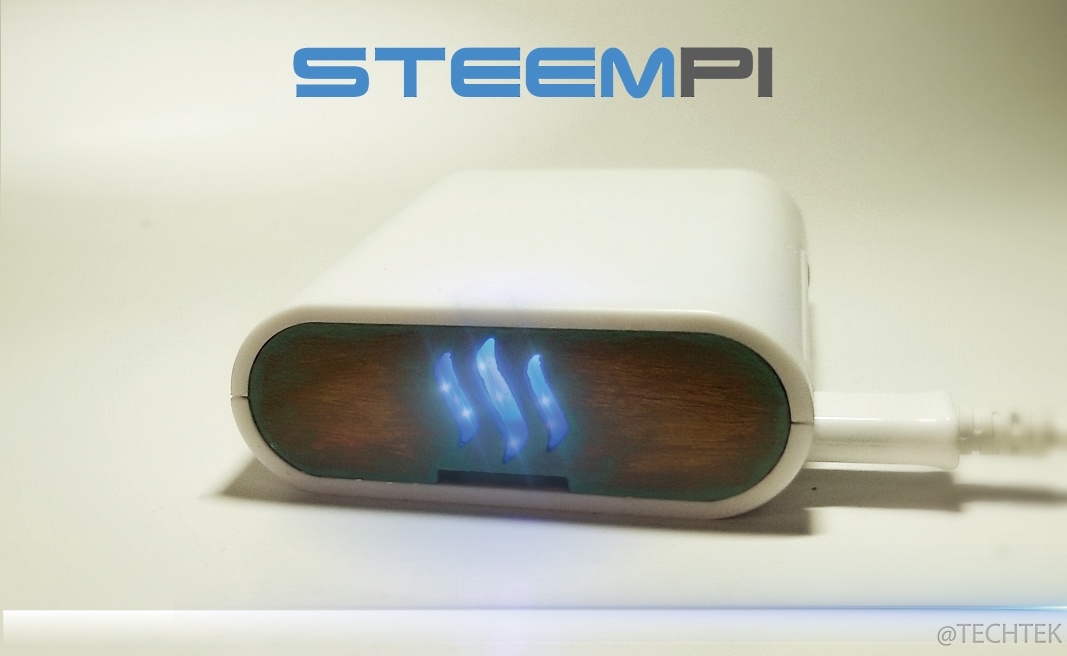
DIY - STEEMPI case with 3d printed side panel and Steem logo that can light up
For the STEEMPI project that is running now for around 2 weeks, i wanted to make a custom designed case with Steemit logo. But i already own 2 factory molded cases and they are nice and functional, so in this stage of the Steempi project i wanted to make a upgrade to the case that's already in use. Instead of redesigning and printing a whole new case.
(i rather put the time at this moment in further developing the Steempi interface first but at the same time i also want to have a custom case with Steemit logo)

Introduction post for the project: https://steemit.com/steemit/@techtek/introducing-steempi-steem-notifications-on-your-tv
Designing the side panel
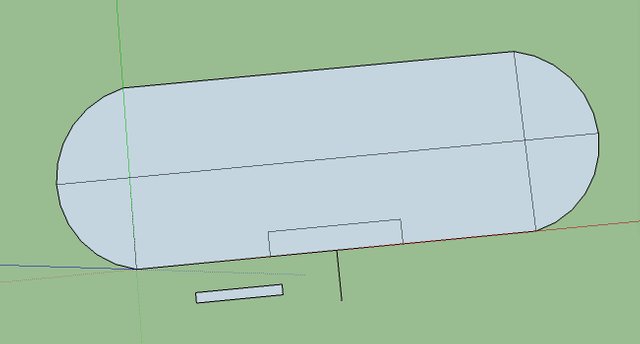
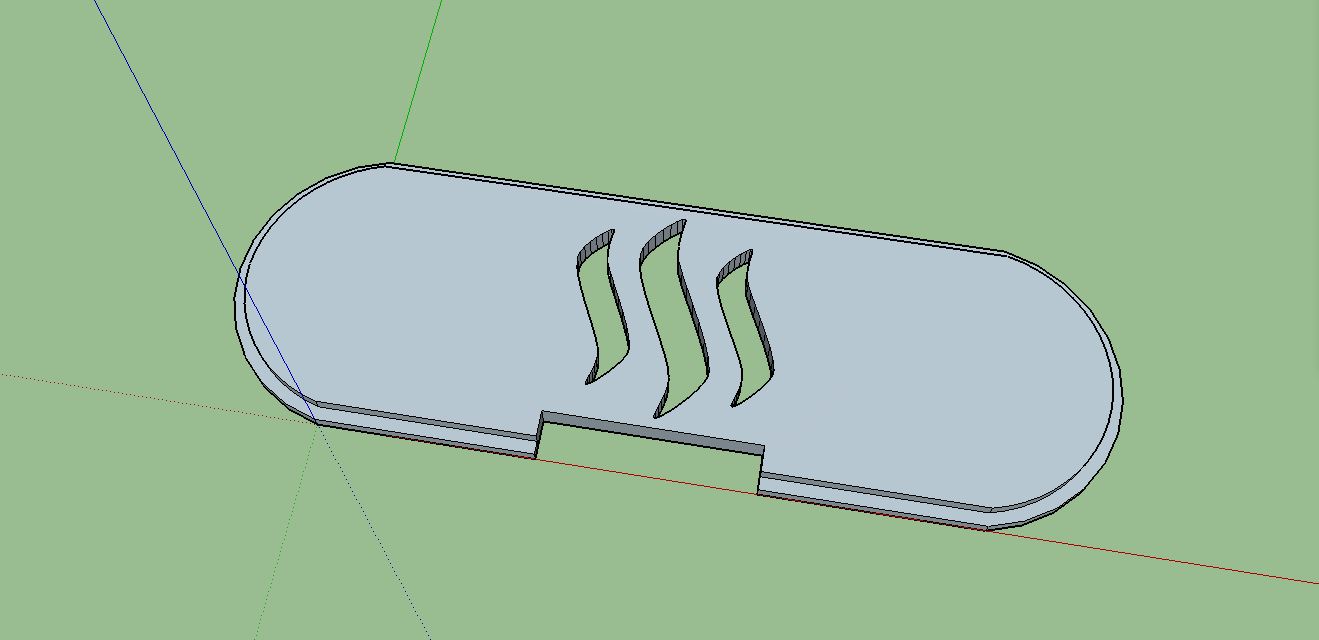
The (white) molded case exist of 3 loose parts, a top, bottom and side panel, the side panel is a rectangular shape with rounded corners and i used Sketchup to make and rebuild the side panel and cut out the logo.
This is the link to the logo file (.SVG) i used it to cut the 3d side panel:
(convert the logo to .dxf with for example illustrator and import the dxf file into Sketchup)
https://seeklogo.com/vector-logo/303819/steemit
Screenshots of the design work in sketchup:
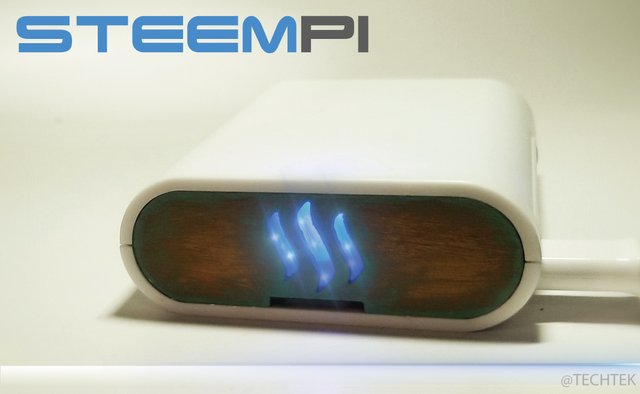
To make the light diffuse and less bright i used a piece of transparant packaging plastic and sanded it until it was not transparant anymore, and more a half transparant equal, milky white fine texture. i put two of those pieces of plastic behind the logo cutout.
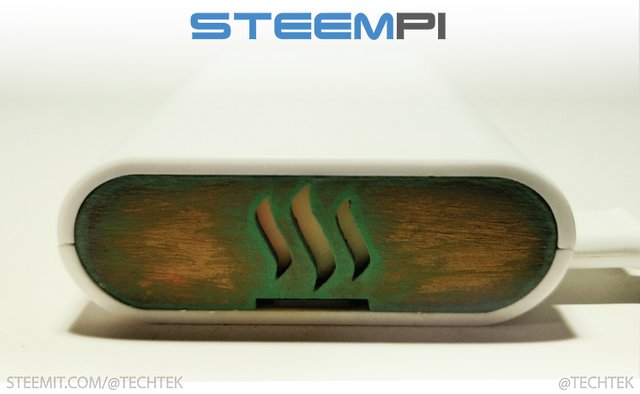
A piece of sanded transparant plastic behing the logo to make the LED light diffuse.
More pictures
Thoughts and improvements
- The logo lights up nicely now but the pieces of plastic block the hot air from getting out, it is not very dramatic but i should at some holes somewhere for the warm air to get out.
- The painted version of the side panels are nice but i prefer one colour instead of the oxide effects (but i maybe can improve the painting)
- Sanding is not much fun but it improves the smoothness to almost injection molded looks.
- Print multiple, and experiment with different paint (i used nailpolish and that works nice on model figures but so good for flat surface, it did not give nice results. (i wish i had a place to spray paint them)
Questions:
- What Raspberry Pi case is sold the most (it most easy to say the original one but is that the case?)
- What would be a good place for the ventilation holes?
-Do you own the same case for your Raspberry Pi?
Please feel free to ask me any questions or give tips and suggestions regarding the 3D design and or the STEEMPI project.
The possibilities of this project are (almost?) beyond imagination! Please support, resteem and consider participating to the project.
For the ventilation holes, I would put both on the top and on the bottom of the case: the whole PCB is used as a big heat sink but you need some holes on the top to release this heat. I used to put upside down my raspis due to this.
Thanks for your reply, upvote and tips, what project are you running on your pi's ?
Not any real project: one rasp2 is just a video player/file server, and I have 2 old rasp1 used as host for 3d printers.
Upvoted by Emma
Thanks
Really a great device
Thank you
This post has received a 0.78 % upvote from @drotto thanks to: @banjo.
This post has received a 2.29 % upvote from @booster thanks to: @techtek.
@techtek got you a $1.95 @minnowbooster upgoat, nice! (Image: pixabay.com)
Want a boost? Click here to read more!