How To Create A Steemit Themed Magic Eye Image Using Photoshop
What is a Magic Eye Image?
Magic Eye was a book series from the 1990's featuring autostereograms, or single image stereograms designed to create the visual illusion of a three-dimensional scene from a two-dimensional image. In response to my recent post, 'One Crypto to Rule Them All', user @rigaronib expressed interest in a tutorial on how to create magic eye images. I have a fondness for this childhood memory and since current online tutorials are lacking in some key details, I have decided to take on the challenge.
What we will be creating
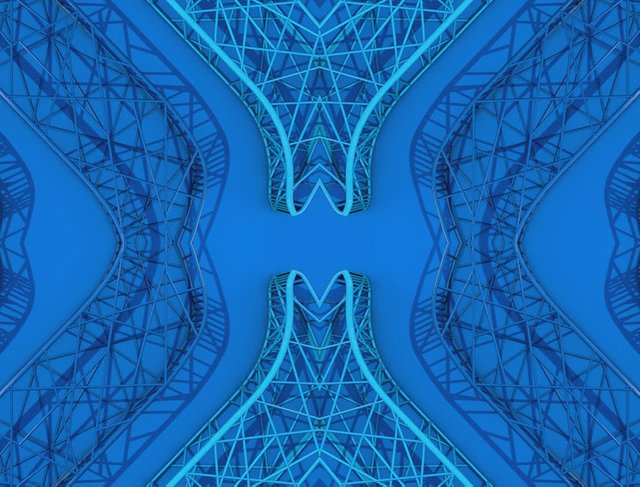
This Magic Eye Tutorial will be a bit easier to understand if we know what we are creating in advance. Since this tutorial is posted exclusively on Steemit it makes sense to give this stereogram a Steemit theme, thus we will create a stereogram of the Steemit logo. The final product is viewable below...
Getting Started
Create a new image file
Fire up Photoshop or your favorite image editing software of choice and create a new file. For the purposes of this post we will be creating an image that is 1200px by 900px in size.

A Repeating Pattern
A repeating pattern is essential to the magic eye image for without it your eyes cannot focus in on the second hidden image. In Photoshop the background layer can easily be filled with a pattern by selecting: Edit > Fill > Pattern
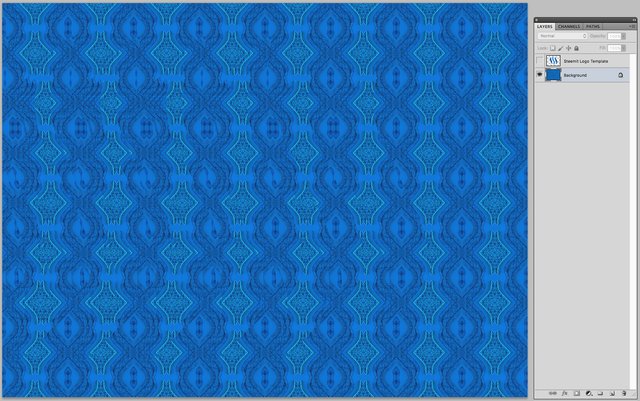
However, we are trying to create a Steemit themed magic eye image, so we are going to use an image from @stino-san's post combined with the online tool repper to create a pattern. Here is what the fill pattern looks like:
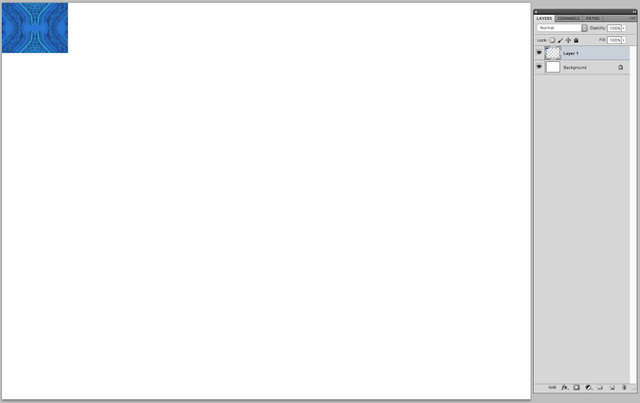
Copy the pattern to a new layer in your Photoshop file:
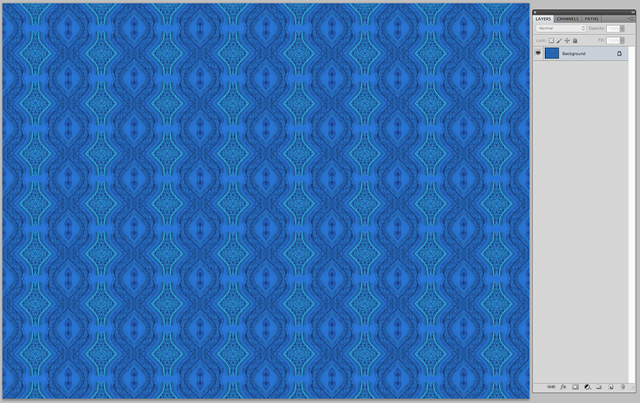
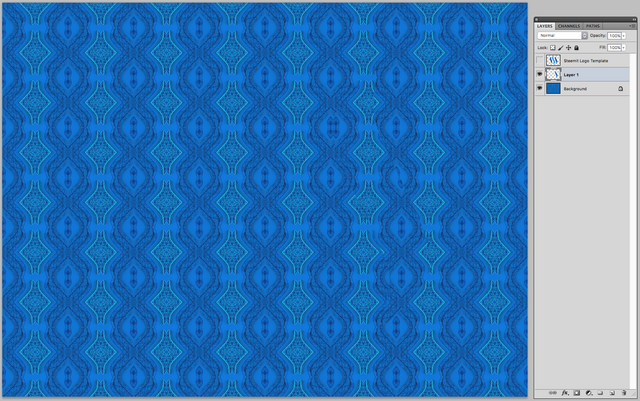
Duplicate the layer over and over again and tile it until the entire background is covered, at which point you can merge all layers to complete the background pattern.
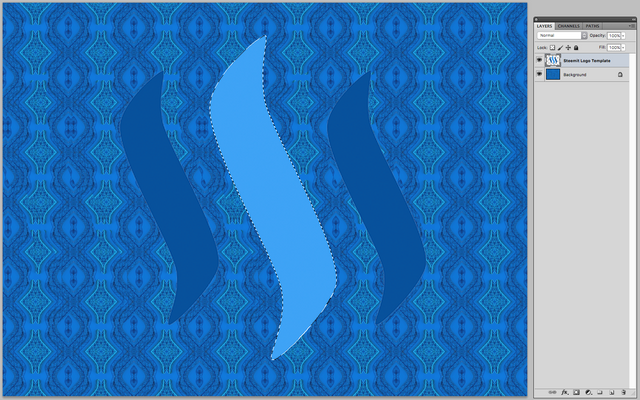
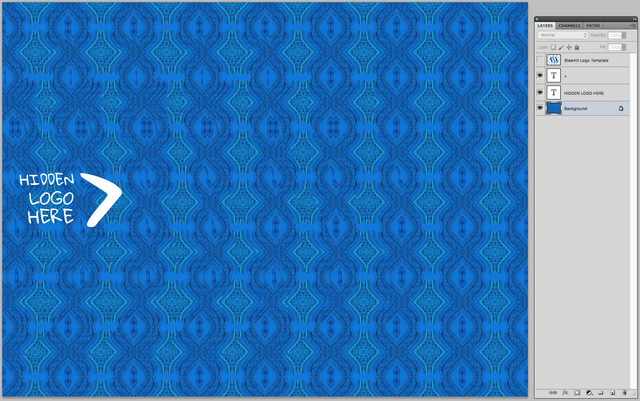
Select your 2D hidden image and let's begin
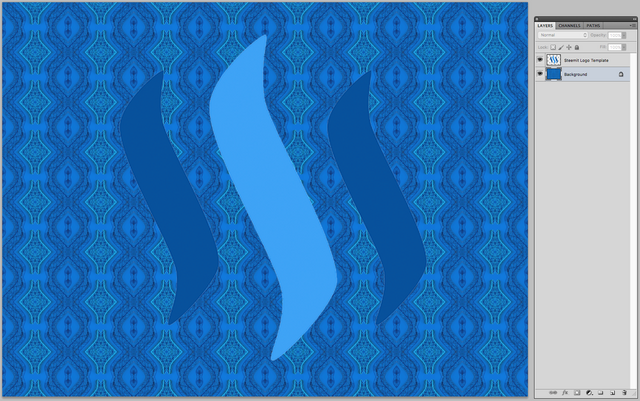
In this tutorial we are creating a hidden Steemit logo, so grab a copy of the logo and paste it into a new layer and center.
At this point you need to decide if you will be shifting the image to the left or right to create the 3D effect. If you shift to the right then your right eye will focus in on the hidden image and vice versa if you shift to the left. The choice is important because it effects the order in which you shift the various elements of the image. In this tutorial we will be shifting to the right and therefore we must begin with the rightmost portion of the logo. It will become apparent as to why as we proceed.
Select the logo layer and use the selection wand to highlight the rightmost portion of the Steemit logo.
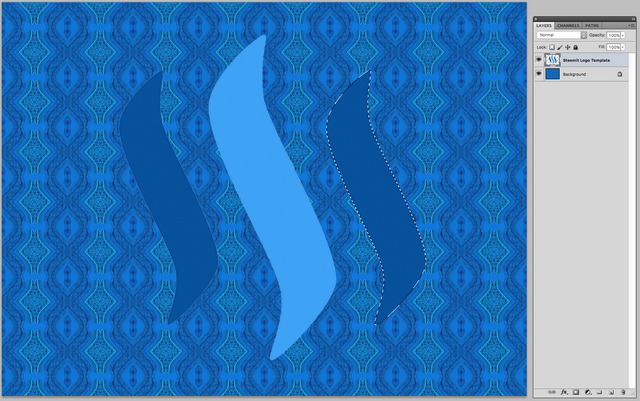
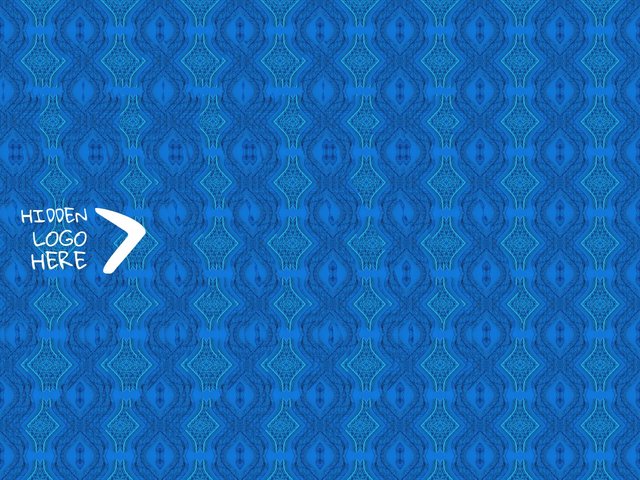
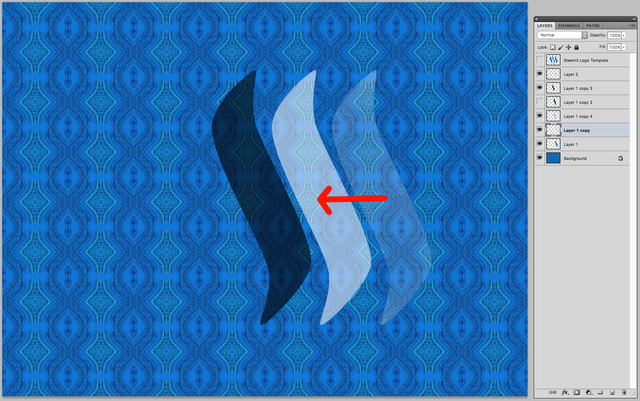
Now switch over to the background layer, copy, and paste the outlined region into a new layer. At this point you can turn off the Steemit Logo template and you will see the plain background with no hidden images present. Select the layer you just pasted containing the rightmost portion of the logo and shift it 10-12 pixels to the right using the move tool. If you do this while gazing at the image as if a hidden image were present you will see the 3D image lift out of the screen. See below...
View the 3D hidden image now and you will see the rightmost portion of the logo elevated, but with an undesired side effect. The same portion of the logo we just brought forward from the background is now also cutout from the background to the left of where the elevated portion is located. In case you cannot see it, the highlighted portion of the logo below is elevated from the background; whereas the darkened portion is the cutout.
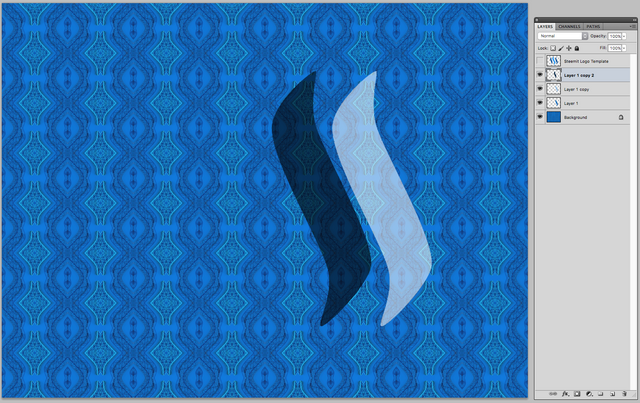
To solve this issue you must duplicate the layer you just pasted and shift the new layer to the left until it fills in the cutout portion of the background. This works great, but it also shifts the cutout region to the left.
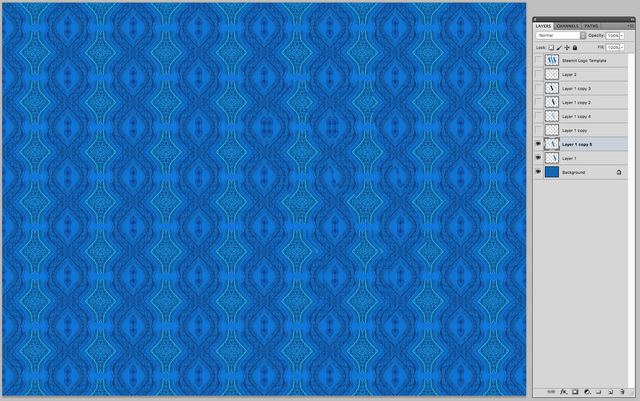
Thus you must continually duplicate the new layer and shift left until the cutout region is off the viewable screen. See below...
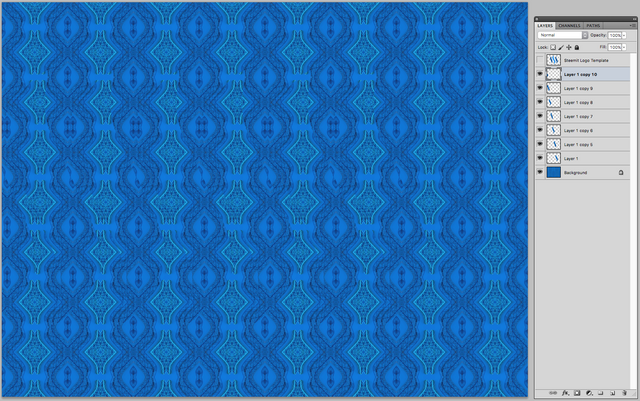
At this point you can merge all of the viewable layers with the background and begin the entire process again with the portion of the logo to the left of the section we just created.
Continue following the steps outlined above for all elements of the image until you are left with nothing more than a messy background and a perfect Steemit logo when viewed with lazy eyes.
For the final product I'll add some text so the image is not so boring and so the user knows what we are looking at:
And that is the simplified process for creating Magic Eye Art with very basic images. Obviously the process can be much more complicated given choice of image or if you wish to use differing shift amounts to create true 3D effects, but the process outlined above should be enough to get anyone started.
I hope you enjoyed this tutorial. If you decide to create any magic eye images please share as I would love to see them.
aaaaaw man i loved these as a kid! you felt like a king when u could see the image and everyone else was struggling
Exactly! That first time you figured out how to see it you were a champion. It is funny how these silly memories can stick with you.

Thanks! I have always wanted to know how to make these. I will try to make my own and I hope you'll let me know how I do @mynameisbrian !
I'd love to see it!
@mynameisbrian
Great Tutorial! Did you use mark-up or html to write your post? it looks very nice
Here is my take on design, working on a community project here in Steemit
https://steemit.com/design/@kyriacos/the-making-of-robinhoodwhale-brand-design-logo-presentation
Hi @kyriacos. Thanks. Just markdown on this one.
I loved these pictures as kid too!!! Thought they were long gone, I used to tell my mom "I got in" when I was able to look at the 3D image. Cool to know how to create one now.
That is great! I absolutely love the things that kids say. For instance, when asking my son if he needed to use the bathroom the other day he replied with,
LOL
thx for sharing

Hey wow! This really is easy! I definitely have to try this out some time soon.
Thanks so much @mynameisbrian, this is a great tutorial!
Glad you liked it.