DIY 3D Steemit Cosmetic + Mirror (2 in 1)(+ tutorial)

"Mirror mirror on the wall, I'll always get up after I fall. And whether I run, walk or crawl, I'll set my goals, and achieve them all."


So here is the FIRST Steemit pocket mirror blush! :-). I needed a pocket mirror, but then I thought:
"Why not making a pocket mirror myself?"


As usual I include a tutorial how to make this lovely pocket mirror + blush!
But first I show you how I got the mirror and blush pan removed from its original container.
For the mirror I needed obviously a mirror. So I bought a cheap pocket mirror.

To remove the mirror, I needed: foil, a hair straightener and a blade.

After the plastic is soft enough, I used a sharp blade that I normally use for cutting fondant to remove the mirror. I needed a little bit help from a breadknife.

For the blush I needed a blush container and its pan.

I removed it the same way as I did with the mirror.


Ok, here comes the tutorial!
Because I removed the mirror and empty blush pan already, I can measure them precisely, or lets say almost precisely.
I split the pocket mirror into two bodies: Mirror and Blush.
The inner circle is an offset from the outer circle. The inner circle I made a little bigger than the blush pan.

The size of the mirror is bigger than the empty blush pan.


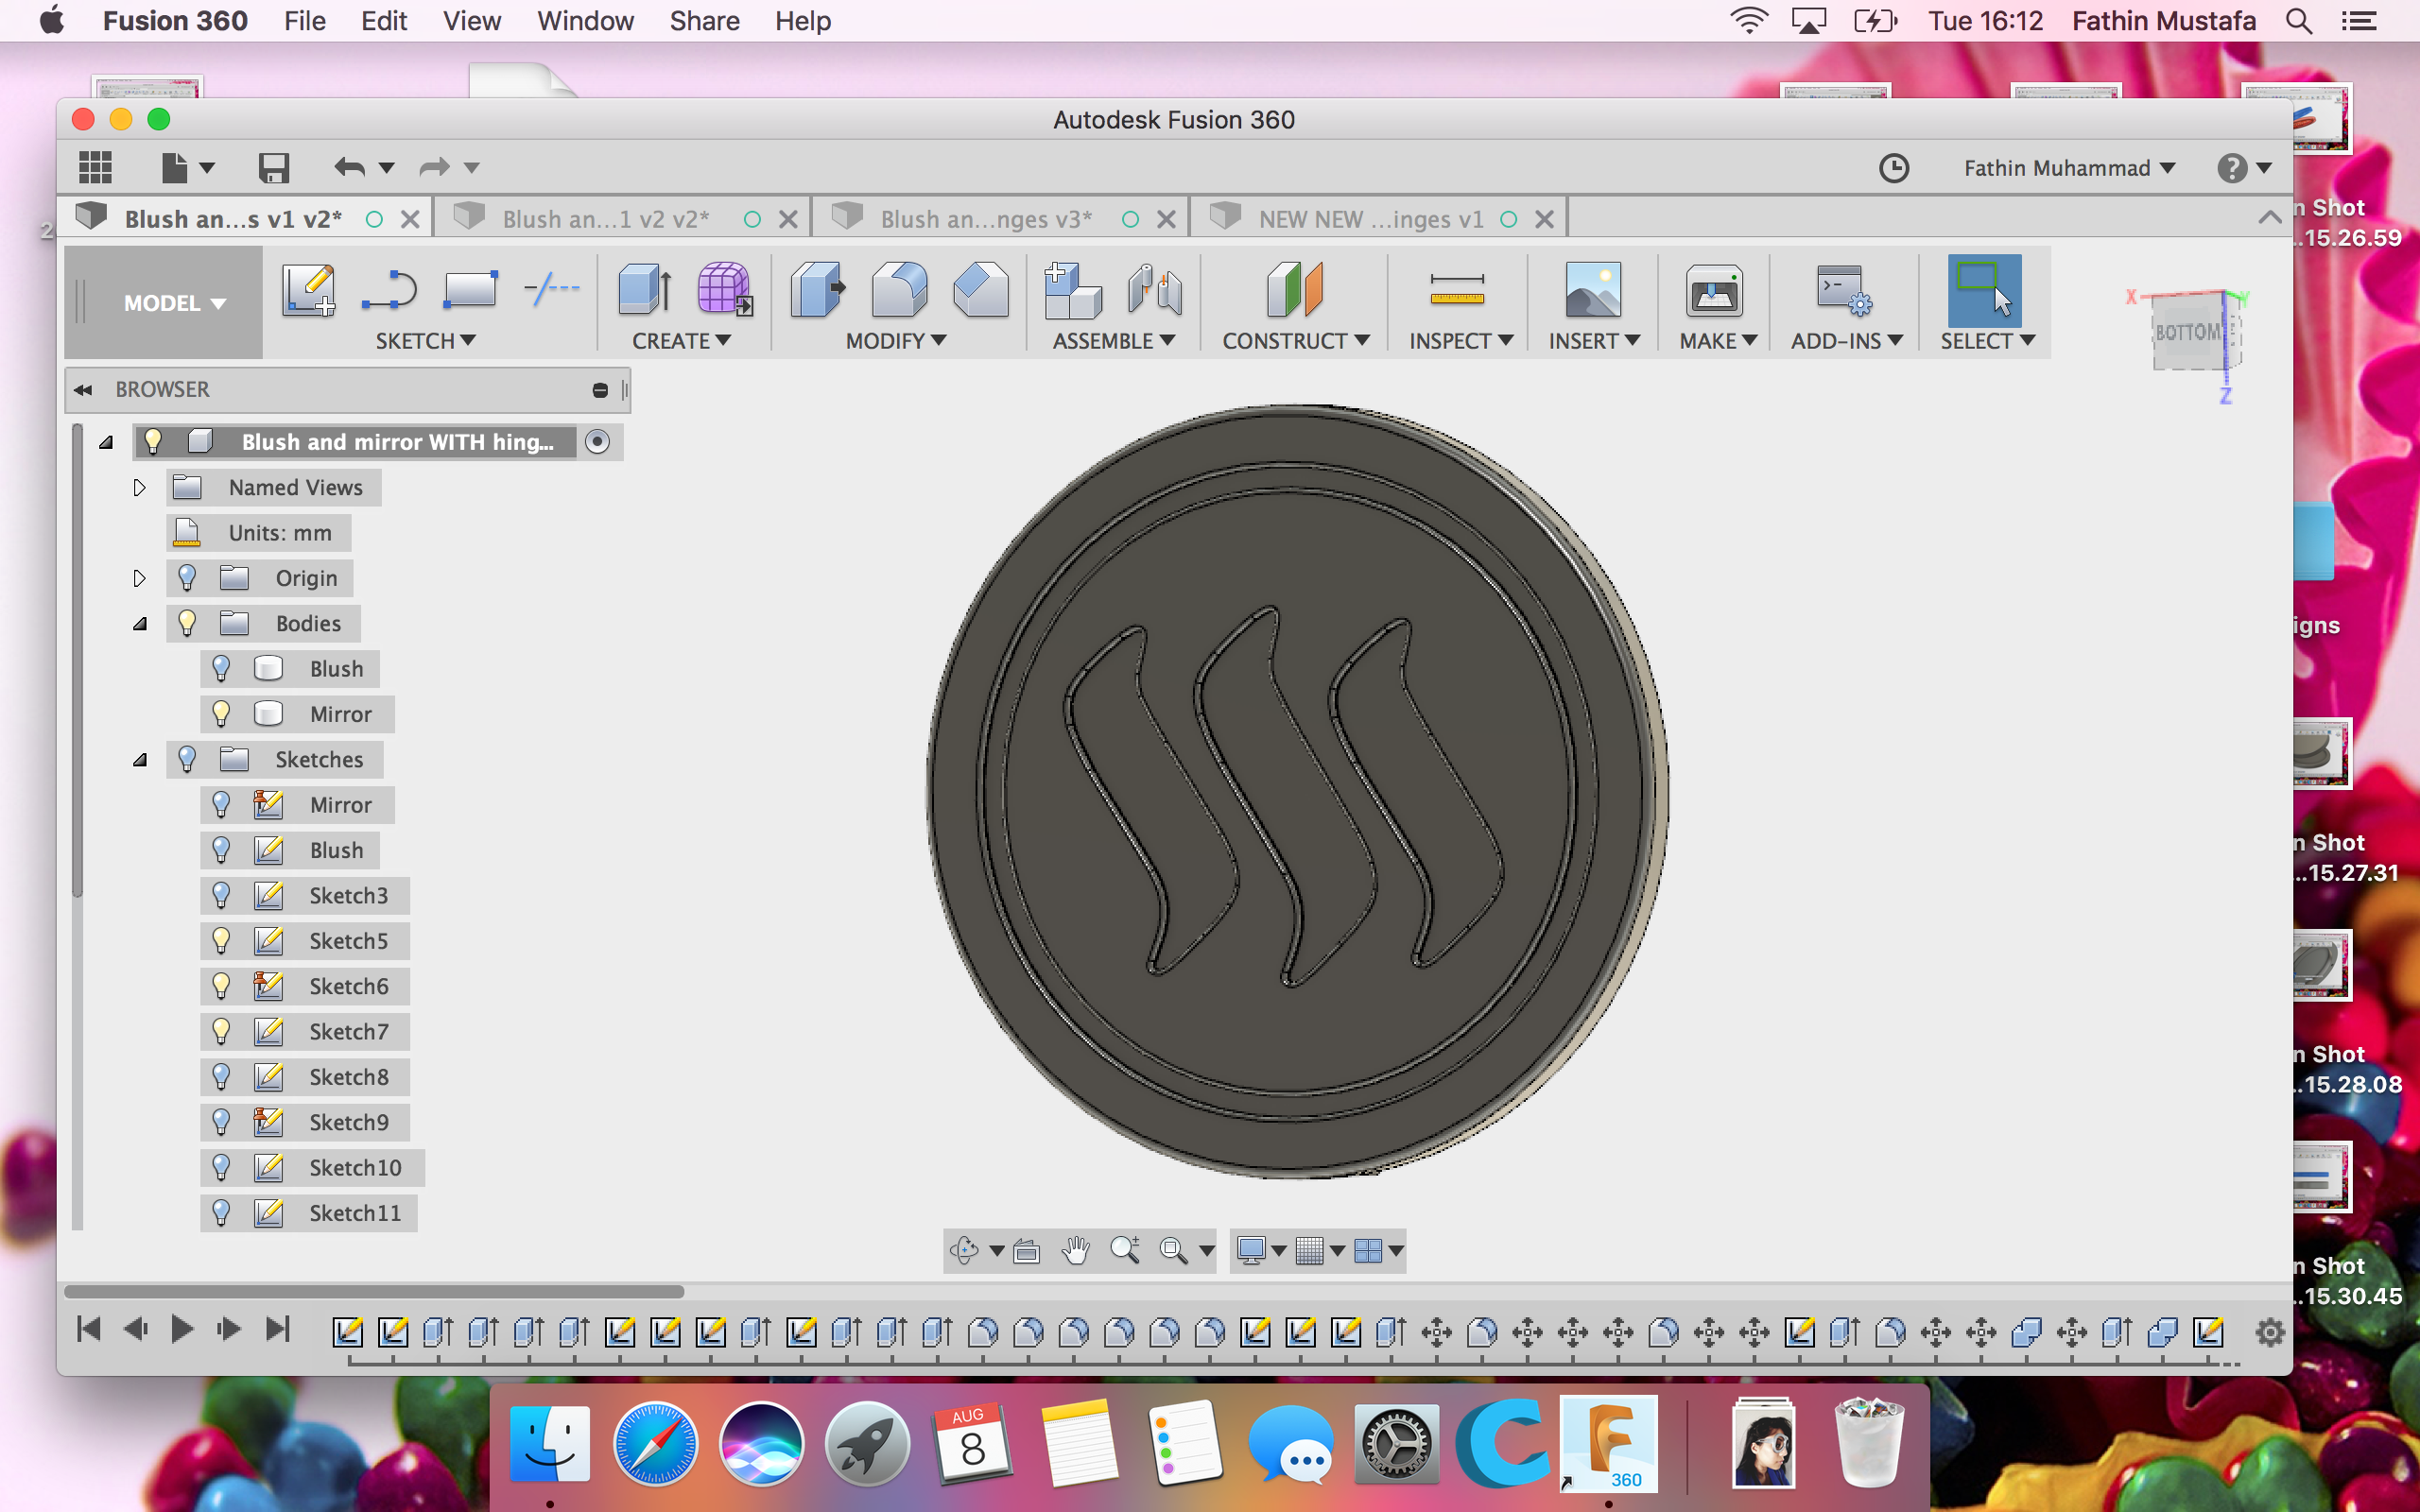
I made another circle inside the inner circle for the top of the pocket mirror. You will see soon what I mean.

I inserted the steemit logo.

I extruded first the outer circle of the blush.

After that the inner circle is extruded.

Now we have a blush container.

For the pocket mirror to be able to close properly, we need to make holes for the magnets to be inserted. These holes are slightly bigger than the magnets themselves.

Use Fillet to smoothen the edges.

For the top of the mirror, I extruded the outer circle.

I extruded the steemit logo.

Smoothen the edges using Fillet.
Make a small cut at the inner part of the body Mirror, so the pocket mirror can open and close.

Hinges
Make a rectangular, here it's 10 mm X 6 mm X 5 mm

Extrude the rectangular


Make the edges round using Fillet


Make the small circles on each side.

Extrude the circles

Combine the hinge with the body Mirror. Keep tools.


Make another cut, this time on the side of the body Blush.

Make holes for the hinges.


Now we move on to the stamp.
I use the same circle of the blush but made the circle slightly smaller.


The steemit logo needs to be mirrored. Because we want the logo to face the right direction.


Printing the parts.
My printer was not really in the mood to work that day, stubborn thing! So I had to use my husband's 3D printer. I wasn't allowed to touch it, he says it's his baby, so he turned it on himself :-D.
Next day my printer was in a good mood and printed out the stamp for me. It started not that smooth tho.


I put some hot glue and inserted the empty metal pan and the mirror inside.


Making the blush.
What do we need?
Some tissues, a small bowl and spoon, blush we don't use and rubbing alcohol.

Remove the blush and make it soft with a spoon.

Put some rubbing alcohol inside and mix well.

Put enough of the blush mix in the container and make it flat with the back of the spoon and leave it for an hour.


After an hour you need to remove the excess alcohol by using a tissue and a round thing with a flat surface. Press gently and you'll see the tissue absorbs a lot of alcohol. Repeat it couple of times. We don't want THAT much alcohol on our cheeks.


Make a stamp on the blush using the stamp.

Not so super duper, but it's fine! The blush can be used the next day. It's still kinda wet.


.png)
I had fun making this pocket mirror + blush because it is something I can use and put it in my bag :-). If you have a 3D printer and a wife or sister, I think it's fun to make this for her ;-).
Wow you are definitley a creator, a creative mind with some nice techniques!!! Good job.
Thank you @art-universe! :-)
You are welcome and I really mean it. I have a lot of ideas and cannot realize them with the computer, so I always admire it, when I see nice creations made with 3D prints.
When I started with 3d about 2 months ago, I didn't know anything. I just try and look at youtube video tutorials how to do certain techniques. my designs never succeeded directly. I have spent hours and hours to redesign them because everything needs to fit, the mirror, the empty metal container the hinges. And on top of that the printer doesnt always listen. I have to tape the building plate and glue it all the time. You have to check the printer very often..... Ok @art-universe, i have neglected my house for a few days :-). Im going to do some cleaning now. Good luck! And just try with simple designs first. And check on youtube for tutorials!
3D printer is becoming an essential tool and its great you are creating such wonderful design.. pls checkout my blog https://steemit.com/witness/@sanees/why-i-decided-not-to-be-witness-for-now
Congratulations @fathin-shihab! You have completed some achievement on Steemit and have been rewarded with new badge(s) :
Click on any badge to view your own Board of Honor on SteemitBoard.
For more information about SteemitBoard, click here
If you no longer want to receive notifications, reply to this comment with the word
STOPThat is a beautiful pocket-mirror and blush. Looks amazing with the steemit logo in the cream. Resteemed :-)
Thanks @lichtblick! I was thinking what you meant with cream :-D. You mean blush powder :-). Its ok!
Yes for sure- blush powder :-) hehe.
I love seeing your post's you are so Creative and talented always a good time seeing your post's
Thanks my dear @blazing :-). Happy that you like my posts
Full 100% and resteemed :-)
Thanks @welovesteemit :-)
Hello friend @fathin-shihab congratulations for your creativity, thanks for sharing it, keep it up
Thanks @luiszuritam
3D printing is cool but the printers are stil expensive :)
You can buy second hand or build it yourself. My 3d printer was first my husband's printer. He refused to pay so much so he bought it from a kit where you have to build it yourself. He saved few hundreds of euros :-)
Wow 3d printed! It looks awesome with steemit logo. wish i had a 3d printer
Yes, it looks very awesome. Im happy with the result too :-)