Tutorial: How to Make Series Board for Soldering Iron.
Assalamu alaikum Everyone. I am @imranhassan From #Bangladesh
.png)
A few days ago, I repaired a soldering iron for an elder brother and installed a coil inside a soldering iron. He told me that the coil of the soldering iron burns out repeatedly, so I installed a new coil again and a soldering bit so that he can solder well and so that the soldering iron does not get damaged. So let's see step by step how I made a series line for a soldering iron.
all the materials

First, you can see that I have taken all the materials to make a series line, and I am explaining the materials below according to each picture.
100-watt AC light

Now you can see a 100-watt AC light in my hand that runs on 220-volt current, and this is the main hero of our series line.
two-pin socket

Now you can see a two-pin socket in my hand; through this socket, the soldering iron will be powered from here, and any series line can be tested.
on-off switch

Now you can see an on-off switch in my hand; through this switch, this series board can be controlled; the user can turn it on and off if he wants.
two-pin plug

Now you can see a two-pin plug in my hand; through this plug we will use our series line with 220-volt input voltage.
bulb holder

Now you can see a bulb holder in my hand; through this holder we will replace 100-watt lights.
wires

Now you can see some wires in my hand; through this wire we will complete the process of our series line and complete the line.
board with three holes

Now you can see a board with three holes in my hand; in one hole the socket will be installed, in another hole the switch will be installed, and in another hole the bulb holder will be modified and installed.
Step -01
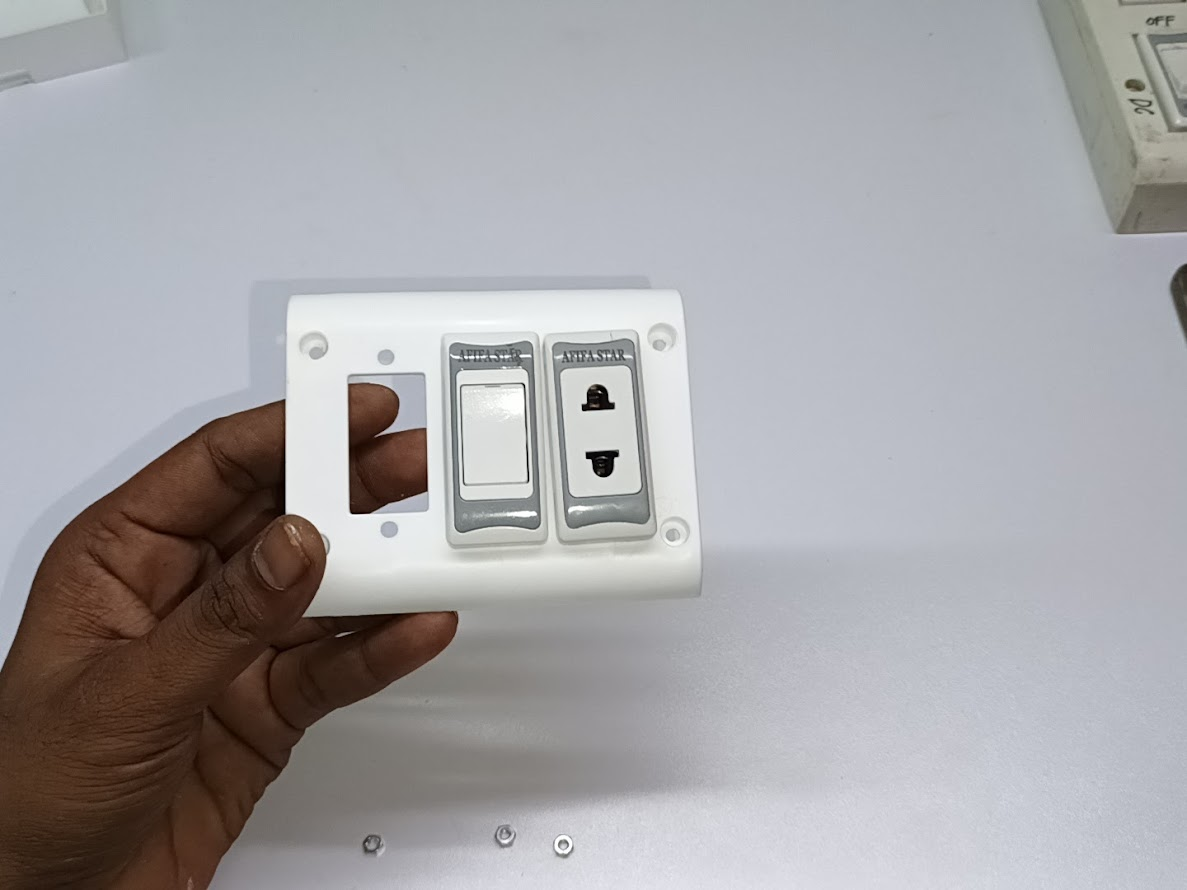
Now we will start the process of making our series line step by step, and you can see first that I have replaced a switch and a socket in two holes on the three-hole board.
Step -02


Now you can see that another hole is empty, and here I have to cut some plastic to install the bulb holder, so I have made a mark with a marker and cut it there with cutting pliers.
Step -03


Now you can see that I have installed the bulb holder in the place where I cut in that hole and stuck it there with glue so that it does not come off.
Step -04


Now you can see that the live and neutral are my red and black wires. I have connected the black wire to the neutral wire of the bulb holder, and I have connected the red wire to the socket. And I have taken two pieces of wire here to make my switching connection. And I don't remember taking a picture of the switching connection. If you want, you can watch the video, and I will give you a diagram.
Step -05

So when I have completed the connection, I have attached the body cover and attached the four screws on top.
Step -06

Now you can see that I have made two connections inside the two-pin plug, and now I will attach it with screws.
Step -07

Now you can see that the two-pin plug is complete, and I have taken a bulb in my hand, and I will now attach it to the holder.
Step -08

Now you can see that I have attached the bulb to the bulb holder, and my series line is now complete. Now we can use anything below 100 watts if we want, so let's see how it works with a soldering iron line.
Step -09

Now you can see that I have put a soldering iron here, and the power of the soldering iron has come, and if you use the soldering iron in this way, I hope the coil of the soldering iron will not be cut, and through this series board you can check any series line; you can check any series parts of the circuit board.
Step -10

Now the soldering iron is completely complete, and it cost 220 taka in Bangladeshi taka to make it. Now I will give it to its owner, and I will take 50 taka as a wage since he is a person I know and will not take much money.
Step -11

I hope that after buying a soldering iron from the shop, by putting in a new bit and making a series line, you will be able to work the soldering iron beautifully on the circuit board.
| Here is a diagram to better understand this series board. |
|---|

| Video Tutorial: To better understand the practical part of this tutorial, you can watch the video below. |
|---|

✅ CC: My friend @rmm31
✅ We support @pennsif and @pennsif.witness for the growth of this platform. pennsif.witness his contribution to the Steemit community. Vote for him as a Witness here: Click to Vote
| Photography Details | 📱 Device: Walton Xanon90 | 📍 Location: Narayanganj, Bangladesh | 📷 Captured By: @imranhassan |
|---|
Upvoted! Thank you for supporting witness @jswit.
curated by: @ahsansharif
Upload content directly on https://speem.watch in horizontal or vertical format. See details here:
Curated by @alejos7ven
Dear Sir, I don't understand anything here. Could you please guide me a little?