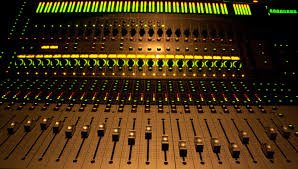
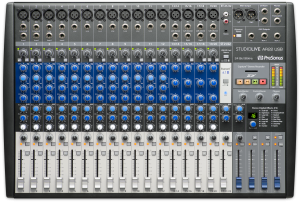
The mixing console --- Split, Inline and Hybrids
Hello friends, welcome yet again to another interesting edition on sound practice from Jemz studios, and today we will be looking at the mixing console. We are going to learn the basics of a simple mixer, how to work with huge consoles and also the software mixing consoles. (Which are pretty much the same). So today in this article we will be looking at:
Console types
Split, Inline, Hybrid
Console signal overview
Channels
Buses
LR/mix-buss Group-buss Aux-buss
At first, the console might look intimidating because there are so many knobs and functions on them, but we're going to strip them down so we could take a look at the signal-flow, and the most commonly found functions.
So let's start with the basic overview
Basic task:
The simplest task that a mixing console has is to mix down several mono tracks into a stereo mix. Hence the name mixer.
In a professional recording studio, the will be two main situations where we will be running out a signal through the console, during the recording process and during the mixing process.
During the recording process we try to have a clean signal-path to record the signal at an optimum level, we also want to return the signal from the tape back to the board to monitor or listen to what has actually been recorded.
During the mixdown process, we are getting our signals back from the tape into the console where we can actually mix them.
As you can see, for the recording there's is really a need
for two different types of the signal path into one console.
Types of consoles
We have three different types of consoles,
Split console
Inline console
Hybrid console
Split console
The split console is split into different sections, we have the input section, monitor section, and the master section. With this type of console, you can clearly understand the different signal path that we have during recording and mix-down. On the split console, we will often find the subgroups which have their own master feathers.
>N/B: The only disadvantage of this console is that they have so many channels so they are relatively big and are quite expensive.
Inline console
This type of console actually have the monitor sections into the channels strips. That means we have two separate level control on one channel strip, one for the channel path itself, and one for the monitor path, and many consoles were able to flip this two channels path. During mixing we normally want to work with the lower fader so that is why it's helpful so that we can flip them. Inline consoles normally have subgroups too but they don't have a dedicated subgroups master fader.
>N/B: An advantage of the inline console is that they are smaller than split console because they only have one channel for the monitor and the recording path
Hybrid console
The Hybrid console is basically a combination of both the split console and the inline console so they only have one channel strip for the monitor and the channel-path but they also have subgroups with their own dedicated master faders. They offer both signal-paths in one channel, just as inline consoles, but they often have the addition of subgroup faders.
*So most of the consoles that we will run into would normally have a whole section for all the channels which we call the channel strip and then another section for the mastering that is where we will find the master fader *
>N/B: The master section is normally on the right of the console. But can also be found at the centre on very big consoles.
Signal-flow:
Now looking at the general signal flows that will be found on the console. Vertically we have the channels, and we can visualize our signal going in from the top and going towards the bottom. A mixing console also has buses which can be seen as horizontal connections throughout the board.
>N/B: The Bus is a summing-line on which various channels can be summed together.
The main bus that we have is the mix bus or our lift/right bus. When we send channels to the main bus it means that we are sending them to the mix. In the studio we have the monitors connected to the monitor output of the console, we can select the source to be the mix bus so that we can actually monitor and listen to our mix over the speakers. We also have our regular mix output which we connect to our master tape recorder, that means that we are recording the left/right output of all the signals that are being sent to our mix bus which is actually the way to record our mix.
We also have group buses which actually allows us to group tracks while recording when we have a limited amount of tracks available. During mix-down, it can be used to control the level a whole group of track that's has been routed through that group.
- For example, we can route all the different drum channels into one group track, where we can apply the level changes or maybe even EQ or compression on the hold drum group. But we normally talk about sub-grouping in this situation.
Auxiliary bus (Aux send):
This can be used for alternative mixes, but they are also used to send to effects or sometimes for headphone mixes. It is just a simple horizontal connection which is available on all the channels that we have, and we can send a portion of the signal to this extra bus.
N/B: Auxiliary channels are not to be mixed up with insert on the channel-strip.
These have become a very long tutorial already, and I wouldn't want to bore you with too much of this at a stretch. Have a break, as I will be doing a detailed view of the channel-strip in our next article.
If you missed our previous editions you can check it out through these links: REF 1 REF 2 REF 3 REF 4
And like always you are free to send in your questions and suggestions on the comments section below, and I promise to do my best in replying to them.
Thanks for reading!!!!
Until next time!!!


