State of the Sndbox Competition Entry #9
There is a new competition by @sndbox. For the fun of joining it, I also create the below tutorial with the explanation on how I create the thumbnail design for the entry.
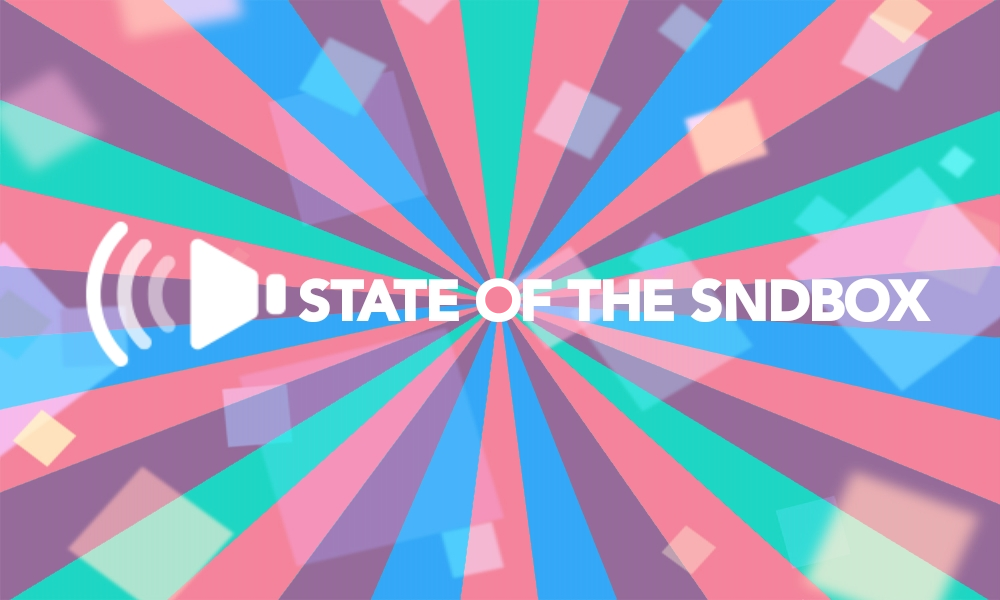
Design created using Android MediBang Paint application.
Idea Stage
I have plenty of ideas of how to create the STATE OF THE SNDBOX thumbnail design.
The first idea is to create a gift box and overflow with social media icon, but I think is too common, so I give up on that in the middle of the progress.
The second idea is to create many types of sea creatures such as whales, dolphin, and minnow to surround an island look like a box. However, it is too much of work to design each of the sea animals. Therefore, I dropped it off.
The third idea is to create multiple lips or mouths to speak out loud the words of "State of the Sndbox" but the drawing did not match my expectation.
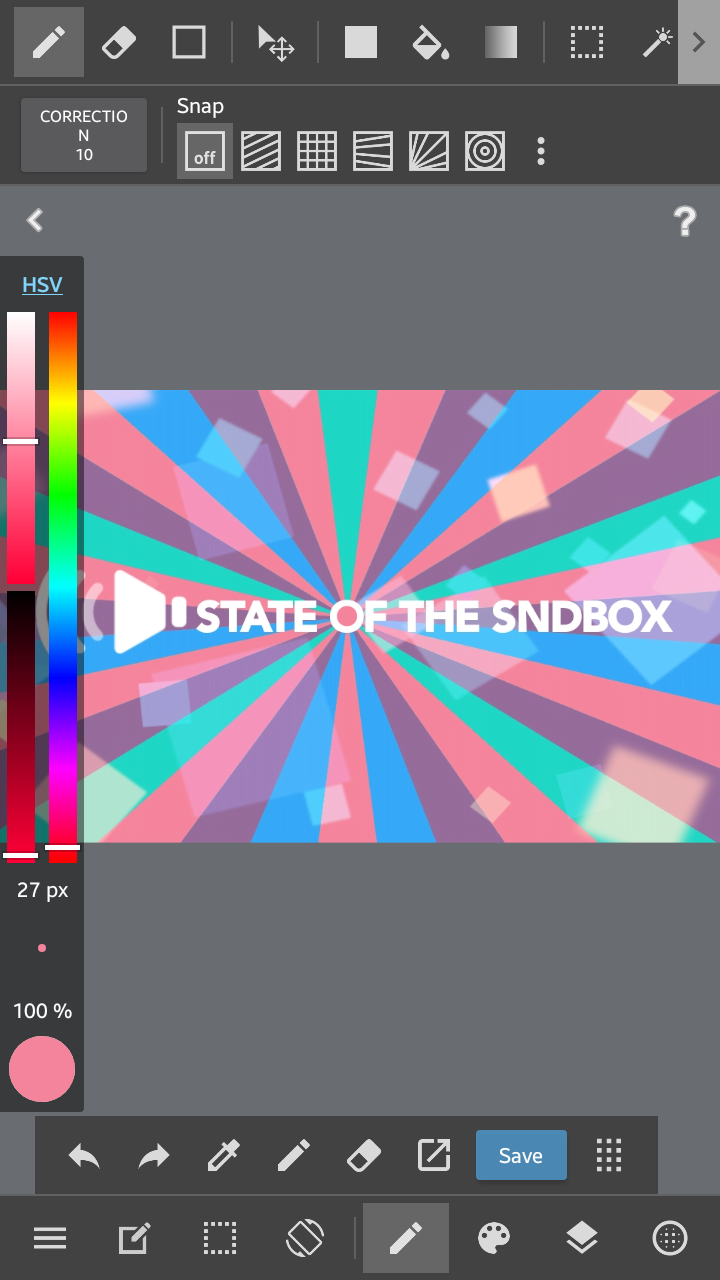
Finally, I decided to revisit the competition rules again. I reread to understand whether I get a clear picture of what they really want. In addition, I also review some of the previous competition hosted by @sndbox to understand further how they judge. For that moment, an idea suddenly pops up in my mind and I straight create this design which looks simple yet stylish. I name this design as The Rise Of The Voice.
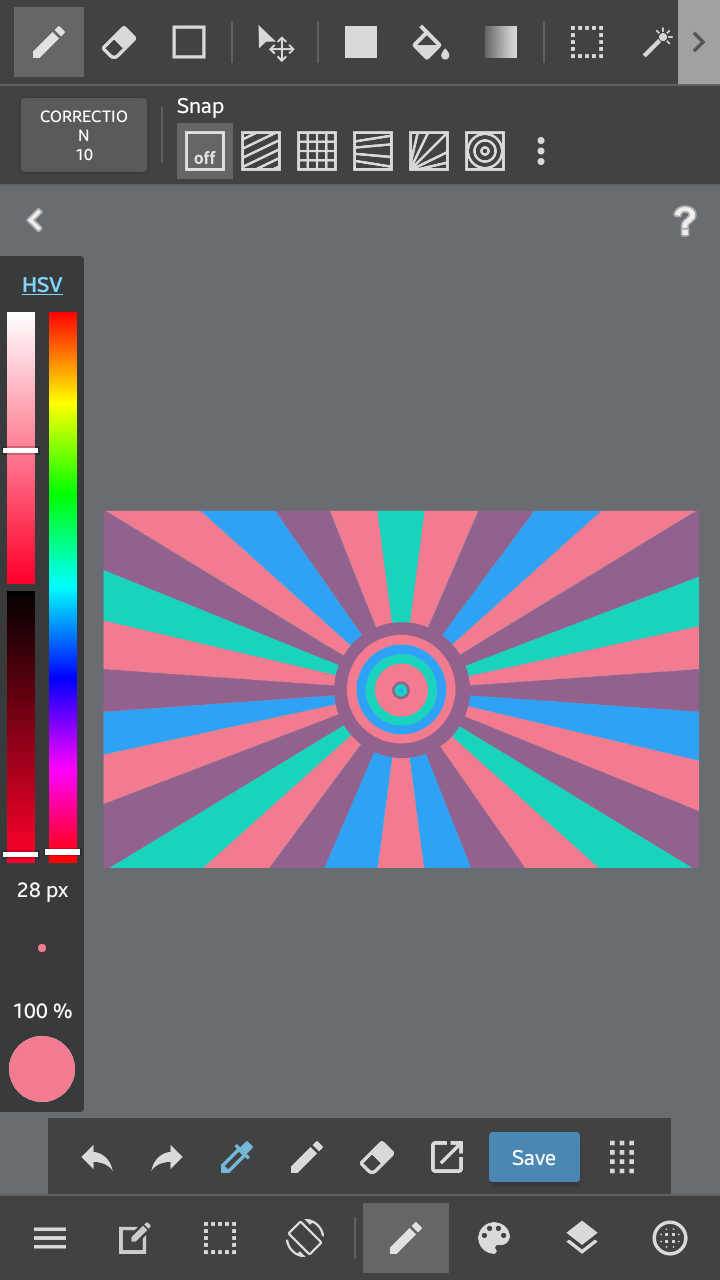
As I mentioned before, this design is simple. The three main things we need here is sunshine line art, blurry boxes, and an icon of a speaker. Below are the step by step tutorial:
Tutorial (Step by Step)
.png)
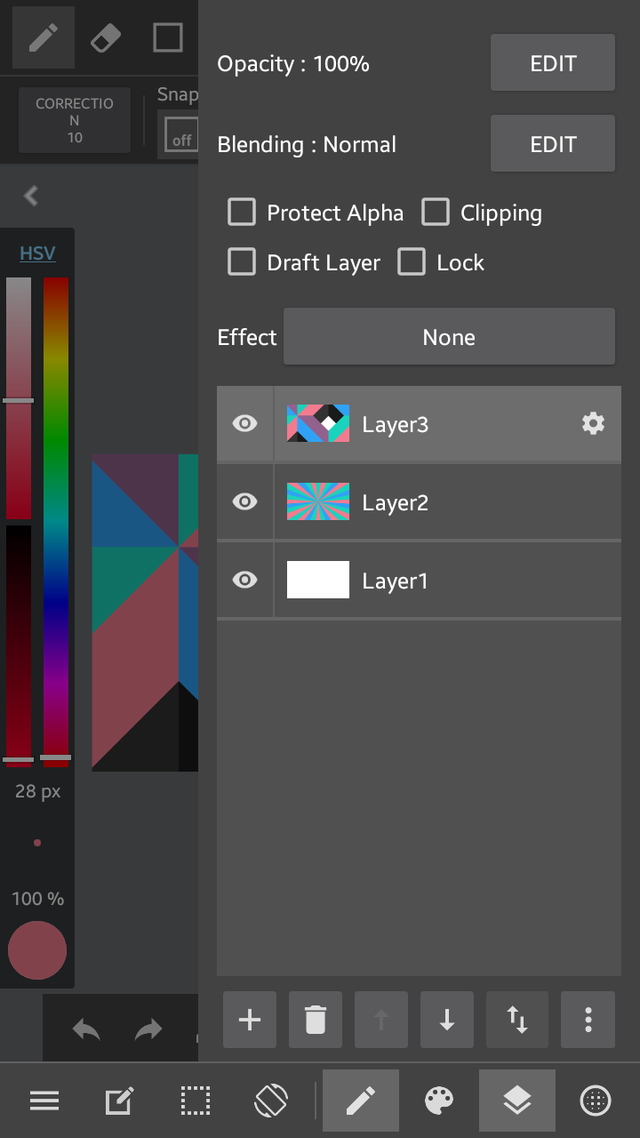
Step 3: Insert a SNDBOX guide images in order to get the required colors. You add that into color palettes.
.png)
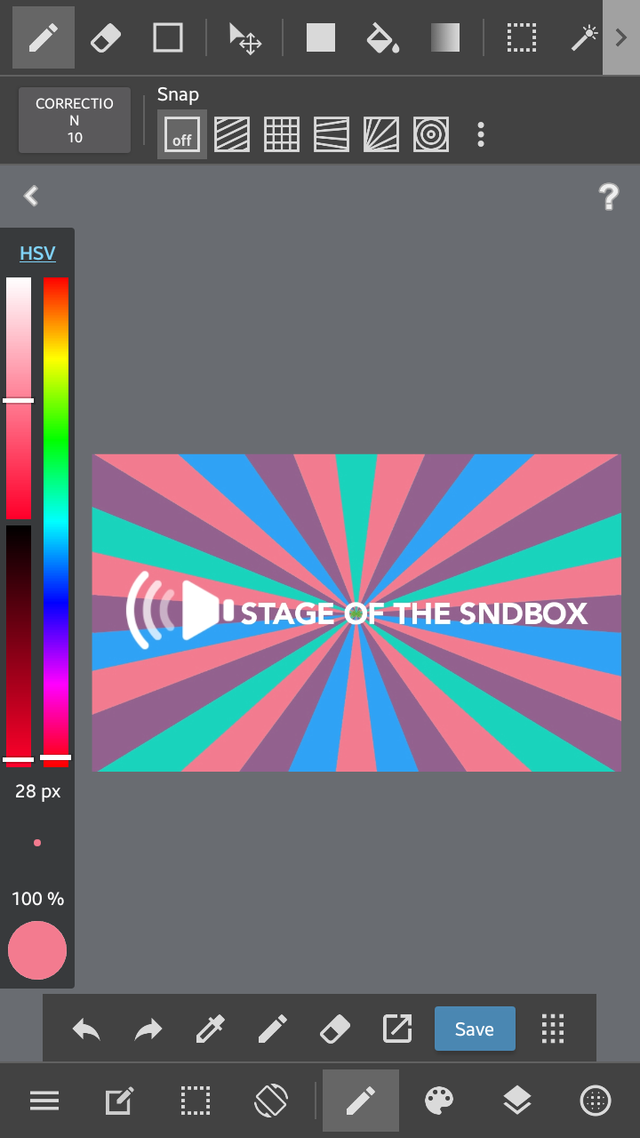
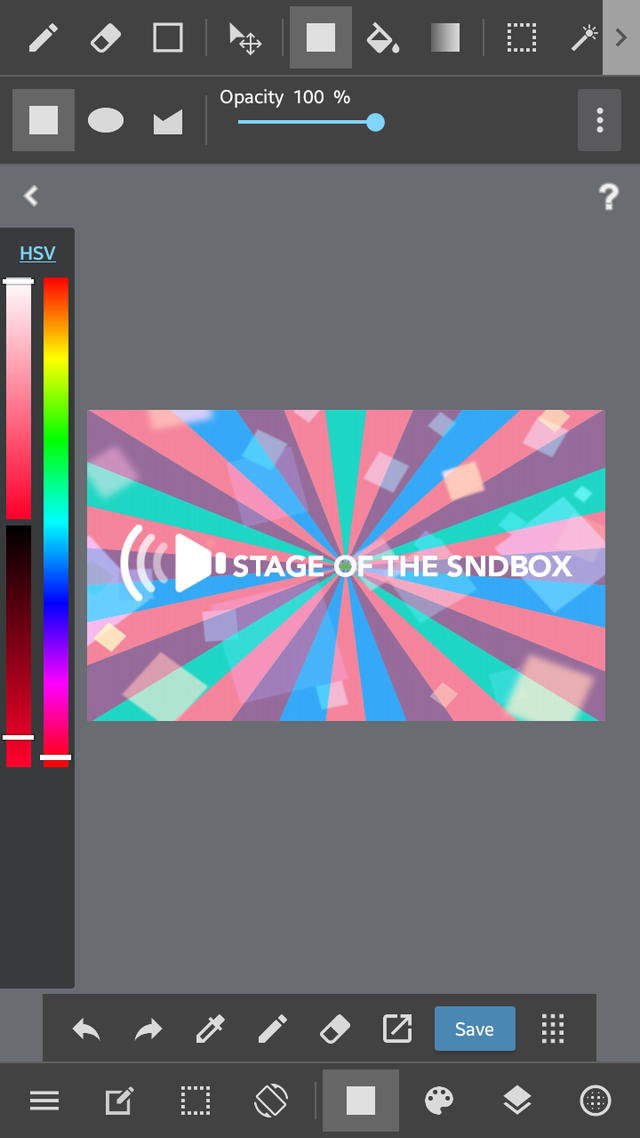
Step 7: Insert a speaker icon and type the text of STATE OF THE BOX. Find a suitable font style for it. Note: You may get free icons for commercial use at flaticon.com.
.png)
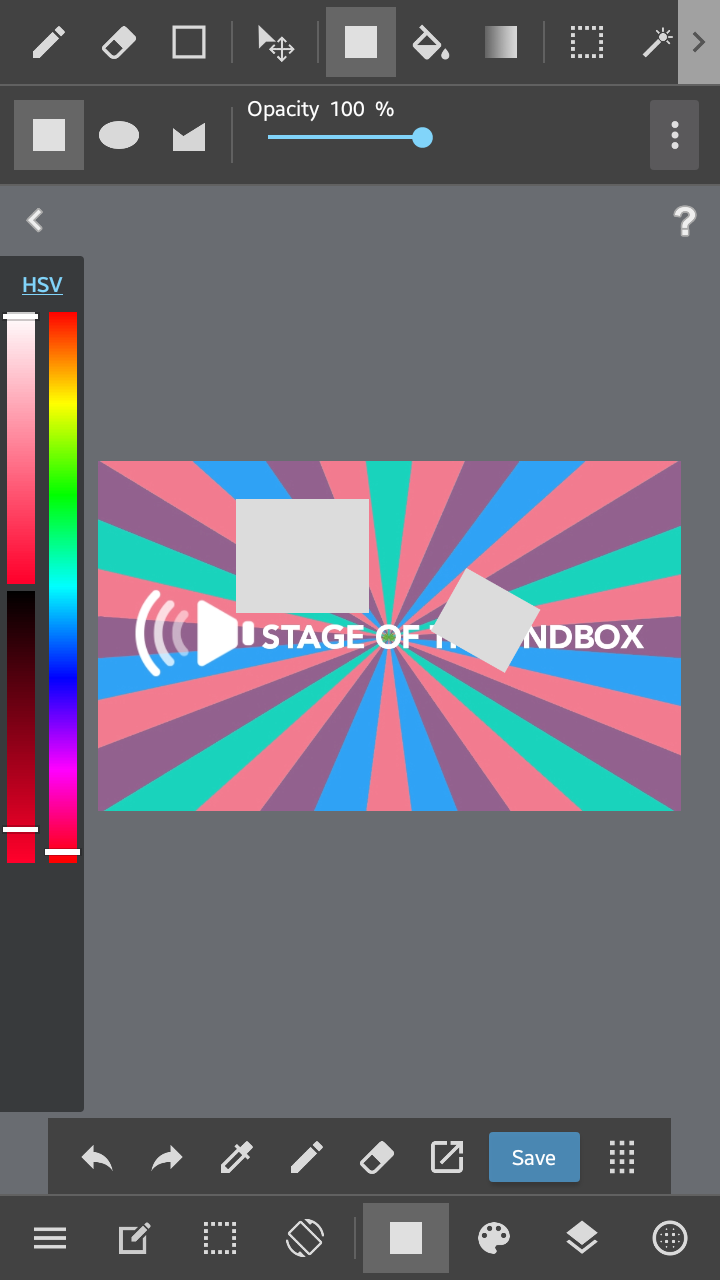
Step 8: Create multiple square shape. Set the opacity between 5% and 25%. Next, set the blurry shape between 5% and 25%. Finally, rearrange the angle and size of the multiple square shape.
.png)
.png)
.png)
.png)
.png)
.png)
.png)
Bro @legendchew.. State lar not stage 😅
Yes, @superoo7 just told me in Discord. Hahaha. I just corrected it. Thanks @aaronleang! 🙇
Oh, interesting :o Thanks for giving us a peek into your ideation & creation process :)
I have not done anything like this, but I think it's helpful for me to be aware of what can be done for art and design!
My thoughts:
How did you post your pictures in 2 columns? :O :O :O That's ingenious!!
Hope you fare well with your competition, @legendchew! :D
That's a great idea! Thank you for your suggestion. I have updated the screenshot and step by step tutorial into side by side format.
In the beginning, I did not do that because I was afraid it mess up the table width since it will auto adjust by itself. After I tried it, the result turns out not bad at all.
You may need to use table format either in markdown or html programming languages to post the 2 columns.
Awesome formatting!
Different from what I expected. When I saw it, I was worried and checked it on my phone. Man, this turned out well for you! :D
Oh, okay, markdown/html tables. Noted! Thanks for that :)
I have to change the format again since the table format does not support the width alignment that well. Each tutorial step will have an image at the top.
Is that a typo? state? 😂
Yeah, I didn't realize that until you told me. Hahaha. You really save me a big time. Appreciate it a lot. Thank you very much my idol! 🙇
hopefully you gonna win this @legendchew
Hopefully will. Thanks for dropping by @tfq86.
This post has been curated by TeamMalaysia Community :-
To support the growth of TeamMalaysia Follow our upvotes by using steemauto.com and follow trail of @myach
Vote TeamMalaysia witness bitrocker2020 using this link vote for witness