Hollow 3D printable moon puzzle
The time is at hand !
my make-any-spherical-3d-object-a-puzzle plan has succeeded !
Bow before your mighty puzzle overlor...
what's that ?
You'd rather I explain what I'm yelling about rather than laugh like I just conquered the entirety of the planet ?
OK, your loss XP
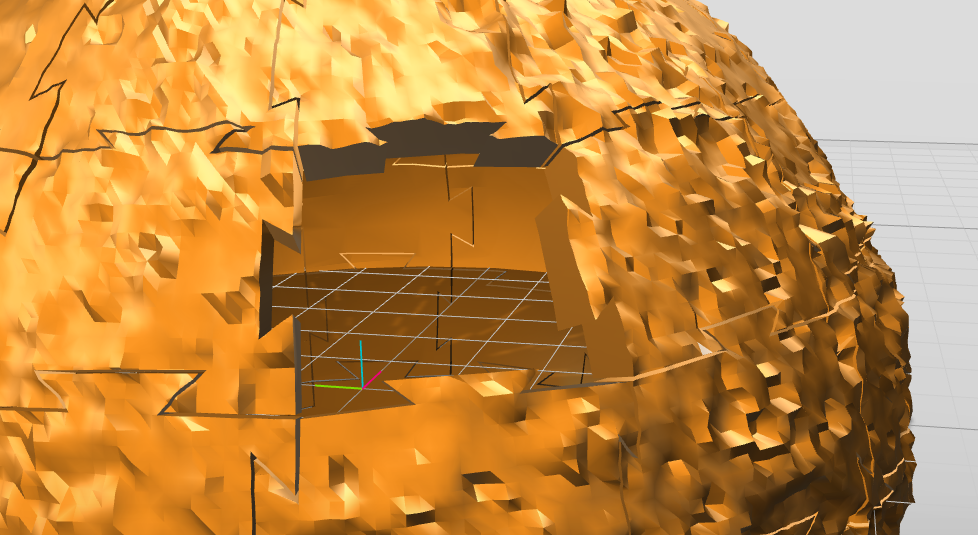
Here's the entire thing, still missing a piece, so you can see what it looks like:
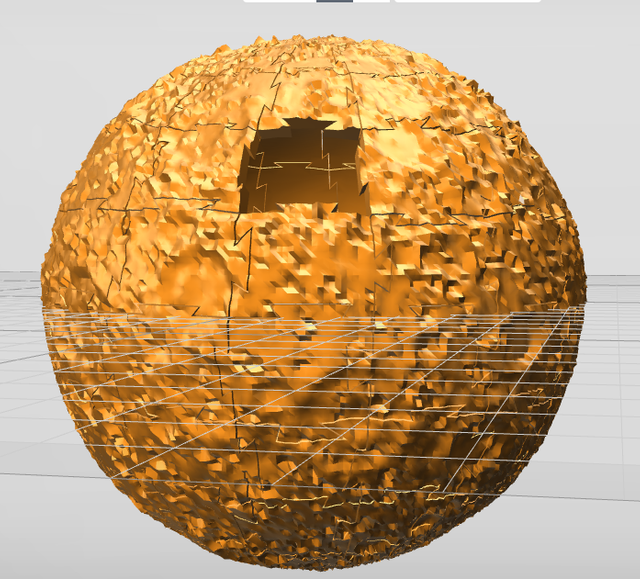
And what the inside looks like:
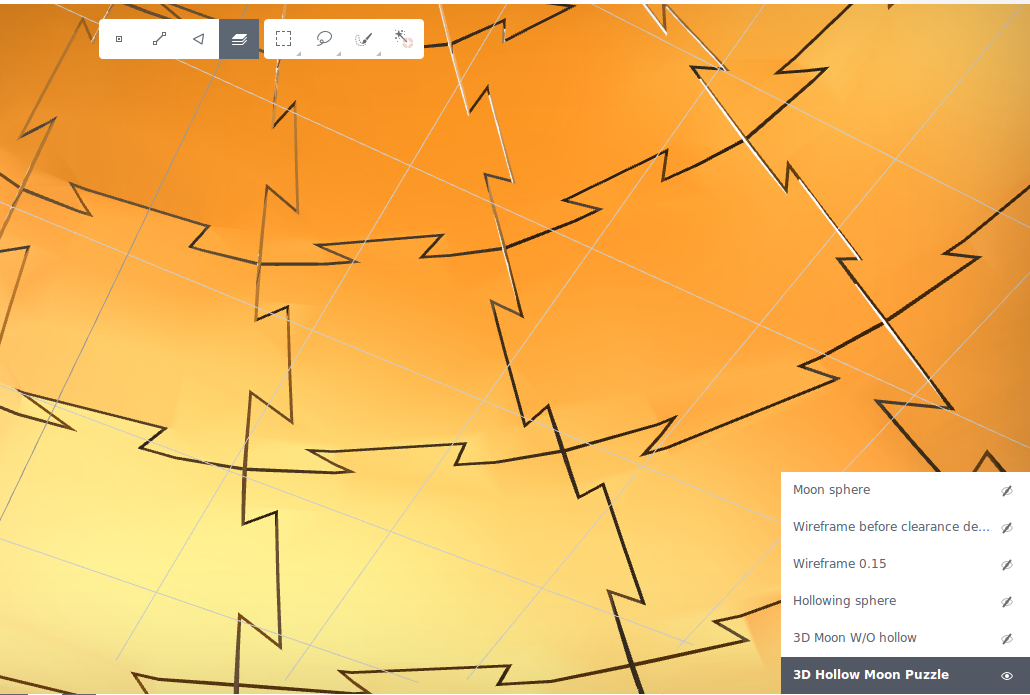
The Creation of the Spherical Puzzle Template.
Previous experiments (Prototype 0A and 0B)
I made a few experiments trying to create a spherical puzzle for the past few models, as can be seen below
The "wireframe" idea.
While working on 0B, the 4 part moon puzzle project, I had an epiphany !
What if I simply:
- created the outlines of the puzzle pieces on a sphere
- removed the puzzle pieces themselves, leaving a wireframe of their outlines in a spherical form
- extruded that outline outwards,
- used some Boolean dark magic to cut the outline form out of a more complex 3D spherical model !
First step, finding a complex 3D model and making a sphere to outline it
I choose to go with GlobeMaker's 10X Rev Moon, with a 10X altitude exaggeration.

Given I've based this model off his work, it'll be released under a CC-BY-SA license, as per the CC license he's applied to it.
So, I imported this Moon into my project on Vectary

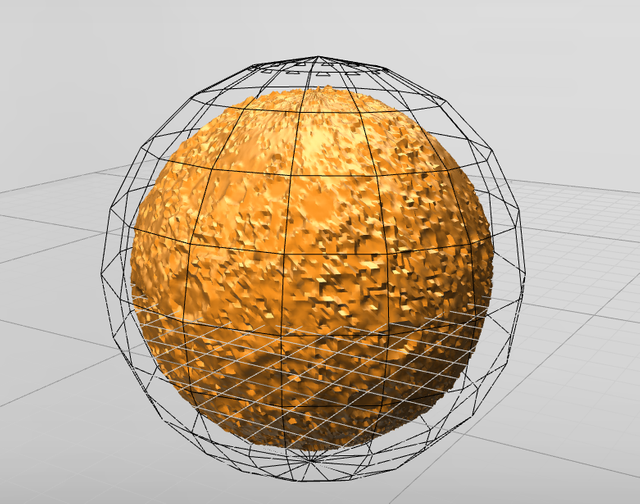
And created a sphere (The sphere that will soon become my apply-anywhere template X-) ) to surround it.
Here's a view of the sphere, stored in a separate layer, in wireframe view (which makes the faces transparent)
Then, it was time to draw a complete set of puzzle pieces out on it.
I talked about the way I did this in my article on Prototype 0A, but I'll review the most important bits here.
After applying the different selectors (snap to face, snap to end, snap to middle and 1/3 2/3 segments) to the draw command, I drew the different puzzle pieces out on the sphere.
This took some time, but here's the final result:
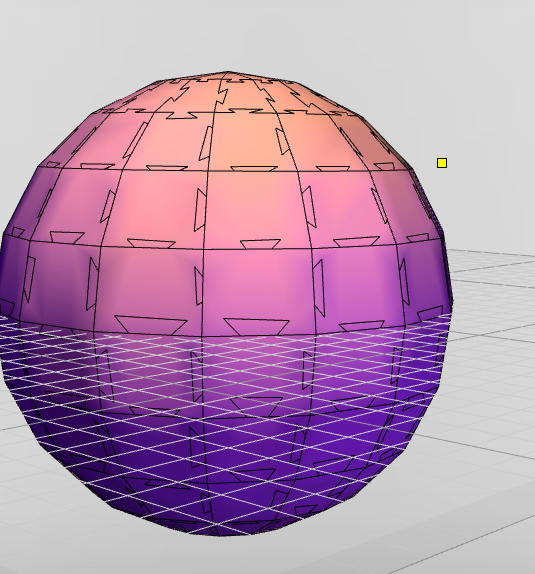
If you've got good eyes, you can see this picture was taken after I had begun Step 2: making the pieces unique
This is basically, on a piece by piece basis, selecting the different edges that are cutting a piece into separate faces and deleting them:
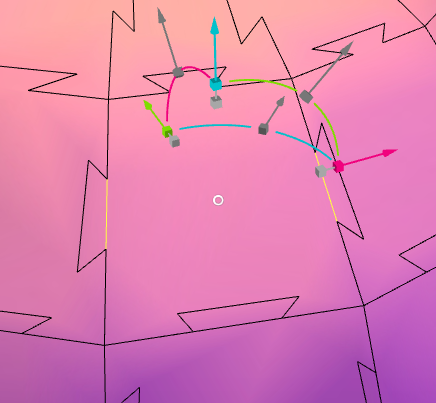
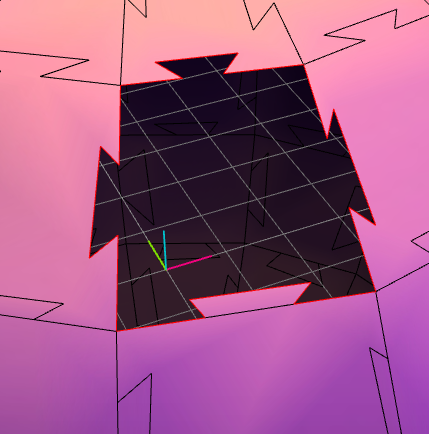
Then using CTRL-O to apply the Fill Gap tool to the newly created hole.

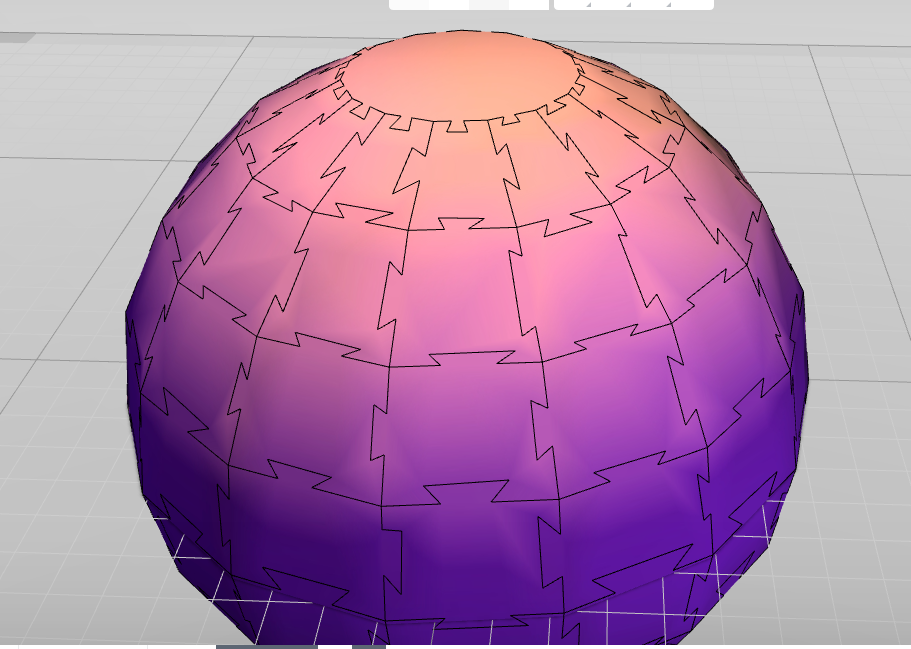
After applying this to ALL the pieces we get this:
Bevel the outlines
Now, we can bevel the outlines by our selected amount.
Said amount depends how much wiggle room you want for the pieces to fit together.
They need to be tight, but still be able to fit together without forcing too much.
I choose .15mm for this test (but the Vectary model I've created contains a layer called "wireframe before clearance" that will let you adapt it to your desired level)
So, I select every single line in the model, and prepare to bevel it by 0.15mm
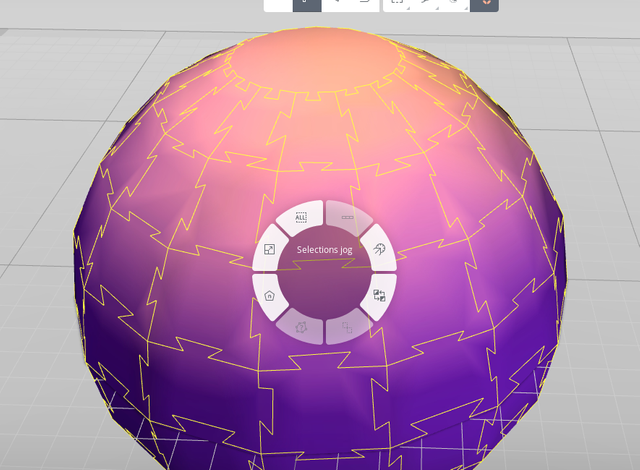
Once you start moving after having activated the bevel tool, there'll be a little box with numbers in it to show the current bevel value. clicking it allows you to set it more accurately.
Here's what it looks like afterwards
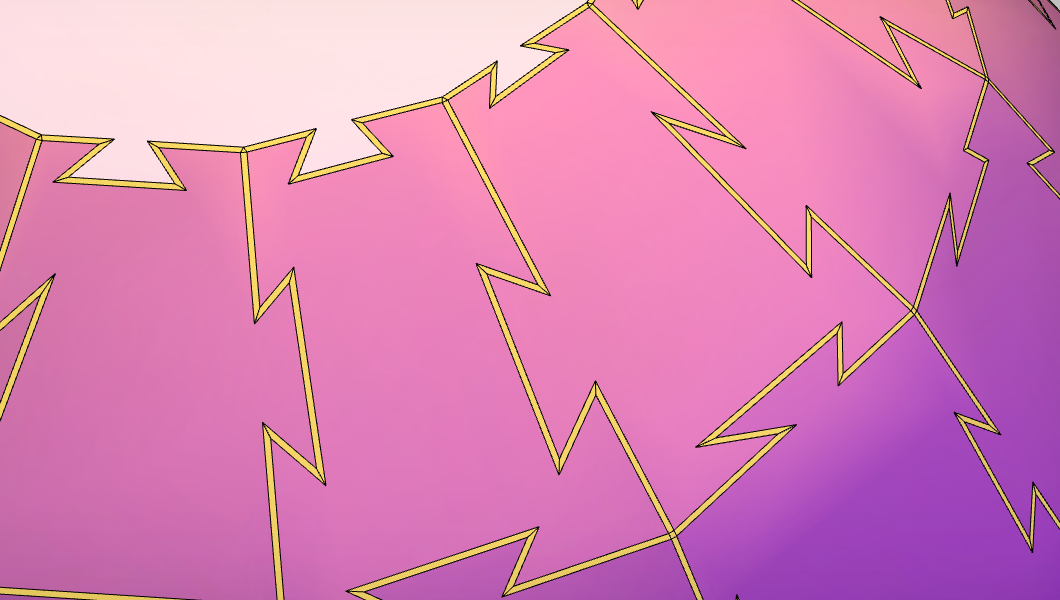
Delete the puzzle piece "faces"
Now, we can transform this into a real "template" that we can apply to our 3D moon !
After the bevel you did last time, you should still have very face created by this action selected.
Now, we can do some black Vectary magick by using the "invert selection" tool !
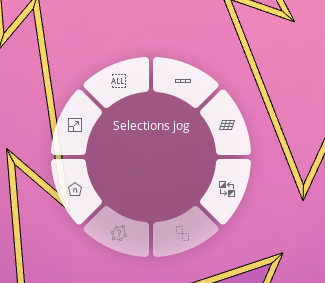
Once you've done that, all the puzzle piece faces should be selected, and you just need to hit delete
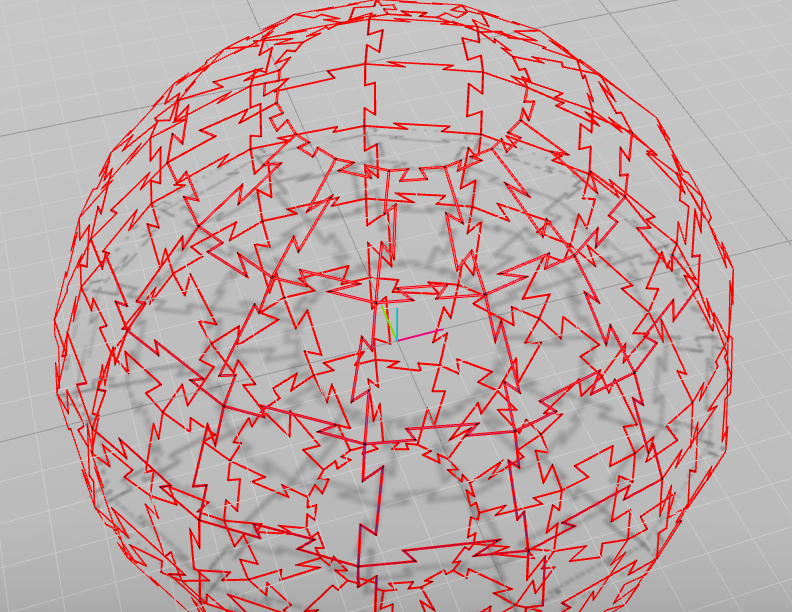
Now, we need to make this an actual 3D template, instead of a spherical set of lines.
Extrude the lines by about 1 mm outwards (any more, and you risk making some funky self intersections, given you're extruding lines that are NOT facing the same direction at all)
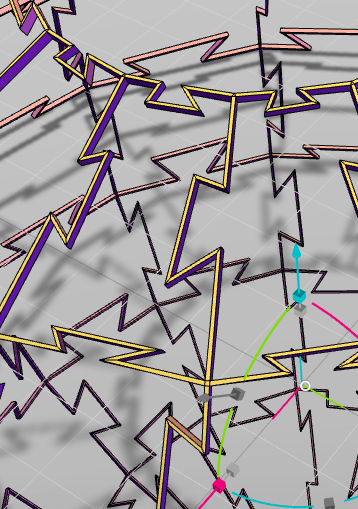
And now we do some REAL black magic !
Keeping the same faces selected, find the selection gizmo

And click and drag the "Proportional scale" button (the one where, if you hover over it, all 6 squares on the cardinal directions will be highlighted and the words "proportional scale" will appear) and move it about a bit.
You'll see a set of values like this appear:
1.1,1.1,1.1
simply click in their box, and rewrite it to
2,2,2
You've now proportionally scaled just the upper faces of our template to 2X size !
Here's what that looks like:
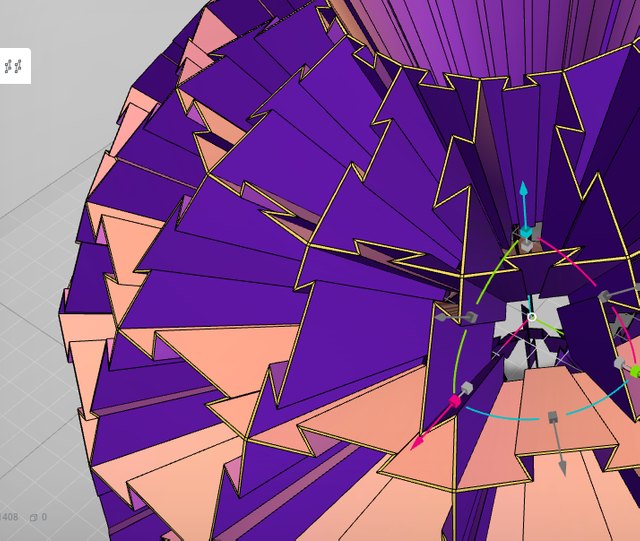
With that, we can proceed to overlay our template with our moon !
The template is finished (and can be reused as described below on pretty much any spherical model !)
- scale down the template to fit snugly over the spherical model you want to make into a puzzle, such that the puzzle outlines are still visible outside, and that no part of the model overlays them, like so:
Too big:

Size it down using Proportional scale, after having aligned it with your spherical model in the different axes:
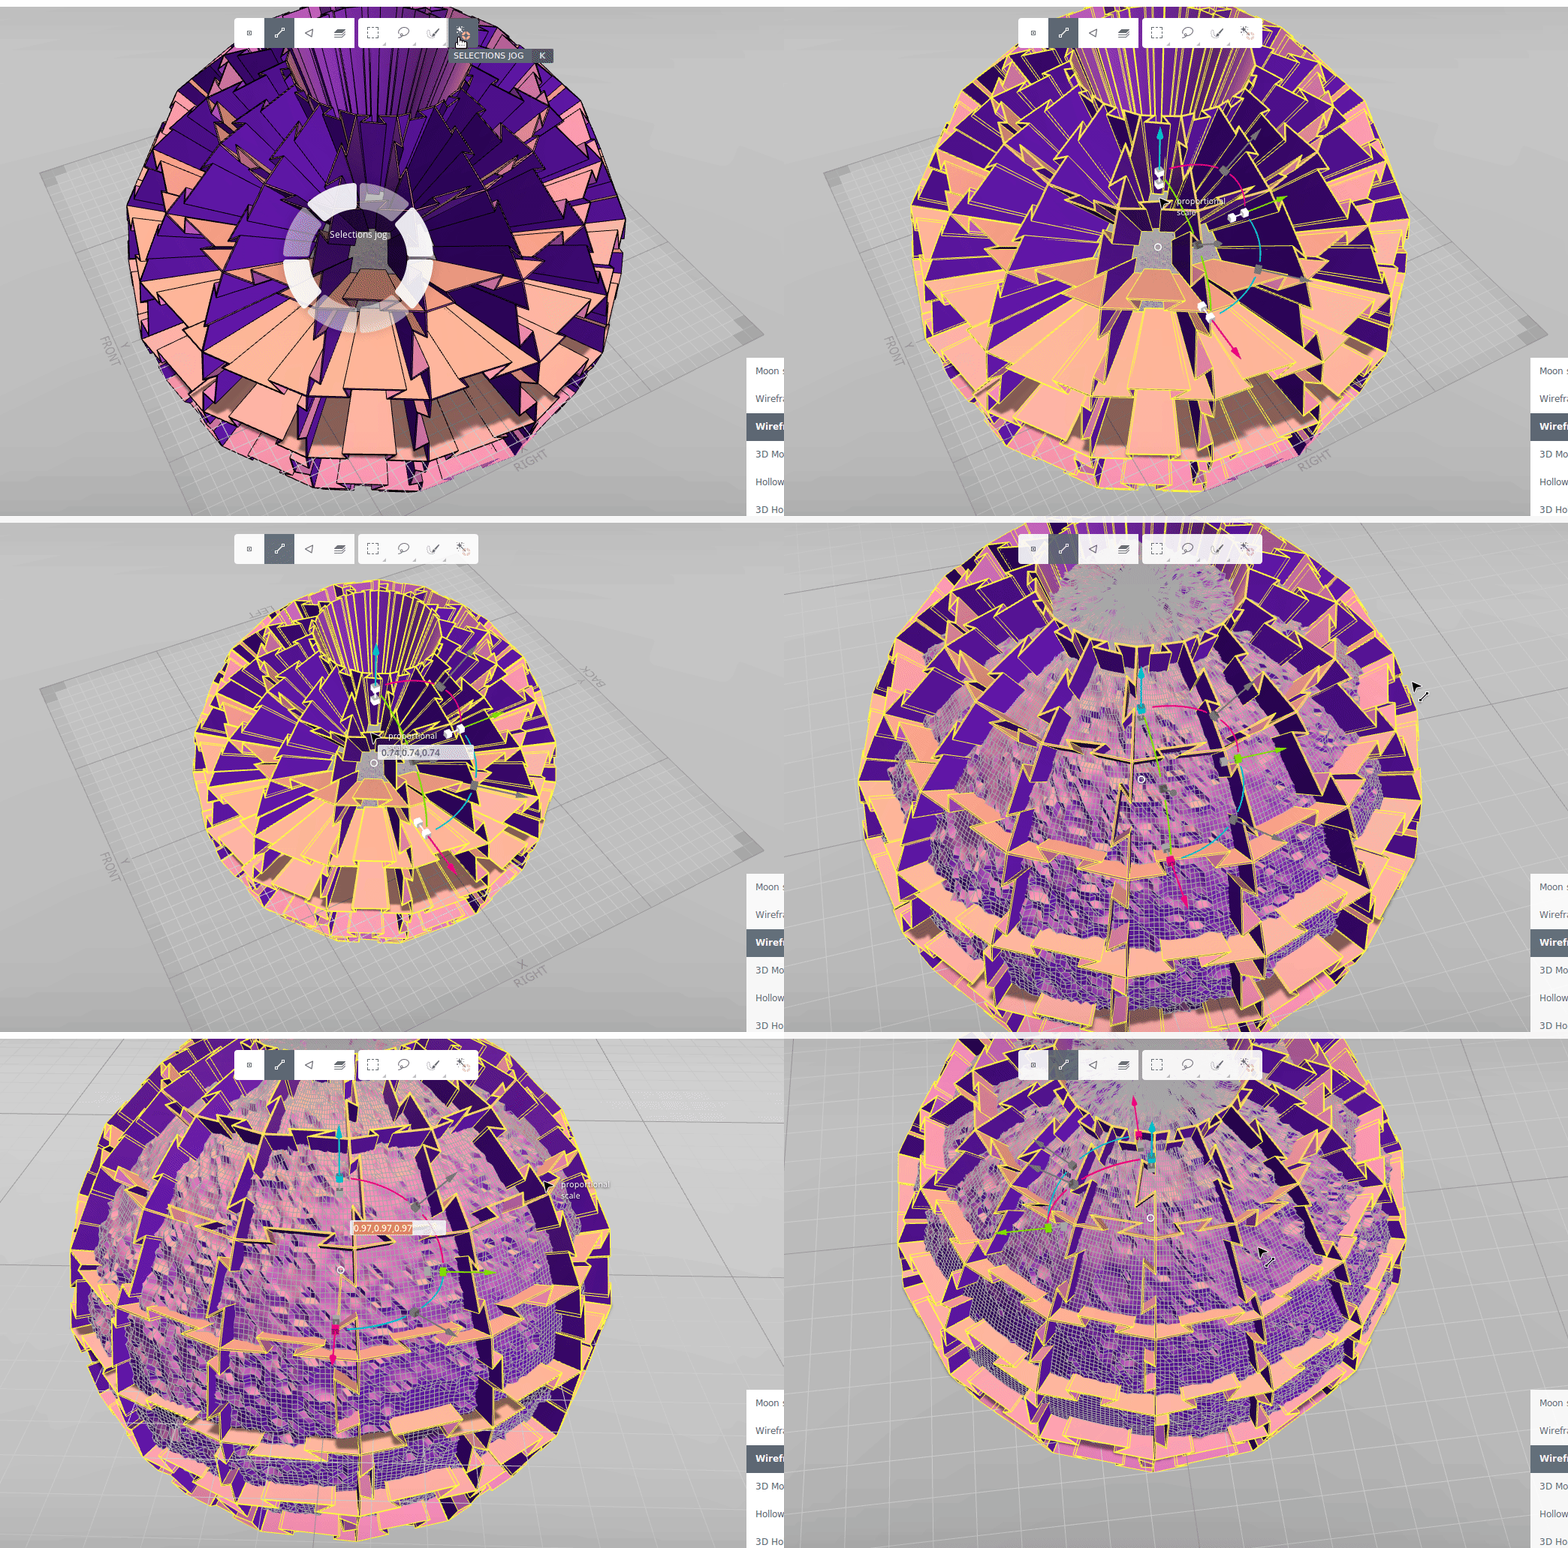
- Make a perfect sphere and scale it so it fits snugly within your model (if your model is ALREADY hollow, just skip this step)

Above, you can see that I've made the moon transparent, so that the perfect sphere inside is visible.
It fits rather well into the Moon, though not perfectly due to the altitude exaggeration the model creator applied.
But that just means some of the puzzle pieces are bigger !
Let me take this moment to show you how your moon and template look like if the moon is still transparent

As you can see, the puzzle piece template is DEEP. and gets progressively smaller. this is due to the need for everything to converge at the center of the sphere.
- Boolean !
Cut the template (and, if your model is not already hollow, the hollowing sphere) out of the spherical model you want to puzzlerize ;)

Here are the 3D hollow moon puzzles available on Vectary, where you can remix the model, and even get a sneak-peek at the layers containing the "3D Sphere puzzlerizer" model , thatI'll upload separately tomorrow and Myminifactory
Voila !
I plan on uploading a separate model containing just the "3D sphere puzzlerizer" (It's my model, I get to horribly name it XP) to Vectary tomorrow, after demonstrating it on such fun things as:
- The Deathstar (still got to find a model, but it shouldn't be too hard ;) )
- The earth with relief
- a few other planetoids
- any ideas ? I'm open to suggestions !
As always, peterbock.eth if anybodies got any interesting tokens to share, and all my 3D models and the pictures of them are released under CC BY-SA-NC 4.0


You've received an upvote from @slothicorn! Click Here to Read our New Curation Policy And Updated Rules
(@justatouchfey) ((.)ω(.))
Thats awesome! I’m not into 3D printing yet, still kinda pricey. That and the learning curve. Anyhow seams like that project took a lot of time and effort. I for one am in awe of your perseverance and dedication to your vision. So, very, freakin, cool.
Thanks a lot :)
It is kind of pricey.
I don't have my own printer yet, but I won 2nd place in one of MyMiniFactory's design competitions back in December, and should be receiving the 3D printer pre-order prize in the following 1-2 months hopefully :)
I've become a bit addicted to the whole design-an-object-and-print-it thing XD
As far as learning curves go, I think it's lightening up now. Between software tools like Tinkercad that let you make models by basic addition and subtraction of shapes, and super cheap "consumer printers" for getting one's feet wet (you still need the high quality ones for good prints, especially for anything in other materials than simple PLA plastics), it's getting very accessible.
I'm glad you liked the model !
Took me 3 prototypes, a lot of thinking and a LOT of small detail work to make the template into a form where I could apply it to most spherical models easily, though it's still limited by Vectary's Boolean plugin's weaknesses (mainly the incapacity to deal with any self-intersections of lines/faces or not-perfectly-flat faces).
But all in all it still makes me all tingly inside to have succeeded in making it XD
Tingly inside? Man if I was you i’d be bursting at the seams. I’m a 3D thinker, but usually only in straight lines. Still trying to grasp the whole thing.
Congratulations on your design win. Did you post anything on it? Would like to see more of what you got.
Yeah, Given that it was something here on Steemit that got me into 3D printing I've been posting a design article on pretty much every model I make. It takes some extra time to take the pictures of the process, but it forces me to understand what I'm doing and think about it, and that let's me make some adjustments here and there in the process :)
Here's the post where I mentally jump up and down in glee at the competition results:
https://steemit.com/design3d/@pbock/my-steemit-ornament-won-me-a-3d-printer
Join our Discord Channel to connect with us and nominate your own or somebody else's posts in our review channel.
Help us to reward you for making it ! Join our voting trail or delegate steem power to the community account.
Your post is also presented on the community website www.steemmakers.com where you can find other selected content.
If you like our work, please consider upvoting this comment to support the growth of our community. Thank you.