Don't Throw Away Your Robots; Repair Them!
As you grow older, your body may not work as well as it used to. Should your loved ones throw you in the dumpster out back? Of course not. So why would you toss out your trusty, dedicated robot which has given you years of tireless service the minute it stops working properly?
Machines do develop frustrating problems and need some TLC from time to time, but you can't fairly expect them to take good care of you unless you take care of them. Besides, do the determination, steadfast obedience and uncomplaining loyalty of a robot count for nothing in your eyes?

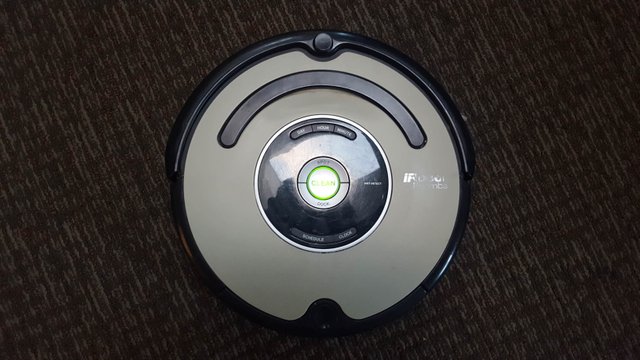
It's decided then. Don't toss it, repair it! In this article we're going to learn how to repair the Roomba 600 series. The 500, 600, 700 and 800 series are very similar internally so much of this can be generalized to apply to those models as well. The most common problem these little guys have is stilted movement, making a repetitive "kerchunk" sound once per second or so.
Most online guides teach you to clean the brushes, but while that's an important part of ongoing maintenance, it usually isn't the culprit. Instead, you'll first want to remove the debris bin. Remember to clear out the filter cartridge too, or suction will diminish over time.
Now open the brush cage. If you own a Roomba you probably already know how to clean the brushes. This can cause the symptom described earlier, but if it persists even after the brushes have been cleaned, the problem is in the gearbox.
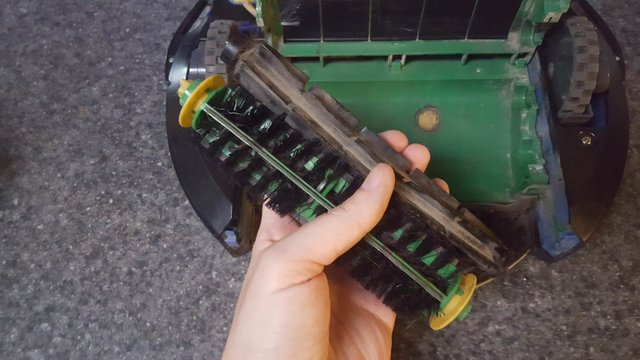
Go ahead and remove those brushes. Take the opportunity to clean them, paying special attention to the hairs wound up around the far ends. You'll need scissors to cut those circular masses of hair loose.
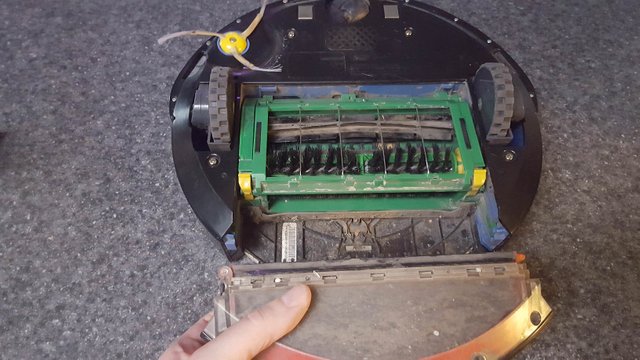
Now unscrew the plastic shield which covers the robot's undercarriage. Hehe, "undercarriage".
Remove that and stash it nearby. Leave the screws in so you don't lose 'em.
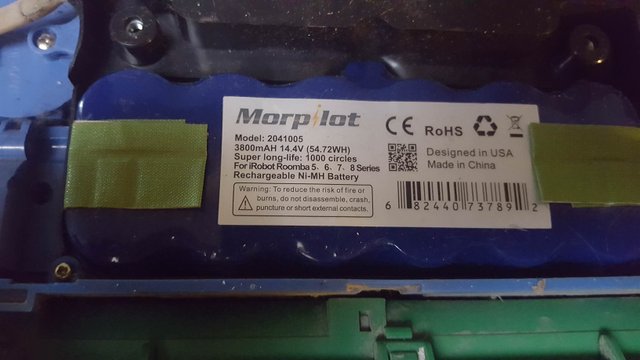
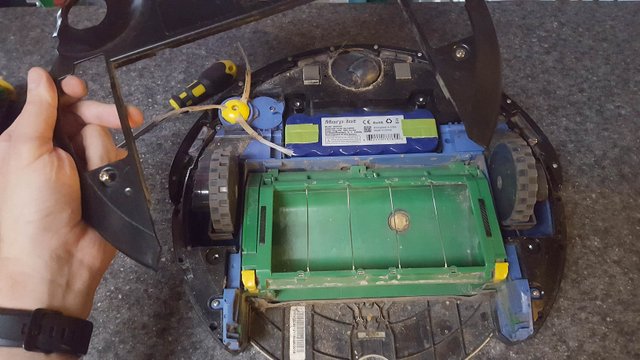
Note that this is not an OEM battery. It's a superior replacement made by Morpilot with more capacity. There are a few companies that make lithium batteries in this format but I don't trust the OEM charger to charge them since it's intended for NiMH.
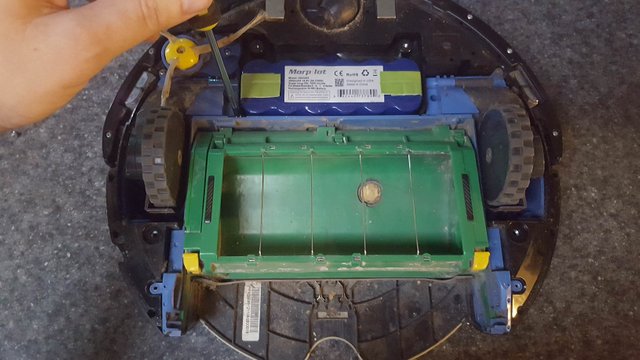
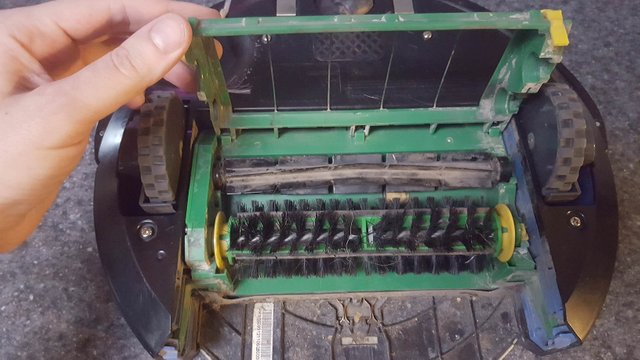
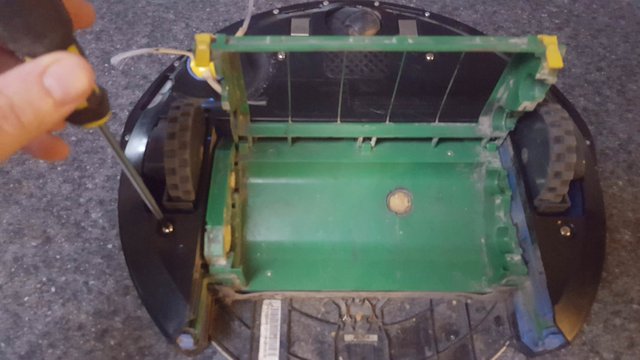
Now unscrew the 4 screws around the cage assembly.
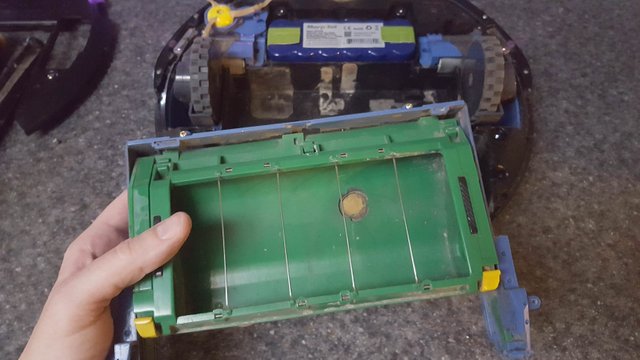
Stash those screws in a cup or something, you don't want to lose them. Remove the entire cage assembly next.
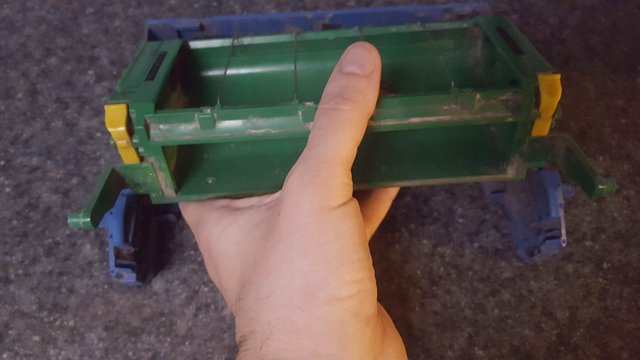
Notice in the back, there's a thin steel cable that is designed to hook into a little crevice underneath the cage assembly. Near as I can tell this prevents the torque of the motor from damaging the plastic it's mounted to over time.

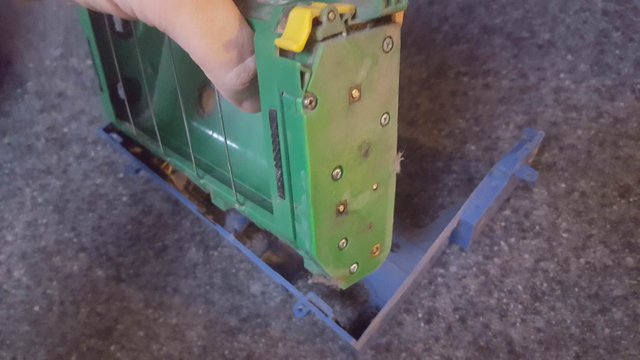
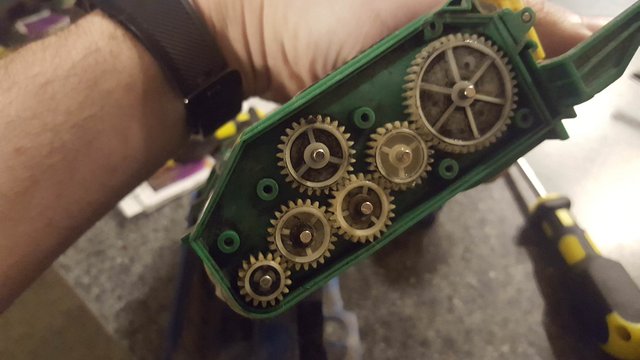
Here's the gearbox! It would've been helpful of iRobot to make the cover transparent so you could see when it needs cleaning, but wishes aren't horses.
Holy shit, it's bad in there! If the answer to "when did you last clean out your Roomba's gearbox" is "Roomba has a gearbox??" then probably yours looks like this on the inside too. As it gets harder for the gears to turn, it will begin to cause the "kerchunk" sound and "stumbling" behavior as the robot tries to move.
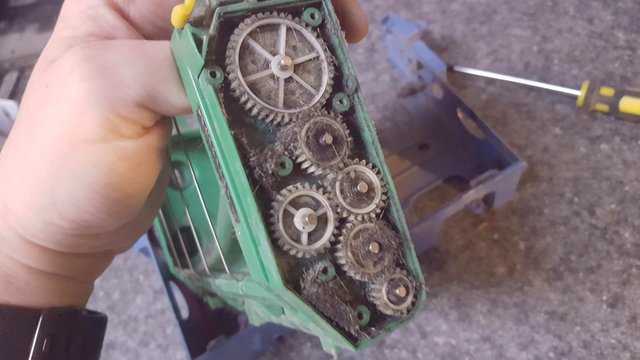
Look at all the dust bunnies and hair I cleaned out of there! This much accumulates in just a couple of months.
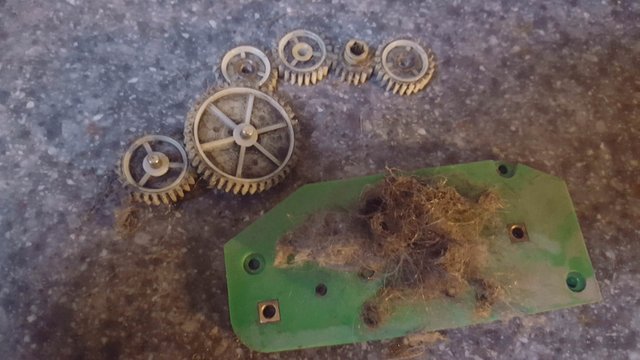
Even after running the gears through the dishwasher there's likely to still be some crud on there. That's fine, it was the dust and hairs that really needed taking care of. So long as the gears spin freely with nothing obstructing or snagging in them, everything's gravy.
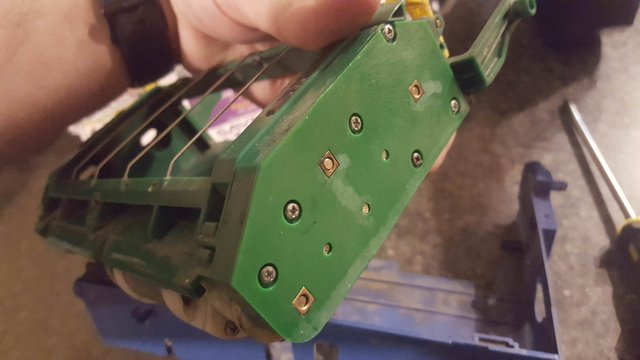
There's the gearbox sealed up again, with the screws reinstalled.
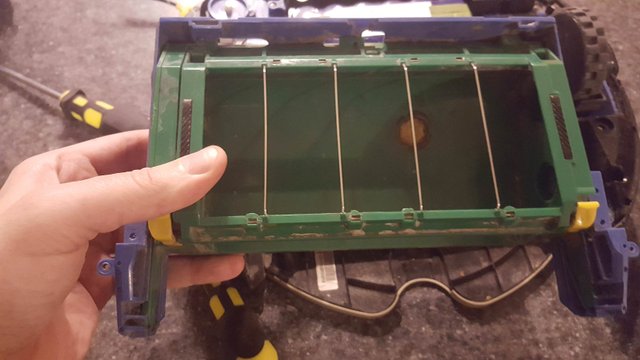
There's the brush cage, popped back into the cage assembly at the lower left and right corners where the hinge mechanism is.
While we're in here, the corner sweeper is looking pretty rough. It's about time I replaced it.

First let's get everything reassembled and ready to put the undercarriage shield back on, since the corner sweeper goes on over that.

Okay, now the new corner sweeper is installed. Easy peasy!

With everything back together, R.A.L.F. the Roomba is good as new! Look at him go! Fast Rooma is fast! Gobbling down the detritus of human excess, quietly cursing our sloppy ways!

That's all for this time. Remember, if you can fix it, don't toss it! That robot has lots of good years of dependable service left in it! Surely that's the least you can do, after all the tedious labor your robot has performed in your place.
Follow me for more like this!
@alexbeyman,
You repaired it! Great work and yeah I also do that kind of things too!
Cheers~
Hey thanks for this, we have a Roomba that has been sadly sitting in our laundry room for... several years at this point... neglected and not working properly... this is the inspiration I need!
Wow, an impressive guide that I will be revisiting in the future. We have 3 robots (2 vacuum and one mop) doing trusty service in our house. So far, no problem... But when the day comes...
This post will be used by our robot overlords to delay your execution.
Posted using Partiko Android
Excellent! We need more info like this. Keep it coming!
Posted using Partiko Android
Great idea to repair your robot your. It will give you decent saving but it will also increase your learning skill. Thanks for sharing roomba 600 series maintenance tutorial with pics. It will help a lot of user
This post was shared in the Curation Collective Discord community for curators, and upvoted and resteemed by the @c-squared community account after manual review.
@c-squared runs a community witness. Please consider using one of your witness votes on us here
@alexbeyman You have received a 100% upvote from @intro.bot because this post did not use any bidbots and you have not used bidbots in the last 30 days!
Upvoting this comment will help keep this service running.