Java programming for beginners - Lesson 9 - Arrays -Part 2/2
Introduction
Hello everyone, welcome to the tenth lesson in my Java programming for beginners tutorials series. The ninth lesson(lesson - 8) - Arrays -Part 1/2 can be found at - https://steemit.com/programming/@robertlyon/java-programming-for-beginners-lesson-8-arrays-part-1-2
This lesson is the second part of the Arrays lesson that I posted yesterday. In this lesson, I will be covering more of the details about array and will be showing you an easier way to loop through an array. At the end, I will provide a challenge so that you can practice and make sure you have a firm understanding of arrays.
Arrays
The for-each loop
In this section, I will show you the for-each loop. If you think back to the first part of the arrays lesson you will recall that we used a simple for loop to print out the contents of the array. By using the for-each loop we can make our code more concise and use less code to gain the same results.
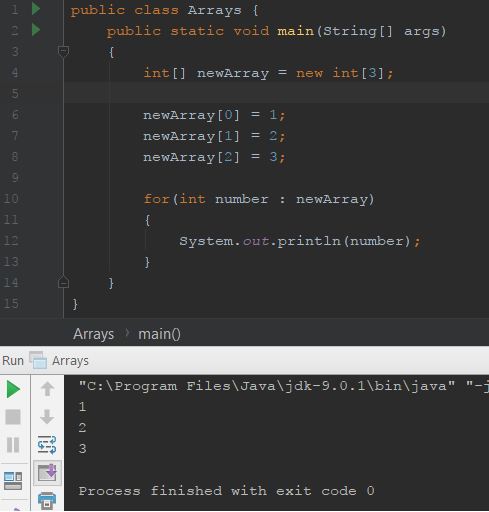
Have a look at the code below and try to get a picture in your head about how this code might work before you look at the description.
for-each example
public class Arrays {
    public static void main(String[] args)
    {
        int[] newArray = new int[3];

        newArray[0] = 1;
        newArray[1] = 2;
        newArray[2] = 3;

        for(int number : newArray)
        {
            System.out.println(number);
        }
    }
}
Description of code
You should be familiar with the code that you can see above as it is the same code as example 1 from the previous lesson, although note the change in the for loop.
The new syntax of the for loop is what we call a for-each loop. The line of code for(int number : newArray) can be read as "for each number in newArray". This means that the variable "number" is holding the value associated with the index of the element of the array. Because of this number holds the value at index 0 then gets incremented each time the loop passes.
This loop does exactly the same as the for loop in the previous lesson just with a simpler syntax. One thing to note with the for each loop is that you do not have control over what index the loop begins or ends on.
Although the same thing can be achieved by a for loop it is useful to remember the syntax for a for-each loop as they will become more useful when we move onto Java Collections.
Immutable
Arrays are what is known as immutable, this means that they can not be changed once they are created. If you make a change to an array what actually happens is Java creates a new array with the changes and discards the old array through a process called garbage collection.
Challenge
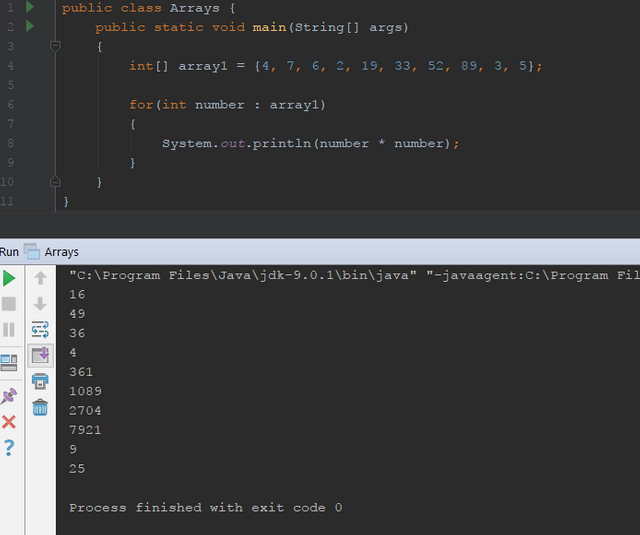
In this challenge I want you to create your own array and populate it with at least 5 different integers. I then want you to use a for-each loop to find the square of each integer(multiply the integer by itself) and print the value to the console.
Look below for an answer to the challenge.
public class Arrays {
    public static void main(String[] args)
    {
        int[] array1 = {4, 7, 6, 2, 19, 33, 52, 89, 3, 5};

        for(int number : array1)
        {
            System.out.println(number * number);
        }
    }
}
Well done if you managed to achieve the goal of the challenge, if not then don't worry, maybe just re-read some of the information from the last two lessons or look at some of the additional resources I have provided below.
Additional Reading
If you would like to read more about arrays then you can find some extra information on Oracles website at https://docs.oracle.com/javase/tutorial/java/nutsandbolts/arrays.html
Additionally, if you are interested in understanding the theory behind arrays as a data structure you can start here https://en.wikipedia.org/wiki/Array_data_structure
Conclusion
This lesson is the second part of the arrays lesson that I pushed out yesterday. This was just to cover some of the stuff I missed out on as I thought yesterdays lesson was getting too large. Hopefully, now you have a decent basic understanding of arrays and are able to create your own and use the fore each loop to loop through them.
Looking to the future of this blog I will now be starting to do a few lessons on building some actual programs and small command line games. This should provide some more interesting lessons but it is likely they will be split over a few different lessons like this lesson was.
If there is anything in this lesson that confuses you or there is anything programming related that you need help with then please comment below and I will try my best to help you.
As always if there are any improvements you think I can make to this post then please leave a comment and I will consider adding it.
Thank you for reading and I hope that someone will get some use out of these tutorials.
Message to readers
Thanks for taking the time to read my post, if you are interested in Science, Technology or Computer Science then check out my blog, content is a little sparse at the moment but I am making an effort to provide good quality original content to the Steemit community.


👍Verymuch appreciated....like the way you imparting edication...upvoted n followed
Thank you very much :)