Restoring My Roommate's Old Photos: Black & White and Color Techniques
A Light Touch
A Fun Project
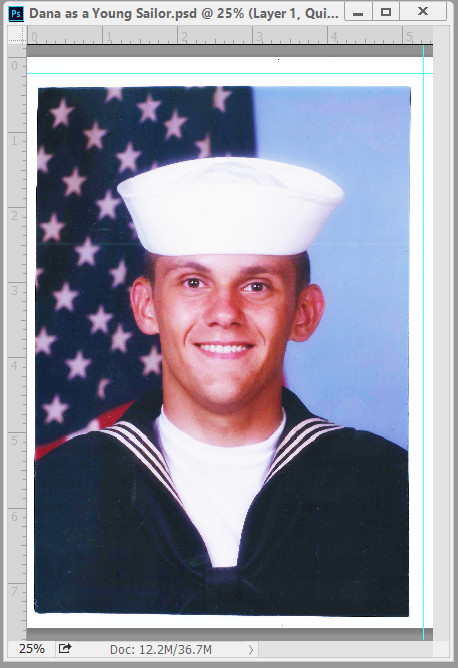
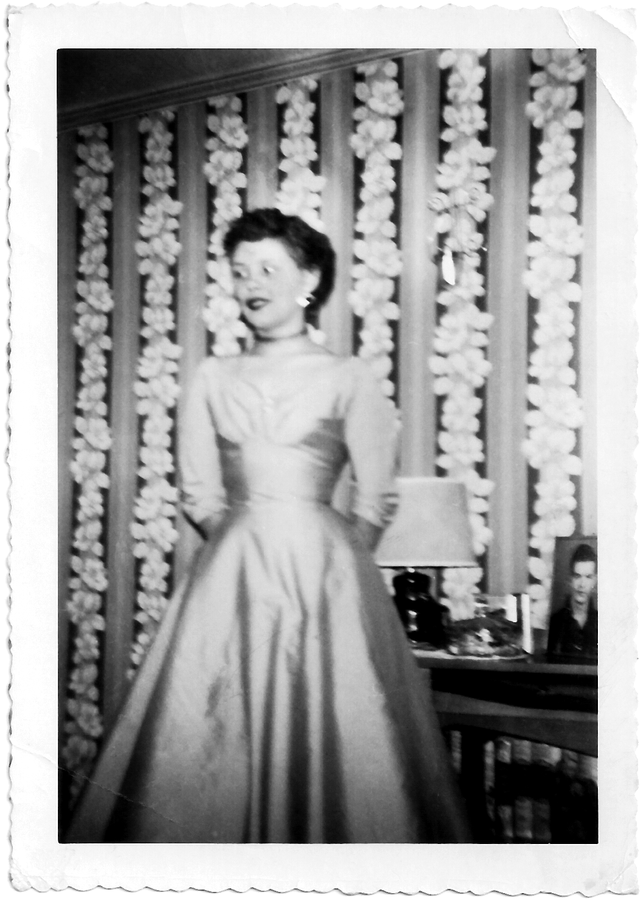
A couple of weeks ago, my roommate Dana asked me to scan a couple of old photographs he found while looking through his old photo album: one was an old black and white photo of his late mother, Patricia; the other was a color photo of Dana in his sailor uniform, taken in 1986.
I knew that Dana would have been satisfied with just the scans, but I decided to do a little restoration work with PhotoShop before I sent him the finished products.
Being a self-taught PhotoShop user, I'm always hesitant when facing the task of working on images of real people. So, after making scans of the photos, I searched for two good tutorials—one for the black and white and the other for the color.
I found a very good tutorial—How to Digitally Restore an Old Photo in Photoshop—to walk me through the steps of restoring an old black and white photograph.
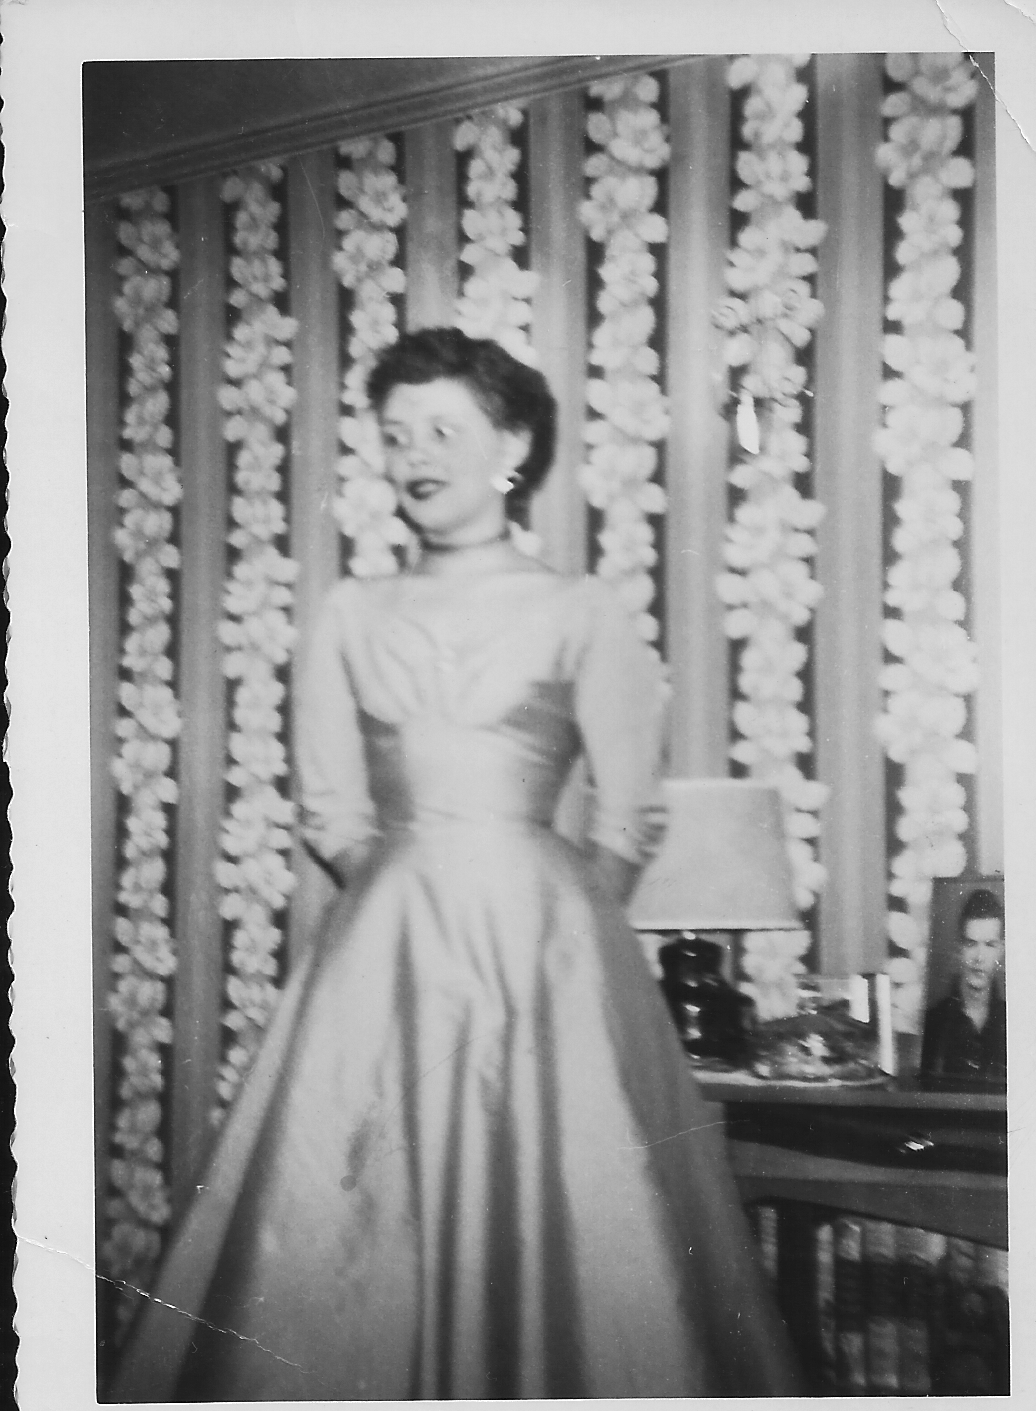
The first step was to scan the photo at 300dpi. (I also scanned the color photo at 300dpi.)
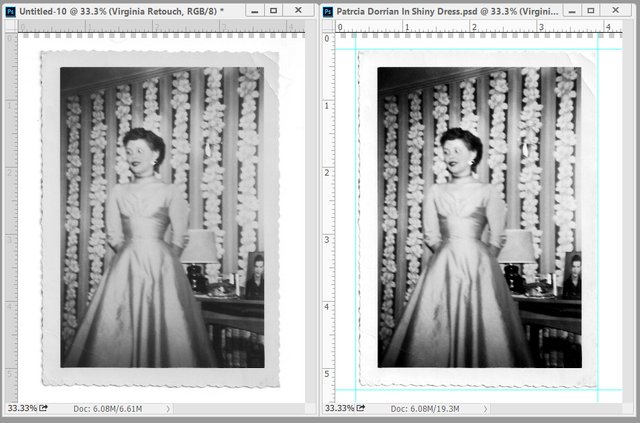
I loaded the jpg into PhotoShop, copied it to a psd and duplicated the layer. Then I removed some dust and scratches using the dust and scratch filter. (Filter-Noise-Dust & Scratches). Next, I removed some speckles and noise from the photograph (Filter-Noise-Reduce Noise). For the remaining touch ups–fixing specks, repairing lines/creases, I used the spot healing brush.
For one last finishing touch, I adjusted the brightness and contrast, being careful to first create another layer on which to work. You might have noticed that I left the edges of the photo, where creases can be seen, untouched. This is, after all, an old photo. In order to preserve some authenticity, I left some signs of wear evident around the edges.


One Down, One to Go
Although Dana's old sailor photo is not as old as the black and white photo, it came with its own set of problems. Luckily, I was able to find a good tutorial pretty quickly: How to Restore Old Color Photos : Tips for PhotographersAs with the black and white photo, I loaded the jpg into PhotoShop, copied it to a psd and duplicated the layer. Then I ran my AutoAdjustments action (macro) to do the Auto Color, Auto Tone, and Auto Contrast adjustments.
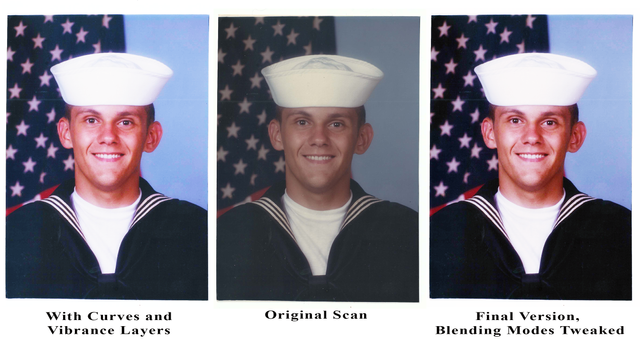
Next, I duplicated that layer (which I had just altered with Auto Adustments) and added a curves layer. With a general S-curve, I brought up the highlights and deepened the shadows. Then, I added a vibrance layer to make the colors pop. Using the spot healing brush, I cleaned up some small specks and scratches. Lastly, I created a Snapshot of the active layers and copied it to a new psd.
Blending Modes
I was ready to call it a night and save the new image as a png to be passed to my roommate, but the skin tone just didn't look right. As a last resort, I decided to play around with the Blending Modes. Frankly, I can't remember all the steps I went through, but I finally got a result that gave Dana's face a more natural look.
The next day, Dana posted the finished portraits to his FaceBook profile. He said he got a lot of compliments from his Fb friends.

BruceWayne Says Hello!
How to Restore Old Color Photos : Tips for Photographers
amazing post, look at the updte of the group : I will resteem to more than 1500 followers for free !
Thanks, I work hard on my posts. I don't want to spam or just produce lazy filler. I find writing about my graphic design work, and my PhotoShop use, helps me hone my skills as a writer and a designer.
@minnowpond1 has voted on behalf of @minnowpond. If you would like to recieve upvotes from minnowponds team on all your posts, simply FOLLOW @minnowpond.