How to Fix Damaged Photos in Photoshop - Tutorial with Example Image
Introduction
I recently did a post on some Polaroid photos which were taken with my 250 Land Camera. These photos were simply scanned and not corrected. Whenever you scan old photos you are likely to end up with a lot of dust, scratches, hairs and any other kind of material that gets stuck either to the photo itself or the glass plate of the scanner.
Cleaning the photos and glass plate of the scanner with a lint free cloth can reduce this but only to a certain extent. Unless you have some kind of factory style clean room you will still get substantial particles of dirt and dust showing up in the scanned image.
A lot of scanners have built in software to help reduce dirt and dust - these automatic correction features can often slow down the process even more (anyone who has scanned more than a couple of photos at a time knows how slow it can be).
In addition to the slowness the auto dust removal feature also has a tendency to leave your old photos looking soft and lacking in detail. It is also incapable in most cases of dealing with actual areas of damage to photos (which is quite common on prints).
A better solution is to correct the photo yourself in Photoshop. This is not hard to do but it can take a lot of time depending on how many photos you have and how much correction is required.
How to do the correction
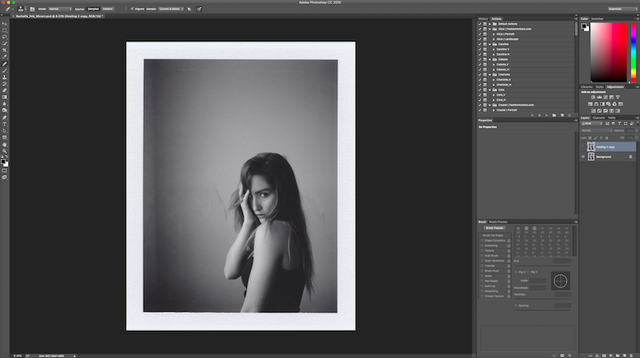
First open a copy of your image in Photoshop.
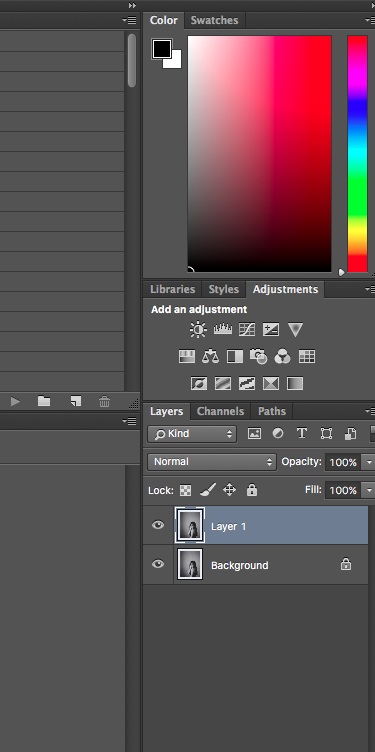
Create a new duplicate layer. You can either use the menu Layer>New>Layer via Copy or use the shortcut Cmd+J on Mac or Ctrl+J in Windows.
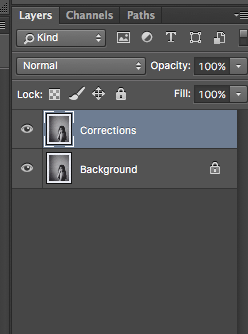
Double click on the layer name in the Layers panel and change it to something suitable e.g. "Corrections" - it is easy to forget this part but it makes it easier to figure out what you have done if you have multiple layers where you have done different things.
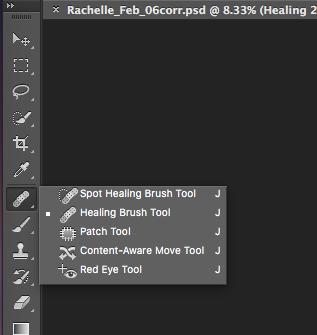
Select the spot healing tool. Pressing down on it using your pen (if you are using a tablet) or right clicking via mouse will show the different versions of this tool. The ones we want here are the Spot Healing variant - this lets Photoshop fix spots or areas by automatically cloning from somewhere else. It works surprisingly well most of the time and the healing brush variant (which I discuss below).
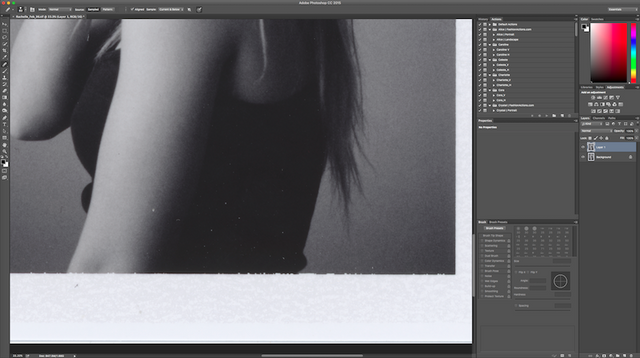
Towards the top of the screen you will see the healing brush settings. You normally want to have the "Source" set to "Sampled" and the Sample set to "Current & Below".
The healing brush variant lets you choose which area to clone. You do this by pressing ALT which shows a "+" shaped crosshair and you simply L click (mouse) or press with your tablet pen on an area (preferably near to the area to correct) and then start painting or drawing over the defect.
The "+" shaped crosshair will continue to be displayed to indicate where the cloning is being done from. Unfortunately I could not capture the cursor/crosshair in my photos because of using keyboard shortcuts for screenshots.
Make sure to keep zooming out and moving around so you can get a good impression of how the whole image looks and you don't miss any areas.
Note also that you don't need to correct every little blemish. It is easy to go to far and just start removing texture and noise and removing detail and character from the photo.
I personally just use the healing clone version of the tool all the time since I am used to using it and I prefer to choose the cloning area myself. There are certain situations where the auto cloning tool will not work well - particularly when there is severe damage to the photo.
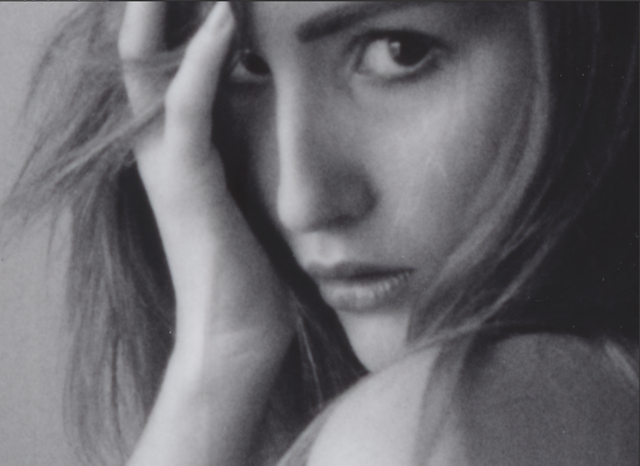
There was an area here where I wanted to do some tricky corrections on the face to remove some of these lines on the upper lip and cheek. Due to the difficulty here I created a new layer (Cmd+J/Ctrl+J) so that if I messed it up I could just delete the layer without losing my previous corrections.
Don't forget to save your photo when your are finished. If you are satisfied that you don't want to make any later changes and are completely happy with what you have done, you can merge the layers (Cmd+E on Mac/Ctrl+E in Windows), in order to reduce the file size before saving.
I always use the standard PSD format for saving.
The Results
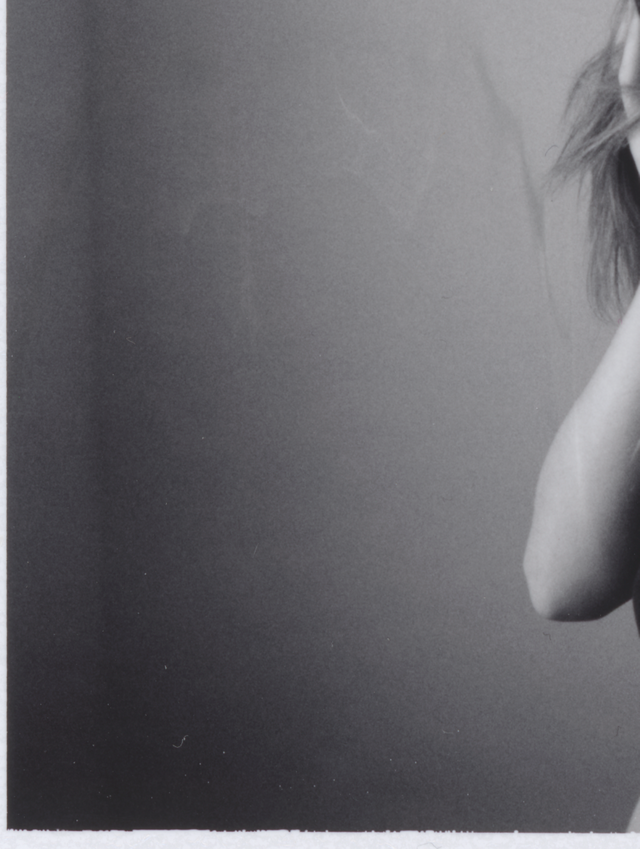
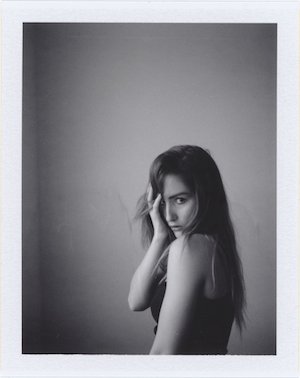
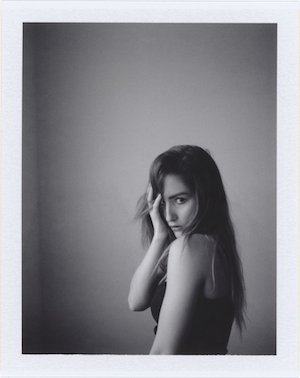
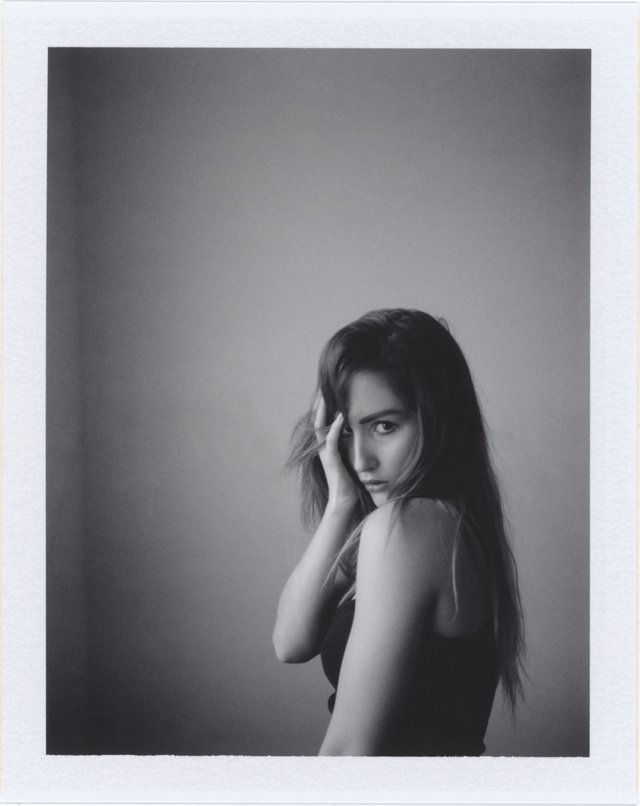
The uncorrected and corrected version of the photo side by side for comparison. At this size it can be hard to see the differences.
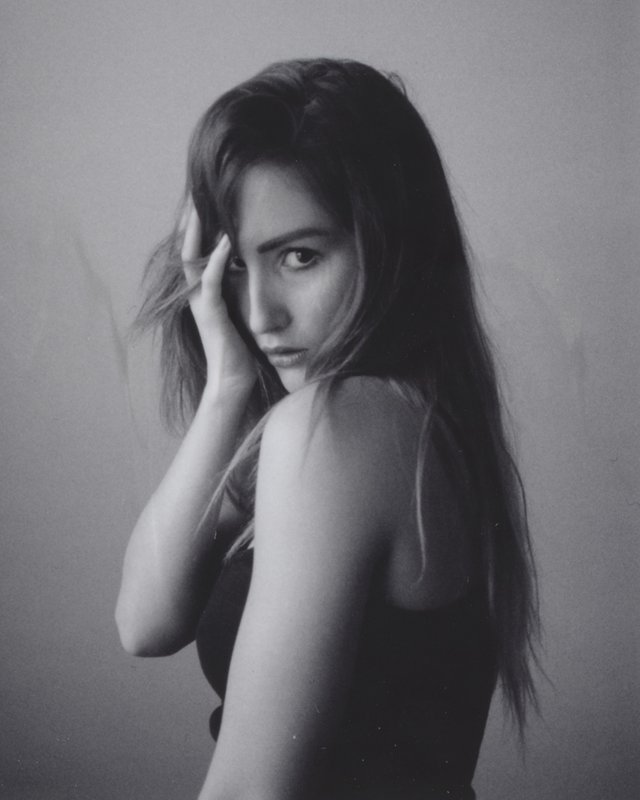
Some zoomed in versions of the both photos to show the difference.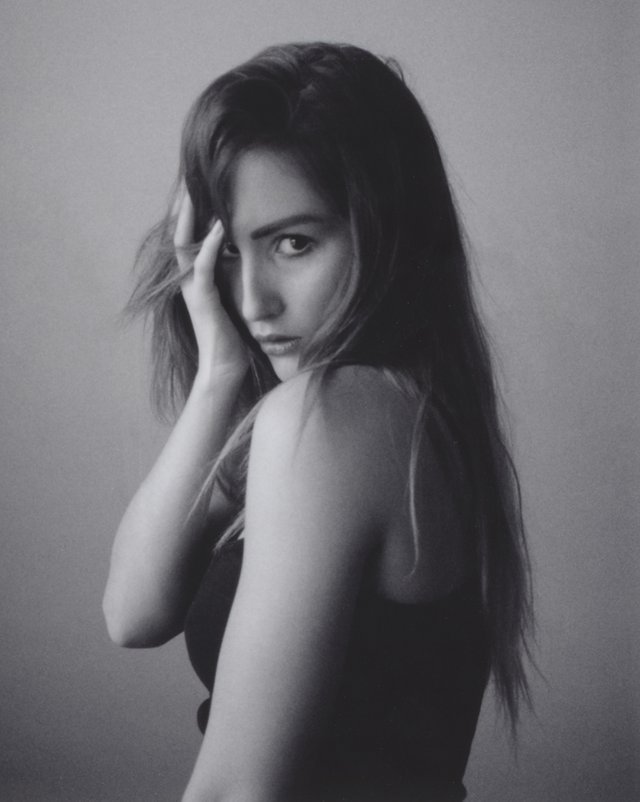
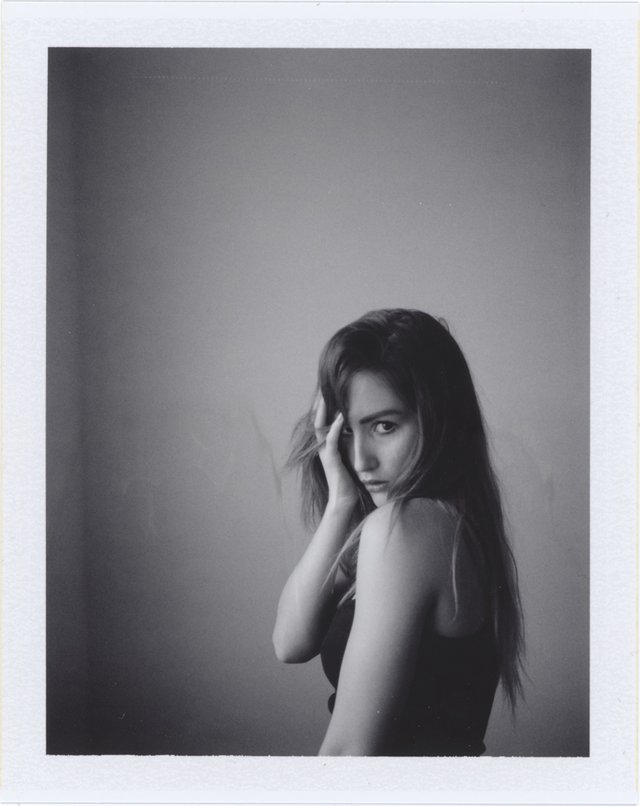
Full frame for comparison:
Original without correction
The Final Corrected Image:
Conclusion
I hope you found this information useful and liked the results. Feel free to comment below or ask any questions you may have.
Thank you for reading:)
(Note model in shots is Rachelle Summers)
You can see more of my work @thecryptofiend - hope you enjoy.
(Verification for me here: http://www.aapicture.com/about-me)

thecryptofiend great job
Thank you:)
Will this process work on something like this...
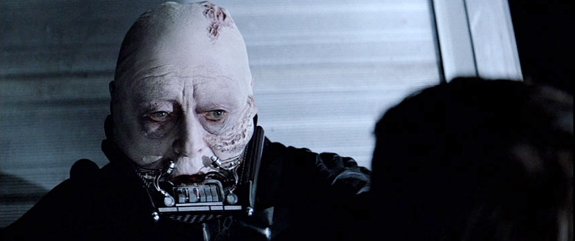
Absolutely:)
very useful, great tutorial.
Thanks:)
Excellent tutorial. Now time like the present to preserve what we've still got.
Exactly my thoughts. The longer you leave it the more those old photos deteriorate. This one is actually pretty new and the damage is more to do with using expired film stock to shoot it.
So cool. And that picture is lovely. I'm such a dummy when it comes to photoshop but this was pretty straightforward and easy to follow. :)
Thanks glad you like it. It really is very easy if you just focus on using one tool at time. Most people don't need to know how to use everything in photoshop - the few things they will likely use can be learned pretty quickly.
Great tutorial, i have some old photos that need some work done on them.
💋 @halo 💋
Glad you like it:)
Very nice tutorial . It will definitely help steemers to beautify their old photographs as it will help me. Keep helping people @thecryptofiend
Thanks that is what I was hoping. It takes time but it isn't very hard. We all tend to have boxes of old photos that we really should digitise but never quite get round to it.
As a non-photographer/photoshopper I find these invaluable in being able to appreciate what all you do!
Just seeing those little differences that are drawn out in editing are amazing!
Thank you. Yes it is amazing the difference it makes. I might also do a retouching tutorial when I have time.
thank you for the tutorial. you make it look easy. I hope to try this out very soon
Great let us know how you get on.
Great step by step, easy to follow. thanks!
Thanks glad you found it useful:)