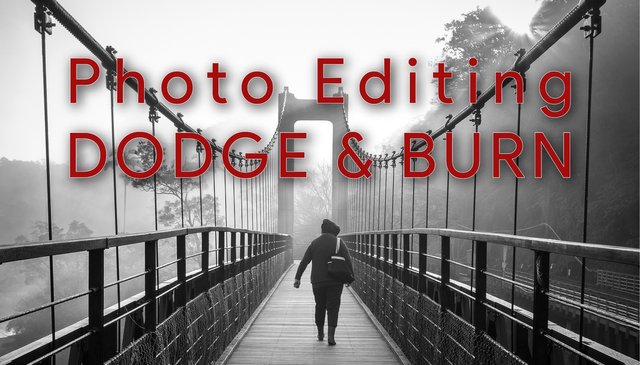
A Subtle Yet Effective Technique
Dodging and burning is probably one of oldest techniques in post-production of photos, going back to the days of film. One chooses consciously to dodge (lighten) and burn (darken) certain areas and parts of the image to draw attention to or away from something in the frame.
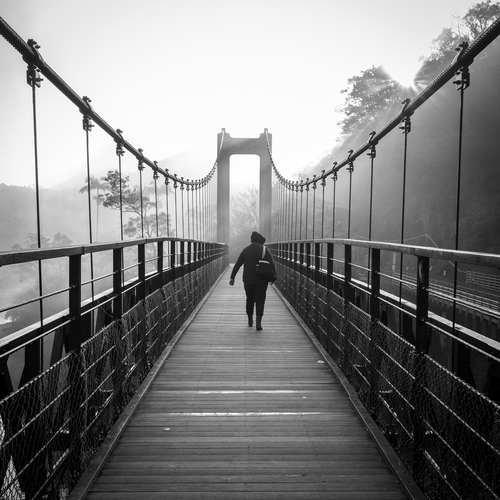
I like to do this step near the end of a processing procedure, and don't usually go overboard with it. The effect is really subtle, but makes quite a difference. See if you can see the difference dodge and burn does to the image in the comparison below:
Before -----> After
I wanted the viewer to look at the middle of the frame, so I performed the following simple dodge and burn on the image.
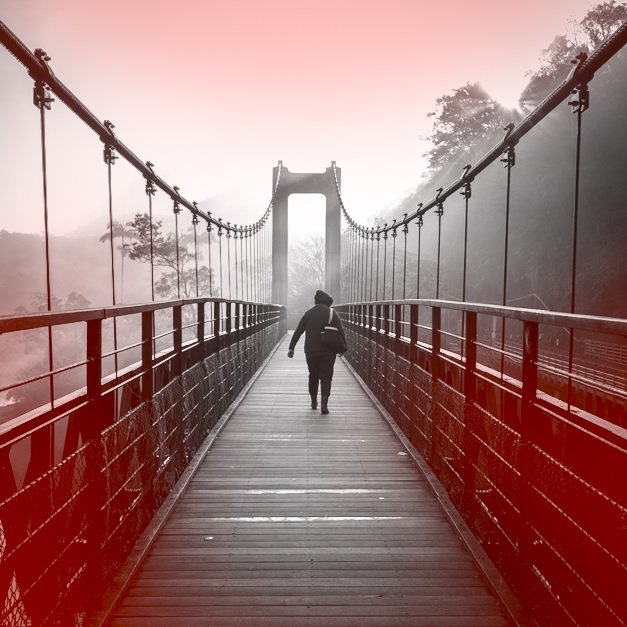
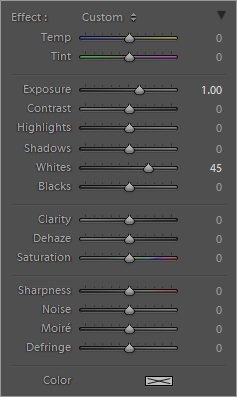
Burn (Darken)
The areas in red are places where I applied the darkening, and the Lightroom settings I used is to the right. I like to paint with a big brush size and 100% feathering to make the effect really subtle with no dark edges.
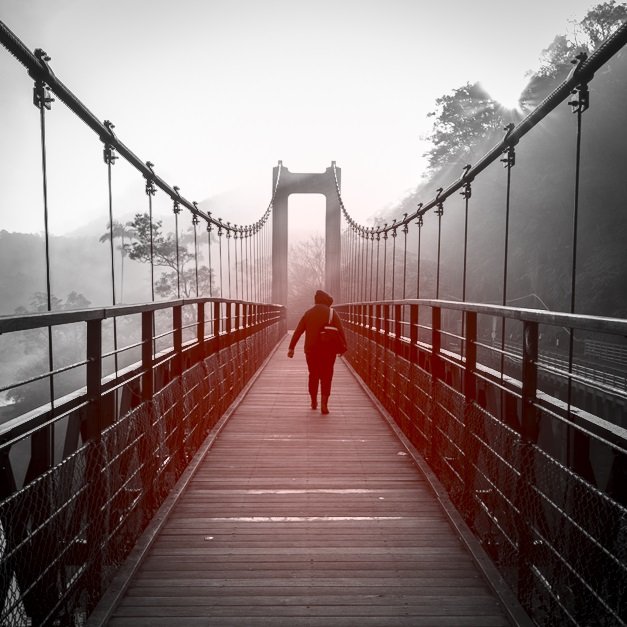
Dodge (Lighten)
Again, the red areas are places where I applied the brightening, and the Lightroom settings I used is to the right.
So in effect, by darkening the sky and parts of the bridge, then brightening the center, I was able to shift the focus to where I want it. As you can see, the effect is very subtle, and it does help to achieve what I'm after.
Here's a final animation showing the before and after to help you better see the difference:
Hope you enjoyed this post! I strive hard to provide quality content :)
Critiques and comments are welcomed!
Questions on technique employed or gear are also welcomed!


Love it. Such a subtle difference that you can almost not even spot until you see the back/forth animation of the before and after. Illustration of these kinds of subtleties definitely help people appreciate why such a thing is done.
Thanks, I hope this will be useful to some people :)
Much easier now than waving elaborately cut pieces of cardboard under the enlarger's lens! 8-)
Can't even begin to imagine the masters of the past :)
It's still being done. You don't have much choice if you shoot film and like using the "wet process" for printing.
@shieha.....I appreciate your input here so much. You did this just because I asked about "how to" on the #steemitphotochallenge.
Your photo is fabulous, but then again, most of what you do I really like.
I don't have an "eye" for seeing the before and after so I am glad you added the animation! Now I get it.....thank you very very much.
Thanks, I almost forgot about the animation showing the difference, glad it helped :)
Wow, that has an amazing effect! I'm going to remember that for my future photographs, thanks a lot for sharing this!
You're welcome :)
Love the final animation, very helpful! Great post!
Thank you!