The Journey of an Image, Part 2: The Edit
The Journey of an Image
Welcome to Part 2 of my series, The Journey of an Image. Today I will be showing you how I edit my photos and how I stitch many photos together in Photoshop in order to create one big wide angle panoramic shot.
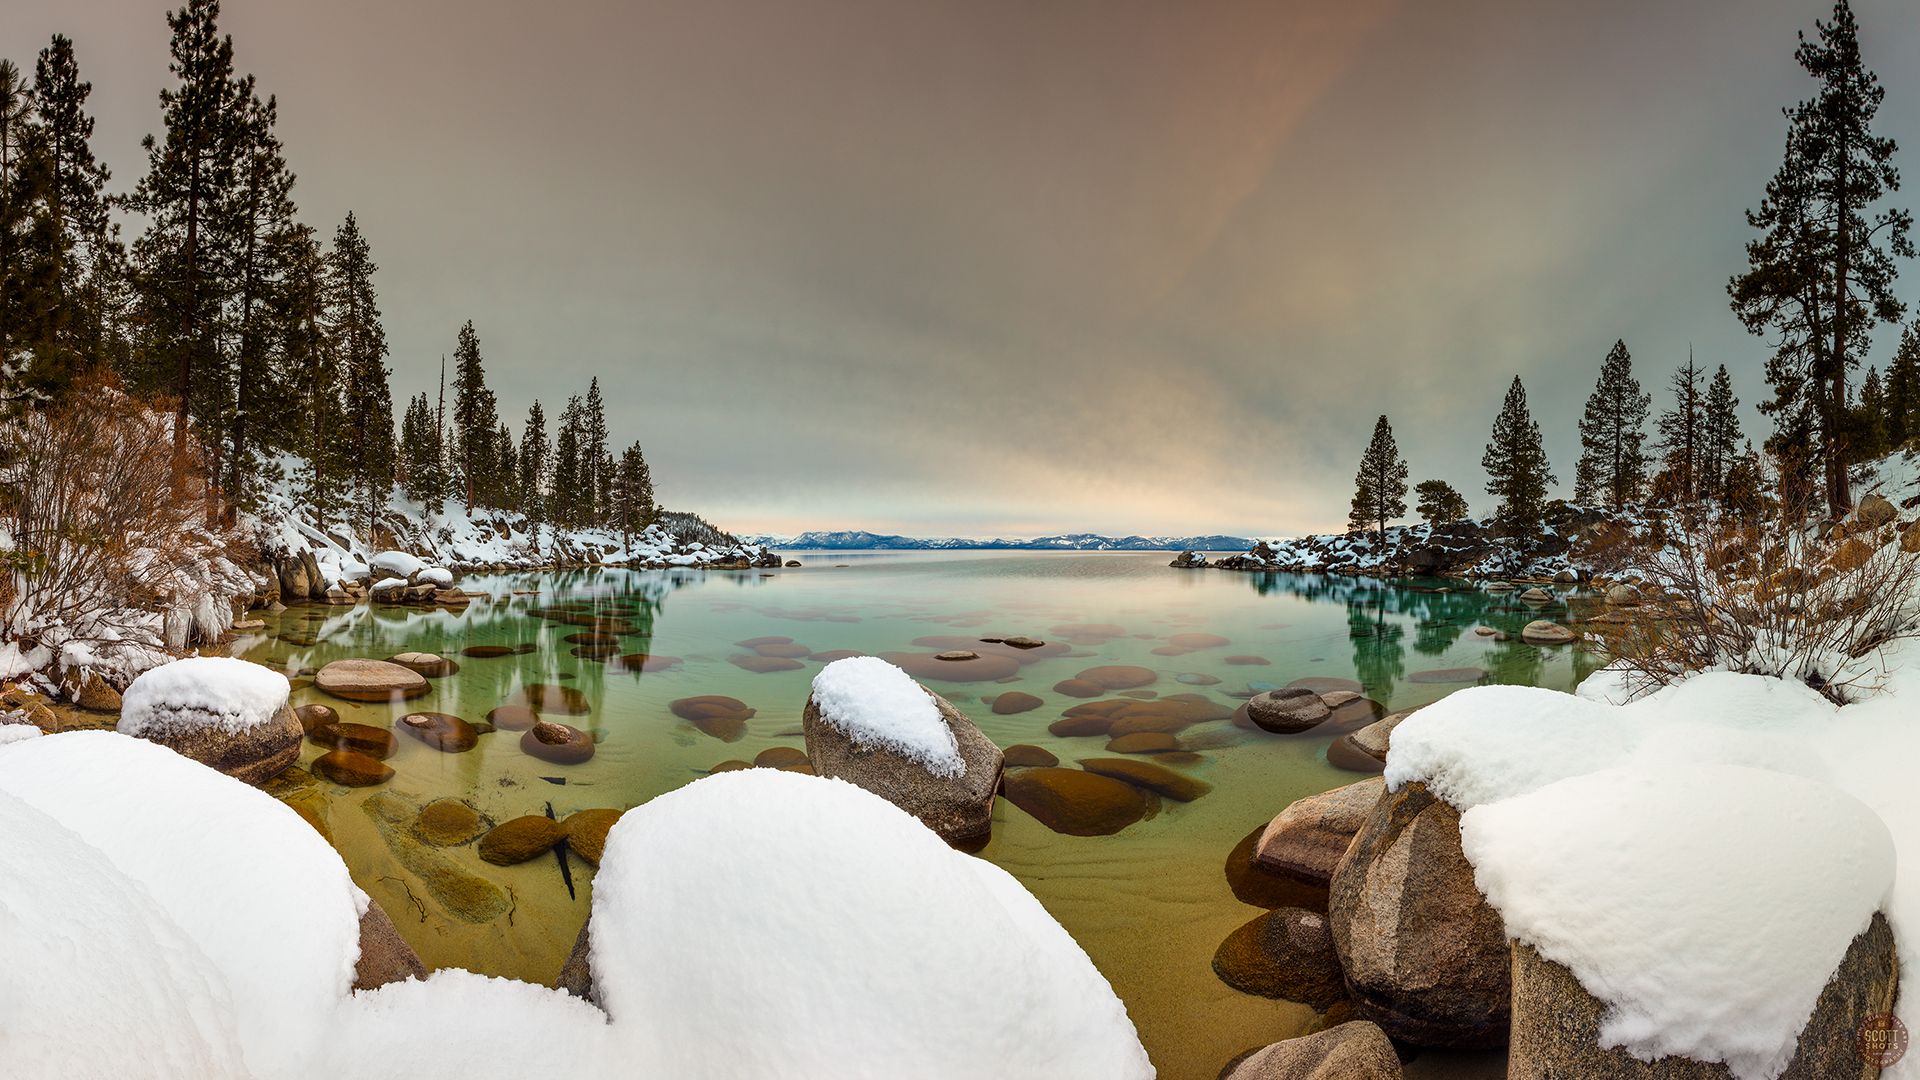
This video might be kind of boring if you are not into learning about editing in Photoshop so I will also post the final photo here. This was 23 vertical images stitched together, shot at Secret Cove, Lake Tahoe.
Part 1: The Shoot can be found HERE.
Thank you for looking, reading, and watching!
Scott Thompson
Scott Shots Photography

▶️ DTube
▶️ IPFS
Love your radio voice. Crazy killer work.
Haha! I always think I sound goofy but hey, trying to share some what I've learned over the years here so I'm just going for it. Thank you!
That turned out pretty well, even without the sun!
Seeing that kind of detail when zooming in is pretty impressive, if you're used to the 6D's 20MP sensor :)
Thank you @yblith! Yeah, I used to use a Canon 5D Mark II with 21.1 MP sensor and although it was a lot better than when I used to scan film, it doesn't come close to the resolution of the 50.6 MP Canon 5Dsr. And when you stitch a bunch of those high res images together... magic! I love it.
-jaw drops- Incredible how you see details that my mere mortal eyes would never notice haha
For the most part of the video I had no idea about what you were doing, but seeing how detailed your work is kept me interested the whole time.
Congratulations and thanks for sharing!
Oh dangit. I'm trying to make sense to photography "mortals" too . Please feel free to ask silly questions at any time. Just trying to teach a little bit about what I have learned over the last 20+ years as a photographer... Thank you @mrprofessor, Cheers!
You are doing a great job.
My question is: Where do I start? Any books? I only have a simple Samsung camera and photoshop CS6. I could borrow my brother's Nikon D700, but I don't even know how to turn it on hahahahah
Thank you @mrprofessor! So, I'm not sure if your Samsung camera is your phone but Photoshop has a free app for editing images, it works great and is what I usually use on phone photos. If it's a point and shoot camera, see if you can shoot in RAW mode (instead of jpg), those are the best type of images to work on in Photoshop. I would suggest just diving on in to the Camera Raw editor that is part of Photoshop and start playing around with the adjustments so you know what they can do. You can also open jpgs in Camera Raw and still get some great edits, you just might end up with a little more digital noise than if you were working on a RAW image.
If you go into Photoshop, look for the Help tab, they have tons of tutorials available for beginners: https://helpx.adobe.com/photoshop/tutorials.html?mv=product&mv2=ps
If you can borrow the Nikon, I would suggest reading the users manual first: http://downloadcenter.nikonimglib.com/en/products/15/D700.html
It's amazing how much about photography you can actually learn from the users manuals these days.
I hope that helps a little. Happy shooting!