Here is a guide to repairing and cleaning manual focus lenses!!
Hello everyone,
I’ve been ask a few times to create a post about repairing and cleaning manual focus lenses. I have totally disassembled, cleaned and repaired well over 100 lenses so I have a fair understanding on the procedure and therefore, hopefully save you the troubles I’ve encountered and the mistakes I’ve made when I started. In doing this, you can choose whether you’d like to keep the lens or sell it for a profit later on. This is up to you :)
Since there are so many different types of lens constructions, I’m going to explain what is necessary and some tips and tricks along the way.
Disclaimer - Please note these are just guidelines based on my experiences and only proceed if you’re sure you can do this type of precise work. In other words, proceed at your own risk.
Ok, now that’s out of the way, these techniques are not for the faint of heart but if you are willing to spend some time and effort, you will be greatly rewarded.
Here is the list of things you will need:
1-2 sheets of white paper (A4)
Gloves (preferably nitrile gloves without powder on the inside)
Rubbing Alcohol (Isopropyl 99%)
Distilled Water
Hydrogen Peroxide (6% is the one I have)
4 little containers or 2 containers and 2 small stray bottles
Cotton Buds (I like the ones with one flat side, cosmetic I believe they are called)
Phone or camera (to take photos along the way, just incase) :)
Desk lamp
Brush
I’m not sure what this one is called but it looks like a rubber cone (vacuum pad for removing lens plates)
Rocket Blower
Precision screwdrivers (I’ve gone through a few of these so choose wisely)
UV Flashlight
Lint free cloth (I use the cloth that came with my macbook) :)
Tweezers
Time (for the first time, give yourself approx 4 hours)
Patience
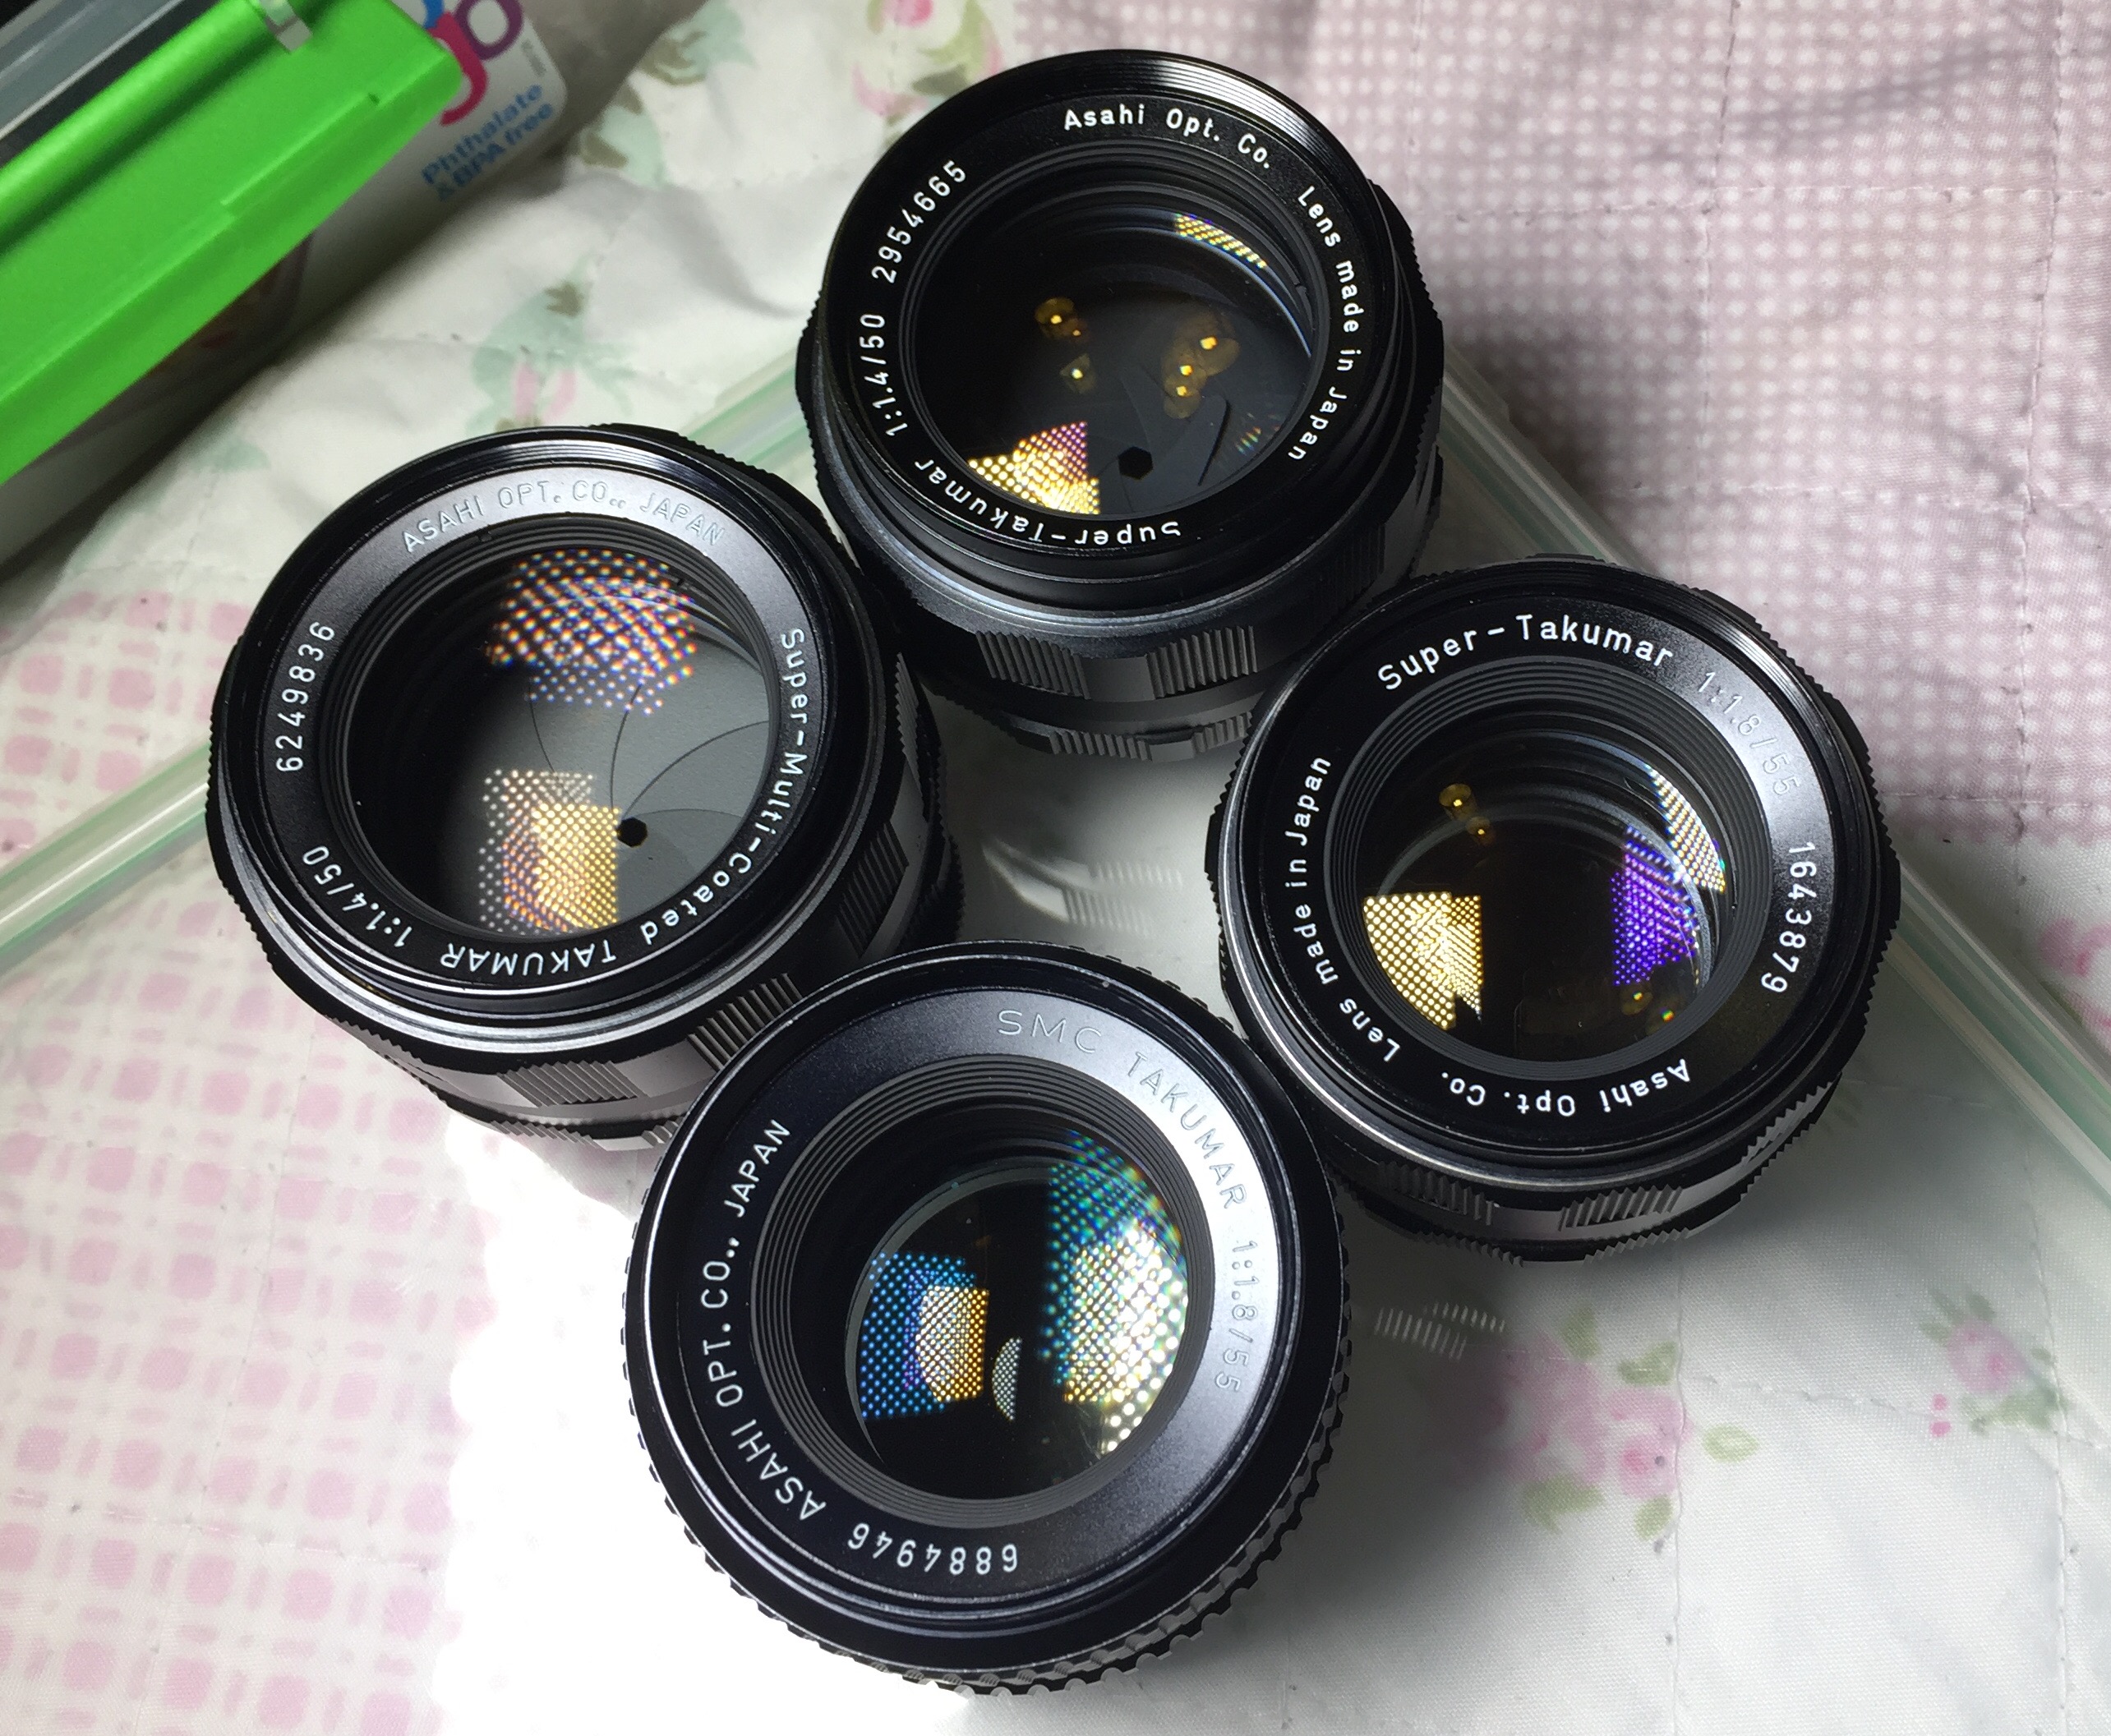
Last but not less, a lens :) You can get an good old lens that needs a cleaning or simple repair for £15. I would also recommend getting a prime lens and not a zoom.
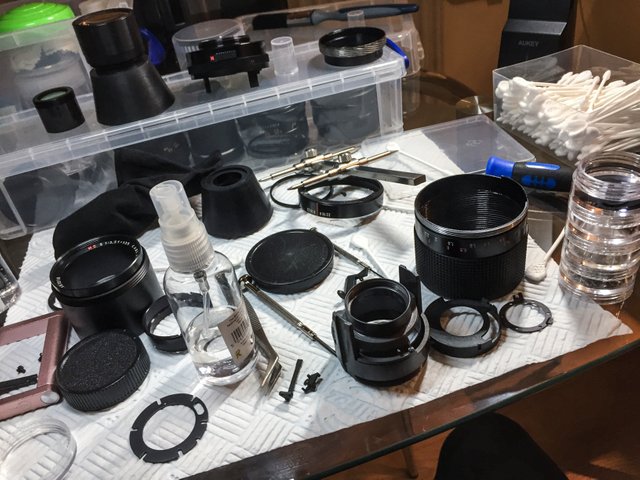
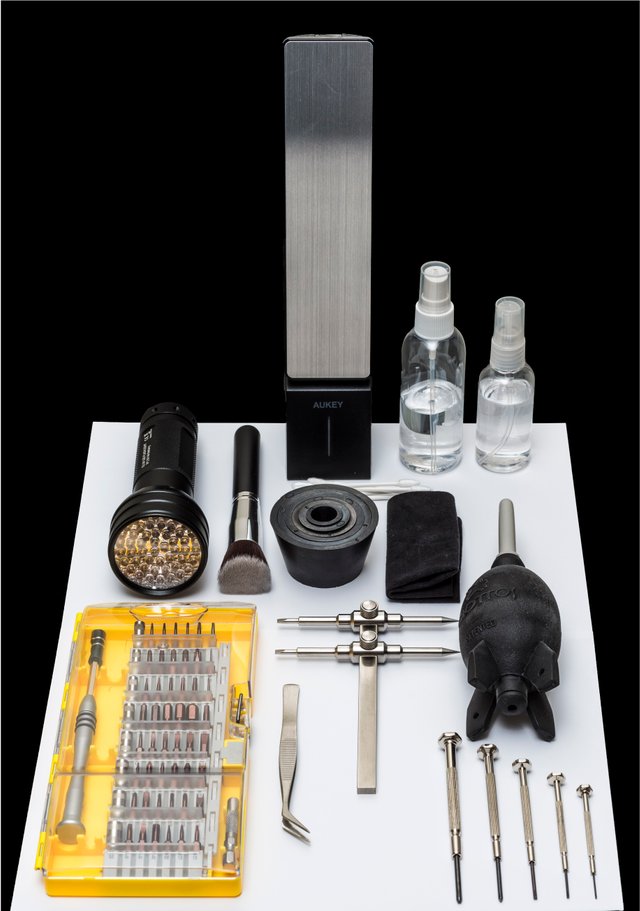 The only thing missing from this photo is the phone, hydrogen peroxide, gloves and a lens.
Ok, that sounds like a long list but it’s not really, if you get all of the things above, you won’t be like me at the beginning when I realised I needed something else halfway through disassembly :( I then had to order the item and wait for it to arrive a few days later! Very frustrating.
Everything on the list should cost less than £100 (lens included) and this will last many many disassemblies!
:)
Now here is a simple guide of the process:
You can start from anywhere but let’s start with the rear element (take photos before starting and along the way)
Remove all screws
Remove the rear element block (most lenses have a rear element block which comprises of a group of elements) This block can be disassemble into separate elements
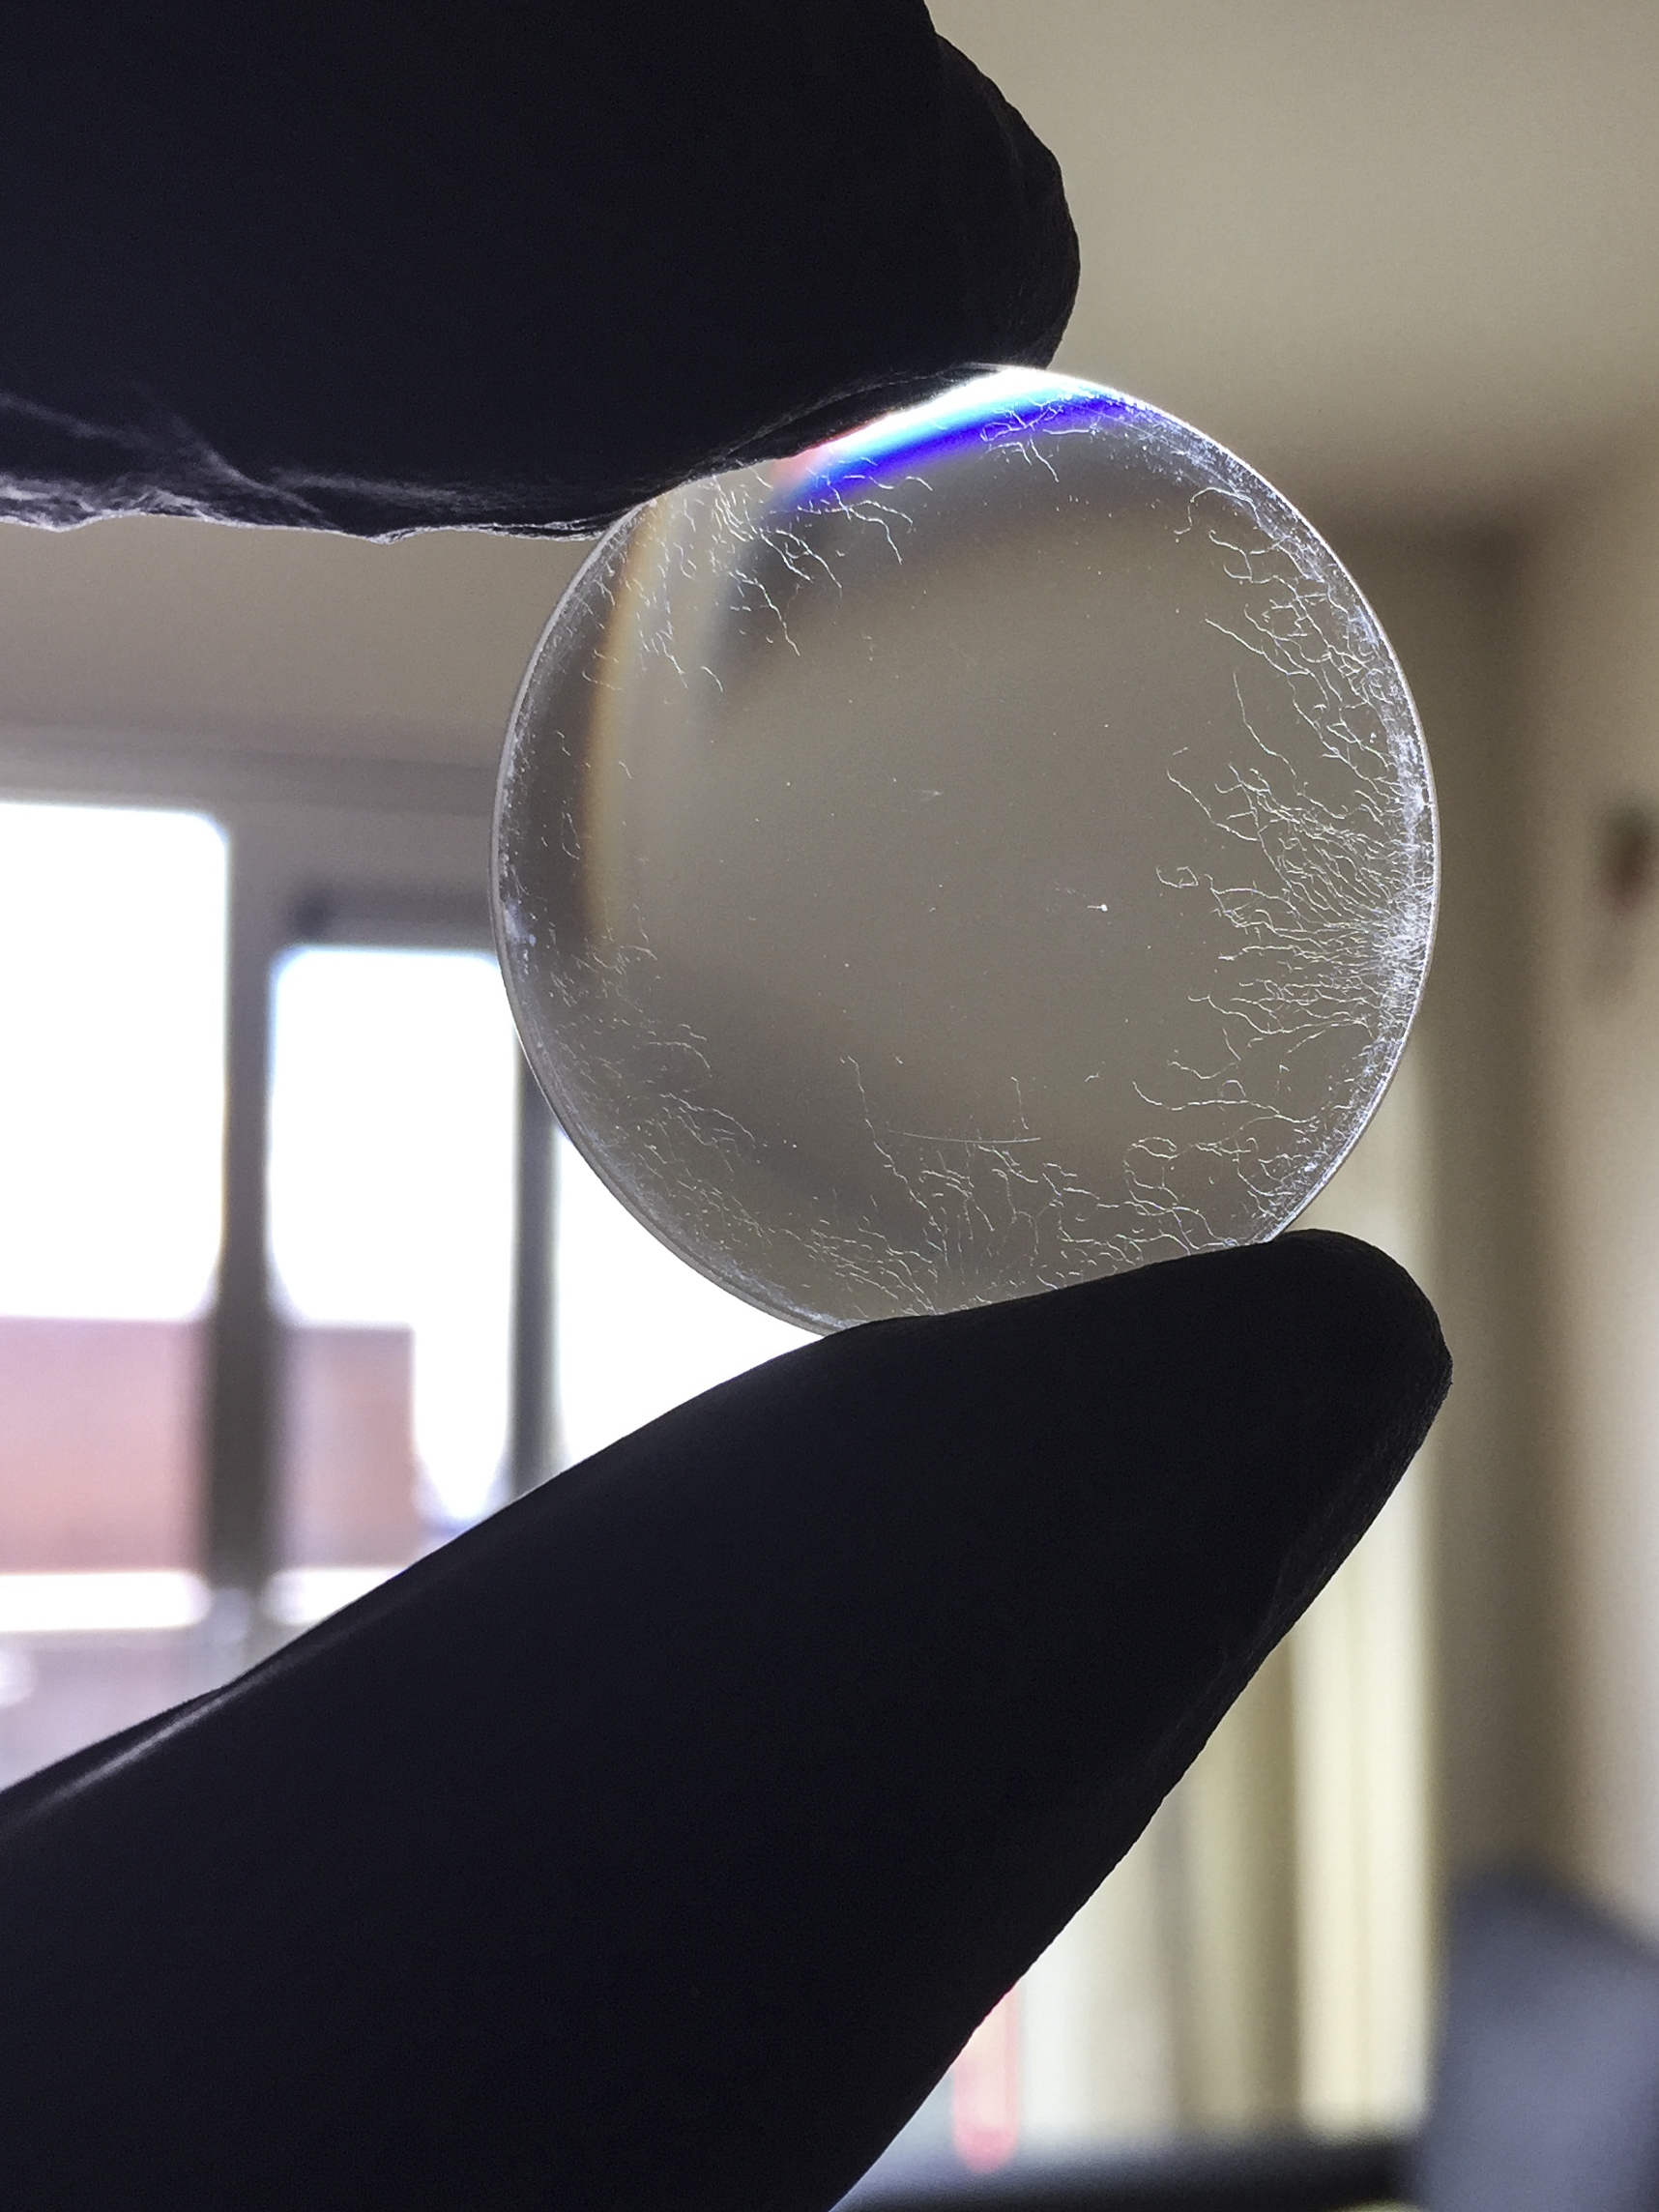
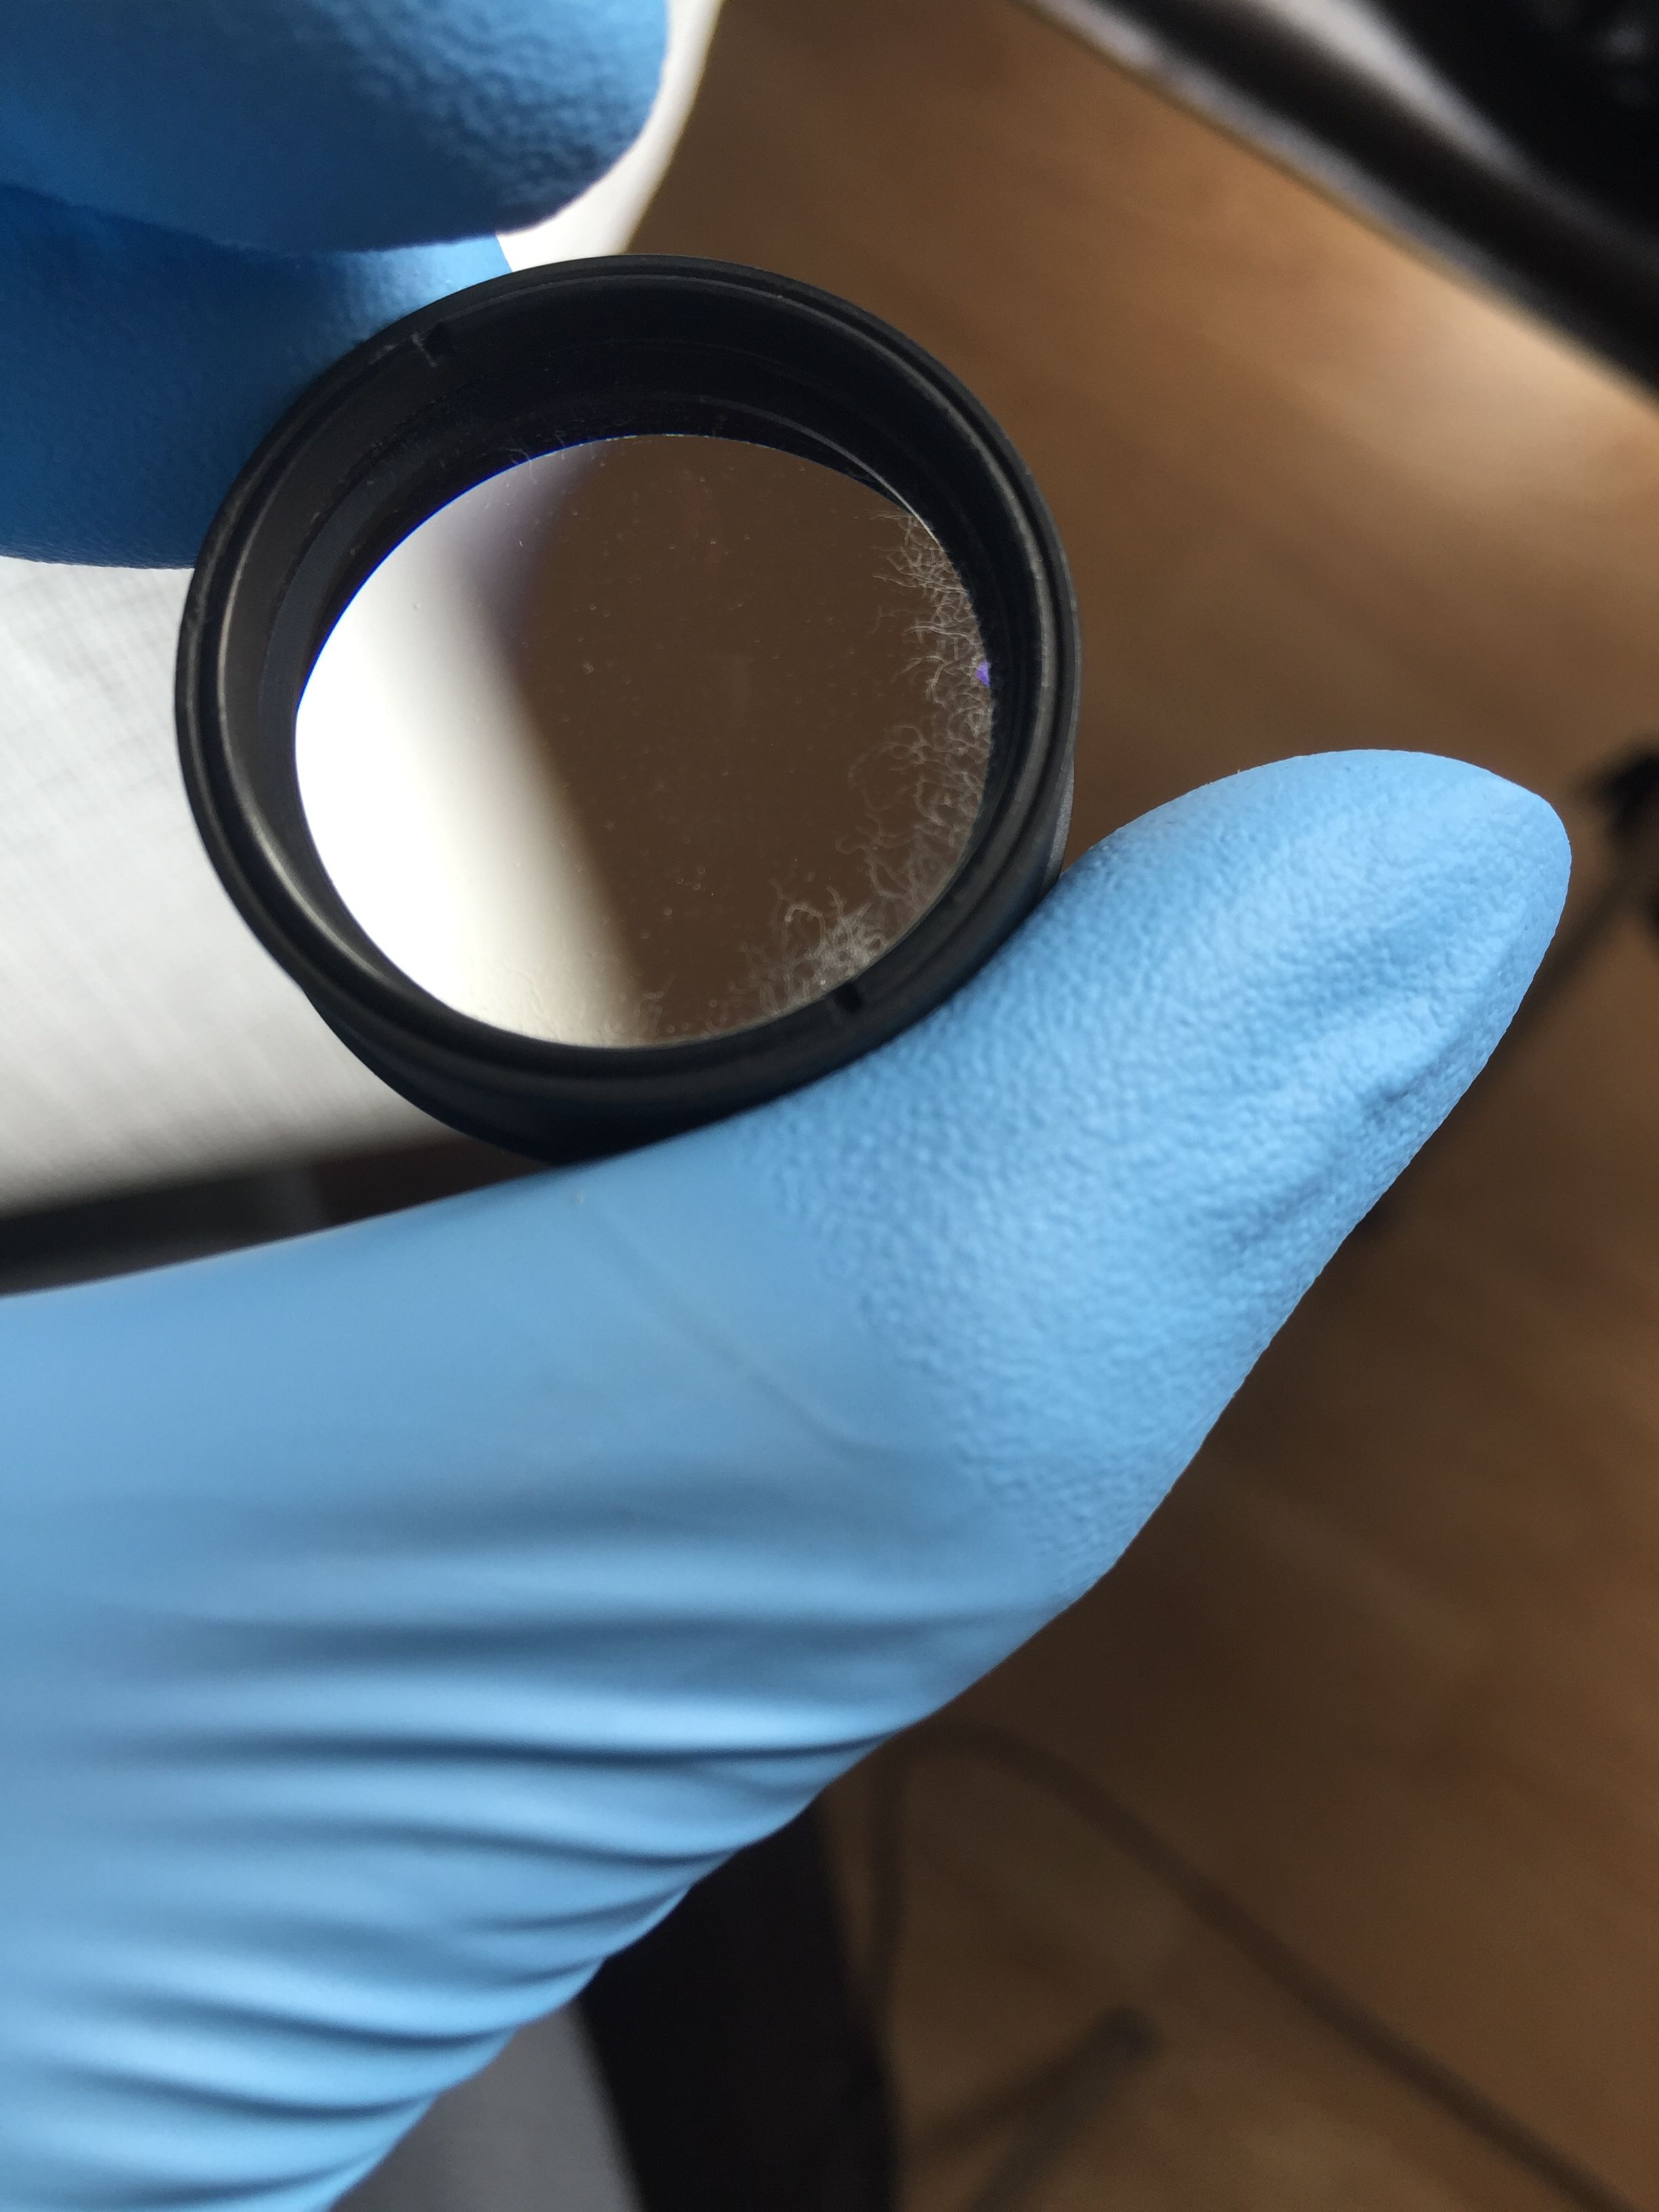 These elements have fungus
Disassemble elements, clean each element on both sides with cotton buds in circular motions and distilled water a few times. Remember the order in which they were assembled.
Clean the rear block carefully with rubbing alcohol and make sure not to touch any elements (glass) with the rubbing alcohol.
Reassemble and place somewhere safe. Remember to use the rocket blower constantly while reassembling the elements to get rid of all loose dust particles.
 Here is the same element block cleaned and reassembled
Time to remove the front elements. The face plate may need to be removed via the vacuum thing or via a tiny screw at the side or inside. Sometimes both! Please look carefully as these screws are tiny. You may need to unscrew the top of the lens fully or sometimes you’ll just need the lens spanner to get the elements out. Again, each lens is different so take photos along the way. Clean elements and reassemble while using the blower periodically. Place this front elements block somewhere safe.
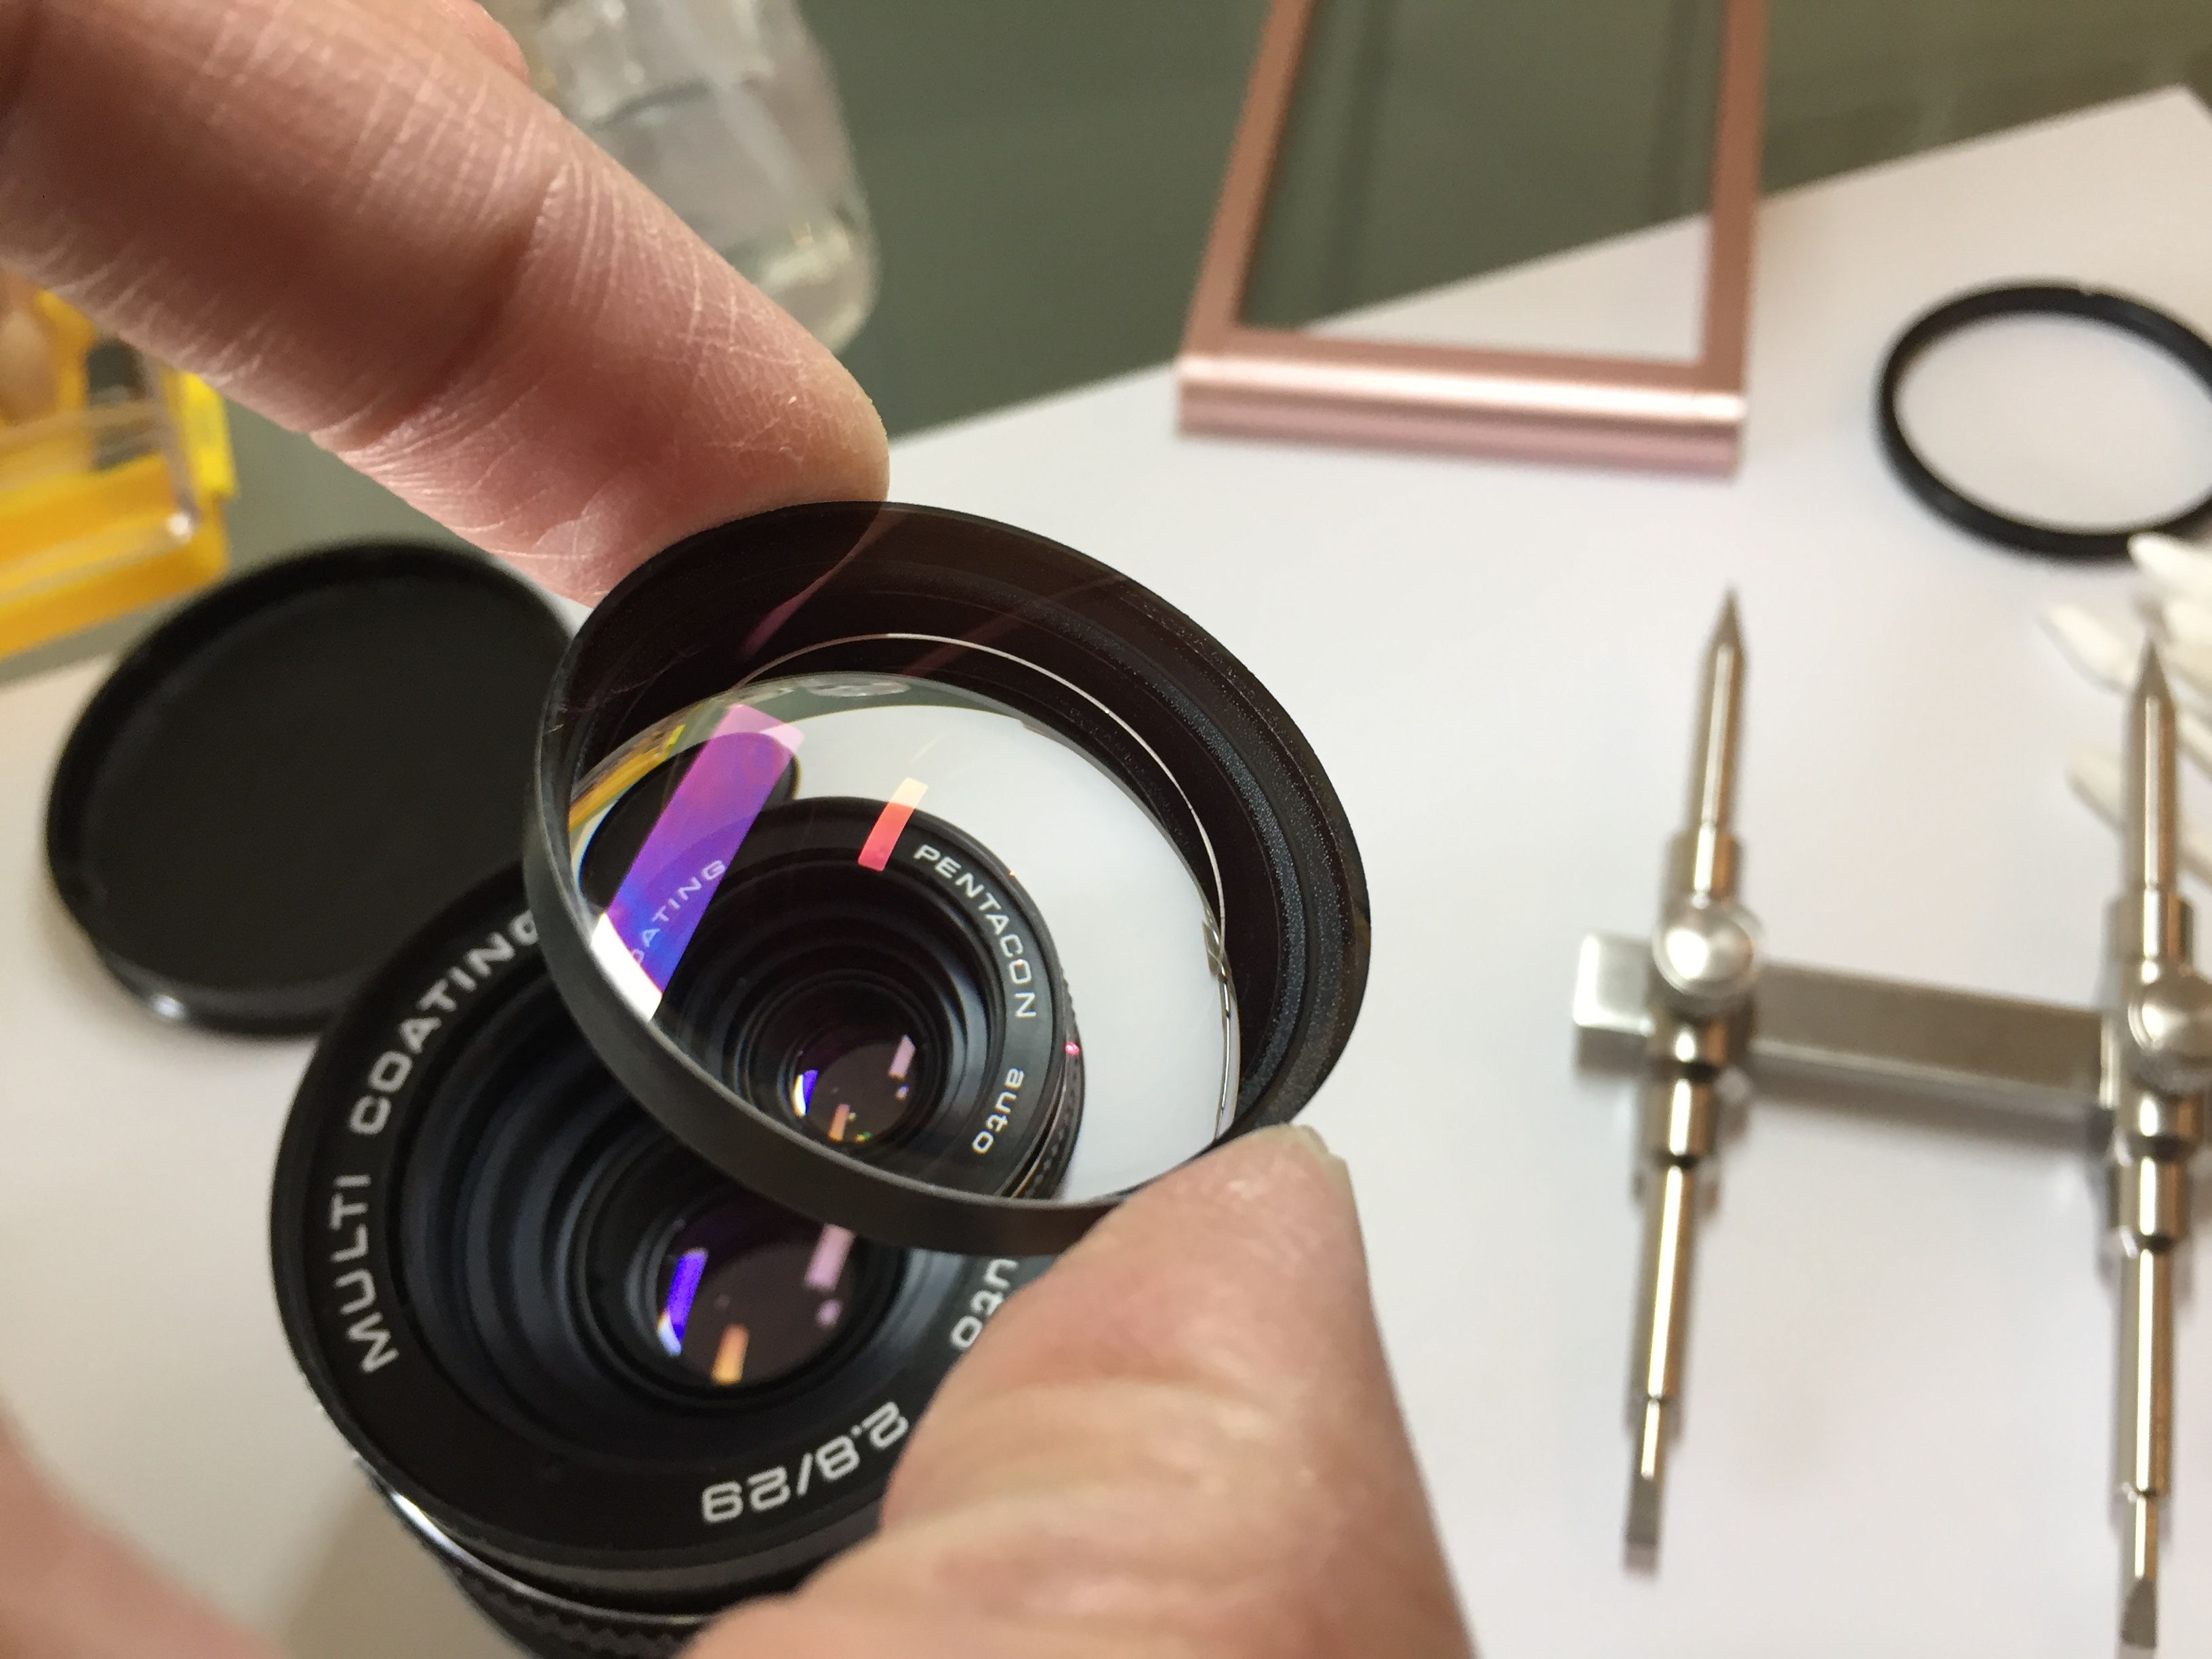 Here is one of the front elements already cleaned
Remove all that you feel comfortable to remove. You can also venture into the aperture block but this is very scary and can cause nightmares (believe me)
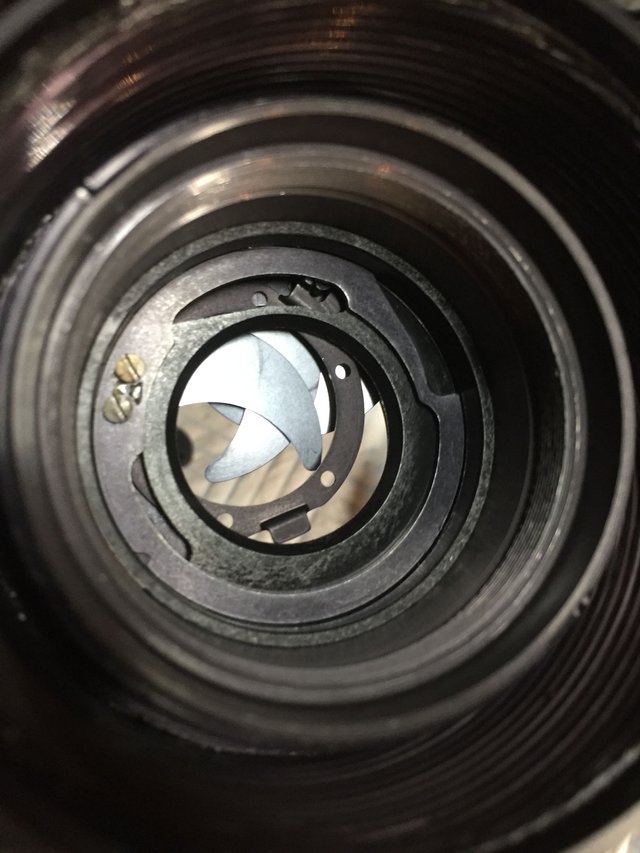 Nightmares!!!
If you do get into the aperture block, remove the aperture blades and clean carefully with rubbing alcohol.
Reassemble aperture block and then put somewhere safe.
Clean the lens barrel with the lint free cloth and rubbing alcohol.
Use the blower and then add back the aperture block, rear element block and front element block.
Place lens caps on and re-wipe the lens barrel one last time.
You are finished :)
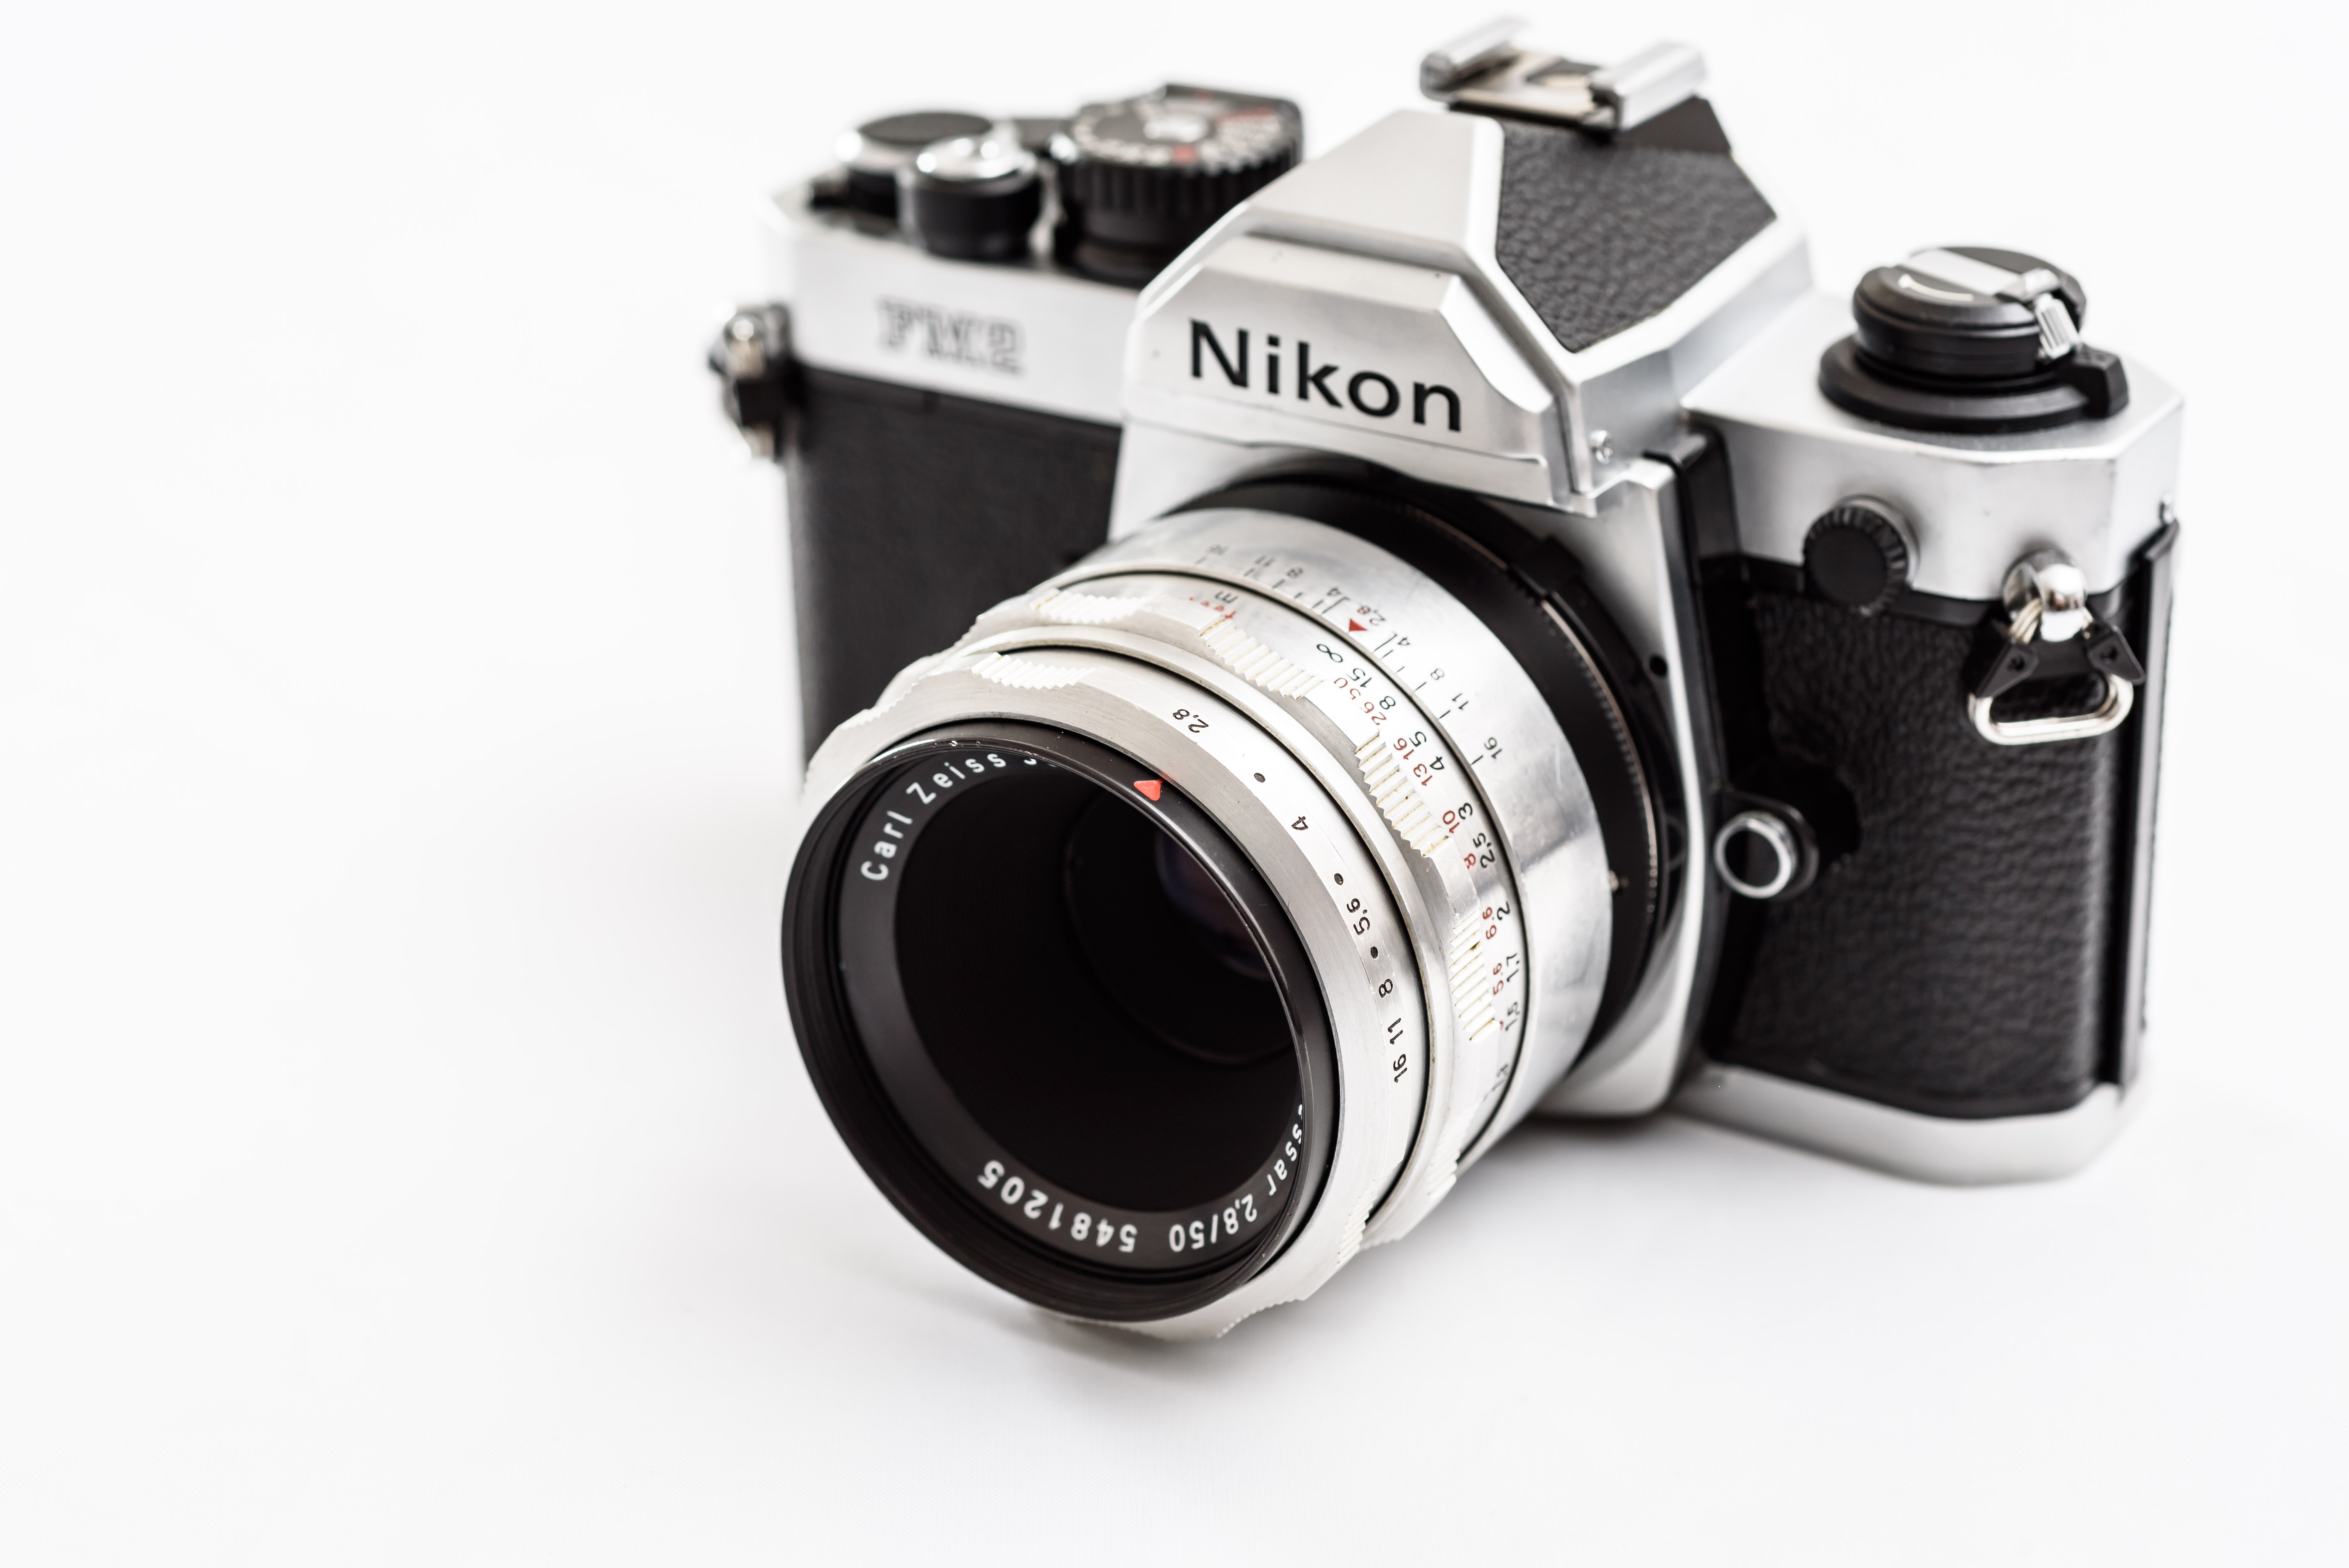 Testing out cleaned lens on a Nikon FM2
Tips and Tricks
If the aperture blades are stuck and you don’t want to remove the aperture block, remove all elements and use a blowdryer to heat the oil on the blades. They should start moving at the right temperature. You can also flick the aperture lever.
Use the light and look at the elements at difference angles to see if there is any residue left on the lens after cleaning or dust particles.
Use the UV flashlight on elements that had fungus on it as UV light kills fungus.
Take a lot of photos along the way, I cannot stress this more.
Sometimes using the lens spanner doesn't work because the 'ring' is stuck. Carefully place a precision screwdriver on a notch and tap it a bit in the opening direction then, tap the second notch the same way.
Do not remove the helicoid!!!! This is a real pain to get back in the right place. You would almost have to reassemble the entire lens only to realise you need to take the whole thing apart again!
 What a mess!
When cleaning and reassembling the elements, I like taking off my gloves to do this.
If for some reason there seems to be oil on some of the elements, then you need to use the rubbing alcohol to get the oil off, then use distilled water to get back the glass clean and streak free.
If the glass has horrible fungus, then use hydrogen peroxide.
 Fungus!!!
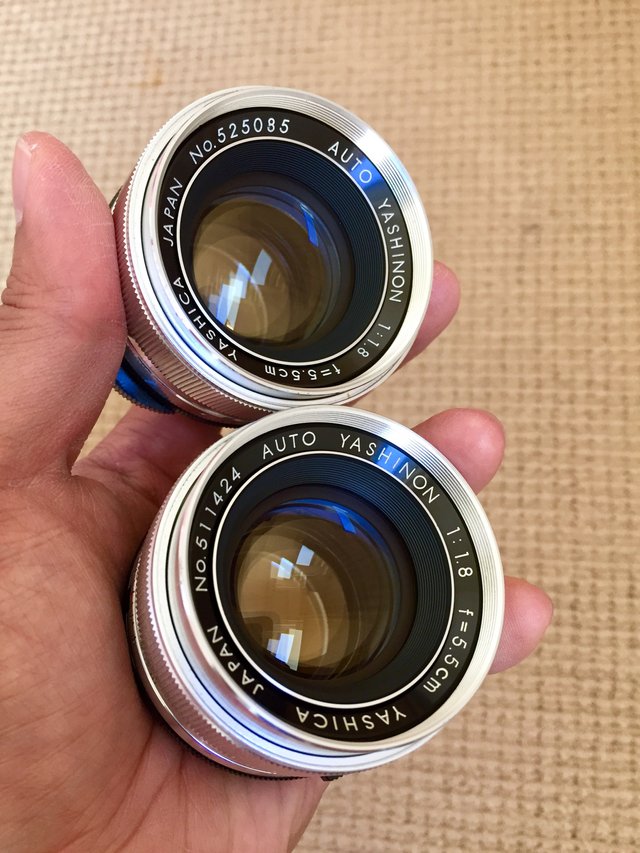
Be careful will certain old types of lenses, they can be radioactive! E.g. some Takumar lenses, some Mamiya lenses, some Yashica lenses. There are just a few of them and are fine to clean, just don’t drop the glass!
Ok, I hope this long article brought some insight into pursuing your hobby and even though it is long, it should have enough information to help in understanding what’s necessary to start this new adventure.
Have a good time experimenting and if you get really good at this, you will acquire some really great lenses for next to nothing!
Thank you for reading! :)
Congratulations @ryanleechow! You have received a personal award!
Click on the badge to view your Board of Honor.
Do not miss the last post from @steemitboard:
SteemitBoard World Cup Contest - Final results coming soon
Congratulations @ryanleechow! You received a personal award!
You can view your badges on your Steem Board and compare to others on the Steem Ranking
Vote for @Steemitboard as a witness to get one more award and increased upvotes!