How to Do Long Exposure Photography During a Full Moon - (Part 2)
I was really surprised with the feedback I got from my first "How to..." Steemit post that I decided I would further explain the technique of night photography/long exposures. In this post I'll show the Good, the Bad and the Ugly with notes on each image.
What I love most about night photography is that your naked eye can't see the final result. You never know exactly what you're going to get because you can't see the small details that is revealed after the shutter has been open for 30 seconds plus. I never get bored with this technique. And because I prefer not to have city light contamination it gives me an opportunity for a road trip around the full moon cycle.
Let's dive into some examples of my experimenting and I'll comment on each below the image:
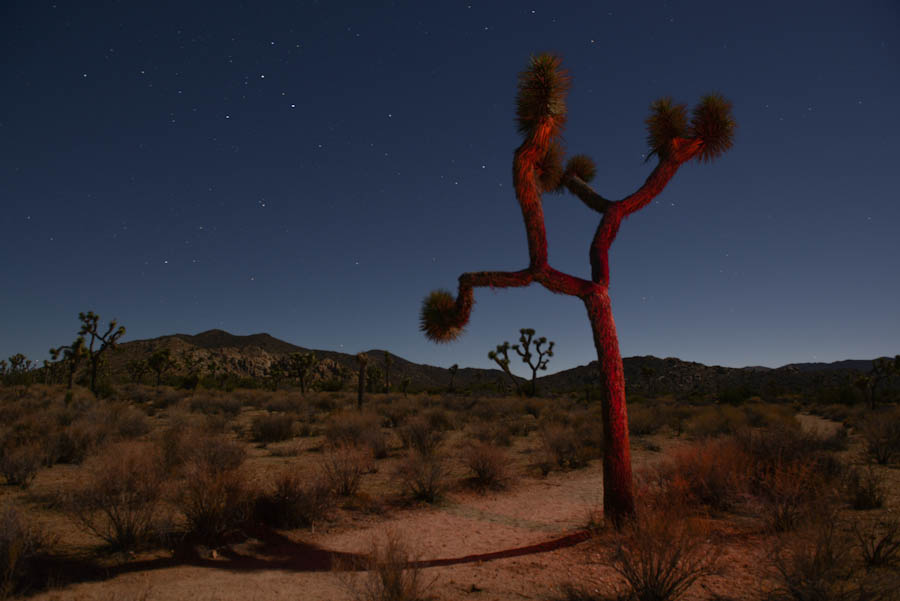
**Joshua Tree National Park around 3am
This is the very first image I ever took with long exposure. While my friends were sleeping after a night of drinking a few beers, I couldn't sleep because I was thinking about shooting in the full moon light. I got out of my warm sleeping bag, grabbed my Bogen Tripod/Camera and headed out in the freezing cold desert night by myself to shoot.
I'd like to point out that I love the image, but there are a lot of problems going on here. When I got home and upload the images to the computer I could see problems, it's a lot of trial and error with this technique:
-I used a high ISO and you can see the digital noise. It's crucial with night photography to have your ISO at 100 or 200. I shot this with a Nikon D800 which does good in low light, but not that great with this technique.
-The image is out of focus. Nailing the focus I find is very difficult in the darkness of the night. You can't focus on the subject unless you have a flashlight on the image and then grab focus. I find putting the lens to the infinity you should be good. But it's trial and error. Your 3.5" LCD looks amazing after you've taken a shot, but when you upload to a computer later you'll see mistakes.

**Joshua Tree National Park - my second time shooting at night
If you noticed, both images above there is color added to the main focus of the image. Each of these images not only are a long exposure but there is also light painting involved. Adding another element of complexity to the process. Let me explain light painting:
-I prefer a 30 second exposure when taking pictures at night for a couple of reasons. Stars come out nice and crisp (no movement). It gives you just long enough to paint with light.
-During a 30 second exposure (or longer) you have just enough time to run around with a flash light or speed light and "paint" the subject. In this case the rocks which I painted electric blue. I used a blue gel gaff tapped to a speed light. I popped off several flashes to cover the area. Because it's in the darkness of the night you literally can walk in front of the camera during this process. If you stand in one spot too long the light from the moon will light you up (you'll look like a ghost).
-You can see my shadow (outline of my body) in the rock camera right. Look for it. It's a mistake but I often like subtle mistakes that appear in this style of photography. I'm not a perfectionist and like the mistakes.
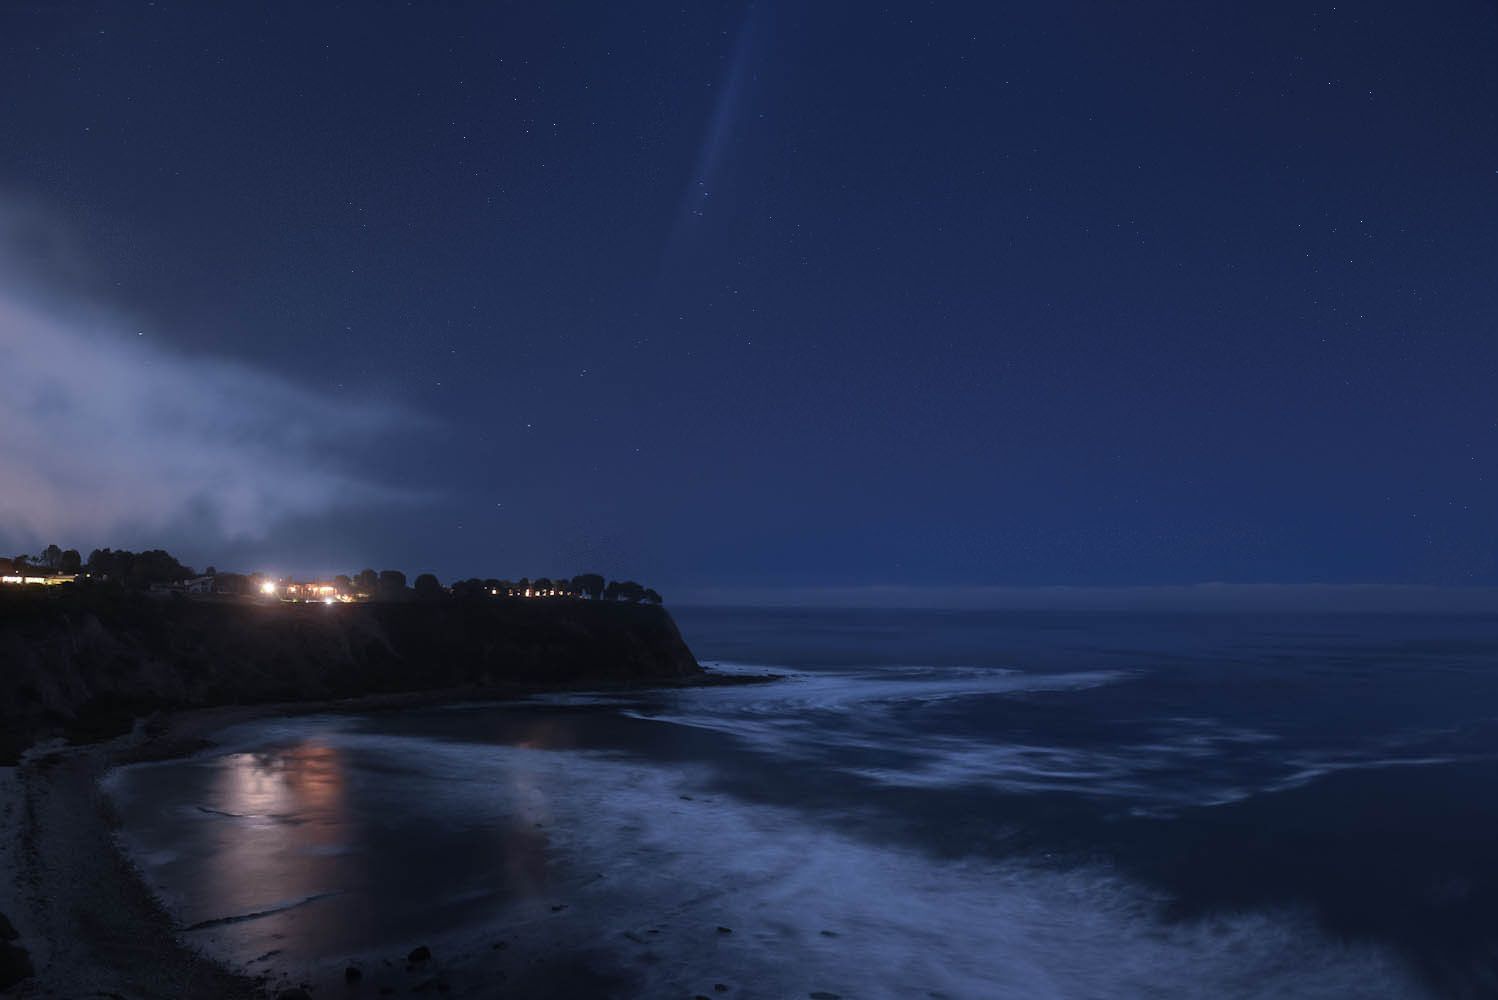
**Palos Verdes, California a couple of hours after sunset
When I first got into long exposures two years ago I lived in Redondo Beach, just South of LA along the beach. I loved living on the beach and hearing the waves crashing at night. The best! There are some amazing cliffs just south of Redondo in Palos Verdes. Here's an image taken just after dark.
This was the first image that I was pleased with my technique. I figured out that you need a low ISO and I made sure focus was sharp. I also like the way clouds look when you have a 20 or 30 second exposure. When you go longer than that clouds start to look a little funny for my taste. But it's up to you!
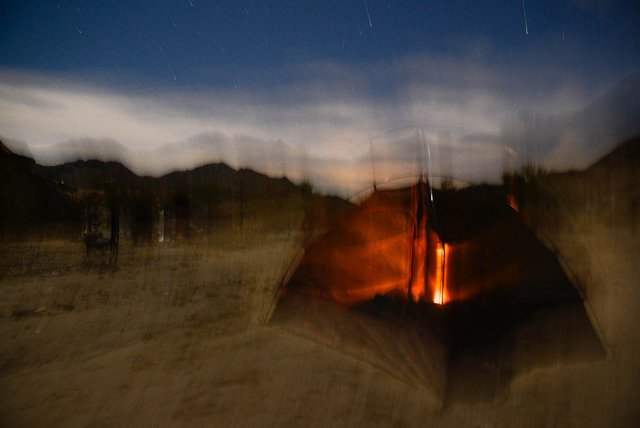
**Recent camping trip to Corn Springs, California
This was taken in the middle of no where in the Mojave Desert last December. I went out there to do some light painting of petroglyphs that are in the area. Here's a shot of my tent. I had some candles inside the tent to provide some accent lighting. But you see that there's some major movement going on here. I didn't have hardware on the tripod locked down tight enough and it slowly fell during the exposure. But I like the image so what the heck! A good tripod is a must if you want to get into night photography. That being said I don't have a nice tripod, I have my dad's old 1970's Bogen tripod that is heavy and funky to use. I won't recommend which one to get because it can get expensive and it's personal taste for your shooting style. But get a good one is all I can say. The $150 tripod is going to suck.
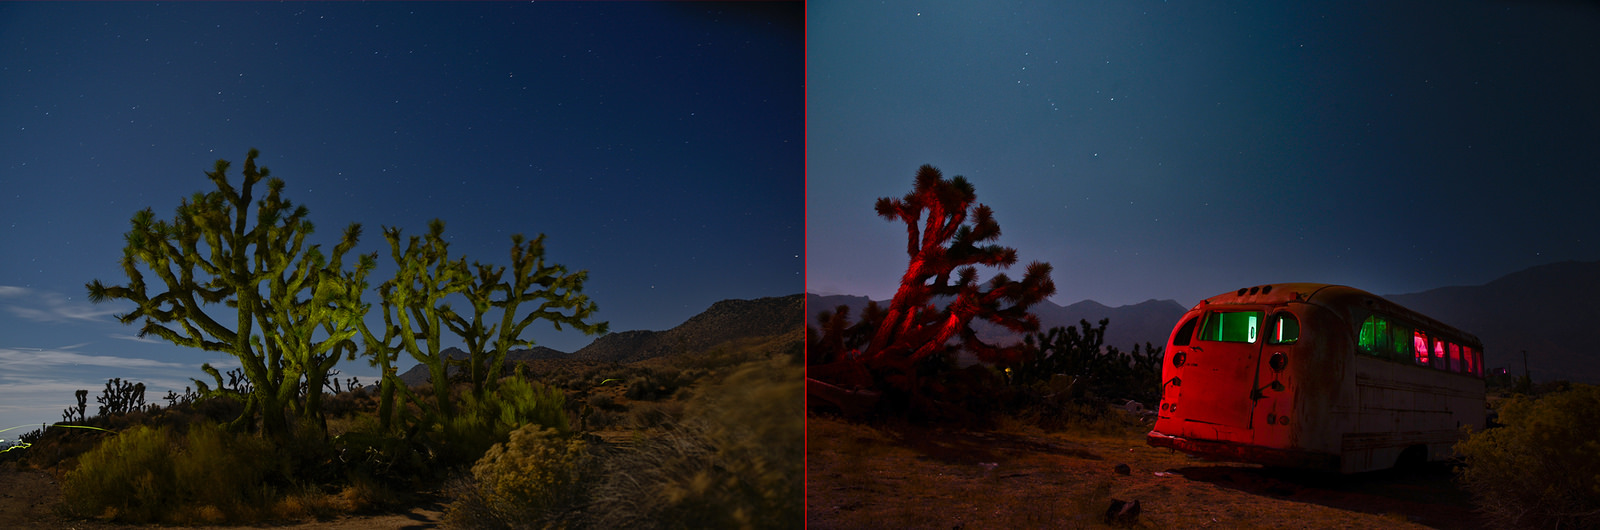
**Sequoia National Forest in January 2017
I have shot maybe 10 times during the past two years and I'm still learning this technique. I've gotten pretty good and this image (two images) you can see my style starting to develop. I did learn that large subjects like the giant Joshua Tree camera left of the 1940's bus camera right are more difficult to light when you only have 30 seconds. You really need longer than 30 seconds when lighting huge subjects. Or maybe two or more people working at the same time. It's trial and error.

**Sequoia National Forest
I had my friend, Seth, drive my car when I took this picture. The three colored lights were put in the dash of the car (small LED lights) and Seth drove 30 seconds along the highway. I signaled him with a flash light when I was ready for him to drive. The only thing I don't like about the image is the color. I couldn't seem to get a good color in post. But there is something about car lights during a long exposure that I love.
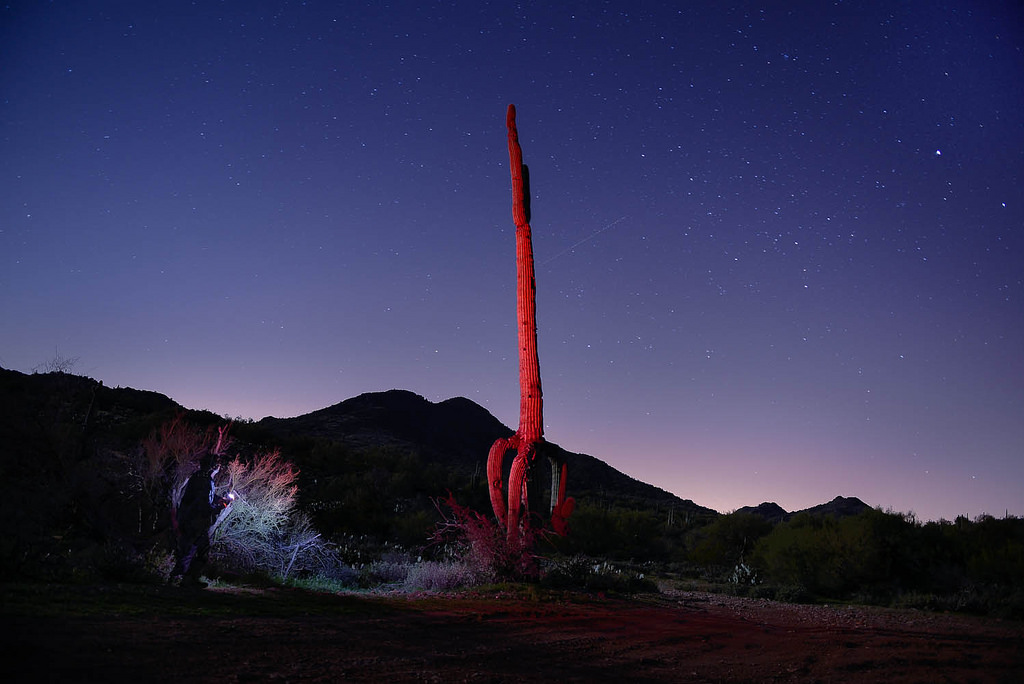
**Arizona - somewhere in the desert outside of Phoenix
One of my first images taken at night. You can see me light painting if you look close enough camera left. I'm not crazy about this image but seeing my ghost shadow gives you some perspective how damn big that cactus was.
Enjoy Steemians!!!!!!! Post a comment or question and I'll be sure to respond.
Get out and do some night photography.
Congratulations @lightenup! You have completed some achievement on Steemit and have been rewarded with new badge(s) :
Click on any badge to view your own Board of Honnor on SteemitBoard.
For more information about SteemitBoard, click here
If you no longer want to receive notifications, reply to this comment with the word
STOPBy upvoting this notification, you can help all Steemit users. Learn how here!
I'm new to Steemit but not new to social media. I have 13,000 subs on Youtube for example and Google has paid me over the past 7 years a total of around $1,000. I've made close to that on Steemit in just a week. Thank you for the new inspiration to continue to create awesome content. Glad to be a part of this community.
Wow, those photos are awesome. Thanks for creating a how to for this. Appreciated. Upvoting!
You deserve a:

To be quite honest, I got caught up admiring your images, that I lost track and forgot this was pretty much a tutorial. Props to you!
Bekahluu do you have any favorite photographers on Steemit? I'm trying to find the best photogs on here for an interview.
Hey, sorry for the late reply. No I don't unfortunately - not yet anyway. I only just discovered Steemit this month so I am keen to continue my explorations to find my favourites. Good luck on your search as well :)
thnaks!!! I haven't found any master yet either...I'm looking
Wow, this an astounding post, I had seen effects like the light painting and assumed it was a photoshop after a effect was being applied, but my favourite is the car shot, the three lights trailing perfectly, thanks for sharing and I'll have a look for the first post of this.
Thanks! I like the detail of why you like the post because it gives me some ideas for future posts. These images are all "in camera" no special effects. What makes these images special is the moon lighting up the environment and adding light (light painting)
Keep sharing them, posts like this make me want to go and try out techniques like yours, steemit on!
Nice captures!!!
Huge thumbs up!
Excellent tutorial @lightenup. You are going to be featured in the DPS.
thanks! What the heck is DPS? I'm new to Steemit, but loving the concept of being rewarded as a content provider. Facebook and Instagram never paid me for posting interesting concept.
Daily Photo Selection
I love these. Well done!
What is that you love about this post? Thanks!
I love how you explain it so simply. I never really looked into photography, but was always interested in it. Along with that, the images itself. I think the one from Palos Verdes, California is my favourite!
WOW! Your work is brilliant, and you are such a good teacher. You should do workshops or something:)
Hello my friend
Happy day
Beautiful photography with high accuracy
Great stuff ive seen your work before and got me intrested in night photography. Following you, now if you get a chance check out my star trail with flash painting. Your work has inspired me in the past. Thanks!
https://steemit.com/photography/@soonidrift/star-photography