Jetbot (9)
While I was showing components of the Jetbot, I was asked whether I would put them together, the answer was "YES". So now I am going to show the steps of assembling this little so called "Robot". I think it is more like a car than a robot.
在過去的一段時間中, 當我仍是每天的在展示這車的部件時, 有位大哥大問我會否把車組裝起來. 這個當然是會啦. 現在就開始示範如何組裝這車.
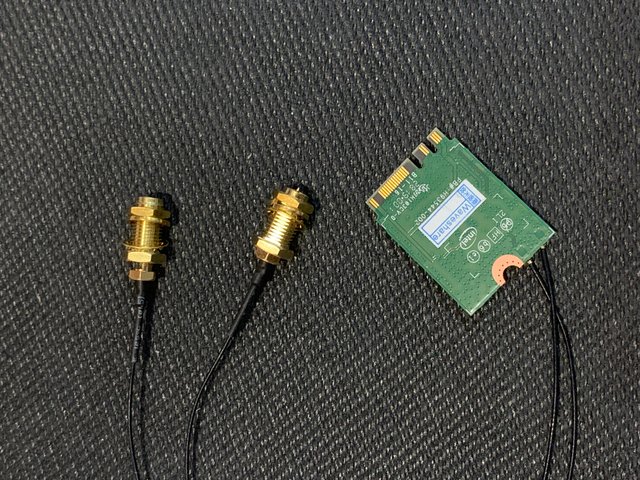
Next step is to ensure connectivity, with this, the Wifi module has to been installed.
接著就要弄好網絡連接,所以要把Wifi模組安裝好。
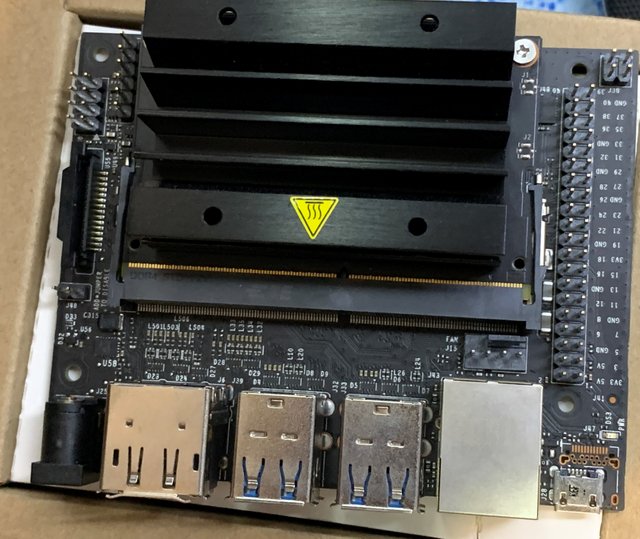
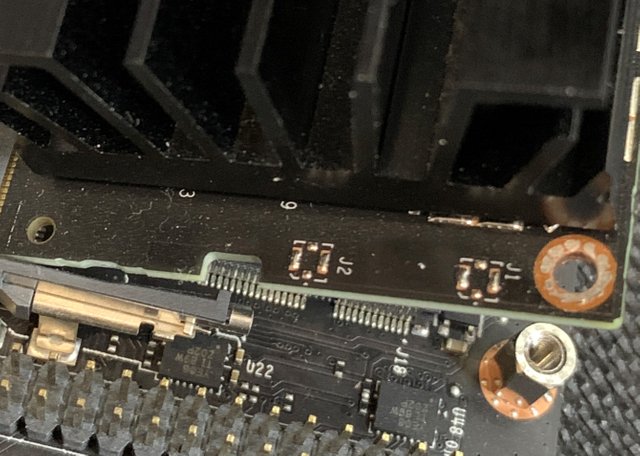
Wifi module slot is located under the big heat sink, to access it, the heat sink has to be removed.
Wifi模組的插口被巨型散熱器所遮蓋著,要先移開散熱器才可。
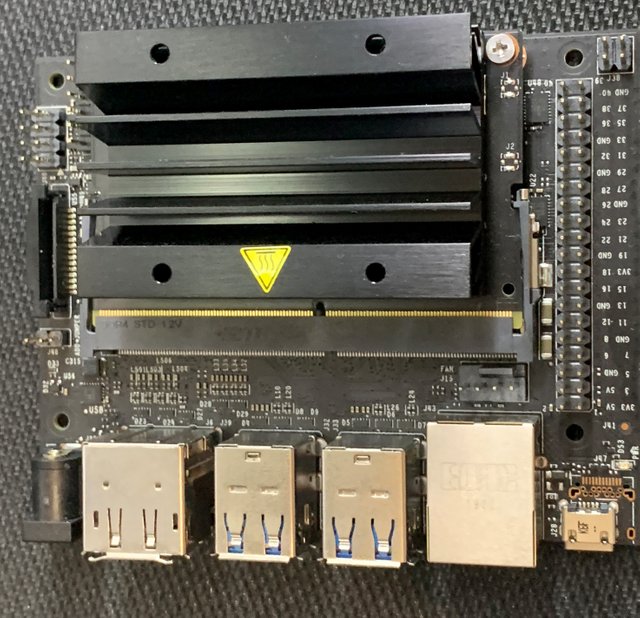
Remove screws on the heat sink.
把散熱器上的螺絲拿掉。
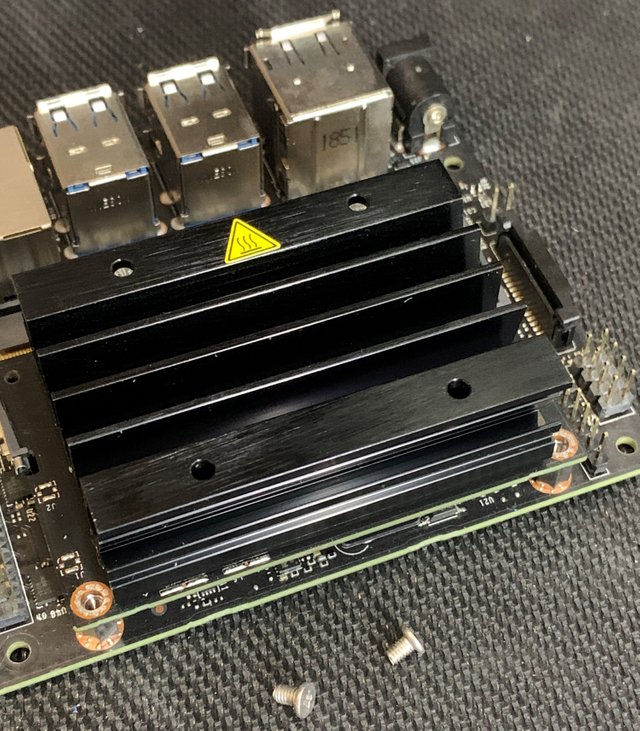
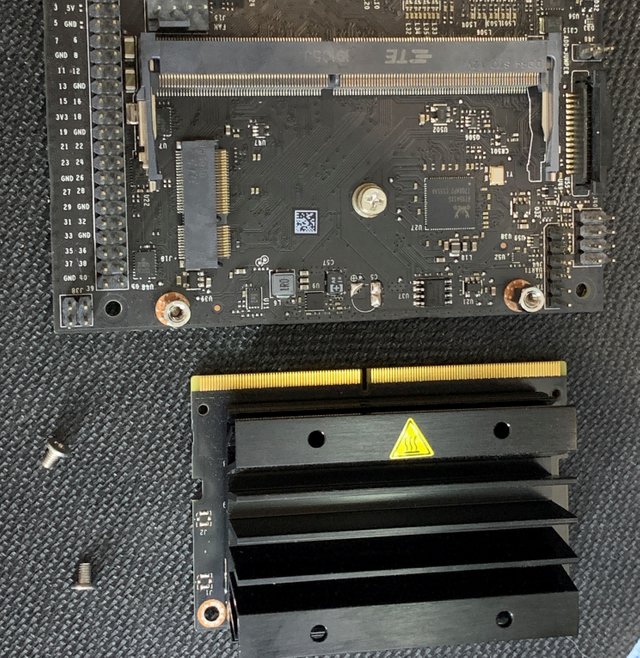
Life the heat sink from the side and pull it out.
把散熱器由旁邊向上提高,就可以拉出來!
Wifi module slot is then visable.
這裡可以見到Wifi模根組的插扒座。
請關注!點讚!轉發!

你今天过的开心吗?想要用cnbuddy自动留言宣传自己的活动吗?联系我吧,大家都会来支持你的。感谢支持。