Jetbot (5)
While I was showing components of the Jetbot, I was asked whether I would put them together, the answer was "YES". So now I am going to show the steps of assembling this little so called "Robot". I think it is more like a car than a robot.
在過去的一段時間中, 當我仍是每天的在展示這車的部件時, 有位大哥大問我會否把車組裝起來. 這個當然是會啦. 現在就開始示範如何組裝這車.
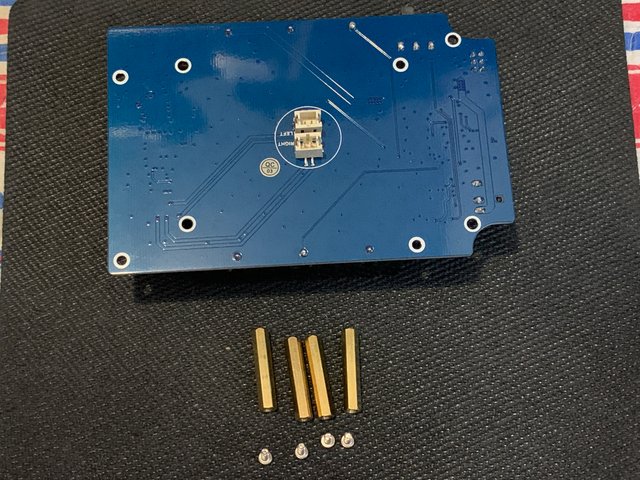
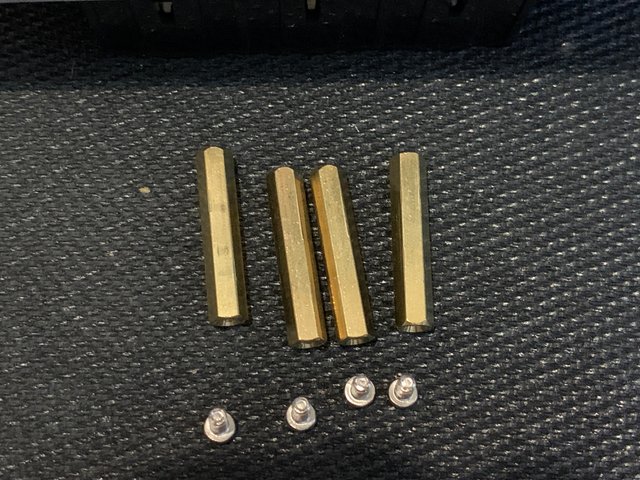
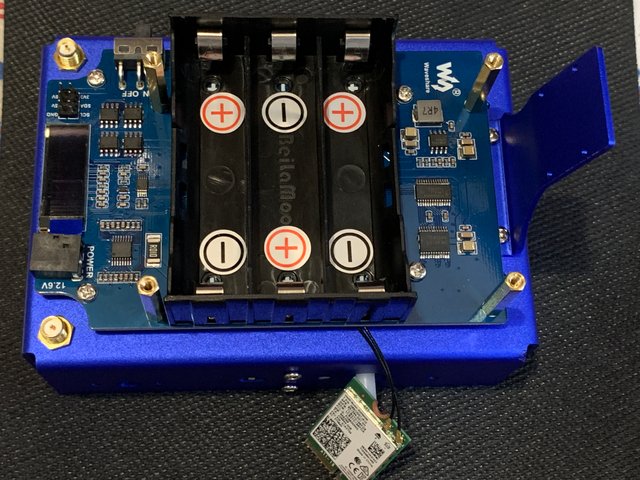
Now it's time to mount the battery and control module to Jetbot using the four longer copper pillars.
利用這四支長銅柱來把電池模組裝上Jetbot上。
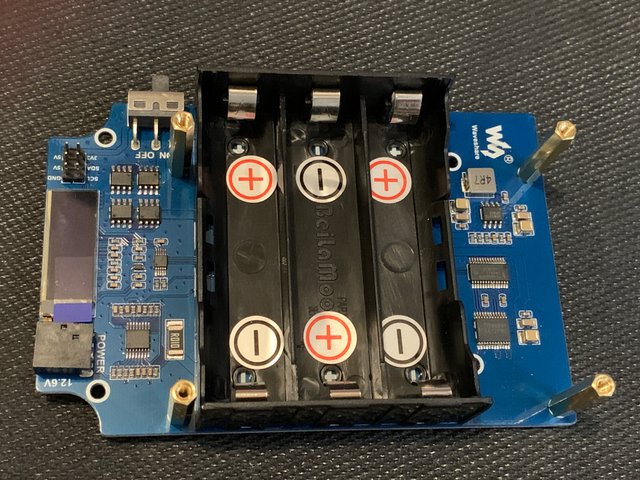
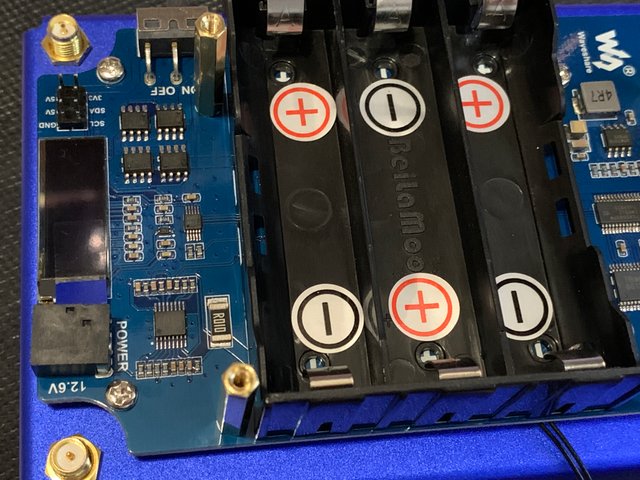
Make sure the Wifi module is properly connected like this:
要小心Wifi模組的位置:
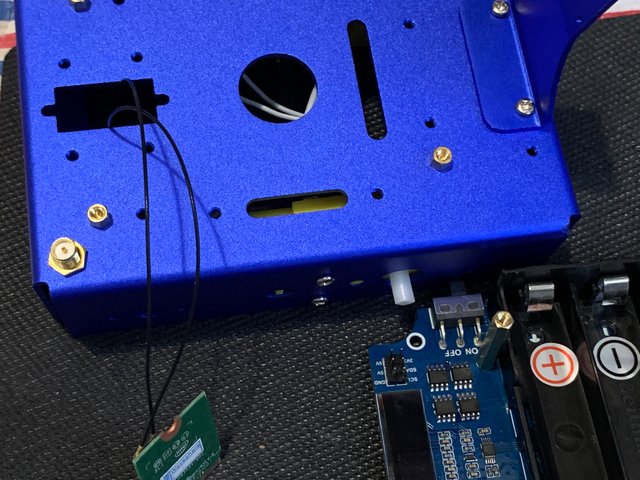
Install the four long copper pillars so that the battery and control module is fixed on the four base pillars.
把四顆長銅柱安裝在之前的四顆底座銅柱之上,固定好電池模組.
請關注!點讚!轉發!
你今天过的开心吗?想要参加活动但是不知道从何开始?关注寻宝cn-activity每日整理社区活动!感谢支持。