Jetbot (12)
While I was showing components of the Jetbot, I was asked whether I would put them together, the answer was "YES". So now I am going to show the steps of assembling this little so called "Robot". I think it is more like a car than a robot.
在過去的一段時間中, 當我仍是每天的在展示這車的部件時, 有位大哥大問我會否把車組裝起來. 這個當然是會啦. 現在就開始示範如何組裝這車.
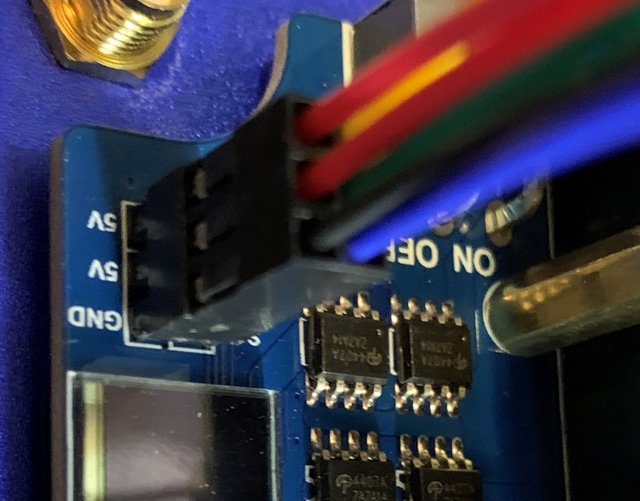
Now is time to connect power supply. On Jetson Nano board, use the power cable to connect to the 6-pins like this. Beware that the 2 red cables should be connecting to the 2 5V pins.
是接上電源的時候了。先用專用的電源線插在Jetson Nano上面的這個6針位置。要留意的是兩條紅色電線要插在5V的針上。

On Jetbot, connect the power cable at corresponding 6-pins. Same thing, beware that the 2 red cables should be connecting to the 2 5V pins.
在底座上都是同樣的連接在對應的6針位置上。同樣要留意的是兩條紅色電線要插在5V的針上。
After connection, it should be like this.
接好之後就像這樣。

請關注!點讚!轉發!
你今天过的开心吗?欢迎在steemauto里设置跟赞 @cnbuddy 给整个cn区点赞假如我的留言打扰到你,请回复“取消”。