Astrophotography: Volume Three - A Guide To Getting Started
Last week, I shared a few of my astrophotography photos here on Steemit, not really expecting much of a response. However, I was honestly amazed at the positive reception they received - as the original post currently has over 100 upvotes and 50 comments - so thanks to everyone who showed their interest in my hobby. Many people were also curious as to how they could go about capturing some similar photos for themselves, which got me thinking - hey, maybe I should write a guide to this! So, as promised, I present to you my first guide regarding astrophotography (sharing is caring, right?)
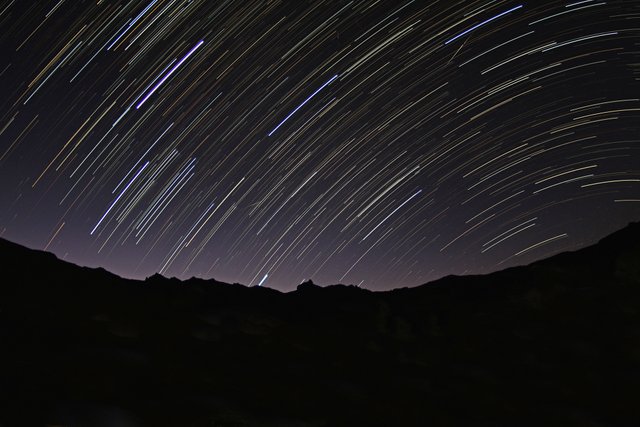
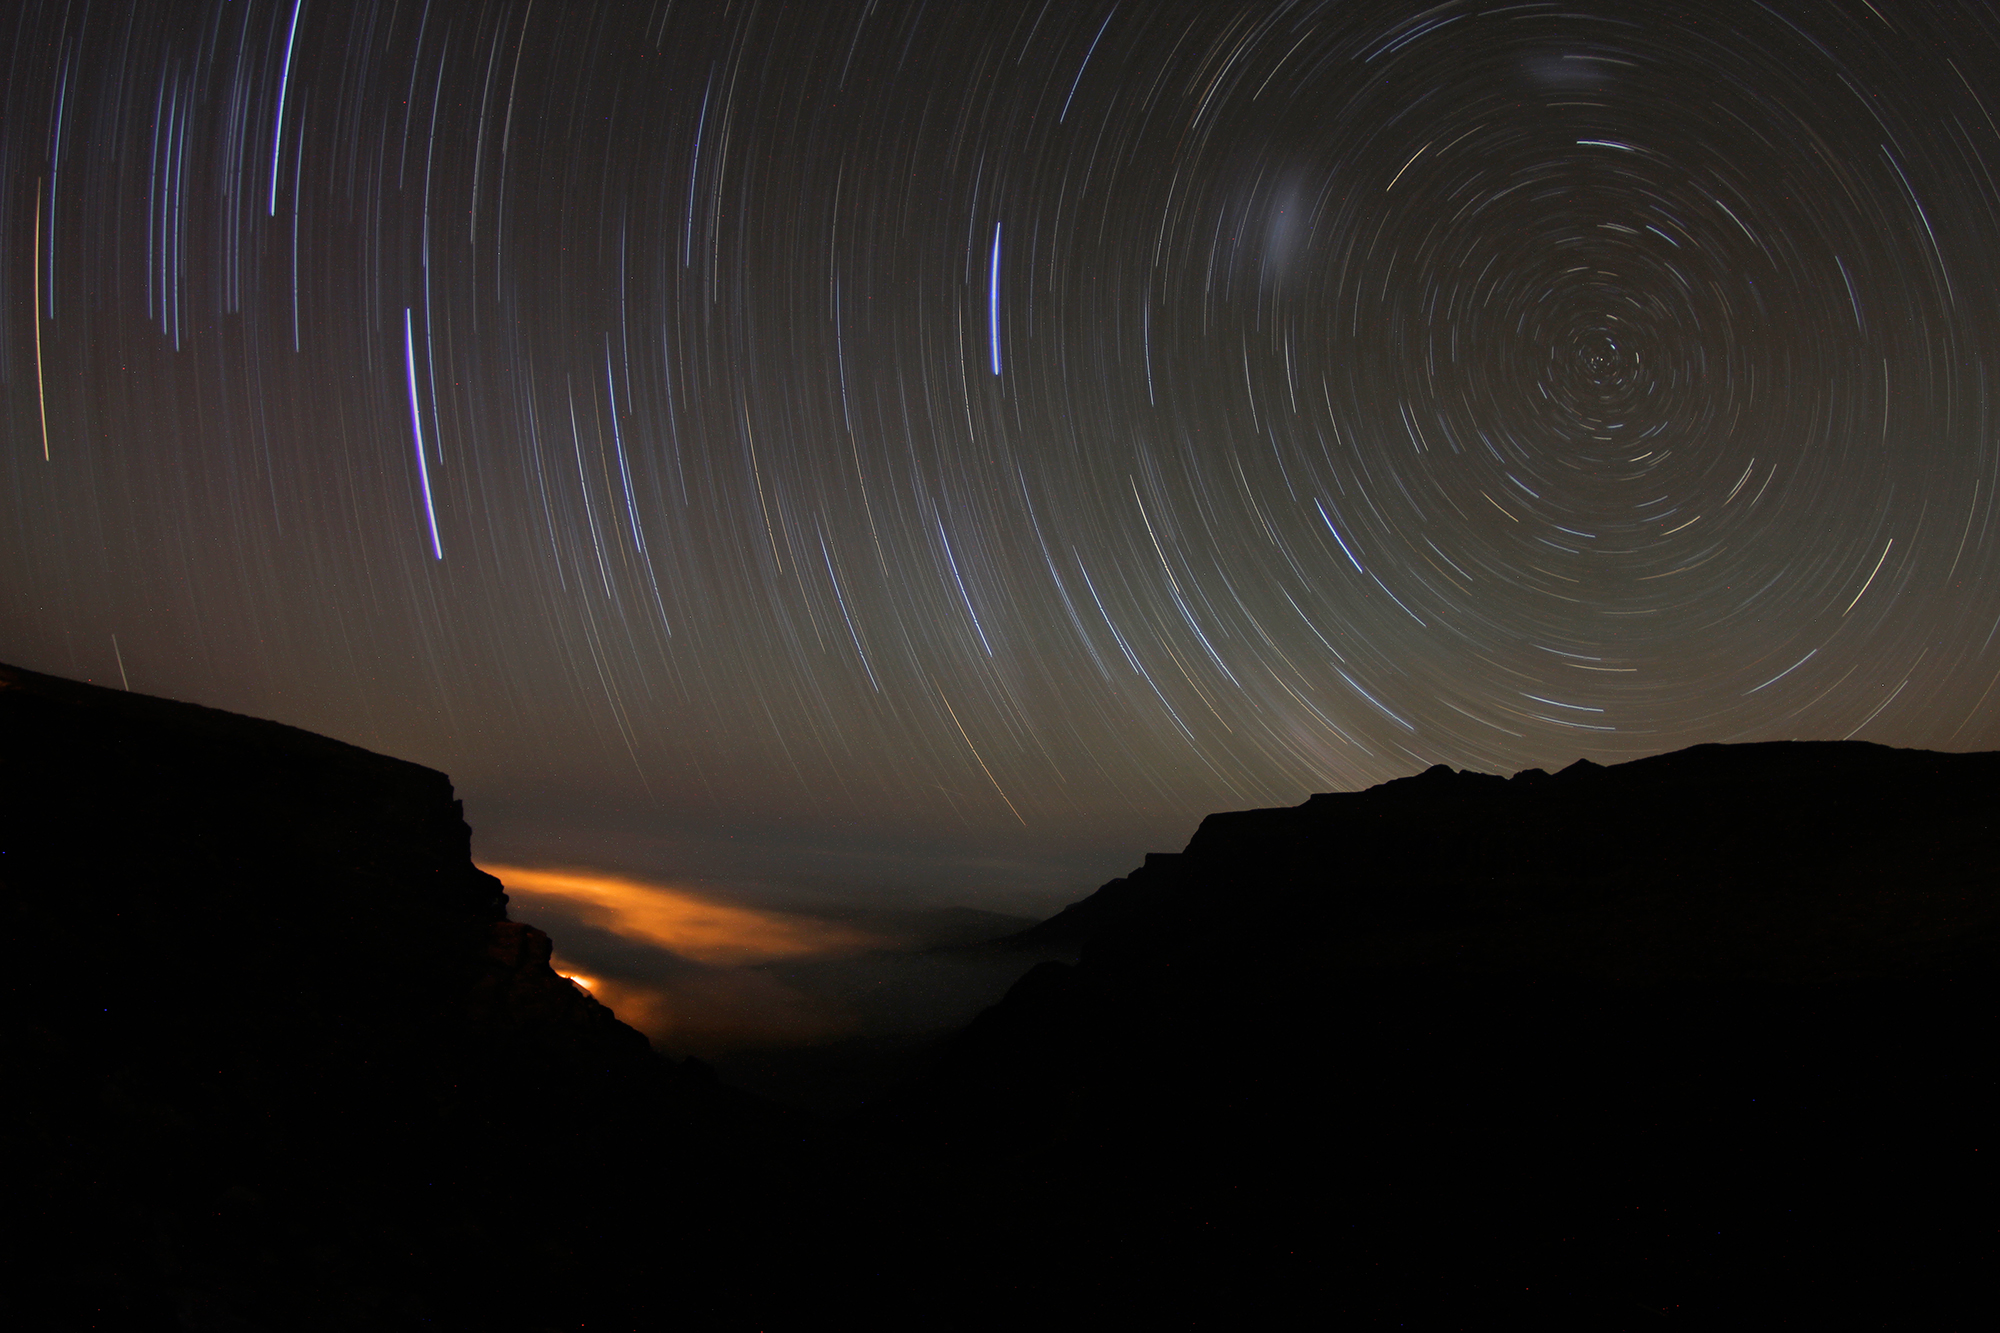
60 minute exposure (stacking technique)
Canon 550D
Tokina 10-17mm lens
- This post will be detailing all the equipment you require to start getting some of your own amazing astrophotography shots.
- The second post will be detailing the location scouting for your award-winning photo, as well as how to actually take the photo (it’s not as simple as just pushing a button).
- Lastly, in the third post, I’ll be taking you through the image editing process (covering both startrails and regular astrophotography).
But those are all posts for another day, so let’s start off with the basics: getting your equipment right.
THE CAMERA:
Straight off the bat, you’re going to want a full-frame camera. I shot my first astro photos on a crop sensor Canon 550D, and while it worked, the results on a full-frame are just so much more satisfying. Depending on who your brand loyalty lies with, there are plenty of options available from Canon, Nikon, Sony, etc. However, the main image you see above was shot with the aforementioned Canon 550D, so if you’re just planning on experimenting a bit with a standard DSLR, then don’t be disheartened - you’re more than capable of getting good results regardless!
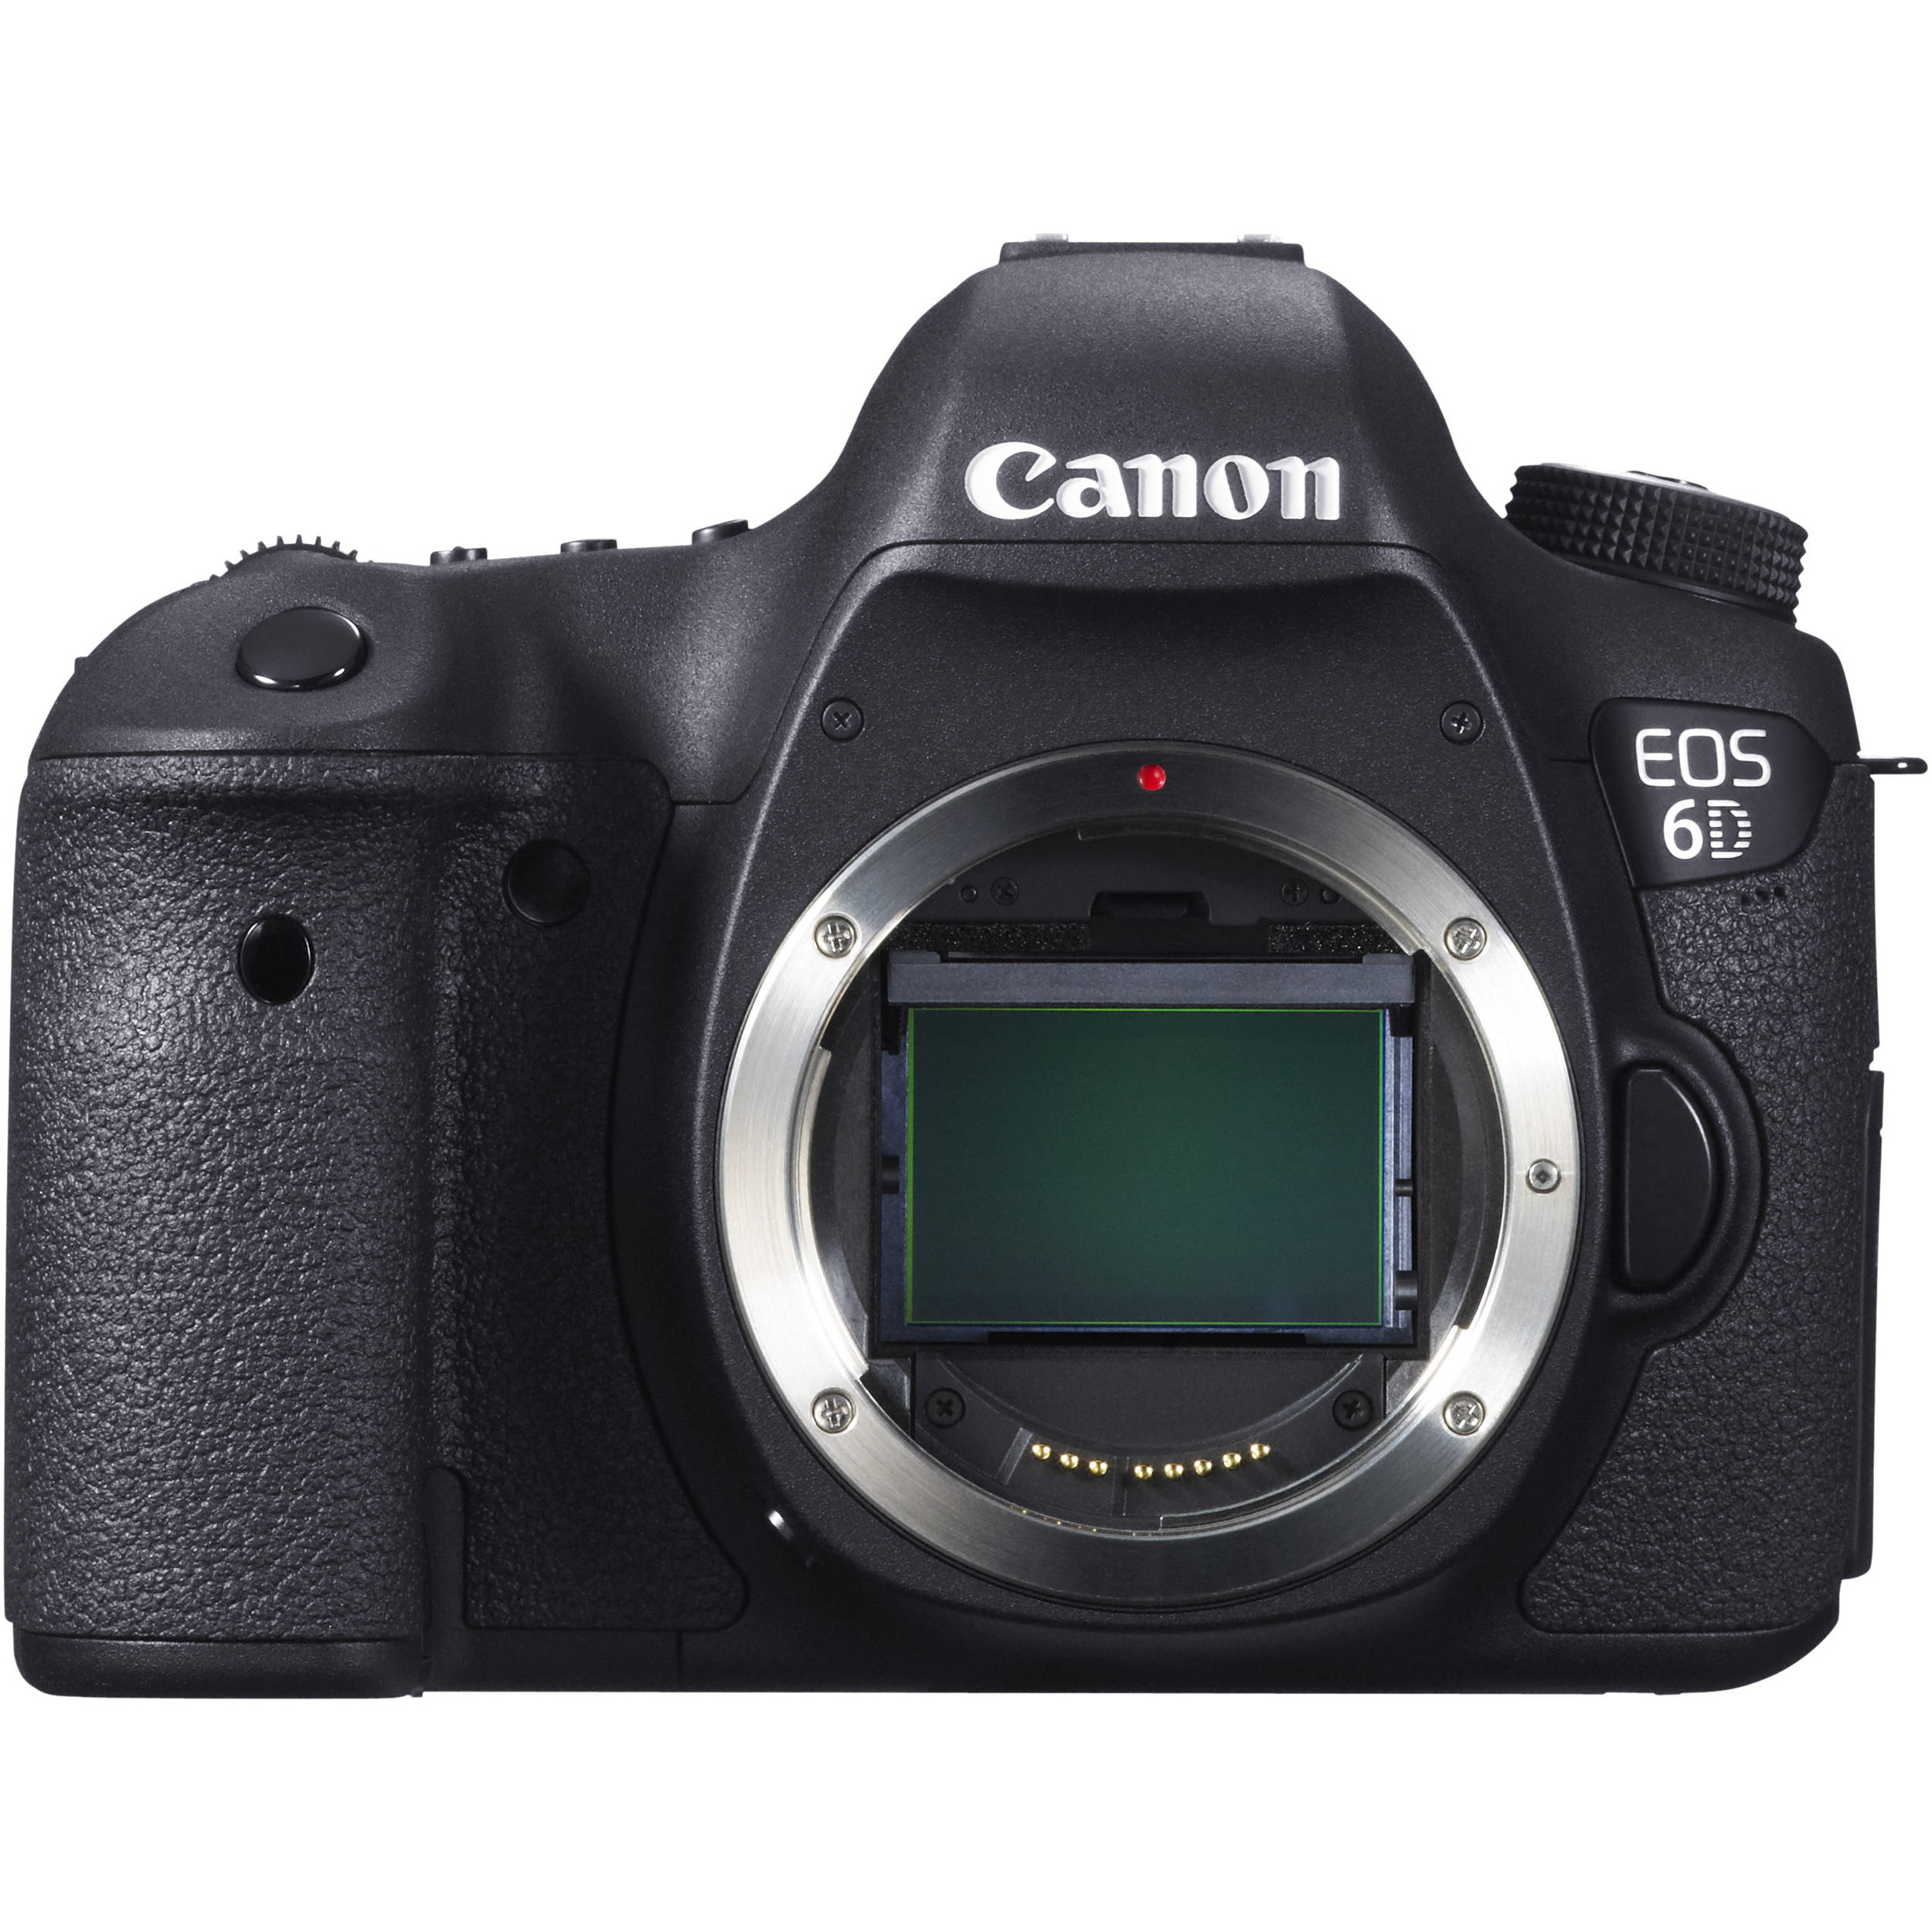
Personally, I now shoot with a Canon 6D (above), a full-frame body which was praised for its low light performance (upon the camera release, that is. Nowadays, there are probably a few cameras that can outperform it). Also, I couldn’t afford the 5DMK3, so it was a bit of a compromise.
Still, the 6D can hold it’s own against the older brother, so don’t feel bad if you end up with a 6D. If your budget allows, you can stretch for a Canon 5DMK3. If you’re rich, then the 5DMK4 would be amazing.
THE LENS:
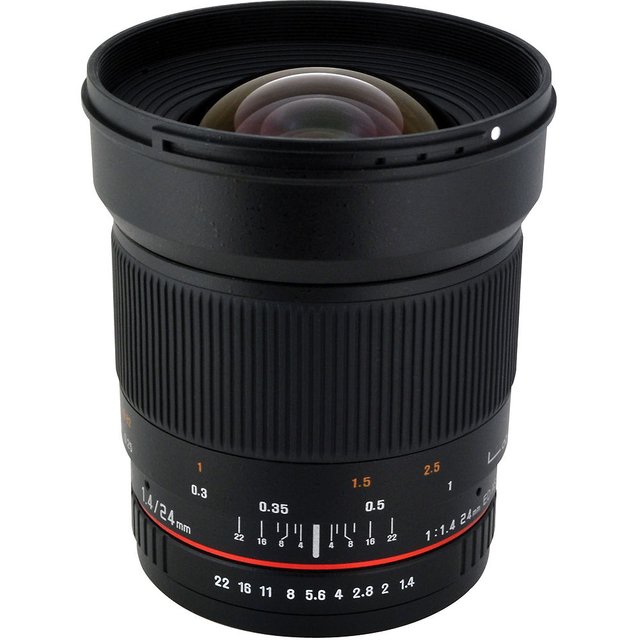
It’s been generally agreed that one of the best lenses for astrophotography is the Rokinon 24mm f1.4. You can pick one up here from B&H Photo, who also do incredibly fast international shipping (it’s not an affiliate link, I get no money from them if you buy). They offer mounts for most of the popular camera brands, so don’t think its just a Canon exclusive lens. Also, this lens is manual focus and manual aperture, which can be a bit of a pain to get right. My suggestion is to just set your aperture to f1.4, and do your focusing in the daytime - pick an object very far away to focus on, set the focus, and don’t touch it again.
If the Rokinon is stretching your budget a bit, then you could always get started with the “nifty fifty” - the 50mm f1.8. It’s possibly one of the cheapest lenses you can buy brand new, and with an aperture of 1.8, it lets in plenty of light for astrophotography. However, being a fixed 50mm, the field of view is quite narrow, so it’s not ideal for those “wide shots”. Rather just scrape your spare change up and get the Rokinon.
THE TRIPOD:
This one is obvious… your camera needs to stay still for a long time. Invest in a decent tripod that can keep your camera sturdy, and won’t topple over if a sudden gust of wind comes along. I use a fairly standard Manfrotto tripod which has never let me down, but this is down to personal preference.
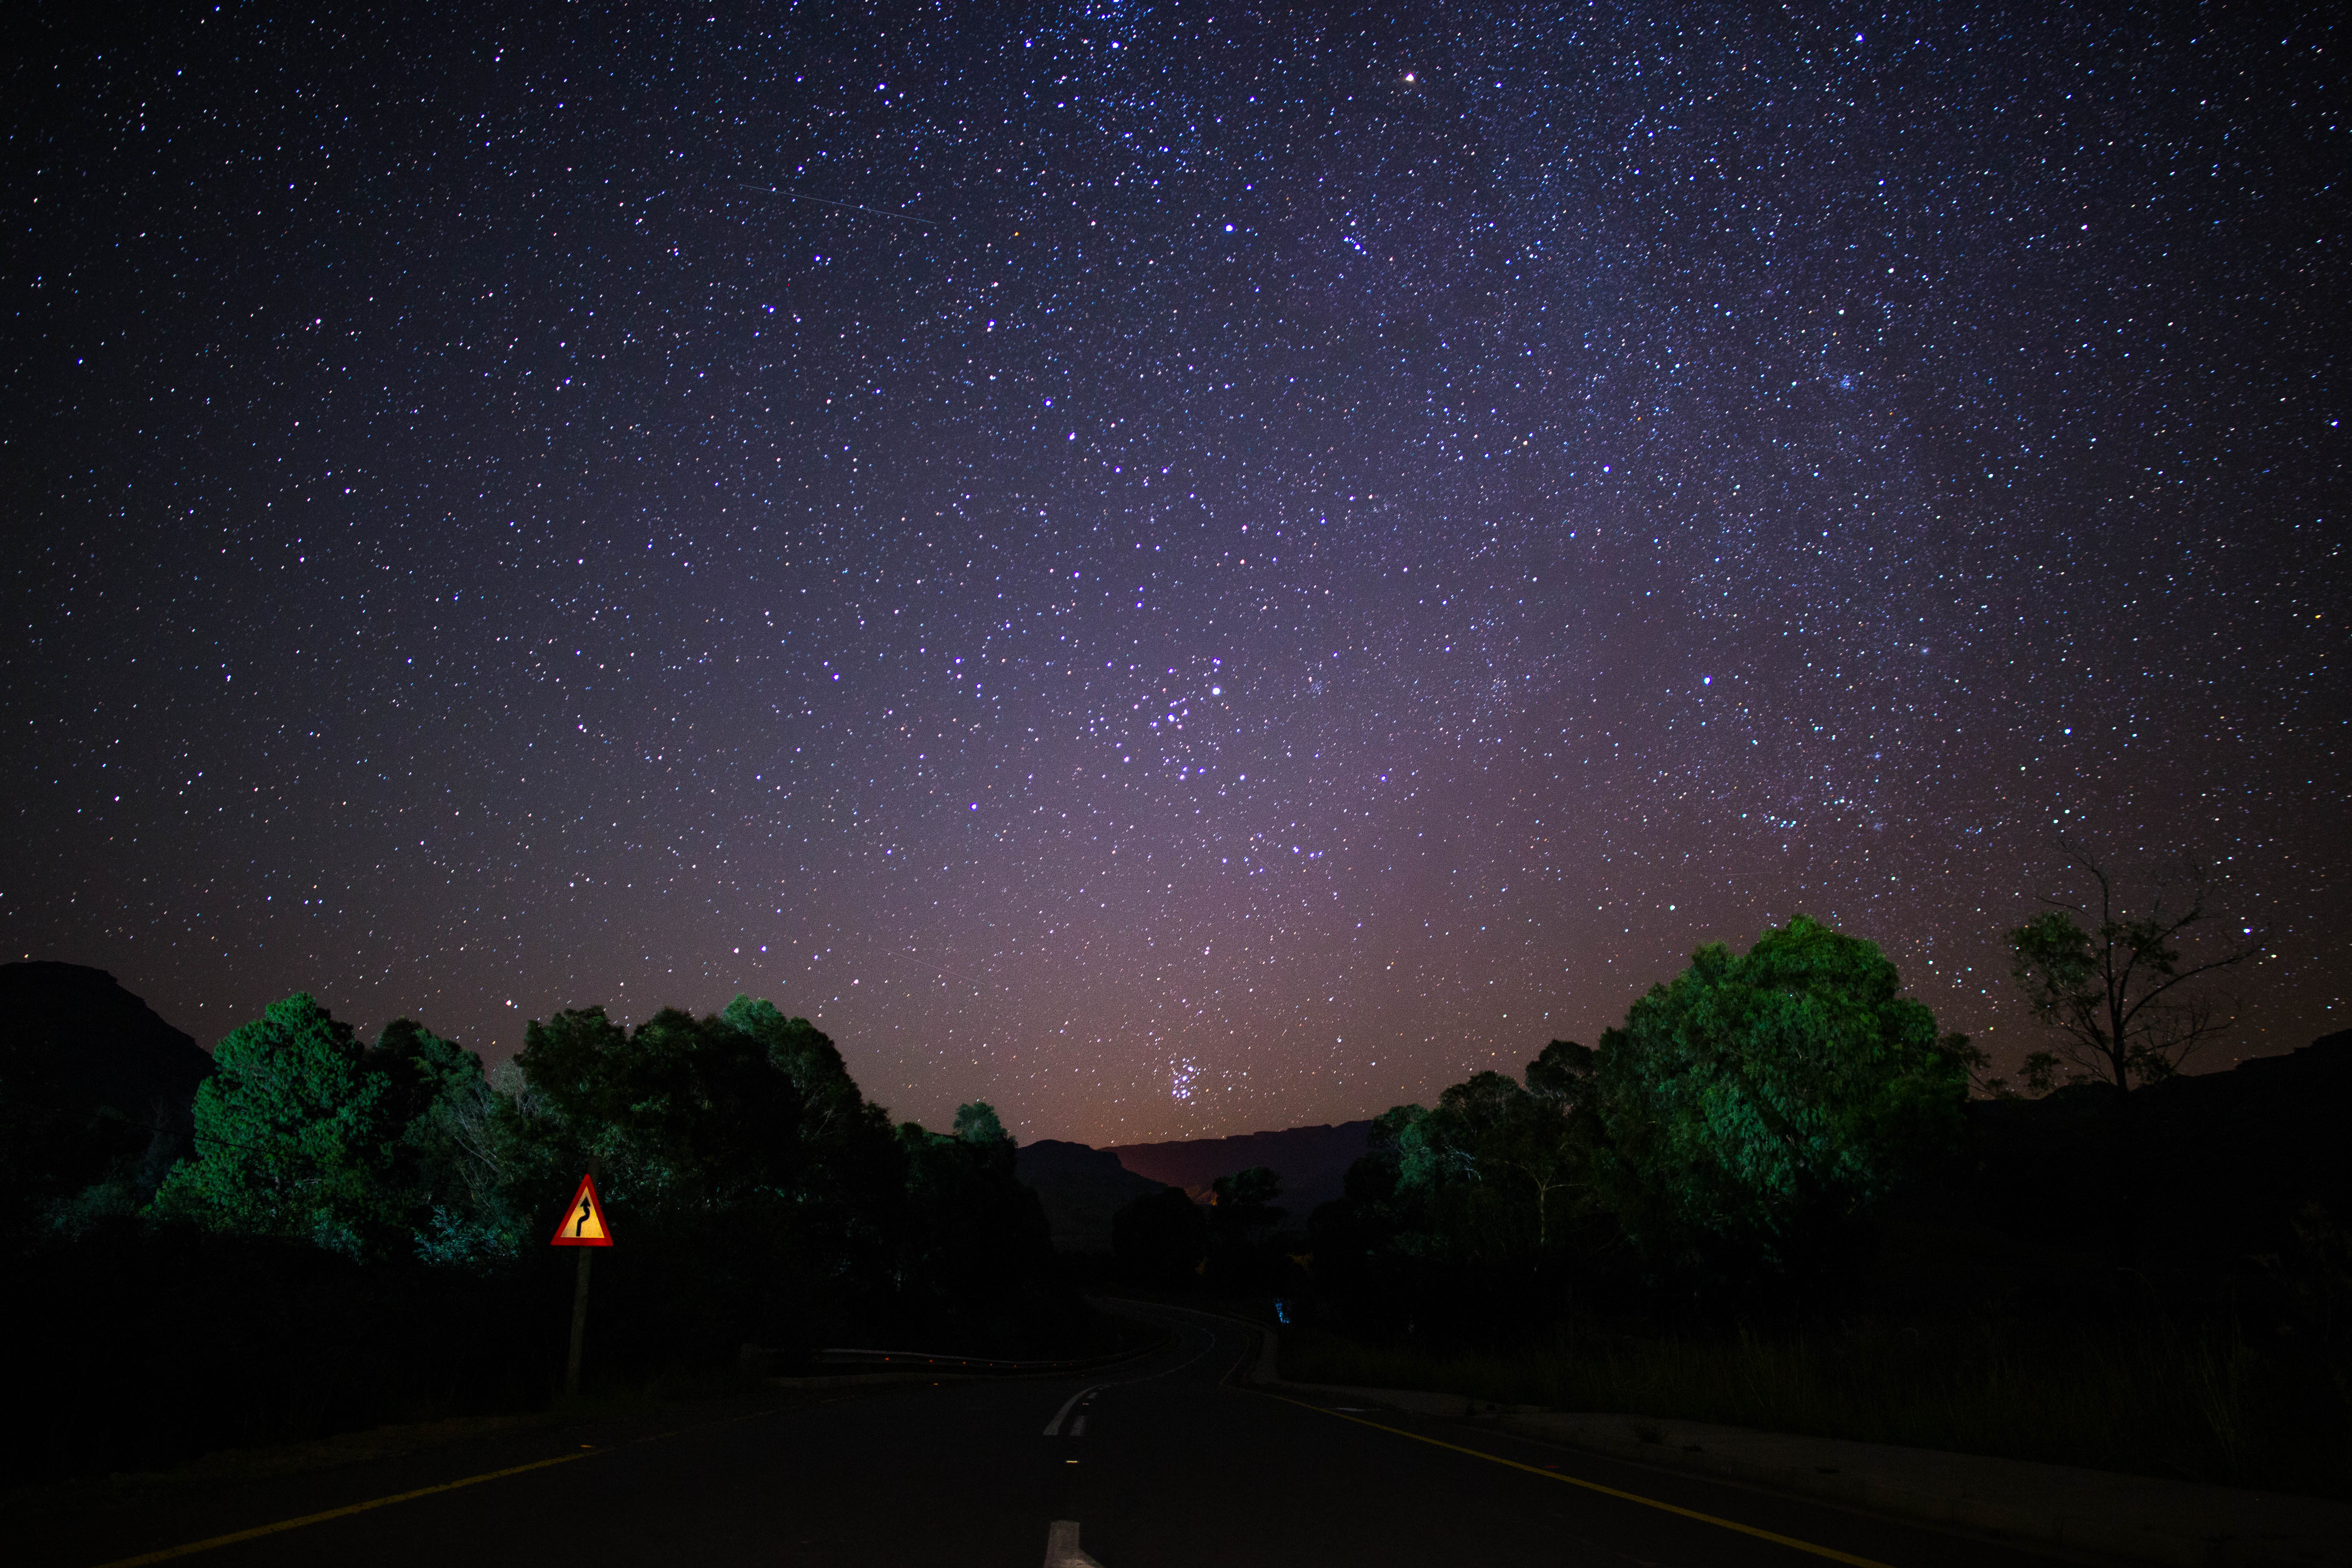
Canon 6D
Rokinon 24mm f1.4
Lightroom CC for editing
THE EDITING:
No astrophotography photo is going to look amazing right off the camera - you’re going to have to put some time into Lightroom and Photoshop to make them “pop” (I hate saying that, but it’s true). If you’ve never used either of those programs, the don’t panic - there are plenty of YouTube tutorials covering the basics. As mentioned above, I will be detailing my workflow in another post (as this one is merely an introduction), so if you’d prefer to jump straight in the deep end, then stay tuned for that.
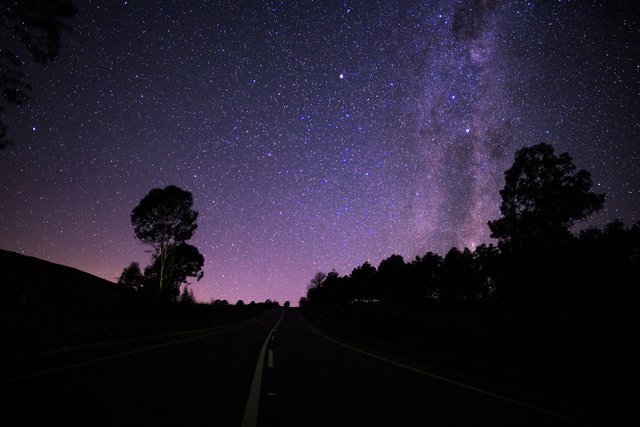
Canon 6D
Rokinon 24mm f1.4
Lightroom CC for editing
THE FILE FORMAT:
Simply...ALWAYS SHOOT IN .RAW!
If you have a DSLR, chances are it gives you the option to shoot your photos in a .RAW file format. But why shoot in this format? Put simply, the file retains a far greater amount of information than your regular JPEG. There’s much more room to stretch your shadows / highlights in .RAW, and you’ll need as much editing range as possible. Trust me on this one. So pull out that manual, and figure out how to change your shooting format to .RAW. Done? Good.
THE ENDING - FOR NOW:
Hopefully you’ve learnt something in this first guide, and it's maybe given you a boost of inspiration to get started - feel free to ask me any additional questions you may have in the comments below.
So until next time, go sort out all the equipment that you need, and stay tuned for the second installment, where I’ll also give you a few hints to finding the best location - regardless of where you are in the world (spoiler alert: it needs to be a very dark location, but there are a few tricks to help you here).
BONUS PIECE - MY FIRST EVER ATTEMPT:
My first ever foray into astrophotography started with an average Canon 550D and a Tokina 10-17mm fisheye lens - while standing on a mountain ridge 3000m above sea level. Remarkably, the camera called it quits before I did, with the bitterly cold weather draining the battery in just over an hour. I had no real idea what I was doing, but I knew that the shutter had to remain open for as long as possible. I made an amazing contraption to keep my shutter button down that would probably even make MacGyver jealous, and it actually produced a photo that wasn’t bad for a “first try”. But after all I’ve learnt over the years, I know you can make your first one much better :)
DISCLAIMER: Other than the product images I have linked, all of the photos featured here are my own original work.
Awesome I am so glad you are writing a "how to" series on astrophotography! I am looking forward to the post on your editing workflow.
The Curie Author Showcase featuring your last astrophotography post is up now, and I included a link to this post so hopefully you get more eyes on it :)
https://steemit.com/curation/@curie/curie-author-showcase-february-8th-2018
His posts are really cool :)
Thanks so much @carlgnash - seeing myself in the author showcase was a great surprise to wake up to! Will do my best to keep delivering quality content :)
As far as I understand astrophotographer needs, there is no visible difference between 6D and 5DmkIII :-)
Mark III has way better AF, more robust casing, dual memory card slot, weather sealing... and sensor that performs a tiny bit worse than 6D. As you pre-focus, keep your camera on the tripod, and use it only when there is no single cloud on the sky, it's better to go for 6D and buy better lens ;-)
So it looks like you did a good deal here! :D
Of course 5DmkIV with it's new sensor is a different story :-)
Valid points here, thanks for commenting @adamdo! Agreed, if we're comparing strictly for astrophotography purposes, then both cameras are essentially equal :) I use a 5DMK3 sometimes for general work purposes, and it certainly is much more robust than the 6D, but the price increase was just a bit too much to stomach for a personal purchase. So I did exactly what you mentioned - get the 6D and some better lenses :P
One day I'll be able to afford the 5DMKIV...one day...
Just a few more three-digit posts on steemit ;-)
Haha true! Let's hope this one manages to break the single digit mark, then we're off to a good start :)
Those are breathtaking images! You are doing a great job!! I wish I could be even just half as good as you! You are an inspiration. Followed you as I'm excited to see more of your photos! Keep Steemin'!!! 👌
Thanks for the kind comment @wander-full :) Make sure to take a look at the previous astrophotography posts (they're more images, and less typing) :P
https://steemit.com/photography/@garethb/astrophotography-volume-two-all-original-work
And something a little different:
https://steemit.com/photography/@garethb/long-exposure-hunting-at-the-funfair-all-original-work
Do you have any experience on hooking up a camera to a scope? We have an 8 inch newtonian reflector and were thinking about getting some motors on it and hooking it up with my canon bodies. Be interested to hear if you have any thoughts on that.
Click the badge to learn more about
Human Certified Original Works
Super post dude. I always struggle with astro. It is still very much a learning curve. This is very helpful.
Thanks @onethousandwords! It took me a while to get competent at it, so I'm hoping other people will learn from my experiences, and get better in a shorter amount of time :P
Brother, please keep these coming!!
Thanks @betterbeing, I certainly will...hoping to get the next post out this weekend :)
Yasss! 😍😍😍
delicious!
are you familiar with the work of thad v'soske?
and next you must spring for a leica digital still camera, one with the refrigerated CCD so you can leave the shutter open all night if you need to without heat ruining the image with noise. (that's the flaw of my olympus: more than about ten seconds, the CCD gets too warm).
trick from amateur astronomy that's great applied to astrophotography: after you've set the camera up and steadied the tripod, suspend a weight that hangs between the legs of the tripod. jug of water with a bungie, whatever. I use a small weight-lifting iron on a loop of nylon cord. but anything to plant the tripod more firmly.